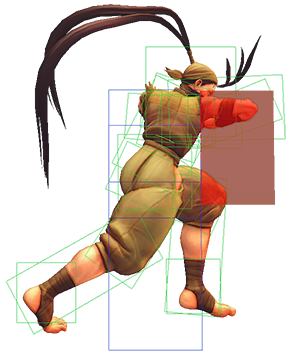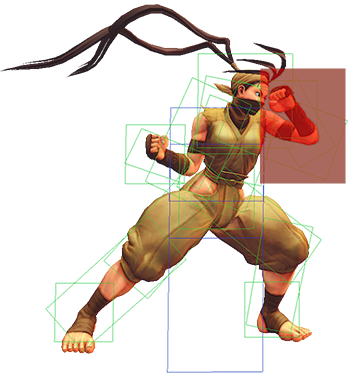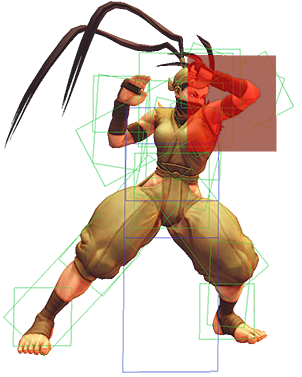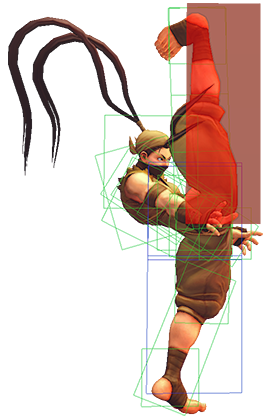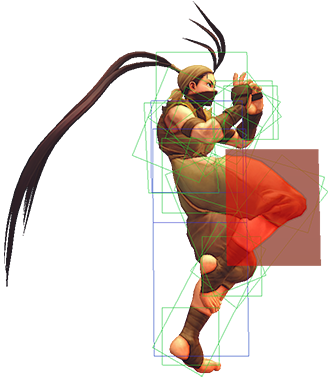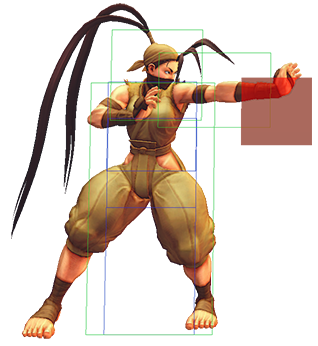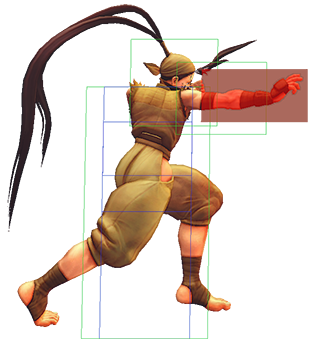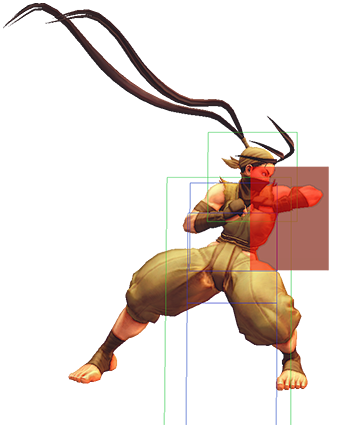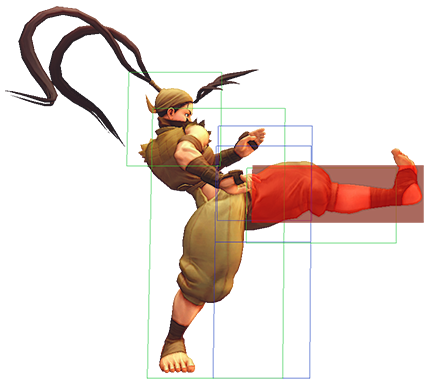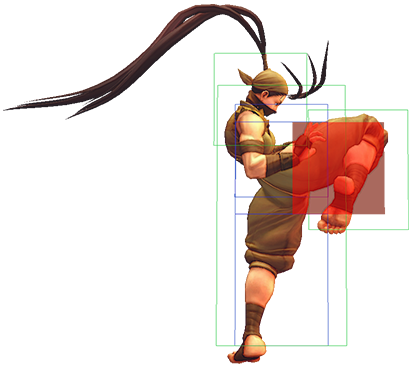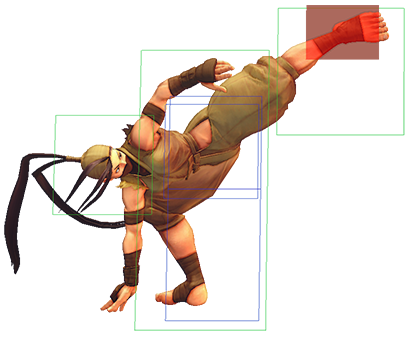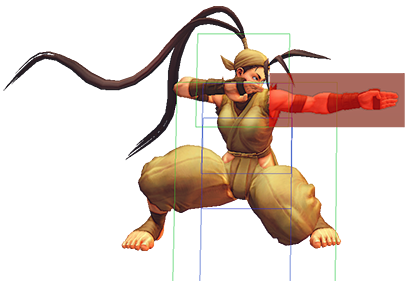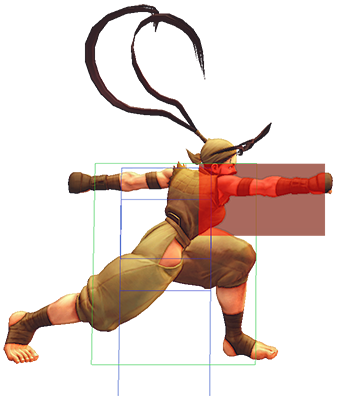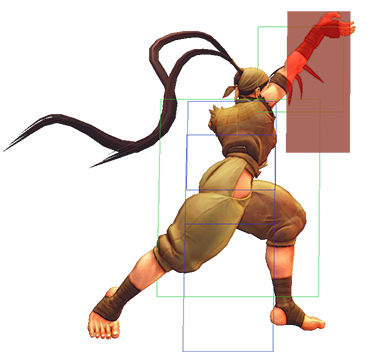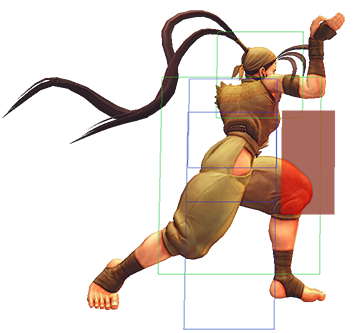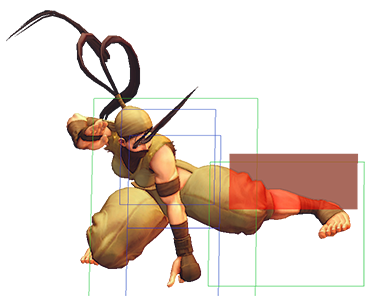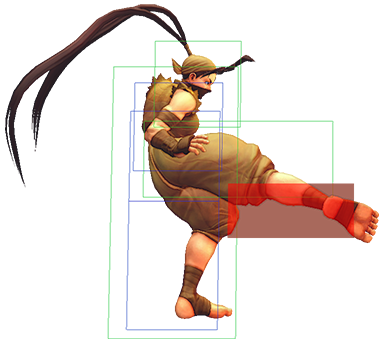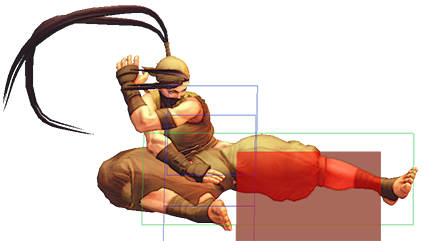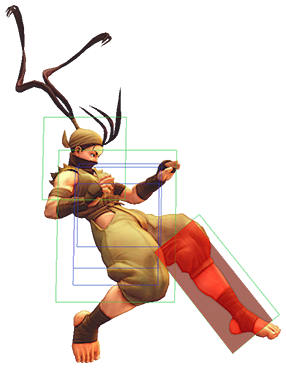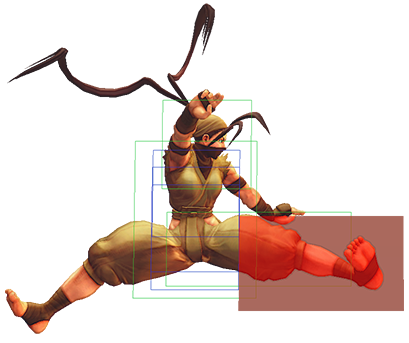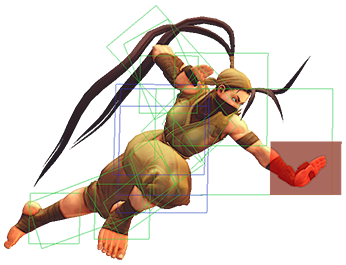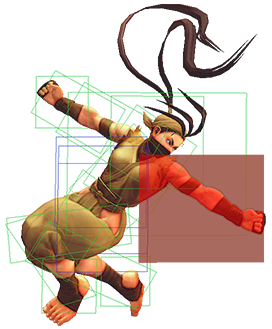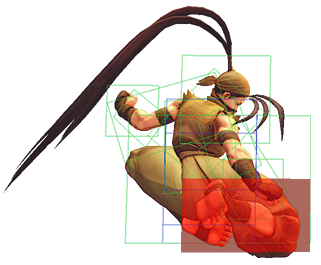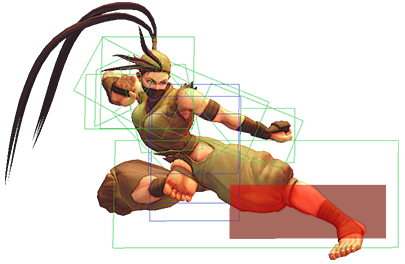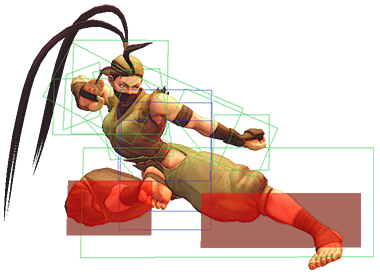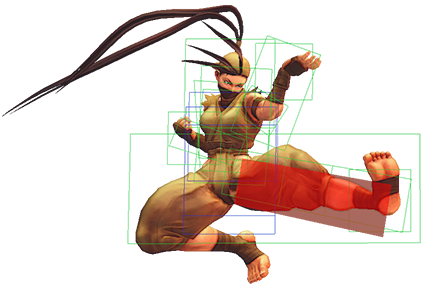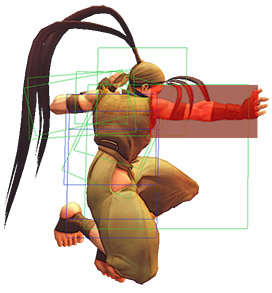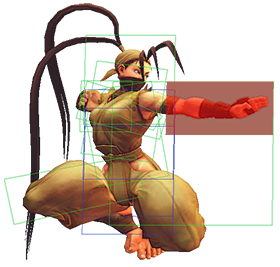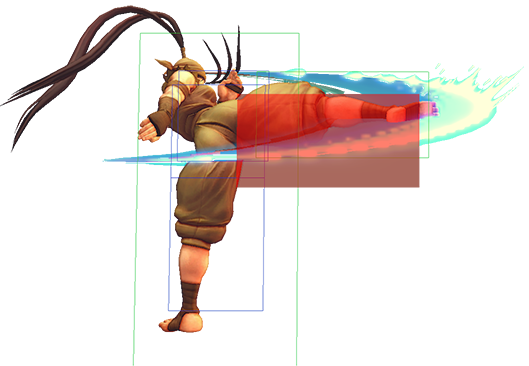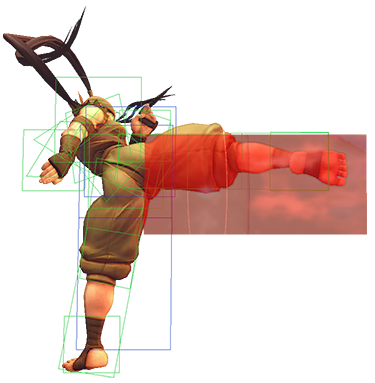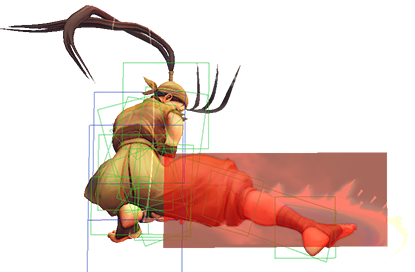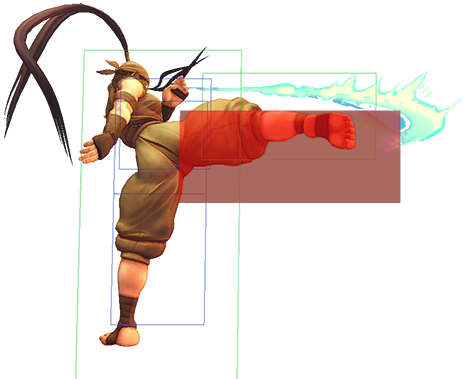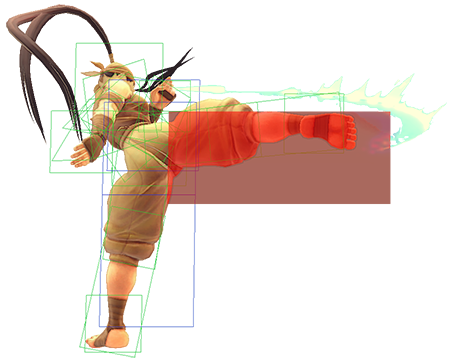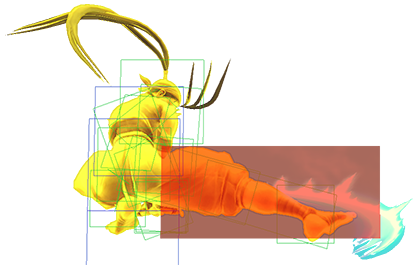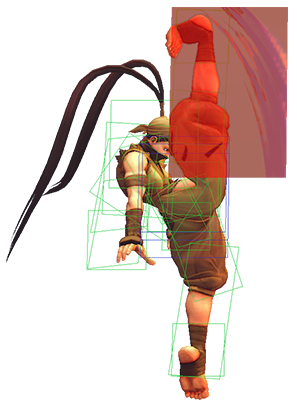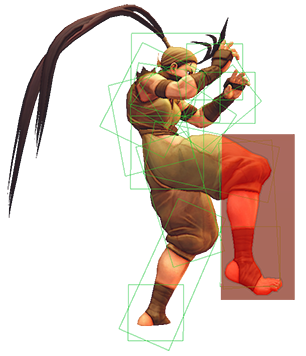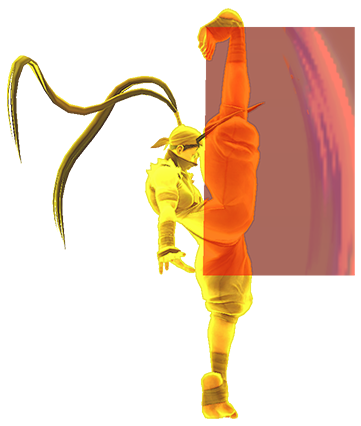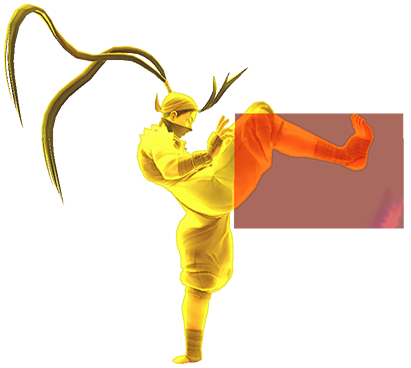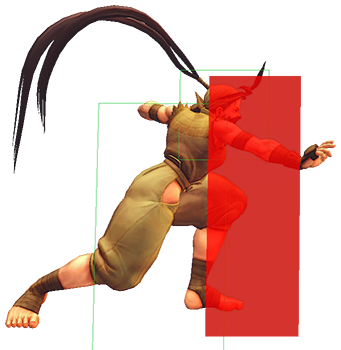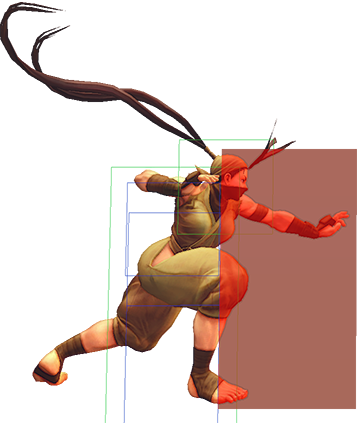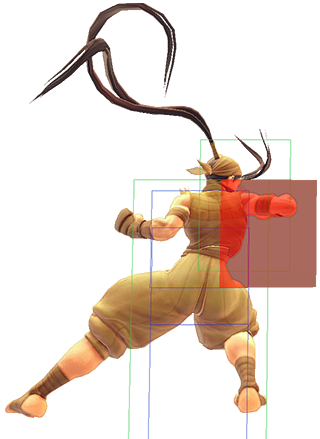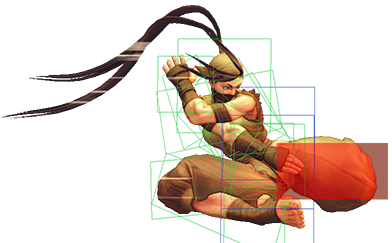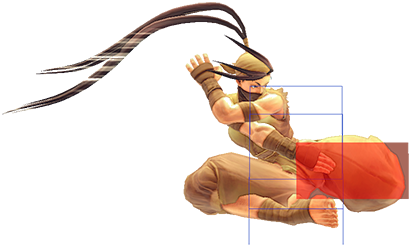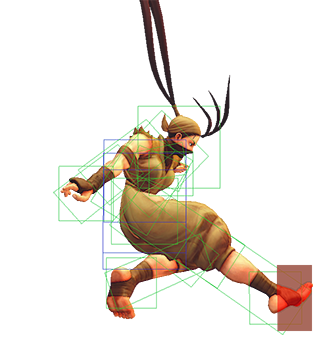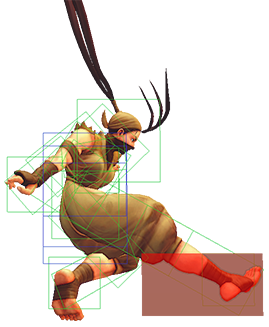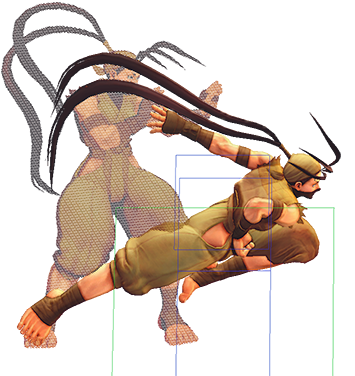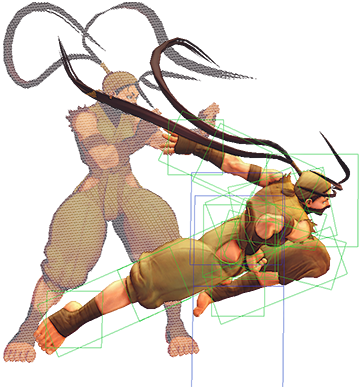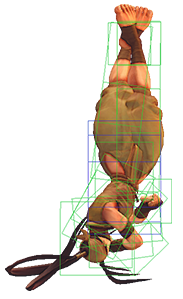
Ibuki
In a nutshell
With the removal of the knockdown vortex in Omega, Ibuki has had her neutral and pressure buffed tremendously to compensate. Her walk and dash speeds are among the best in the game, and her new ground kunai gives her extensive pressure sequences that are difficult to escape due to Omega's system changes. Many normals have faster startup and better frame advantage, giving her pressure reminiscent of her 3rd Strike days. Ibuki's defense, meanwhile, has been buffed with the addition of a meterless invincible MK Kazekiri, which can be late-cancelled into a safe Super on block (a feature that is almost non-existent among Omega characters). Yami Shigure massively increases Ibuki's damage output from neutral buffers, and sets up a sort of pseudo-vortex scenario of the opponent quick rises (or if you predict their delay rise). And with the ability to cancel into Super from the ground, any poke into a safe LK Tsumuji can instantly drain half the opponent's life, or sets up for an easy chip kill.
Notable Changes from USF4 to Omega
- Throw: slightly shorter range
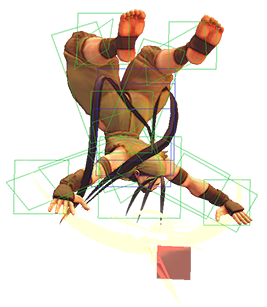
- Air Throw: no height restriction, can now combo in air juggles
- Movement Changes:
- Walk speed increased (Forward: 0.045 > 0.053, Back: 0.03125 > 0.040)
- Forward Dash: 3f faster (18f > 15f), slightly shorter distance
- Back Dash: 3f faster (28f > 25f), much shorter distance
- Jumps: 3f faster, slightly shorter distance and height. Super jumps are unaffected.
- Normal Move Changes:
- Far 5HP - new, forward-moving attack that knocks down on hit
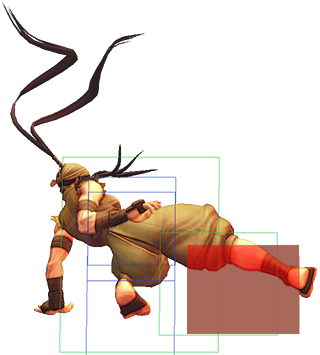
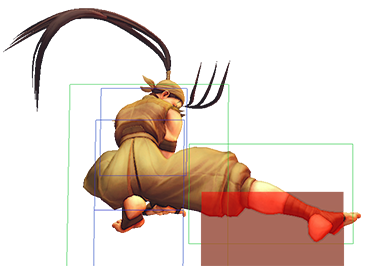
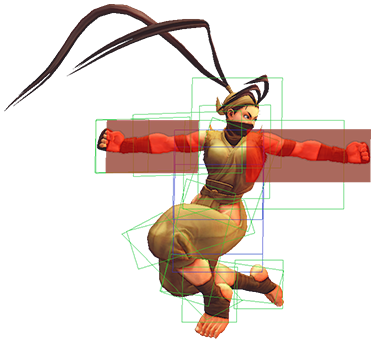
- 2MP - much faster, but has less range and fewer active frames. Works like 5MK with a lower hitbox
- 2HP - hits twice
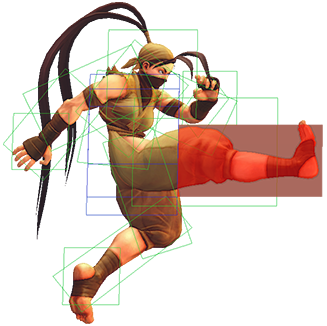
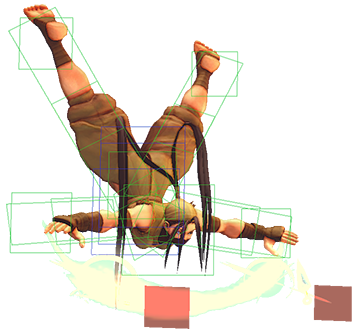
- j.MK - a much better air normal, easy to cross up using Ibuki's new jump arc
- Command Normal Changes:
- Sazan (slide) - new input 3LK, formerly 3MK
- Hammer Kick (overhead) - new input 3MK, formerly 6MK
- The Target Combo from Reverse Spin Kick still uses the 6MK overhead input
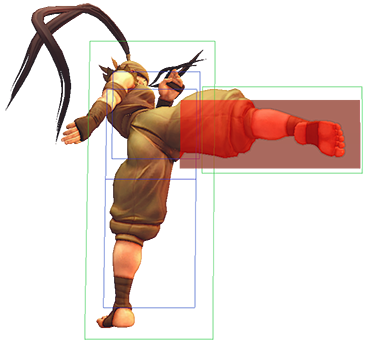
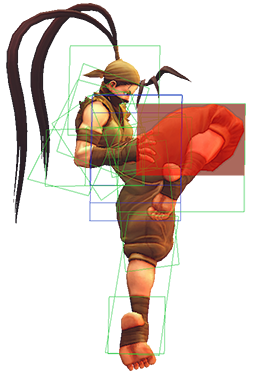
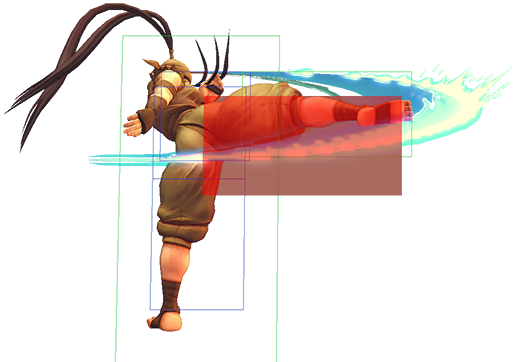
- Reverse Spin Kick - new input 4HK, formerly 4MK. Faster, stronger, and +5/+2, making it a strong neutral button
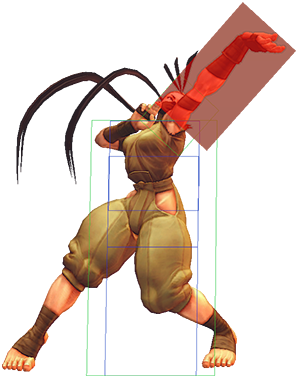
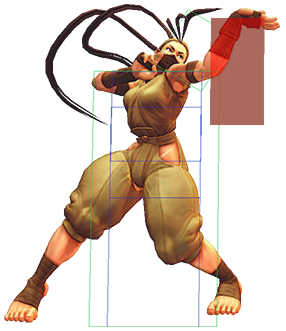
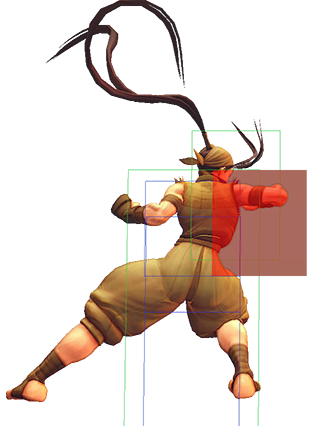
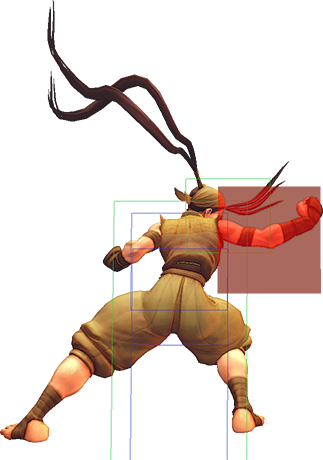
- Backhand Punch - new input 6HP > HP, formerly Far 5HP > HP; the initial 6HP (Spiral Elbow) is comparable to Ibuki's old Far 5HP
- Target Combos:
- All TCs into 2HK > HK no longer leave opponent in a juggle state
- Air TCs (j.HP>MK, j.LP>HP, j.LK>MK) no longer require a forward input on the 2nd hit
- 5MP > 6LK - new target combo taken from 3rd Strike, it's TC5 without the initial Far 5LP
- 4MP > HP - another new 3rd Strike target combo
- Special Move Changes:
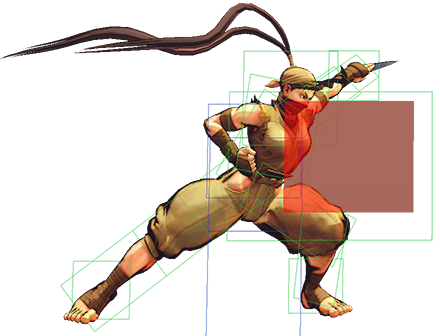
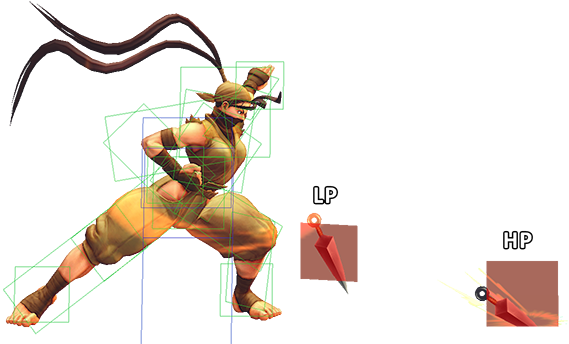
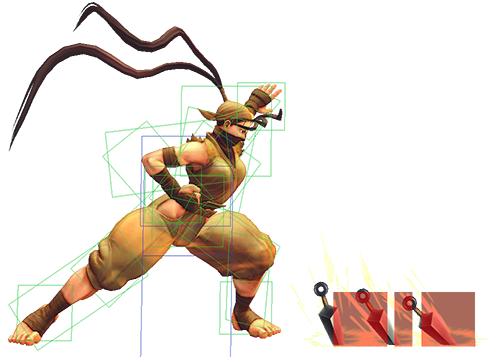
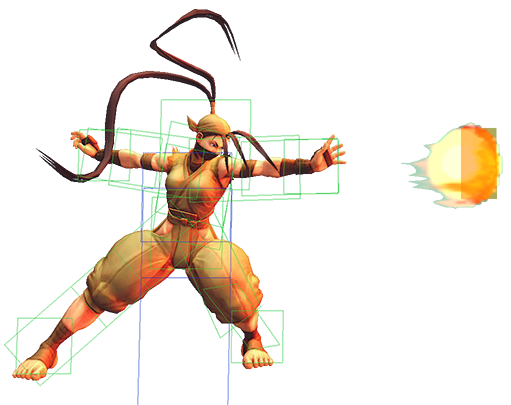
- Kagenui / Ground Kunai (421P) - new move - Button strength determines distance, allows for combo loops
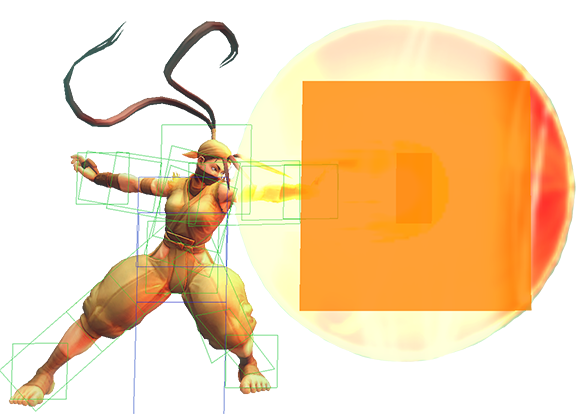
- Yami Shigure / EX Ground Kunai (421PP) - new move - Referencing 3S Ibuki's SA3. Costs 2 bars, sets up a strong mixup.
- Tsumuji (214K) - LK version hits once, MK hits once with optional 2nd followup, HK hits twice with optional 3rd followup. Low enders are now unsafe.
- EX Kazekiri (623KK) - 1f faster and more invincible, but no longer has a kunai followup
- EX Raida (63214PP) - now a forward moving 2-hit attack. The first hit can FADC.
- Neckbreaker (41236P) - Now do much more stun to compensate for their lack of mixup potential
- Hien (421K) - shorter trajectories, knock down on hit
- Tsujigoe (623P) - can now use neutral jump normals during the flip, which can set up very ambiguous crossups
- Kasumi Gake (236K) - LK/MK Command Dashes can low profile under most projectiles for a short time. Dashes are also Super/Focus cancellable.
- Super/Ultra Changes:
- Ground Super (236236+K) - new version of Super that can be used while grounded. Allows new combo routes, like Tsumuji xx Super. Also can be used as a safe invincible reversal.
- Air Super also uses the K input, making it easier to use instant Air Kunai without an accidental Super. Damage increased to 390 max (from 330).
- Moves with ending Frame Buffer:
Character Specific Data
Ibuki
| VITALS | |||||
|---|---|---|---|---|---|
| Health: | 900 | Stun: | 950 | ||
| WALKING | |||||
| Forward Walk Speed: | 0.053 | Back Walk Speed: | 0.040 | ||
| JUMPING | |||||
| Jump Total Frames: | 4+36+4 (SJ: 3+41+11) |
Jump Distance: | 2.1 Forward/Back (SJ: 2.87 Forward, 2.85 Back) | ||
| DASHING | |||||
| Forward Dash Frames: | 15 | Forward Dash Distance: | 1.66 | ||
| Back Dash Frames: | 25 | Back Dash Distance: | 1.18 | ||
| FA + Forward Dash Frames: | 17 | FA + Back Dash Frames: | 22 | ||
| Back Dash Invincibility: | 1-9 | FA + Back Dash Invincibility: | 0 | ||
| Back Dash Airborne: | 9-20 | FA + Back Dash Airborne: | 6-17 | ||
| FOCUS ATTACK DATA | |||||
| Lv1 FA + Forward Dash (Block): | -2 | Lv1 FA + Back Dash (Block): | -7 | ||
| Lv2 FA + Forward Dash (Block): | +4 | Lv2 FA + Back Dash (Block): | -1 | ||
Frame Data
| Move Name | Input | Startup | Active | Recovery | On Block | On Hit | Damage | Stun | Hit Lv | Cancel | Notes |
|---|---|---|---|---|---|---|---|---|---|---|---|
| 5LP (Close) | cl. |
3 | 2 | 7 | 2 | 5 | 30 | 50 | M | TC Sp Su | - |
| 5HP (Close) | cl. |
7 | 2*2 | 18 | -6 | -2 | 60*70 | 125*75 | M*M | Sp Su / TC | 2 hits |
| 5HK (Close) | cl. |
5 | 2*2 | 23 | -5 | KD | 50*60 | 125*75 | M*M | - / J SJ | 2 hits; 2nd hit launches into juggle state, is jump cancellable. KD Adv: +53 (+77 after Jump Cancel) |
| Move Name | Input | Startup | Active | Recovery | On Block | On Hit | Damage | Stun | Hit Lv | Cancel | Notes |
| 5LP (Far) | far. |
3 | 2 | 5 | 4 | 8 | 25 | 50 | M | TC | Against some crouching characters, may whiff in combos at farther ranges |
| 5MP | st. |
5 | 4 | 6 | 2 | 6 | 70 | 100 | M | TC Sp Su | Can whiff in combos against some crouching characters |
| 5HP (Far) | far. |
8 | 7 | 14 | -3 | KD | 100 | 200 | M | Sp Su | KD Adv: +28; moves forward, causing juggle state on hit |
| 5LK | st. |
4 | 5 | 9 | -2 | 1 | 20 | 50 | M | TC | - |
| 5MK | st. |
5 | 4 | 12 | -2 | 1 | 70 | 100 | M | Sp Su | - |
| 5HK (Far) | far. |
10 | 3 | 17 | -2 | 2 | 110 | 200 | M | - | - |
| Move Name | Input | Startup | Active | Recovery | On Block | On Hit | Damage | Stun | Hit Lv | Cancel | Notes |
| 2LP | 3 | 2 | 7 | 2 | 5 | 20 | 50 | M | Ch Sp Su | - | |
| 2MP | 5 | 2 | 11 | 1 | 4 | 70 | 100 | M | Sp Su | - | |
| 2HP | 9 | 1*3 | 18 | -3 | 2 | 40*60 | 50*150 | M | J SJ | Jump cancellable through entire animation on hit/block | |
| 2LK | 4 | 2 | 8 | 1 | 4 | 20 | 50 | L | Sp Su | - | |
| 2MK | 6 | 5 | 9 | 0 | 3 | 70 | 100 | L | - | - | |
| 2HK | 6 | 2 | 25 | -9 | KD | 90 | 100 | L | TC | KD Adv: +19 | |
| Move Name | Input | Startup | Active | Recovery | On Block | On Hit | Damage | Stun | Hit Lv | Cancel | Notes |
| Agemen | 6 | 1*2 | 10 | 0 | 4 | 30*50 | 50*50 | M*M | TC Sp Su | Cancels on first hit only | |
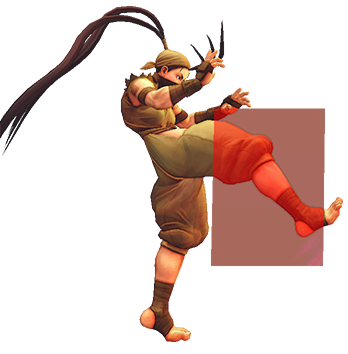
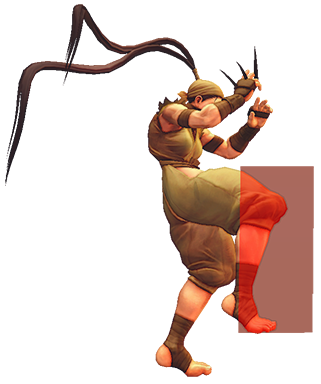
| Spin Kick | 4 | 4 | 9 | -1 | 2 | 30 | 50 | M | Sp Su | - | |
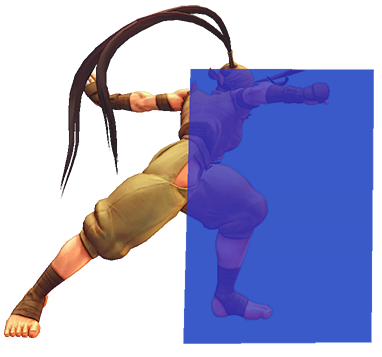
| Sazan (Slide) | 7 | 11 | 11 | -11(-1) | -5(5) | 70 | 100 | L | - | 5-17f low profile (can slide under projectiles) | |
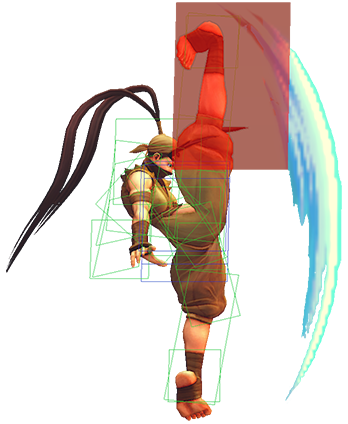
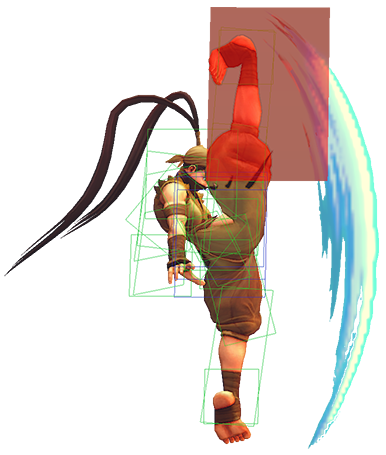
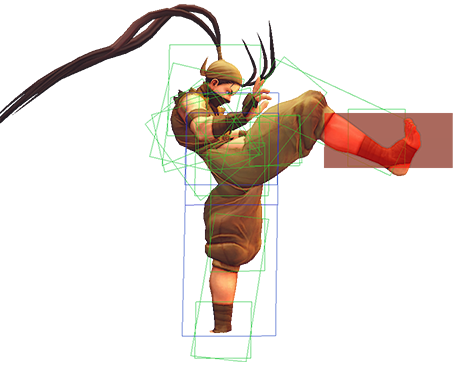
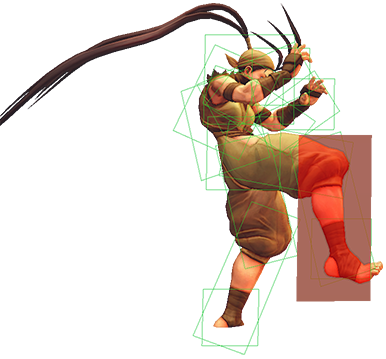
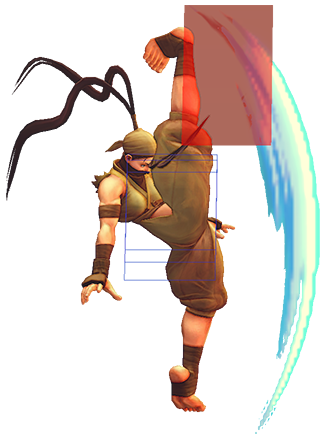
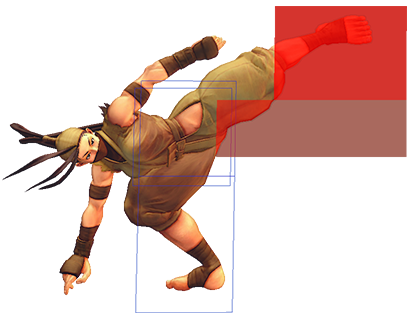
| Hammer Kick (Overhead) | 25 | 4 | 8 | 3 | 5 | 65 | 100 | H | - | 3-31f airborne, 8-28f lower body strike/projectile invuln | |
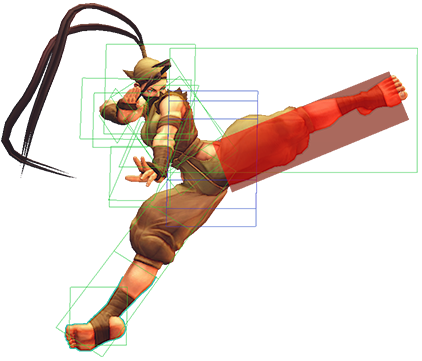
| Bonsho Kick | 13 | 2 | 18 | -2 | 2 | 100 | 250 | M | - | 5-26f airborne, 4-14f lower body strike/projectile invuln; +5 on Counterhit | |
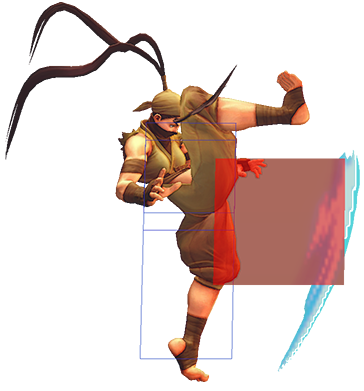
| Reverse Spin Kick | 7 | 2 | 16 | 1 | 5 | 80 | 150 | M | TC | Strong neutral poke | |
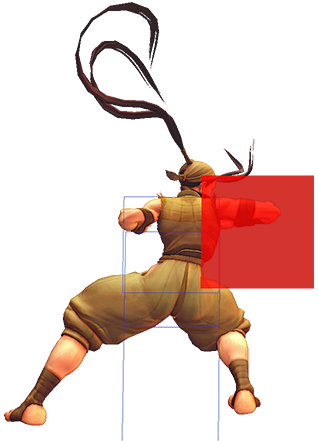
| Spiral Elbow | 12 | 4 | 16 | -2 | 3 | 100 | 100 | M | TC | Ibuki's old Far 5HP | |
| Backhand Punch | 12 | 1(4)9 | 20 | -11 | KD | 100*80 | 100*200 | M*M | Sp Su | Ibuki's old Far 5HP>HP; KD Adv: +24 | |
| Move Name | Input | Startup | Active | Recovery | On Block | On Hit | Damage | Stun | Hit Lv | Cancel | Notes |
| Target Combo 4 (starter) |
cl. |
- | - | - | -1 | 3 | 30*30x2 | 50*50x2 | M*M | Sp Su/TC | Only 1st hit of MP can special/super cancel, but both hits can continue TC |
| + TC4 (full) |
> |
- | - | - | 1 | 4 | *80 | *60 | M | Sp Su | Damage/Stun does not factor in scaling |
| Target Combo 5 (starter) |
far |
- | - | - | 1 | 4 | 25*40 | 50*50 | M*M | TC | On some wide characters, this can loop into itself a couple times |
| + TC5 (full) |
> |
- | - | - | -1 | 3 | *50 | *50 | M | - | - |
| Target Combo 6 (starter) |
cl. |
- | - | - | -1 | 3 | 30*30x2 | 50*50x2 | M*M | Sp Su/TC | Same starter as TC4 |
| + TC6 (partial) | > |
- | - | - | -9 | KD | *60 | *60 | L | TC | KD Adv: +21 |
| + TC6 (full) | > |
- | - | - | -3 | Reset | *60 | *60 | M | J SJ | Reset Adv: +12 if no JC/SJC +32 from moment of JC/SJC |
| Target Combo 7 | - | - | - | 1 | 3 | [80]*65 | [150]*100 | M*H | - | Combos on counterhit only [100*65 Dmg, 188*100 stun]; good approach tool, but can be punished if used too predictably | |
| Target Combo 8 (starter) |
cl. |
- | - | - | -9 | KD | 60*70*60 | 125*75*60 | M*L | TC | KD Adv: +21 |
| + TC8 (full) | > |
- | - | - | -7 | Reset | *60 | *60 | M | J SJ | Reset Adv: +12 if no JC/SJC +32 from moment of JC/SJC |
| Target Combo 9 (starter) |
- | - | - | -4 | 1 | 20*40 | 50*50 | M*M | Sp TC | Can be used for easier SJC into U2, but otherwise is a fairly weak starter | |
| + TC9 (full) | > |
- | - | - | -3 | 1 | *60 | *60 | M | - | Mostly useless ender, special cancels from MK are stronger |
| Target Combo 10 | - | - | - | -8 | Reset | 90*60 | 100*60 | L*M | J SJ | Reset Adv: +11 if no JC/SJC +31 from moment of JC/SJC | |
| Target Combo 11 | - | - | - | -1 | 3 | 70*50 | 100*50 | M*M | - | - | |
| Target Combo 12 | - | - | - | 1 | 4 | 30*50*60 | 50x2*60 | M*M | Sp Su | - | |
| Move Name | Input | Startup | Active | Recovery | On Block | On Hit | Damage | Stun | Hit Lv | Cancel | Notes |
| j.LP (angled) | 6 | 6 | - | - | - | 40 | 50 | H | TC | - | |
| j.MP (angled) | 7 | 8 | - | - | - | 70 | 50 | H | - | - | |
| j.HP (angled) | 11 | 5 | - | - | - | 100 | 200 | H | TC | - | |
| j.LK (angled) | 4 | 8 | - | - | - | 40 | 50 | H | TC | Weak crossup | |
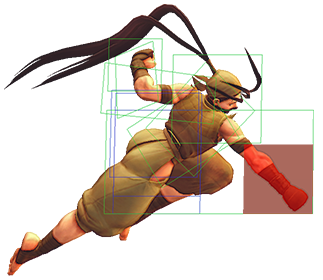
| j.MK (angled) | 8 | 5 [7] | - | - | - | 70 | 100 | H | - | Crossup hitbox [5 active], forward hitbox 7 active | |
| j.HK (angled) | 8 | 5 | - | - | - | 100 | 200 | H | - | KD vs. airborne opponents; has juggle potential | |
| j.LP (neutral) | 6 | 7 | - | - | - | 50 | 50 | H | - | - | |
| j.MP (neutral) | 6 | 7 | - | - | - | 80 | 100 | H | - | - | |
| j.HP (neutral) | 9 | 5 | - | - | - | 100 | 200 | H | TC | Hits on both sides, can crossup after Tsujigoe flip | |
| j.LK (neutral) | 6 | 12 | - | - | - | 50 | 50 | H | - | - | |
| j.MK (neutral) | 6 | 7 | - | - | - | 80 | 100 | H | - | - | |
| j.HK (neutral) | 7 | 3 | - | - | - | 110 | 200 | H | - | - | |
| Target Combo 1 | - | - | - | - | - | 100*40 | 200*50 | H*H | - | Works from angled/neutral jumps | |
| Target Combo 2 | - | - | - | - | - | 40*70 | 50*150 | H*H | - | Works from angled jumps only | |
| Target Combo 3 | - | - | - | - | - | 40*40 | 50*50 | H*M | - | Works from angled jumps only | |
| Move Name | Input | Startup | Active | Recovery | On Block | On Hit | Damage | Stun | Hit Lv | Cancel | Notes |
| Focus Attack Lv. 1 | 10+11 | 2 | 34 | -21 | KD | 85 | 150 | M | Dash | KD Adv: +12; +30 after Forward Dash, +25 after Back Dash | |
| Focus Attack Lv. 2 | 18+11 | 2 | 34 | -15 | crumple | 80 | 150 | M | Dash | - | |
| Focus Attack Lv. 3 | 65 | 2 | 34 | - | crumple | 140 | 200 | - | Dash | Unblockable | |
| Move Name | Input | Startup | Active | Recovery | On Block | On Hit | Damage | Stun | Hit Lv | Cancel | Notes |
| Yami Kazura (Forward Throw) |
3 | 2 | 24 | - | KD | 170 | 200 | T | - | KD Adv: +6 | |
| Uki Yami (Back Throw) |
3 | 2 | 24 | - | KD | 170 | 200 | T | - | KD Adv: +2 | |
| Tobizaru (Air Throw) |
3 | 2 | 4 land | - | KD | 180 | 200 | T | - | KD Adv: +7 (Min height) to +13 (Max height); No height restriction | |
| Move Name | Input | Startup | Active | Recovery | On Block | On Hit | Damage | Stun | Hit Lv | Cancel | Notes |
| Kagenui (Kunai) |
421+P |
11 | 6 | 22 | 0 | 3 | 60 | 50 | M | - | Strength determines distance; can lead to combo loops |
| Yami Shigure ( |
421+PP |
11 | 10 | 24 | -6(-7) | KD | 20x3*250 | 250 | M | - | Uses 2 bars; KD Adv: +43; Initial hit throws 3 kunai, only one must connect for full animation |
| Air Kunai | Air Air 236+P |
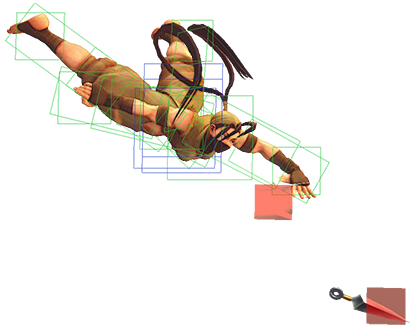
7 | - | 12 land | -12(8) | -8(12) | 30 | 60 | M | Su | Forward/Neutral jump only; Frame Adv depends on angle |
| Air Air 236+PP |
8 | - | 7 land | -3(13) | 6(22) | 40*40 | 50*50 | M | - | Works from any jump | |
| LK Tsumuji (Spin Kicks) |
214+LK |
11 | 2 | 15 | -3 | KD | 100 | 100 | M | Su | Great neutral tool, can safely fish for Super confirms |
| MK Tsumuji (Spin Kicks) |
214+MK |
15 | 2 | 15 | -1 | 3 | 60 | 50 | M | Su | Can link afterward like Ground Kunai, or confirm into followup |
| + High followup | + |
6 | 2 | 16 | -4 | 3 | 60 | 80 | M | Su | - |
| + Low followup | + |
8 | 2 | 20 | -8 | KD | 50 | 60 | L | - | KD Adv: +20 |
| HK Tsumuji (Spin Kicks) |
214+HK |
15 | 2(13)2 | 20 | -4 | 0 | 50*30 | 70*60 | M | Su | Can FADC the first hit for extension, +3 on hit |
| + High followup | + |
6 | 2 | 18 | -6 | 1 | 60 | 80 | M | Su | - |
| + High followup | + |
7 | 2 | 24 | -12 | KD | 50 | 60 | L | - | - |
(Spin Kicks) |
214+KK |
12 | 2(10)2(10) 2(10)2 |
9 | -2 | KD | 40*30x3 | 60x3*70 | M | - | KD Adv: +47; Allows corner juggles; If first hit connects vs. airborne, entire sequence juggles; On hit/block, hold down to switch to low kicks |
| + Low 2nd/3rd | Hold |
- | - | - | - | - | 45 | 50 | L | - | Can switch back to mid kicks by letting go of down; each low kick adds a hit of damage scaling |
| + Low ender | Hold |
7 | 2 | 11 | -2 | KD | 70 | 70 | L | - | KD Adv: +29 |
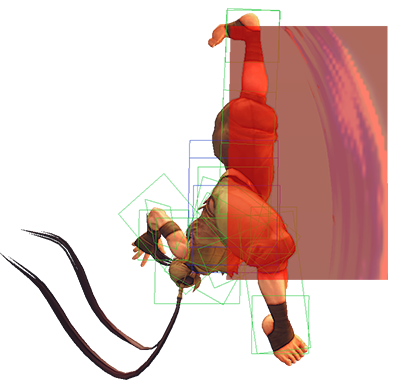
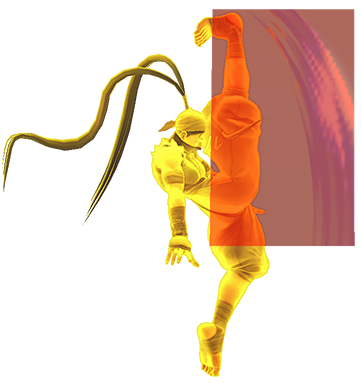
| LK Kazekiri (Upkicks) |
623+LK |
5 | 2*1*6 | 16+9 land | -23 | KD | 50*20*65 | 40x3 | M | Su FA* | 1-6f throw invuln; On block, can only late Super cancel; KD Adv: +35 |
| MK Kazekiri (Upkicks) |
623+MK |
5 | 2*1*10 | 18+17 land | -37 | KD | 50*20*75 | 40x3 | M | Su FA* | 1-6f full invuln; On block, can only late Super cancel; KD Adv: +21 |
| HK Kazekiri (Upkicks) |
623+HK |
9 | 2*1*16 | 21+10 land | -39 | KD | 50*20*90 | 40x3 | M | Su FA* | 1-10f throw invuln; On block, can only late Super cancel; KD Adv: +19 |
(Upkicks) |
623+KK |
4 | 4(5)1 | 19+12 land | -31 | KD | 60x2*20*50 | 50x2*0*100 | M | FA | 1-13f full invuln; KD Adv: +27; No more kunai followup |
| Move Name | Input | Startup | Active | Recovery | On Block | On Hit | Damage | Stun | Hit Lv | Cancel | Notes |
| LP Raida (Energy Grab) |
63214+LP |
6 | 5 | 25 | -14 | KD | 180 | 200 | M | - | 1-10f throw invuln |
| MP Raida (Energy Grab) |
63214+MP |
6 | 5 | 27 | -16 | KD | 180 | 200 | M | - | 1-10f throw invuln |
| HP Raida (Energy Grab) |
63214+HP |
7 | 5 | 29 | -18 | KD | 180 | 200 | M | - | 1-11f throw invuln |
(Energy Grab) |
63214+PP |
10 | 4(5)1 | 25 | -10 | KD | 60*140 | 0*250 | M | FA/- | 1st hit is FA cancellable; Hard KD if only 1st hit connects vs. airborne (but not worth the lost damage/stun) |
| LP Neckbreaker | 41236+LP |
15 | 10 | 16 | -13 | KD | 150 | 300 | L | - | - |
| MP Neckbreaker | 41236+MP |
15 | 12 | 17 | -13 | KD | 150 | 300 | L | - | - |
| HP Neckbreaker | 41236+HP |
15 | 21 | 19 | -13 | KD | 150 | 300 | L | - | - |
41236+PP |
15 | 14 | 19 | -13 | KD | 160 | 350 | L | - | 1-28f projectile invuln; On hit, Ibuki recoils backward and the final recovery frame is vulnerable (careful vs. Dhalsim/Decapre U1) | |
| LK Hien | 421+LK |
25 | 5 | 18 land [8/2 land] |
-26 | KD | 100 | 200 | H | *Sp Su | 2 hits, [refers to recoil after block/hit]; *Air Kunai only, hits meaty after KD; KD Adv: +6 |
| MK Hien | 421+MK |
26 | 5 | 18 land [8/2 land] |
-28 | KD | 100 | 200 | H | *Sp Su | 2 hits, [refers to recoil after block/hit]; *Air Kunai only, hits meaty after KD; KD Adv: +5 |
| HK Hien | 421+HK |
27 | 5 | 19 land [8/2 land] |
-28 | KD | 100 | 200 | H | *Sp Su | 2 hits, [refers to recoil after block/hit]; *Air Kunai only, hits meaty after KD; KD Adv: +5 |
421+KK |
39 | 8 | 30 land [8/8 land] |
-9 | KD | 170 | 270 | H | *Sp | Side switches; [refers to recoil after block/hit]; *Air Kunai only; KD Adv: +3 | |
| LK Kasumi Gake (Command Dash) |
236+LK |
- | - | 20 | - | - | - | - | - | Su | 1-11f low profile (goes under most projectiles) |
| MK Kasumi Gake (Command Dash) |
236+MK |
- | - | 22 | - | - | - | - | - | Su | 1-12f low profile (goes under most projectiles) |
| HK Kasumi Gake (Command Dash) |
236+HK |
- | - | 24 | - | - | - | - | - | Su | Can pass through opponent |
| Tsujigoe (Flip) |
623+P |
45/47/46 (L/M/H) |
- | 7 land | - | - | - | - | - | Sp Su | 8f airborne; strength determines distance; can use neutral jump normals during descent; kunai or super will face opposite of original direction |
| Move Name | Input | Startup | Active | Recovery | On Block | On Hit | Damage | Stun | Hit Lv | Cancel | Notes |
| Kasumi Suzaku (Ground Super) |
236236+K |
1+6 | 96 total | 8 land | -3 | -3(0) | 65x6 | - | M | - | 1-6f full invuln |
| Kasumi Suzaku (Air Super) |
Air Air 236236+K |
1+7 | varies | 5 land | -3(3) | -3(0) | 65x6 | - | M | - | 1-7f full invuln; each pair of kunai is active until it reaches the ground |
| Yoroitoshi (Ultra 1 Throw) |
6321463214+PPP |
0+1 | 2 | - | - | KD | 501 | - | T | - | 1-2f full invuln; becomes fireball if throw whiffs |
| Yoroitoshi (Ultra 1 Fireball) |
6321463214+PPP |
0+13 | 59 | 31 | -5 | -1 | 240 | - | M | - | Knocks down airborne opponents; Damage distribution: 38*11*38x4*39 |
| Hashinsho (Ultra 2) |
236236+KKK |
0+9 | 2(2)2(15) 2(26)3(8)2 |
81 | -63 | KD | 30x6*[289] | - | M | - | 1-7f full invuln, 8f strike invuln, 8-71f projectile invuln; [cinematic damage vs. grounded opponents only] |
| Move Name | Input | Startup | Active | Recovery | On Block | On Hit | Damage | Stun | Hit Lv | Cancel | Notes |
Combos
Confirms:
Punishes:
Ultra Setups:
Useful Info
Reversals:
- MK Kazekiri (

 / 623+MK) - Meterless invincible DP, can late cancel into Super on block for safety but no FADC
 - EX Kazekiri (

 / 623+KK) - Faster and more invincible than MK version, and can FADC on block
 - Super (


 / 236236+K) - Fast, fully invincible startup, safe on block
 - Ultra 1 (


 / 63214,63214+PPP) - Invincible command throw, opponent can jump post-flash if they didn't commit to an attack
- If it whiffs, fireball comes out making it harder to punish; hitbox can even hit some jumps or backdashes
- Ultra 2 (


 / 236236+KKK) - A little slow and the invincibility runs out before it hits, but still a viable option
Anti-Airs:
- Agemen (

 / 4MP) - All-around reliable AA, can cancel the first hit into command dash then juggle cl.5HK
 - 2HP - A little slower and less rewarding, but fairly consistent
- cl.5HK - Great vertical hitbox for close range jumps, leads to strong juggles like Air Throw or 6HK
- MK/EX Kazekiri (

 /
/ / 623MK/KK) - Invincible uppercuts, but can whiff at close range due to the forward movement
 - Air Throw - strong option against close range jumps, can be done very low to the ground
Anti-Focus:
- Raida (

 / 63214+P) - Armor breaker, EX version has great horizontal range
 - Neckbreaker (

 / 41236+P) - Armor breaker with more range than Raida; slow enough that it may get counterhit, but can also catch backdash attempts
 - Kazekiri (

 / 623+K) - MK and EX versions are fast and invincible multi-hit attacks, especially useful as a cancel when your poke is absorbed
 - Super, U1, U2 - All have invincibility and beat armor
- Yami Shigure (

 / 421+PP) - The initial kunai throw is multi-hit, will break armor unless it was too far for multiple kunai to connect
 - Various Target Combos can hit quickly enough to break armor
Anti-Projectile:
- EX Neckbreaker (

 / 41236+PP) - 1f projectile invuln and great range
 - Ultra 2 (


 / 236236+KKK) - Another powerful option from within ~half screen, drops if done from too far away
 - HK Super (


 / 236236+HK) - Works from around 1/3 screen but doesn't go over all fireballs; safe as long as it doesn't whiff
 - Slide (

 / 3LK) - Low profiles under most projectiles, but can be punished if used at close range
 - Overhead (

 / 3MK) - As a prediction, can hop over some projectiles
 - Super Jump + Kunai - Not a punish, but helps to safely navigate around projectiles while locking down the opponent
- * LK/MK Command Dash (

 / 236+K) - Low profile early in the dash, which can avoid many fireballs if well-timed
Juggles:
- EX Tsumuji juggles into Raida, Kazekiri, 2HP in the corner
- Other juggles are possible but generally not worth it (U1 fireball, U2 non-cinematic
- 4MP (1st hit) xx Command Dash puts opponent in juggle state
- End with cl.5HK into Air Throw, 6HK, 2HP, or EX Raida
- HK Kazekiri can do a very late cancel into Super for a powerful juggle ender
- EX Kazekiri xx FADC most consistent followup is cl.5HK, jump Air Throw
- Delay the cl.5HK as late as possible to avoid facing the wrong direction as the opponent crosses over Ibuki
Miscellaneous:
- Ibuki's corner throw keeps her in range for throw loops
- EX Raida xx FADC goes through crouching Balrog on hit (not worth the meter)
- Must delay followup button or else it will combo instead of resetting the damage
- For kunai loops, 5LP or 2LP can whiff on some characters (same with 2MP vs. 5MK at the end) - practice routes on each character standing and crouching


