No edit summary |
Ghostpilot (talk | contribs) |
||
| Line 31: | Line 31: | ||
==Gameplay Overview== | ==Gameplay Overview== | ||
Lucky is the | Though he has a vastly different playstyle from much of the cast, Lucky is arguably the strongest member of the US Sports Team and an incredible battery - it's not at all unusual to gain upwards of 4 meters in a round with Lucky. What he lacks in combos, he makes up with an excellent poke and zoning game. Most of your damage is going to come from pokes, counter hits and forcing mistakes with his basketballs. Furthermore, Lucky has the best sweep and teleport in the game. | ||
==In-depth Analysis== | ==In-depth Analysis== | ||
Revision as of 10:05, 11 July 2014
Introduction
This is three on three street basketball
If you wanna join in you gotta answer the call.
Call, short, pass, it don't make no difference it all
'Cause when the whistle blows it's a free-for-all.
Baby better slam it gettin' ready to burn
Take a three point shot make everybody's head turn.
That's just the way it goes
Yeah I'm the finest on the court and everybody knows.
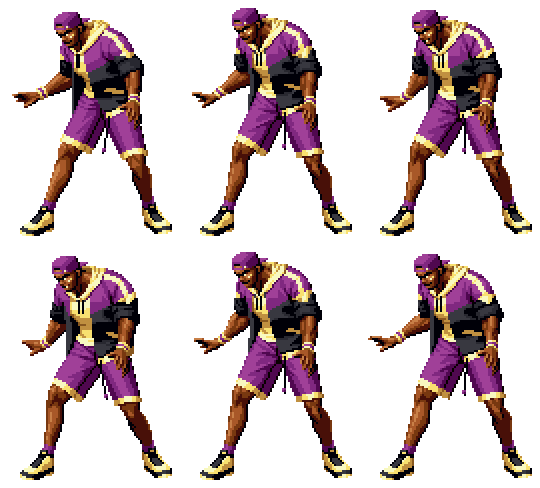
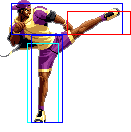
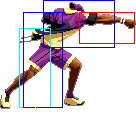
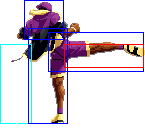
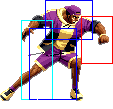
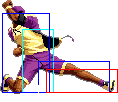
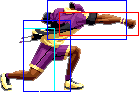
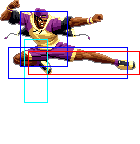
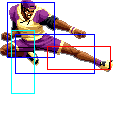
Colors

|

|

|

|
Gameplay Overview
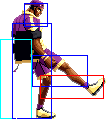
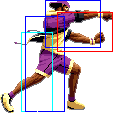
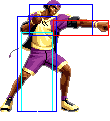
Though he has a vastly different playstyle from much of the cast, Lucky is arguably the strongest member of the US Sports Team and an incredible battery - it's not at all unusual to gain upwards of 4 meters in a round with Lucky. What he lacks in combos, he makes up with an excellent poke and zoning game. Most of your damage is going to come from pokes, counter hits and forcing mistakes with his basketballs. Furthermore, Lucky has the best sweep and teleport in the game.
In-depth Analysis
Movelist
Normal Throws
b or f + C - SLAM DUNK! Breakable, face forward.
b or f + D - Lucky knees into the opponent in an overly fluid manner. Mashable, unbreakable, face forward.
D version preferred as it's unbreakable.
Special Moves
Death Bound (qcf + P) - aka DIS BALL - Lucky bounces a ball in front of him that rebounds at a different angle depending on the version used. A version travels a higher height, and the C version stays lower. Can be used as a risky form on zoning, but do not overuse. Slow startup. Note: If a normal is canceled into Death Bound, Lucky drops the ball as it comes in and then launches a punch. This punch will NOT combo off of any move.
Death Dunk (qcb + P) - aka DIS DUNK -Lucky jumps to intercept an incoming ball and bounces it downward off the ground and into the sky. Both versions create a "V"-shaped trajectory, only the D version covers a wider distance. The startup is very slow and the opponent can jump over the ball as it goes downward. If you cancel into this move, Luck carries it out as usual.
Cyclone Break (qcb + K) - Lucky spins through the air, hitting up to four times. Works as a preemptive anti-air due to the enormous size, but can be beat out by big air-to-air hitboxes. Fairly safe on block, but slightly negative. Combos from cl.C, but not on crouchers.
Lucky Vision (qcf + K) - Lucky slides down the blacktop which can cross up opponents that are not in the corner. However, he can very easily be hit out of the animation at any part. The B version travels halfscreen, or twice the length of a roll, where the D version goes fullscreen.
Death Shoot (d, d + P / K) - SET - Lucky sets a layup. The distance the ball falls down from depends on the version used, ranging shortest to longest from A to B to C to D. The closer versions, namely A and B, are the safer ones to use as if thrown too far out the opponent can walk forward and make the ball completely whiff leaving you absolutely free to retaliation. The A and B versions can stop forward progression, although the move's startup is slow. Of all Lucky's B-ball shots, this is the safest if used wisely. Note: If canceled into, Lucky will not set up a ball, but rather use his nj.B as he's at the peak of his jump. This kick will whiff crouching opponents, so it is a terrible idea to cancel into this move :(
Death Heel (dp + K) - This move hits twice; once on the way up, and then again as he does his downward kick. It is not a reversal, and is only good inside of combos (and even rarely at that). The downward kick whiffs standing opponents, so even gimmicks with the move are bad.
Desperation Moves
Hell Bound (qcf x 2 + P) - After pointing to the sky, Lucky points to the ground with a shout of "PLAY BALL" and the gods release dunk so mighty it creates a pillar resembling a chaos dunk. The C version is slower as Lucky moves forward before dunking and is only useful off of f.B. The A version will only combo off cr.B, or cr.A. Deals moderate damage, and can be used to anti-air jumps as the pillar has infinite vertical length.
SDM version is SLOWER and will not combo from anything. Don't use it.
Lucky Driver (qcf x 2 + K) - Lucky breakdances all over the opponent. It does not have any startup invuln, so keep it for the combo (Yes, one combo).
SDM version deals more damage and has a ballin' finisher.
Combos
- cr.B, cr.B, cr.B xx Hell Bound (A version). Can be done off two cr.Bs for safety, or you can do two cr.Bs after a jump-in.
- cl.C xx f.A xx Lucky Driver (B version). C version of Hell Bound will combo here as well, but for less damage. Note it's possible for the f.A to whiff if not in close enough at the beginning.
- Corner: cr.B, cr.B xx Death Heel (D). Outside the corner you can only combo into Death Heel off of one cr.B or cl.C.
- cl.C xx Death Heel (D). Meterless punisher.
- MAX: cl.C xx f.B xx SDM Lucky Driver (B version). Lucky's most damaging combo that deals about 70%, and is only practical off a stun.
