Introduction
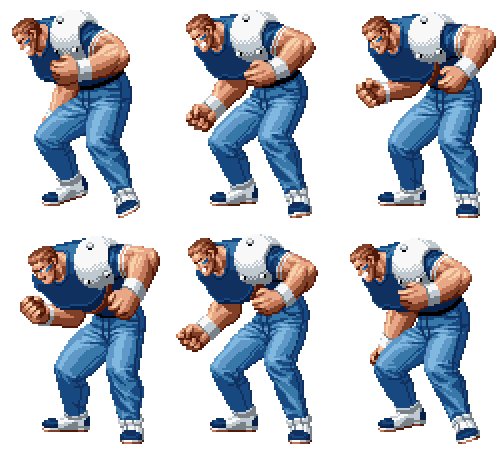
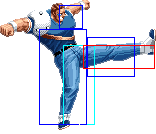
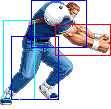
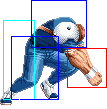
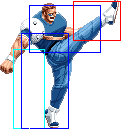
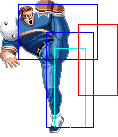
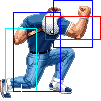
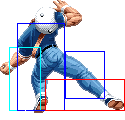
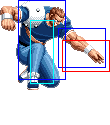
He's a super star. May be Al Bundy in disguise.
Colors

|

|

|

|
Gameplay Overview
Brian is a low tier character. His main strength is that he can deal up to 60% of damage in a combo without meter, but he has several downsides like a slow and very short jump, and mostly crap normals and specials. His main game plan revolves around trying to land a crossup (Screw Body Press mainly, also j. C) and then following up with a devastating Brian Hammer string.
He can win, but it'll be an uphill battle against a good player that's aware of Brian's gimmicks.
In EXTRA mode he becomes a bit more versatile and scary: he gains the dash infinite ([d + C] x n during a dash) and his Screw Body Press while dashing forward. He can be a good pick in an EXTRA Kyo team.
Definitely not a character for beginners.
In-depth Analysis
Movelist
Normal Throws
- b or f + C - Breakable, forward knockdown, back turned, rollable
- b or f + D - Breakable, forward knockdown, back turned, rollable
C throw preferred since you recover from it faster, I guess. Neither is very good though.
Special Moves
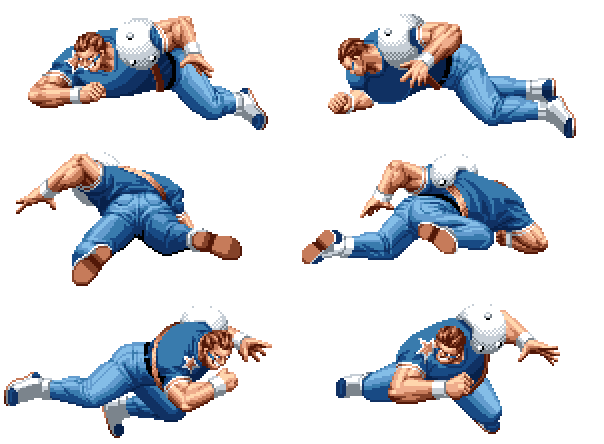
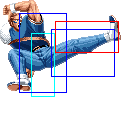
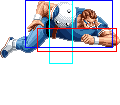
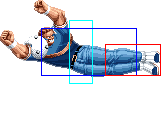
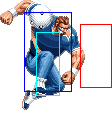
- Screw Body Press (qcf + P in air) - One of the biggest bullshit moves in 98, this is Brian's bread and butter. Trades with or snuffs damn near everything, is quite safe, and flies in different ways depending on how you're jumping. Running and short jumping sends him shooting forward with little vertical range, while tigerkneeing it sends him flying clear off the screen and covering ridiculous distance. Once you've learned how it works, you can fly in pretty much any way you please.
To use it as a crossup, do it just as you start to descend in your jump. If you successfully pull a crossup, follow up with the Brian Hammer string of your choice.
In EXTRA mode, if you do it during the starting frames (when he's going up, before he reaches maximum height) of a dash, Brian will do a very safe and useful arc that will hit your opponent in the head area and go to the other side of the screen; it can even crossup. An easy way to do this is to do f, dp + C.
- Brian Tornado (hcf + P) - Brian's Psycho Crusher. Don't bother. It doesn't do very good damage and it's ridiculously unsafe.
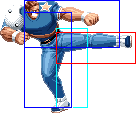
- Hyper Tackle (hcf + K) - Not terrible, but only if used sparingly. B version is faster and goes a shorter distance, D version has a long startup and travels a longer way. Does okay damage and has okay priority. Has autoguard frames while he leans back (after the first 5 startup frames, before he tackles).
- Rocket Tackle (dp + K) - B version is pretty useless as an anti-air (and overall), and has only a couple of invincibility frames at startup. Knocks grounded opponents down. You'll be better off avoiding using it.
D version also has only a few invincibility frames at startup, but after those it has several autoguard frames and its hitbox makes it a decent antiair. It doesn't knock down grounded opponents, though, so don't use it as a reversal against them.
- Brian Hammer (qcb + P) - Overhead. After the initial qcb + P, you can do the following strings (only after the first hit):
- qcb + P > qcb + P (reverse knockdown, face turned)
- hcf + P > d d + P (forward knockdown, face forward)
- hcf + P > d d d + K > d u + P (forward knockdown, face forward)
The first two versions do around 25% damage, and you recover quickly enough to go for a crossup Screw Body Press on wakeup.
The third version does around 40%, but the recovery is longer so it's harder to pull SBP shenanigans. The damage is beastly enough, though.
Desperation Moves
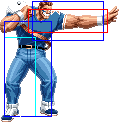
- American Supernova (qcf qcf + P) - Jumping anti-air grab. Nearly useless (the area in which it hits is completely bizarre), but goddamned hilarious if it succeeds.
- Big Bang Tackle (qcf qcf + K) - Great priority, decent damage, ridiculously unsafe. First charge is the only one that really hurts. Useful mainly as an anti-air (nice hitbox for that task - don't use it as a reversal though) or in combos (very damaging; SDM version can do around 80% in a combo), avoid using it in any other situations. Zero invincibility / autoguard frames, but DM version can go through normal (not DM/SDM) projectiles and the SDM version gets hyper armor instead.
Fastest Attacks
- 0F: C throw; D throw
- 1F: -
- 2F: -
- 3F: cl.B
- 4F: clA; cl.C
- 5F: cl.D; st.A; cr.A; cr.B; cr.C; cr.D
- 6F: st.B
- 7F: st.D
- 8F: -
- 9F: -
- 10F: -
Combos
- Best jump-ins:
- air qcf + P (As a crossup.)
- j.C (Can crossup.)
- Tall character && corner: vertical jump qcf + P, any combo
The air qcf + P may do 7+ hits!!!
- cr.B x 1-3, cr.A
Looks too simple though it's most reliable combo in most of situation. But Brian's light attacks do somewhat big enough damage. So go for it if you were able to get cr.B by any chance.
- cr.B, cr.A / cl.B >
- DM qcf qcf + B
- dp + B
- cr.A / cl.B >
- SDM qcf qcf + K (Point blank.)
- DM qcf qcf + B
- dp + B
- cl.C (2 hits) >
- (S)DM qcf qcf + K
- qcb + P (1 hit) > qcb + P x 2 (Point blank & out of MAX.)
- hcf + C
- qcb + P (2 hits)
- Close: cl.C (1 hit)
- (S)DM qcf qcf + K
- qcb + P (1 hit)
- hcf + P >
- d d d + K > d u + P
- d d + P
- qcb + P x 2
- hcf + P >
- hcf + C
- qcb + P (2 hits)
- st.C >
- (S)DM qcf qcf + K
- hcf + C
- air qcf + P, cr.D
- EXTRA mode: (dash, d + C) x N (infinite)
- Simple buffers:
- cl.B / cl.A > (S)DM qcf qcf + K
- qcf + A/B > qcf + K (It's possible to do this buffer with cl.C (1 hit), but it is not recommend as cl.C is cancellable on the second hit too ;))
- cl.B / cl.A > (S)DM qcf qcf + K
Don't do the (S)DM qcf qcf + K in a corner (unless the first run will kill the opponent :p), the final run (and sometimes even the second) of the move won't connect and you'll be open for punishment.
About Brian Hammer chains:
- Considering:
- Chain 1: qcb + P > hcf + P > d d d + K > d u + P
- Chain 2: qcb + P > hcf + P > d d + P
- Chain 3: qcb + P x 3
- The "Chain 1" does considerable more damage than the other chains (it is the most damaging non-super move of the game and does more damage than his DM), but without the last part it deals less damage than the others chains, so if you can't do the full "Chain 1" consistently, use the other two instead.
- The "Chain 2" does a tiny more damage than "Chain 3".
- The "Chain 3" is the only that works after cl.C (2 hits), but only on point blank and out of MAX. But cl.C (1 hit) > "Chain 2" does almost the same damage as cl.C (2 hits) > "Chain 3", so, there is no much reason to use "Chain 3" if you can do "Chain 2" consistently.
Strategy Corner
Compared to:
cl.C (2 hits) > DM ![]()
![]() + K
+ K
- out of MAX: cl.C (1 hit) >
 + P >
+ P >  + P >
+ P > 

 + K >
+ K > 
 + P
+ P
Deals a tiny more damage (~ 1/2 cl.A)
- MAX: cl.C (1 hit) >
 + P x 3
Deals the same damage
- MAX: cl.C (1 hit) >
 + P >
+ P >  + P >
+ P > 
 + P
+ P
Deals a tiny more damage (~ 1/2 cl.A)
- MAX: cl.C (1 hit) >
 + P >
+ P >  + P >
+ P > 

 + K >
+ K > 
 + P
+ P
Deals considerable more damage (~ cl.C)
Keep this in mind, when you need to decide whether to trigger MAX or keep meter for a DM.
