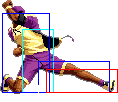
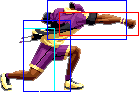
Introduction
This is three on three street basketball
If you wanna join in you gotta answer the call.
Call, short, pass, it don't make no difference it all
'Cause when the whistle blows it's a free-for-all.
Baby better slam it gettin' ready to burn
Take a three point shot make everybody's head turn.
That's just the way it goes
Yeah I'm the finest on the court and everybody knows.
Colors

|

|

|

|
Gameplay Overview
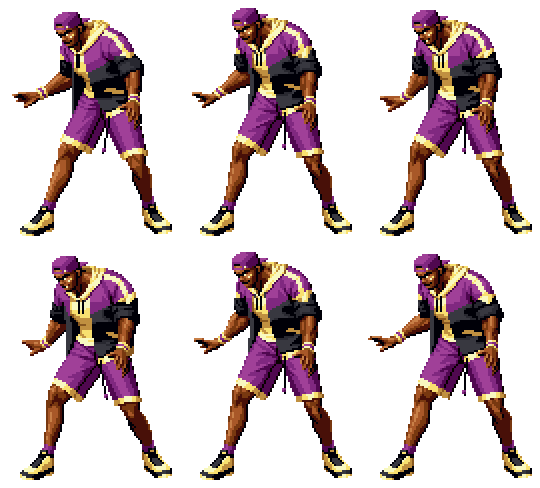
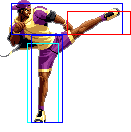
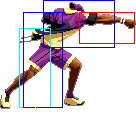
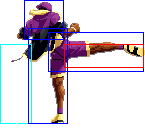
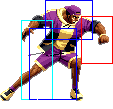
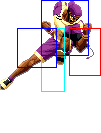
Though he has an unconventional playstyle and is most definitely not a beginner character, Lucky is a solid character once you understand the nuances of his moveset. An incredible battery, it's not at all unusual to gain upwards of 4 meters in a round with Lucky. What he lacks in combos, he makes up with an excellent poke and zoning game. Most of your damage is going to come from pokes, counter hits and forcing mistakes with his basketballs. Furthermore, Lucky enjoys the best sweep and teleport in the game.
In-depth Analysis
Movelist
Normal Throws
- b or f + C - SLAM DUNK! Breakable, hard knockdown.
- b or f + D - Lucky knees into the opponent in an overly fluid manner. Mashable, unbreakable; hard knockdown, opponent is thrown behind Lucky.
Lucky's throws are very important as both lead to untechable knockdowns and leave him in ideal positions for Death Dunks and Death Shoots.
Special Moves
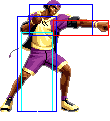
- Death Bound (qcf + P): Lucky summons a basketball from the sky that he bounces towards the opponent. The angle differs on the button version used (A-version slower and higher, C is faster and lower). While this has lengthy startup, the recovery is short enough that it is not only safe on block but Lucky can combo after. This won't win any projectile wars, but this shuts most hops down. If pushback would cause Lucky to miss the dropping ball, he'll instead throw a standing C instead that knocks down. In point blank range, this must be blocked low. In addition, here's a detail that is true for virtually every angled projectile in an SNK fighter: if it hits below the character's knee, it must be blocked low.
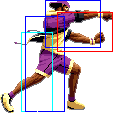
- Death Dunk (qcb + P): Lucky jumps to intercept an incoming ball and bounces it downward off the ground and into the sky. Both versions create a "V"-shaped trajectory, only the D version covers a wider distance. It has slightly less startup than a Death Bound but more recovery. Lucky jumps high enough to evade most projectiles and being an angled projectile, the basketball is considered a low attack just before and just after it bounces. One of Lucky's main tools, the A version is the preferred version of this move due to it's trajectory. Great to use as a followup to a throw, as it'll be in perfect range for the basketball to hit low.
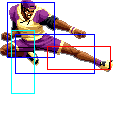
- Cyclone Break (qcb + K): - Lucky swings his legs through the air, hitting up to four times (five in the air). A very difficult move to land correctly. Works as a preemptive anti-air due to the enormous size, but the damage makes it not worth it. Slight disadvantage, but fairly safe on block. Combos from close C, but loses damage in the process. In the rare situations where you can catch someone in the back (e.g. if they attempted to roll past you) it'll chew them up.
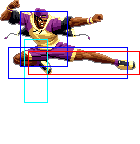
- Lucky Vision (qcf + K): - Lucky slides across the screen with afterimages trailing behind him. B-version has short startup and recovery, travels three-quarters of the screen and has upperbody invincibility while the D travels full screen, slightly more startup and recovery, and lower body invincibility. Either can cross up opponents that are not in the corner. Excellent for escapes, mixups and setting up rudimentary dash throws. Often used in conjunction with the crouch D. The B version is fast enough to enable combos following fullscreen Death Bounds and Death Dunks. It is also Lucky's best response against jump-ins and rushdown, as the upper body invincibility on the B-version negates most jump attempts.
- Death Shoot (d, d + P / K): - Lucky sets a layup. The distance the ball falls down from depends on the version used, ranging shortest to longest from A to D. As with his other projectiles, this has lengthy startup but zero recovery. Unless you have extreme frame advantage, you'll want to lead your target (e.g. if they are position for the D, use the C or B-version). Opponents will run and roll into this move often. Note: If canceled into, Lucky will not set up a ball, but instead do a kick that uses a neutral jump B animation (that knocks down). This kick will whiff crouching opponents and won't combo into anything, so don't cancel into this under any circumstance.
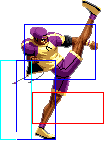
- Death Heel (dp + K): - Lucky's anti-air. Not a move that you'll be using often, especially since it often won't be hit properly on airborne opponents. This move hits twice; once on the way up, and then again with an axe kick that leads to a hard knockdown. It is not a reversal, and is only good inside of combos (and even rarely at that). The axe kick whiffs on some shorter opponents.
Desperation Moves
- Hell Bound (qcf qcf + P) - After pointing to the sky, Lucky slams his hand to the ground to create a pillar of light that leads into a hard knockdown. The A-version can combo from lights while the C-version is slower as Lucky steps forward before dunking. Deals moderate damage (40% on counter hit), can be used as an early anti-air and destroys projectiles. However, this move will not connect if Lucky is hit (even if the opponent is inside the pillar) so it'll always lose on trades. As such, be sure to not do this too late when using defensively. Opponents will often be so preoccupied with trying to avoid his basketballs that they'll dive right into this (often with a counter hit).
SDM is slower, but deals more damage. However, it is tricky for this to hit properly.
- Lucky Driver (qcf qcf + K) - Lucky propeller spins all over the opponent before ending in a hard knockdown. Slightly more damaging than the Hellbound and does decent chip, but it is much harder to use and is dangerously unsafe. Only combos from a close C, an f +B, Death Bound or a Death Shoot. Only use for style points.
SDM version deals more damage and has a ballin' finisher.
Fastest Attacks
- 0F: C throw; D throw
- 1F: -
- 2F: cl.A; st.A; cr.A
- 3F: cl.B; cl.C
- 4F: -
- 5F: st.B; cr.B
- 6F: -
- 7F: cl.D; st.C; cr.C
- 8F: -
- 9F: st.D; cr.D
- 10F: -
Combos
- Best jump-ins:
- j.B
- cr.B / cr.A x 3 > DM A Hell Bound (qcf qcf + A)
Can be done off two cr.B / cr.A for safety, or you can do two cr.B / cr.A after a jump-in.
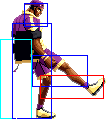
- Very close: cr.B > Death Heel (dp + D)
In corner and outside of MAX you can do a second cr.B
- cl.C >
- f + B (very close) >
- (S)DM B Lucky Driver (qcf qcf + B)
- (S)DM C Hell Bound (qcf qcf + C)
- (S)DM B Lucky Driver (qcf qcf + B)
- (S)DM C Hell Bound (qcf qcf + C)
- qcb + D (Standing. No knockdown.)
- Death Heel (dp + D) (point blank)
- f + B (very close) >
- Corner & not close & up to midscreen distance: qcf + P,
- (S)DM B Lucky Driver (qcf qcf + B)
- DM C Hell Bound (qcf qcf + C) (SDM has less range and will miss)
- qcb + D (Standing. No knockdown.)
- cr.D
- Simple buffers:
None
Strategy Corner
- MAX: cl.C >
 + D (Standing. No knockdown.)
deals ??? than
- cr.B x 2 >

 + A
+ A
Keep this in mind, when you need to decide whether to trigger MAX or keep meter for a DM.
