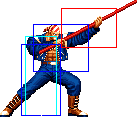
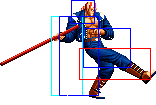
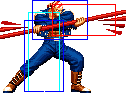
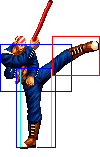
Introduction
Colors

|

|

|

|
Gameplay Overview
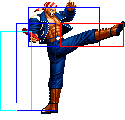
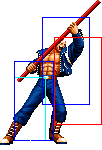
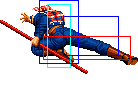
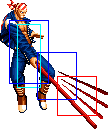
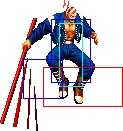
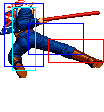
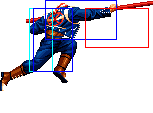
Billy Kane its a poking and rushdown character focused on low rush and high zoning tactics.
Low-tier character.
In-depth Analysis
Movelist
Special Moves
- Senpuu Kon - A rapidly - This is a classic move that is best used when you corner you foe. The blocking damage isn't something to gloat about, but if it hits, then you'll enjoy the opponent's suffering !
- Shuuten Renpa Kon - C rapidly - Sickening move to be trapped in. I piss almost everyone I play against with this move. It's cool to jump in and combo something and ending with this move, but doesn't do much damage. Try it when you can!
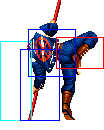
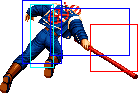
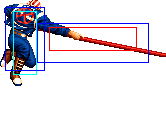
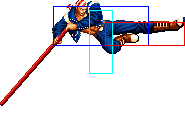
- San Setsu Kon Chu Dan Uchi - hcf + P - Billy throws his cane out and it splits into 3 segment. It's rather fast on the A version, which is good to keep people away and recover fast. The C version is quite a bane since you will not make a good recover if it does not connect. Use the A often, leave the C to really open chances.
- Kaen San Setsu Kon Chu Dan Tsuki - qcf + P from Sansetsu Kon Chu dan Uchi - Add this command to blow your opponent up for extra damage.
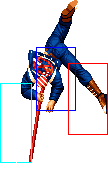
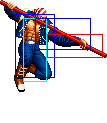
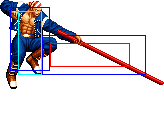
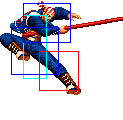
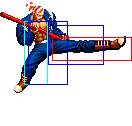
- Kyou Shuu Hishou Kon - dp + K, move b / f - You'll fly high and smash your opponent with your weight. The B version launches fast and hammers for lower damage. It's basically quite close range, the D version reaches out slightly further. Can be quite preditable so beware when using the move.
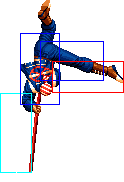
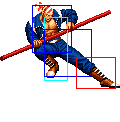
- Senen Satsu Kon - dp + P - The move used to be a super attack, but it's now just an uppercut. Billy rises to the air and spins the cane as well. You'll seldom use this move, as it very often leave you open if done at the WRONG time.
- Ka Ryuu Tsuigeki Kon - qcb + B - Reverse high moves
- Sui Ryuu Tsuigeki Kon - qcb + D - Reverse low moves
Super Moves
- Chou Kaen Senpuu Kon - qcf hcb + P
- Dai Senpuu - qcf qcf + P
Fastest Attacks
- 0F: C throw; D throw
- 1F: -
- 2F: cr.C
- 3F: cr.B
- 4F: -
- 5F: cl.B; cl.C; cl.D
- 6F: cl.A
- 7F: cr.A; f + A
- 8F: st.A; cr.D
- 9F: st.B
- 10F: -
Combos
- Best jump-ins:
- j.D (Can crossup.)
- j.B
- cr.B, cl.B / cl.A >
- DM qcf qcf + A
- C Senen Satsu Kon (dp + C)
- f + A
- Senen Satsu Kon (dp + A)
- Point blank: cl.A / cl.B >
- (S)DM qcf hcb + P
- (S)DM qcf qcf + A
- C Senen Satsu Kon (dp + C)
- f + A
- A Senen Satsu Kon (dp + A)
- st.A > f + A
- cr.B, cr.C >
- (S)DM qcf qcf + P
- San Setsu Kon Chu Dan Uchi (hcf + A > qcf + P)
- f + A
- Senen Satsu Kon (dp + A)
- cr.C / cl.C / cl.D >
- (S)DM qcf qcf + P
- dp + B, [junggler] (Out of MAX and, point blank or corner.)
- San Setsu Kon Chu Dan Uchi (hcf + A > qcf + P)
- C Senen Satsu Kon (dp + C) (Point blank.)
- f + A
- A Senen Satsu Kon (dp + A)
- Out of MAX: ... dp + B,
- DM qcf hcb + P (Corner.)
- DM qcf qcf + P (Corner. The third hit will miss.)
- j.C (Timming Required.)
- st.C (Out of the corner. Timming Required.)
- dp + A (Corner.)
- Simple buffers
- cr.B, cl.A / cl.B > DM qcf qcf + A
- cr.B, qcf + A/B > qcf + A (As cr.B is not cancelable, qcf + A/B will chain into a normal attack.)
- cl.C / cl.D > (S)DM qcf qcf + P
- qcf + C/D > qcf + P
- cr.B, cl.A / cl.B > DM qcf qcf + A
About the qcf qcf + P:
- First hit will miss if not to close. It will still combo from hard attacks, but will do less damage specially the DM version.
Strategy Corner
- MAX: cl.C >
 + A >
+ A >  + P
+ P
deals ??? than
- cl.C >

 + P
+ P
Keep this in mind, when you need to decide whether to trigger MAX or keep meter for a DM.

