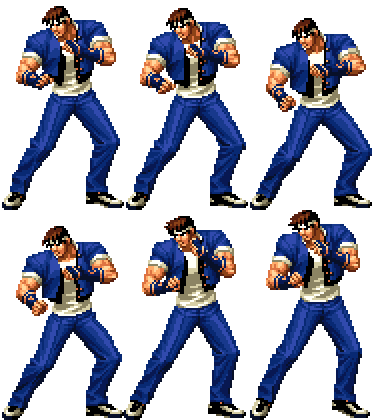
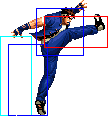
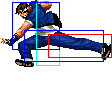
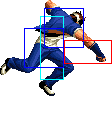
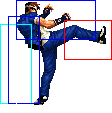
Introduction
SHINGO KIIIIIICK!!!
Colors

|

|

|

|
Gameplay Overview
Combos
Crouch B, Crouch A -> qcf+A or qcb+b or qcb+d in corner, qcb+k dosnt combo against crouchers.
Close B -> qcf+a or qcb+b or qcb+d in corner
Stand A -> qcf+a or qcb+b or qcb+d in corner
Crouch B, Close C (1f link) -> qcf+P or qcb+b, qcb+d in corner. if your hand is fast enough you can go for qcfx2+a and any follow ups.
Stand C -> Any of Shingo's special and desperation moves.
(x)Stand C -> f + B only -> QCF + A or C
                         -> QCB + B only
                         -> HCF + B only
                         -> QCB + A or C(*)
                         -> QCB, HCF + A or C
                        -> QCF, QCF + A or C(DM only)
Close, DP + B or D -> QCB + B only
                  -> QCB + D only (corner only)
                  -> DP + A or C
                  -> QCF + A or C(*)
QCF, QCF + A or C(DM only) -> Standing/Crouching A or C or D
                          -> Jumping A or B or C or D
                          -> QCB + B only
                          -> QCB + D only(corner only)
                          -> DP + A or C
                          -> HCF + B or D(*)
QCF, QCF + A or C(SDM only) -> Close/Crouching A or C or D or CD
                           -> Jumping A or B or C or D or CD
                           -> DP + A or C
In-depth Analysis
Movelist
Throws
Special Moves
Aragami (qcf + A) - THE Shingo move! Gives you critical hits, has great priority, the hit frames 'stay' on the move forever, can be comboed from a light attack! A great poke at maximum distance, although if you do it too close you could be hit by a fast retaliation such as Benimaru's sweep.
If you get a critical hit against a grounded opponent with it when the Aragami is not part of a combo, the opponent will be stunned and you can quickly follow up with more attacks.
Great against hops, try it and see. Not so good against jump attacks. The priority on this thing is insane. It stuffs almost everything - will usually cleanly hit an Athena Shining Crystal Bit DM, Kyo's qcf, qcf + P DM, Terry's Burn Knuckle, etc. Just be careful of things like Athena's sweep which will crouch under the hit frames.
Dokugami (qcf + C) -
A longer ranged punched, but can be retaliated against if blocked. At
times, if you are close, it will do two hits, the first one being
unblockable. However, this occurs too rarely to be useful, and you'll
want to use this in combos only. It doesn't have great priority.
Okonomiyaki (dp + P) - A very high priority anti-air move. Use the C version most of the time, because it gives you two hits on a 'counter'. You'd use the A version only against a vertical hop because they might block.You're screwed whether you miss a DP + A or DP + C anyway, so go for the extra damage. It will beat or trade with anything. If you see or anticipate a jump, use this. Use the Aragami or low C against hops.
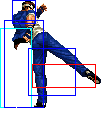
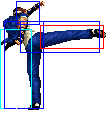
Shingo KICK (hcf + K) -
Shingo Kick! A whirly kick with lots of hit area. It has great priority
once it comes out but takes a while to come out. Does a LOT of damage.
If you hit early with it, it will knock down; if you hit late, with the
tip of your foot, it will not knock down. This move is never an
overhead.
Hitting late and getting a critical hit may entitle you to a free qcf+P. This move is safe if blocked at the end of the move, but not at the start of the move - that is, you will need to space this move carefully in order to be safe.
Good against jumpers once it comes out, but pitiful before it does come out.
Use this in conjunction with the qcf + A and you will outprioritize your opponent anywhere. The D version of the move goes further than the B version.
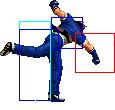
Twilight Wheel Unpainted (qcb + K) -
A jump kick. The D version does three jump kicks. Both versions leave
you wide open if blocked. For the D version, however, occasionally the
last hit will become unblockable, but it happens very rarely and you
shouldn't rely on it. Combos only.
Candle of Luminescent Victory (dp + K) - A three hit attack which sets up a juggle opportunity. It is a 'kick dance' type move which means it can only be performed up close, but it is unblockable (the first hit is, at least). It can be comboed from anything but will not connect if you are too far away. Great move.
Also, don't do this move on Choi or Chin. If they crouch, the third hit misses completely and you are left open.
Shingo's Counter (qcb + P) -
Shingo does a downwards elbow attack that changes into a counter move
(like Kyo's QCB + P). It's funny and comical, just like Shingo. Does
tiny amounts of damage, sometimes no damage at all! The elbow combos,
too, and is safe if blocked, for those situations where a blocked
Aragami might leave you vulnerable. Counters only ground normal moves
and has a bit of startup, though. Will not combo from a light attack.
Desperation Moves
Burning Shingo (qcb, hcf + A or C) -
Shingo cries out this move's namesake as he fires out 4 attacks. First he throws an Aragami, then follows it with 2 standing C punches and then shoulder rams them into orbit. SDM version does 7 hits. He still starts off with the Aragami then follows it up with a Dokugami, followed by 4 Standing C punches and the shoulder ram. This move has very serious drawbacks if it's blocked. Firstly if it is, you stand to become the very obvious victim of OPPURTUNISTIC players like me. The lag in between each hit is extremely punishable. Secondly, it's not as strong as it used to be. Don't ever use it unless you're sure it will connect.
Kake Hou Rin (qcf, qcf + A or C) -
Shingo charges head on with a dynamite packed shoulder ram. This sucker causes a guard crush if blocked and massive damage if not just as in KOF 97. I love this DM more cuz it's safer. What's so special about this move is that when this is charged up into a SDM, you can buffer it with another move on impact. Since this sucker causes a Guard Crush, you could try for another DM. With that in mind, try it out yourself or read on in the COMBO section for more practical use of this move. Only the SDM works cause once it hits, block or not, there is a small window frame for you to work. The SDM will make the opponent freeze for that small window frame with the Critical Hit or Guard Crush effect.
