| Line 289: | Line 289: | ||
|valign="bottom" style="border-right:0px;"| [[image:Terry98_dpA1.png|center]] | |valign="bottom" style="border-right:0px;"| [[image:Terry98_dpA1.png|center]] | ||
|valign="bottom" colspan="2" style="border-right:0px; border-left:0px;"| [[image:Terry98_dpA2.png|center]] | |valign="bottom" colspan="2" style="border-right:0px; border-left:0px;"| [[image:Terry98_dpA2.png|center]] | ||
|valign="bottom" style="border-left:0px;| [[image:Terry98_dpA3.png|center]] | |valign="bottom" style="border-left:0px;"| [[image:Terry98_dpA3.png|center]] | ||
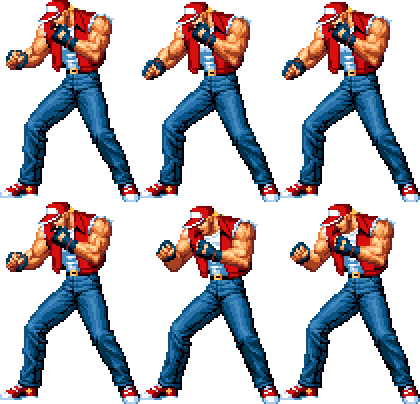
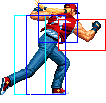
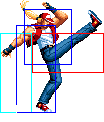
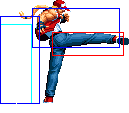
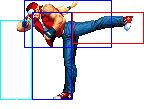
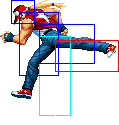
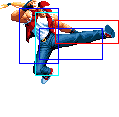
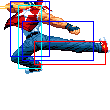
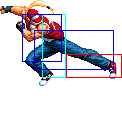
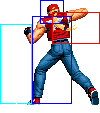
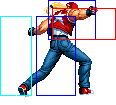
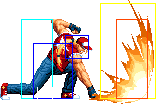
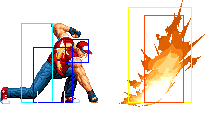
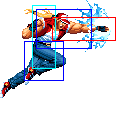
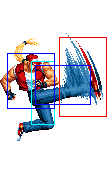
|rowspan="2"|'''Rising Tackle (dp+P)'''<br> | |rowspan="2"|'''Rising Tackle (dp+P)'''<br>A lot of people freak out about this move as an anti-air, but I think D Power Dunk is better. The reason is that this move uses auto-guard rather than true invincibility, and some things can beat it. For example, Daimon can stick out a CD, get it auto-guarded, and cancel into his command roll and punish. Chris can actually dp+A throw a wakeup Rising Tackle. | ||
|- | |- | ||
! dp+[[image:snkc.gif]] | ! dp+[[image:snkc.gif]] | ||
| Line 299: | Line 299: | ||
|valign="bottom" style="border-right:0px;"| [[image:Terry98_dpC1.png|center]] | |valign="bottom" style="border-right:0px;"| [[image:Terry98_dpC1.png|center]] | ||
|valign="bottom" colspan="2" style="border-right:0px; border-left:0px;"| [[image:Terry98_dpC2.png|center]] | |valign="bottom" colspan="2" style="border-right:0px; border-left:0px;"| [[image:Terry98_dpC2.png|center]] | ||
|valign="bottom" style="border-left:0px;| [[image:Terry98_dpC3.png|center]] | |valign="bottom" style="border-left:0px;"| [[image:Terry98_dpC3.png|center]] | ||
|} | |} | ||
=== Special Moves === | === Special Moves === | ||
Revision as of 13:42, 13 August 2013
Terry Bogard
Terry is a true-blue red-blooded American who likes Football, pizza, and beer. Since he is not Japanese, he isn't a top tier character, but he comes very close.
In a nutshell
Terry is a mid-to-close range pressure character, focusing on chunky block strings, guard breaking, and raw brute force rather than mixups. He is just under the top tier, and a good solid character for beginners to use in my opinion. He doesn't have many uses for meter, so he is best used as a battery/point character (ie the first character on your team). He doesn't require strong execution; the hardest common thing he has is d/f+C combos.
| Stand | Crouch | Jump | Grab | Run |
|---|---|---|---|---|

|

|

|
|
Colors

|

|

|

|
Movelist
Special Moves
Desperation Moves
Throws
D throw preferred unless you have them in the corner. Sets up a super jump crossup ambiguous roll, or whatever you want really.
Special Moves
- Rising Tackle (dp+P) - Not sure which version is preferred, I suppose the A version is faster but less auto-guard frames and the C version is slower and more auto-guard frames. A lot of people freak out about this move as an anti-air, but I think D Power Dunk is better. The reason is that this move uses auto-guard rather than true invincibility, and some things can beat it. For example, Daimon can stick out a CD, get it auto-guarded, and cancel into his command roll and punish. Chris can actually dp+A throw a wakeup rising tackle. The one good thing about this over Power Dunk is that Rising Tackle has some hit area behind it, so it is possible to catch crossups (it won't work 100% from every angle/timing, though).
- Power Dunk (dp+K) - D version always, always preferred. B version isn't invincible or at least not invincible enough to be used well. D version on the other hand is fully invincible on startup, and is one of the best dp-style anti-airs in KOF98. Not only is it invincible, but it does very good damage and slams the opponent down, giving you a setup for whatever wakeup games you want (something you wont get from Iori's dp+C anti-air for example).
Desperation Moves
- Power Geyser (qcb,f+P) - This does have upper body invincibility on startup, but it's really slow and not really viable as an anti-air. Use it for combos when you want a bit more damage then normal. MAX version does 3 Geysers, and doesn't hit fully in the corner.
- High Angle Geyser (qcf,qcf+K) - Does a bit more damage than Geyser actually, but doing it off of d/f+C is extremely difficult, so I didn't list those in the combos section. MAX version does a ton of damage but doesn't hit fully in the corner.
Combos
Some standard combos everyone should know.
- cl.C (2 hits),d/f+C (optional) xx B Power Charge (hcf+B)/Power Geyser (qcb,f+C)/High Angle Geyser (qcf,qcf+K)
- cr.B,cr.A,d/f+C xx B Power Charge (hcf+B)/A Burn Knuckle (qcb+A)/Power Geyser (qcb,f+P)
- cl.D,d/f+C (optional) xx Power Charge (hcf+B)/A Burn Knuckle (qcb+A)/Power Geyser (qcb,f+P)
- cl.D,f+A (2 hits) xx Power Charge (hcf+B), sj.D (sets up a sh crossup)
Anytime you land a B Power Charge (hcf+B), you have 3 options:
- Sj.D, which is the least damage, but forces a reset and puts you right next them with a lot of advantage.
- Cancel (xx) into C Rising Tackle (dp+C). This only does a bit more damage than the above, and is a normal knockdown, which means they have the choice to roll or stay down. I don't recommend it.
- D Power Dunk (dp+D). This only works if you're close. This does the best damage and forces a slam, so you can set up whatever you want; a crossup, meaty, short hop mixup, whatever. Usually the only situations where it doesn't connect is either of the first two combos I listed after a jump-in. You can substitute a close D xx Power Charge (hcf+B) after a jump-in midscreen to connect it.
The only reason I list Burn Knuckle as a combo ender is because it's much easier to cancel from d/f+C than Power Charge. You should use Burn Knuckle at first for the cr.B combo, but practice comboing into Power Charge, as it's always a better combo option. Burn Knuckle even misses (is blockable) midscreen from the cr.B combo.
You can can combo into Power Geyser from any of this stuff, and it does just a bit more than a D Power Dunk ender. Since Terry is used as a battery, usually you won't be using it, but being aware of this combo option is good.
Generally I recommend not using f+A in combos, as the damage sucks and it messes up the range for the Power Dunk ender off Power Charge. It does have one good use, which I noted in the last combo I listed as a crossup setup. Since you're further away when you land from the sj.D, you can short hop (sh) into sh.C/D and crossup a crouching opponent.
