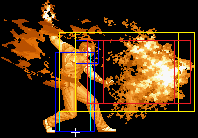
| Line 40: | Line 40: | ||
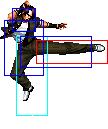
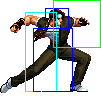
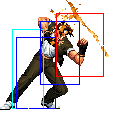
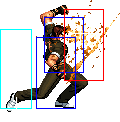
|colspan="4" | [[image:Kyo98_clA.png|center]] | |colspan="4" | [[image:Kyo98_clA.png|center]] | ||
|Like most cl.A attacks, this hits mid and is cancelable. Can't really pressure or do much with this move due to the small activation range. Mainly this or st.A will combo after a cr.B and is used to hit-confirm into Final Showdown | |Like most cl.A attacks, this hits mid and is cancelable. Can't really pressure or do much with this move due to the small activation range. Mainly this or st.A will combo after a cr.B and is used to hit-confirm into Final Showdown | ||
Chain: repeatable | |||
|- | |- | ||
! [[image:snkb.gif]] | ! [[image:snkb.gif]] | ||
| Line 48: | Line 49: | ||
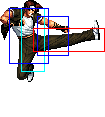
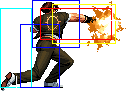
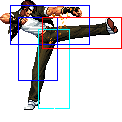
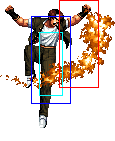
|colspan="4" | [[image:Kyo98_clB.png|center]] | |colspan="4" | [[image:Kyo98_clB.png|center]] | ||
|Note that this is low and cancelable. Combos into cr.B and cr.A. | |Note that this is low and cancelable. Combos into cr.B and cr.A. | ||
Chain: repeatable | |||
|- | |- | ||
! [[image:snkc.gif]] | ! [[image:snkc.gif]] | ||
| Line 75: | Line 77: | ||
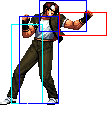
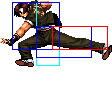
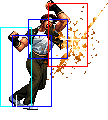
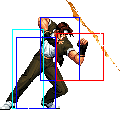
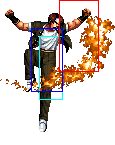
|colspan="4" | [[image:Kyo98_stA.png|center]] | |colspan="4" | [[image:Kyo98_stA.png|center]] | ||
|align="left"| anti-air vs short hop and cancelable | |align="left"| anti-air vs short hop and cancelable | ||
Chain: repeatable | |||
|- | |- | ||
! [[image:snkb.gif]] | ! [[image:snkb.gif]] | ||
| Line 83: | Line 86: | ||
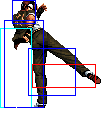
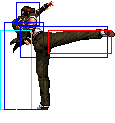
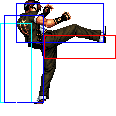
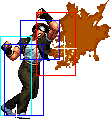
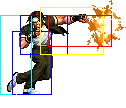
|colspan="4" | [[image:Kyo98_stB.png|center]] | |colspan="4" | [[image:Kyo98_stB.png|center]] | ||
|long range poke | |long range poke | ||
Chain: - | |||
|- | |- | ||
! [[image:snkc.gif]] | ! [[image:snkc.gif]] | ||
| Line 117: | Line 121: | ||
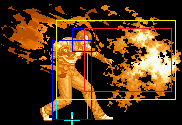
|colspan="4" | [[image:Kyo98_crA.png|center]] | |colspan="4" | [[image:Kyo98_crA.png|center]] | ||
|Standard cr.A attack. Mainly used to after a cr.B to cancel into Final Showdown or a command normal/special attack/command normal canceled into a special attack for block-stringing | |Standard cr.A attack. Mainly used to after a cr.B to cancel into Final Showdown or a command normal/special attack/command normal canceled into a special attack for block-stringing | ||
Chain: repeatable | |||
|- | |- | ||
! [[image:snkb.gif]] | ! [[image:snkb.gif]] | ||
| Line 125: | Line 130: | ||
|colspan="4" | [[image:Kyo98_crB.png|center]] | |colspan="4" | [[image:Kyo98_crB.png|center]] | ||
| 'footsie' moves. main combo starter. Links into cl.C and can combo into C Rekka series or block string with qcf+A or f+B into qcf+A/qcf+C | | 'footsie' moves. main combo starter. Links into cl.C and can combo into C Rekka series or block string with qcf+A or f+B into qcf+A/qcf+C | ||
Chain: repeatable | |||
|- | |- | ||
! [[image:snkc.gif]] | ! [[image:snkc.gif]] | ||
Revision as of 20:20, 9 May 2018
Kyo Kusanagi
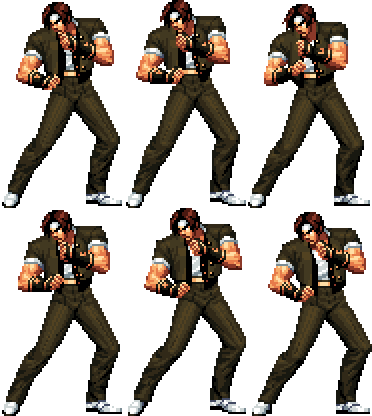
Kyo is a cool guy. He is a professional male model, and his sexy looks and money get him all the popular chicks. This makes him a top tier player. But like P. Diddy say, mo money mo problems!
In a nutshell
Kyo is top-tier character in extra mode but up mid-tier in advanced mode, focusing around mid/close range poking and rushdown. He does not have a command throw, but his mixups are good enough thanks to high priority on his air (j.B, j.d+C) and ground moves (close C, crouching B, qcf+A). His meterless combos do a lot of damage and dizzy quickly, and can do around 50% easily with meter. He requires a medium level of execution; mostly dealing with hit-checking into qcf,qcf+A consistently, and being very familiar with doing short/hyper hops in execution and recognizing the appropriate range and situations to use them in.
Colors

|

|

|

|
Movelist
Throws
- b or f + C - Breakable, forward knockdown, face forward, rollable.
- b or f + D - Breakable, reverse knockdown, back turned, un-rollable.
D throw preferable unless you have them in the corner for better wakeups.
Special Moves
Counter/Uppercut Thing (qcb+P) - Not really used for the uppercut, but can catch moves if they connect right after it starts up. This is actually not a bad move, and you'll find a ton of setups for it if you experiment. Here's one I already mentioned: qcf+C (blocked), qcb+A.
Desperation Moves
Orochinagi (qcb,hcf+P) - A version is slower and has lower-body invincibility, C version is faster and has upper-body invincibility. C version can combo from Kyo's hard attacks or a chained f+B. It can connect after qcf+D~D for max damage. Can be charged. The MAX version surrounds him in flame, and has a reduced hitbox size (you're probably going to run into flames before you hit him).
Final Showdown (qcf,qcf+P) - C version has a tiny bit more invincibility. Creates a huge hitbox in front of his feet spanning about 1.5 character spaces. Comboable off lights (which means comboable off a low cr.B,cr.A, etc.), and is Kyo's scariest source of damage, as it does quite a chunk more than the average DM. Since it's so fast, it serves as a punisher for many laggy moves, like Iori's 1/3 or 2/3 rekka's, or Iori's sweep. Can be used as an anti-air as well. MAX version does more damage.
Combos
Here are some important combos with Kyo. I tried to list the most important combos at the top.
- cl.C xx qcf+C~hcb+C~f+C
- cr.B,cr.A/cl.A/cl.B xx qcf,qcf+P (PRACTICE this and get as consistent as you can with it to play an effective Kyo; Sometimes you can get f.A/B depending of your distance, so cr.A is the safest, but hardest option, and is the one you should practice the most.)
- cr.B,cr.A/cl.A,d/f+D
- cl.C xx qcf+D~D (note: only works from very close or from a crossup, or in the corner), rdp+B (for stun)/qcb,hcf+P (for damage)/qcf+A~hcb+A~A (for max corner damage)
- cr.B,crA/cl.A/cl.B xx dp+A
- cl.C,f+B (2 hits) xx qcb,hcf+C (good against back turned, big characters, or when the opponent is dizzied)
Anytime you land D Hopkicks (qcf+D~D), you have a few options. The most common/useful are:
- B RED Kick (rdp+B) for tons of stun damage + un-rollable wakeups.
- Orochinagi (qcb,hcf+P) for the best damage.
- Bald Eagle~overhead~OTG hit (qcf+A~hcb+A~A) in the corner only for the maximum meterless damage.
Note that you can link close C from cr.B. It is a 1-frame link, but more if you perform the cr.B meaty.
The cr.B to qcf,qcf+P combo can be done as cr.B, qcf+A/B, qcf+A. This is because cr.B isn't cancelable, but is naturally chainable into standing A or B, so you can buffer without holding any buttons to keep qcf+A from coming out.
