No edit summary |
|||
| Line 279: | Line 279: | ||
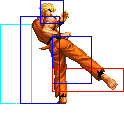
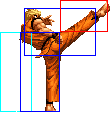
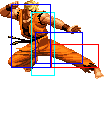
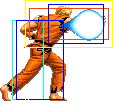
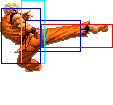
|valign="bottom" style="border-right:0px;"| [[image:Ryo98_hcbK1.png|center]] | |valign="bottom" style="border-right:0px;"| [[image:Ryo98_hcbK1.png|center]] | ||
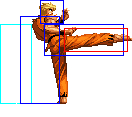
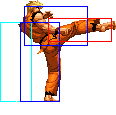
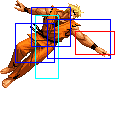
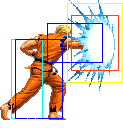
|valign="bottom" style="border-right:0px; border-left:0px;"| [[image:Ryo98_hcbK2.png|center]] | |valign="bottom" style="border-right:0px; border-left:0px;"| [[image:Ryo98_hcbK2.png|center]] | ||
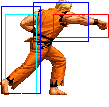
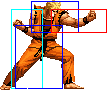
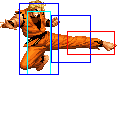
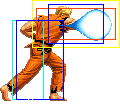
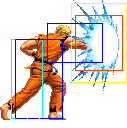
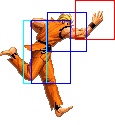
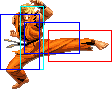
|valign="bottom" style="border-left:0px;"| [[image: | |valign="bottom" style="border-left:0px;"| [[image:Ryo98_hcbD3a.png|center]] | ||
|- | |- | ||
! hcf+[[image:punch.gif]] | ! hcf+[[image:punch.gif]] | ||
Revision as of 13:05, 17 March 2014
Gameplay overview
Colors

|

|

|

|
Movelist
Desperation Moves
Ryuuko Ranbu (qcf,hcb + P) - A multi hit DM. If blocked, Ryo will keep pulling attacks as if it connected, but omitting his finishing DP. This is mostly bad, as it will leave you open for a long time after it finishes, and your opponent can just Guard Cancel Roll and punish you if he has a free stock. Still, if your opponent has no stock and very little bar left, a blocked Ryuuko Ranbu (after a blocked cl.C for example) can finish him off thanks to the chip damage it deals.
Useful mainly in combos.
A version comes out faster and covers less distance, C version is the opposite. MAX version does more hits.
Haou Shoukou Ken (f,hcf + P) - A bigger, more damaging Ko ou Ken. Goes through normal projectiles. A version is slower, and is sometimes difficult to evade if your opponent doesn't guess which version you are doing. An early roll or jump expecting a C version will fall directly into it.
C version travels faster, and is sometimes good to use it as a counter to normal projectiles. Just be aware of its startup, so fast projectiles could hit you before you pull it.
Both versions can be good to catch jumping opponents.
MAX versions are bigger and deal more damage / hits. The A version has the same speed as the C version.
Tenchi Haou Ken (qcf,qcf + P) - DM version does little damage (roughly like a standing C) normally, but does around half a bar if you get a counter. Obviously, getting a counter with this move is quite difficult. You can try to trade it with any move you see coming with anticipation, but those situations will be rare.
The SDM version is quite more interesting. It deals slightly more damage than the DM version (even if you get a counter hit), but instantly dizzies your opponent. You can do c.B, c.A/s.A, SDM Tenchi Haou Ken and then follow up with anything you want (j.D, cl.C, D Hien Shippuu Kyaku if you have no stocks, j.D, cl.C, A DM Ryuuko Ranbu if you have one stock, or a DM R. Ranbu if you have two), which makes Ryo a very scary character when in MAX mode and with a stock.
Combos
- cr.AB st.A hcb+K
- cr.B ~cr.C qcf+P
- j.D cl.C f+A/qcf+P
- cr.BB cr.A/st.A qcfx2+P (SDM), anything
- cr.BB hcf+P dp+A (corner)/qcf+P (everywhere else)
