Street Fighter 3: 3rd Strike/Elena

From SuperCombo Wiki

Introduction

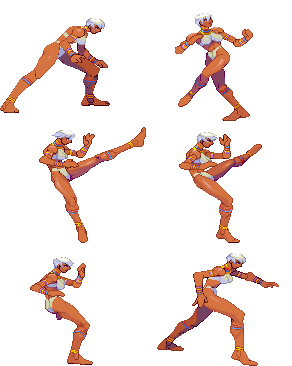
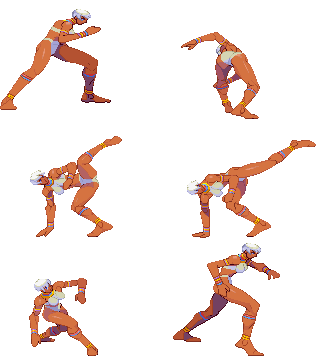
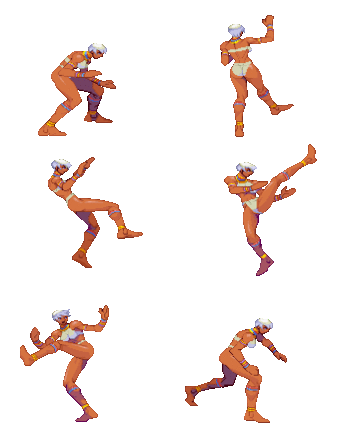
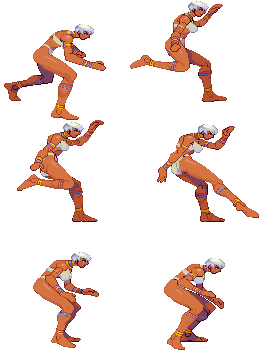
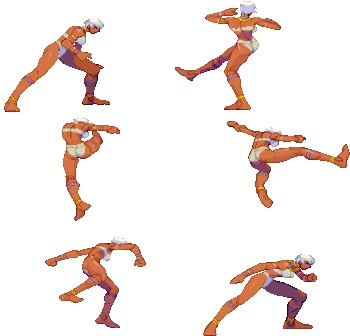
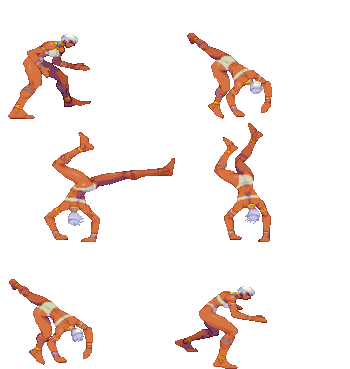
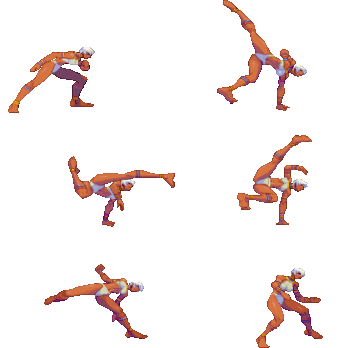
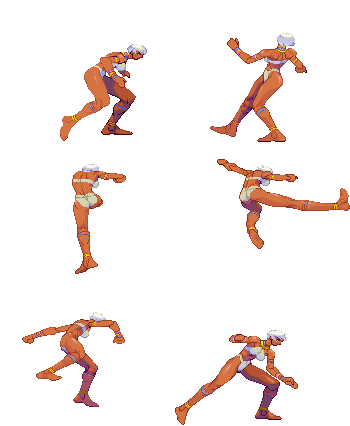
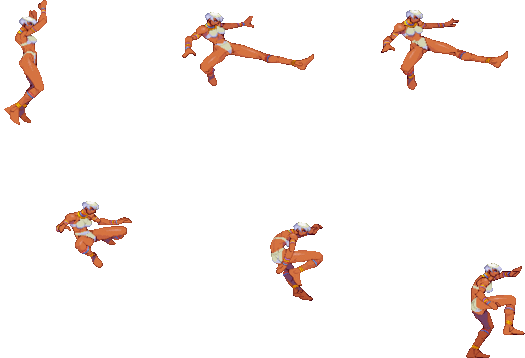
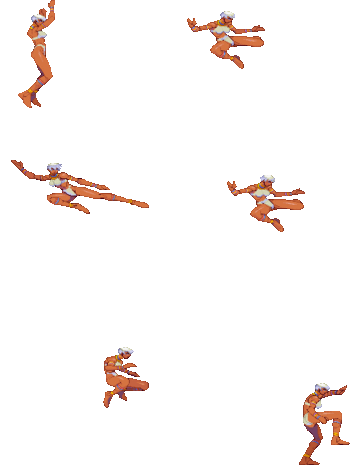
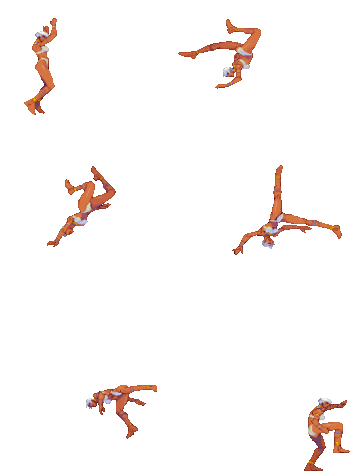
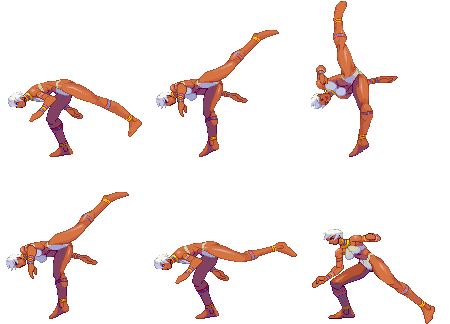
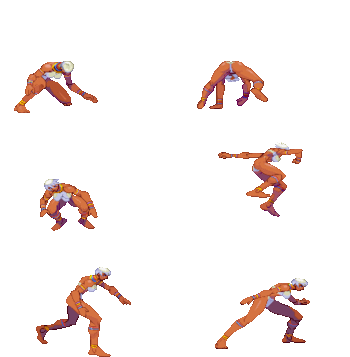
Elena is a nature lover from Kenya. She employs Capoeira, a martial art that combines elements of dance, acrobatics and music which matches her light-hearted personality. She first appears in Street Fighter III: New Generation.

Elena is a rushdown and middle range poking character specialized in EX Move Combos, her main gameplan is a keepaway footsie and anti aerial counter defensive to gain stock for an offensive EX Moves and meaty rush plan. She has some very tricky animations that can be hard to keep up with, allowing her to make opponents trip themselves up with incorrect reads that she can then exploit.

Super Arts

SA1: Spinning Beat

Having a super that stocks up to 3 times and has short bars is great for any character, especially one as EX-move dependent as Elena. It's a good combo ender and anti-air option, making it a solid choice versus the Twins. It also has enough i-frames to bypass any taunt setplay from Dudley, and punish him for it. Its major downside is how incredibly minus it is on block, and how it tends to fall out at longer ranges on her cancellable normals.

SA2: Brave Dance

Having 2 stocks and medium length bars ensure that its as viable as SA1 for EX-move usage, but where it really shines is how much more of a threat it adds to Elena's overall gameplan. It doesn't drop at longer ranges like SA1 does, allowing for it to be buffered after 2MP, and has post-super juggle options in corner, making it a terrifying finishing tool. Its also nearly as a good a reversal as SA1, though it does suffer a bit in this regard due to it having less i-frames and anti-air potential as the latter. Still the preferred super in most match-ups.

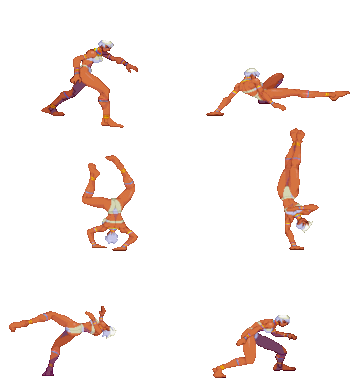
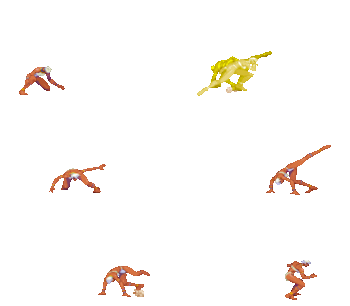
SA3: Healing

While its infamous for its USFIV iteration, Healing is much less notable as a super here, due in part to its lack of multiple stocks and lengthy bar. This means that once selected, Elena commits to a far more defensive playstyle, and has to choose between using it and EX moves. Due to its length, its best used after throw KDs or DP KDs. Its quite useful in matchups against slower characters who output quite a lot of damage, or stick to the air, specifically Hugo, Q, and Necro. Furthermore, it can be ended early by pressing any two punch buttons simultaneously, allowing one to avoid SA punishes from characters like Makoto or Chun-Li.

Strengths Weaknesses
  • Single, damaging normals and target combos with obnoxious reach and solid recoveries
  • Varied specials for any kind of situation.
  • Decent corner carry, especially with EX Spin Scythe combos.
  • Useful supers that allow for either offensive or defensive playstyles.
  • Dependent on EX moves for her best damage and mix.
  • Supers are easily baited and parried.
  • Linear gameplan that requires a decent amount of character specific combo knowledge.
Elena
#3S_EL
3S Elena Art.png
Vitals
Life Points 1000
Stun Points 64
Super Art Stock/Size
SA1 3/80
SA2 2/104
SA3 1/128
Ground Movement
Forward Dash duration/distance 13 (16)
(106px)
Back Dash duration/distance 25 (112px)
Jumping
Back Jump duration 39(4+33+2)
Neutral Jump duration 39(4+33+2)
Forward Jump duration 39(4+33+2)
Back Super Jump duration 55(7+46+2)
Neutral Super Jump duration 55(7+46+2)
Forward Super Jump duration 55(7+46+2)
Wake up
Wake up duration 64
Quick rise duration 50
3S Frame Data Glossary
Active

How many frames a move remains active (can hurt opponents) for. Consecutive sets of active frames on a multi-hit move are separated by an asterisk (ex: 3*5). If there is a gap between sets of active frames, the gap is denoted by a number in parentheses (ex: 2(4)2)

Attack

Attack level is L for low attacks (must be blocked crouching), H is for High attacks (which can be blocked high or low) and M for overhead (must be blocked standing). T is for throw attacks (which cannot be blocked).

Cancel options

Available cancel options.

  • "ch": Chain cancel (into itself or another light attack), refer to description for options.
  • "self": Self-only chain cancel. Much more restrictive than a standard chain cancel.
  • "tc": Target combo, refer to description for options. Successive attacks in a target combo may warrant their own move entry.
  • "dash": Grounded dashes.
  • "sj": Super jump.
  • "sp": Special move.
  • "su": Super Art.
Damage

Attack damage on hit in life points. Notation may denote multi-hit or "sweet spot" damage values on certain frames.

Hit/Block

These are frame advantage values when the attack hits or is blocked. If the number is positive, then the move will end before the defender can act again. If the number is negative, the defender will be able to act before the attacker and maybe even punish. D refers to knockdown on hit.

"Cr. Hit" is an additional frame advantage value denoting if the advantage on hit changes when the defender is being hit while crouching.

Kara Range

Almost all normal attacks can be canceled into a special or a multi-button command within three frames of startup. During that time, some attacks will shift position forward or backward and affect the reach of the special or command accordingly. This is denoted in pixels of range. There are a handful of moves in the game that can be kara-canceled after this initial window and will be denoted as a late kara-cancel.

Link

A combo that is performed by inputting the second move after the first move has completely recovered (as opposed to cancelling the first move's animation). In 3S, the final frame of a move's hitstun allows a character to block a normal or special move, as well as some projectile supers. Therefore, an attack's frame advantage must be 2 frames greater than the followup move's startup in order to link. Ex: a +6 normal can link into a 4f normal/special, or a 5f super.

Parry

This field will show a value of A if the attack can be parried standing or crouching, H if it must be parried standing or L if it must be parried crouching.

Recovery

How many frames it takes for a move to finish after it's been active.

Startup

How many frames it takes before the move becomes 'active' or has a hitbox. 3S uses classic startup notation, which does not include the first active frame. A move with 3 startup becomes active on frame 4.

Stun

Amount of stun added to the opponent's stun bar on hit.

Throw range

Range in pixels from the center of the character to the center of the opponent which allows a grab to connect.

Frame Data

Standing Normals

5LP
Stand LP
Lp.png
(elenalp).gif
Startup Active Recovery Block Hit Cr. Hit Damage Stun Kara Guard Level Parry Level
5 4 10 - - - 7 5 - - A
Cancel Options Self Meter Gain Whiff Hit Block / Tech Opponent Meter Gain Hit Block / Tech
- - - - - -
  • Cancel options: sp su
  • 10 kara range
FATonline.png
5MP
Stand MP
Mp.png
(elenamp).gif
Startup Active Recovery Block Hit Cr. Hit Damage Stun Kara Guard Level Parry Level
6 5 19 -2 -1 - 15 15 - - H
Cancel Options Self Meter Gain Whiff Hit Block / Tech Opponent Meter Gain Hit Block / Tech
- - - - - -
  • Cancel options: sp su
  • 12 kara range
  • Self meter gain: Whiff: 2, Hit: 12, Block: 7.
  • Opponent meter gain: Whiff: 0, Hit: 2, Block: 0.
FATonline.png
5HP
Stand HP
Hp.png
(elenahp).gif
Startup Active Recovery Block Hit Cr. Hit Damage Stun Kara Guard Level Parry Level
13 4 19 -4 -2 - 24 17 - - H
Cancel Options Self Meter Gain Whiff Hit Block / Tech Opponent Meter Gain Hit Block / Tech
- - - - - -
  • Self meter gain: Whiff: 3, Hit: 19, Block: 10.
  • Opponent meter gain: Whiff: 0, Hit: 4, Block: 0.
FATonline.png
5LK
Stand LK
Lk.png
(elenalk).gif
Startup Active Recovery Block Hit Cr. Hit Damage Stun Kara Guard Level Parry Level
3 4 6 4 4 4 7 3 - - A
Cancel Options Self Meter Gain Whiff Hit Block / Tech Opponent Meter Gain Hit Block / Tech
- - - - - -
  • Cancel options: sp su
FATonline.png
5MK
Stand MK
Mk.png
(elenamk).gif
Startup Active Recovery Block Hit Cr. Hit Damage Stun Kara Guard Level Parry Level
7 2 17 -2 -1 - 16 7 - - A
Cancel Options Self Meter Gain Whiff Hit Block / Tech Opponent Meter Gain Hit Block / Tech
- - - - - -
  • Self meter gain: Whiff: 2, Hit: 11, Block: 6.
  • Opponent meter gain: Whiff: 0, Hit: 2, Block: 0.
FATonline.png
5HK
Stand HK
Hk.png
(elenahk).gif
Startup Active Recovery Block Hit Cr. Hit Damage Stun Kara Guard Level Parry Level
10-16 3-4 11 -2 -1 - 23 13 - - H
Cancel Options Self Meter Gain Whiff Hit Block / Tech Opponent Meter Gain Hit Block / Tech
- - - - - -
  • 2 kara range
  • Self meter gain: Whiff: 3, Hit: 19, Block: 10.
  • Opponent meter gain: Whiff: 0, Hit: 4, Block: 0.

5HK has 3 active hitboxes in 2 groups, with a 3f gap between groups.
The first group has 10f startup (active on frame 11) and 3 active frames.
There is then a 3f gap.
The second group has 16f "startup" (active on frame 17) and 4 total active frames. There are two different hitboxes in this group, each active for 2f.

Total duration is 10f startup + 3f active + 3f gap + 4f active + 11f recovery = 31f total.

FATonline.png


Command Normals

6MP
Handstand Kick
F.png+Mp.png
(elenafmp).gif
Startup Active Recovery Block Hit Cr. Hit Damage Stun Kara Guard Level Parry Level
15 4 18 -2 - 2 17 13 - - H
Cancel Options Self Meter Gain Whiff Hit Block / Tech Opponent Meter Gain Hit Block / Tech
- - - - - -
  • Self meter gain: Whiff: 2, Hit: 11, Block: 6.
  • Opponent meter gain: Whiff: 0, Hit: 2, Block: 0.
FATonline.png
6MK
Handstand Whip
F.png+Mk.png
(elenafmk).gif
Startup Active Recovery Block Hit Cr. Hit Damage Stun Kara Guard Level Parry Level
11 8 16 -6 -4 -2 14 7 - - H
Cancel Options Self Meter Gain Whiff Hit Block / Tech Opponent Meter Gain Hit Block / Tech
- - - - - -
  • 28 kara range
  • Self meter gain: Whiff: 2, Hit: 11, Block: 6.
  • Opponent meter gain: Whiff: 0, Hit: 2, Block: 0.

Premier overhead meaty that can link into super and gives her throw terrifying range.

FATonline.png
4HK
Round Arch
B.png+Hk.png
(elenabhk).gif
Startup Active Recovery Block Hit Cr. Hit Damage Stun Kara Guard Level Parry Level
12 6 12 4 6 8 24 17 - - H
Cancel Options Self Meter Gain Whiff Hit Block / Tech Opponent Meter Gain Hit Block / Tech
- - - - - -
  • -2 kara range
  • Self meter gain: Whiff: 3, Hit: 19, Block: 10.
  • Opponent meter gain: Whiff: 0, Hit: 4, Block: 0.
FATonline.png
3HK
Slide
Df.png+Hk.png
(elenadfhk).gif
Startup Active Recovery Block Hit Cr. Hit Damage Stun Kara Guard Level Parry Level
12 6 24 -14 29 29 17 3 - - L
Cancel Options Self Meter Gain Whiff Hit Block / Tech Opponent Meter Gain Hit Block / Tech
- - - - - -
  • 14 kara range
  • Self meter gain: Whiff: 3, Hit: 19, Block: 10.
  • Opponent meter gain: Whiff: 0, Hit: 4, Block: 0.
FATonline.png


Crouching Normals

2LP
Crouch LP
D.png+Lp.png
(elenaclp).gif
Startup Active Recovery Block Hit Cr. Hit Damage Stun Kara Guard Level Parry Level
4 4 7 -1 -1 -1 7 5 - - A
Cancel Options Self Meter Gain Whiff Hit Block / Tech Opponent Meter Gain Hit Block / Tech
- - - - - -
  • Cancel options: sp su
FATonline.png
2MP
Crouch MP
D.png+Mp.png
(elenacmp).gif
Startup Active Recovery Block Hit Cr. Hit Damage Stun Kara Guard Level Parry Level
6 6 10 -3 -2 -1 16 7 - - A
Cancel Options Self Meter Gain Whiff Hit Block / Tech Opponent Meter Gain Hit Block / Tech
- - - - - -
  • Cancel options: sp su
  • Self meter gain: Whiff: 2, Hit: 11, Block: 6.
  • Opponent meter gain: Whiff: 0, Hit: 2, Block: 0.

Great poke and combo starter due to its decent start-up, relative safety on block, and cancelability into her terrifying EX moves.

FATonline.png
2HP
Crouch HP
D.png+Hp.png
(elenachp).gif
Startup Active Recovery Block Hit Cr. Hit Damage Stun Kara Guard Level Parry Level
7 2 23 -7 -5 -3 19 17 - - H
Cancel Options Self Meter Gain Whiff Hit Block / Tech Opponent Meter Gain Hit Block / Tech
- - - - - -
  • Self meter gain: Whiff: 3, Hit: 19, Block: 10.
  • Opponent meter gain: Whiff: 0, Hit: 4, Block: 0.
FATonline.png
2LK
Crouch LK
D.png+Lk.png
(elenaclk).gif
Startup Active Recovery Block Hit Cr. Hit Damage Stun Kara Guard Level Parry Level
4 4 8 -2 -2 -2 7 3 - - L
Cancel Options Self Meter Gain Whiff Hit Block / Tech Opponent Meter Gain Hit Block / Tech
- - - - - -
  • Cancel options: sp su
FATonline.png
2MK
Crouch MK
D.png+Mk.png
(elenacmk).gif
Startup Active Recovery Block Hit Cr. Hit Damage Stun Kara Guard Level Parry Level
8 3 13 -3 -2 -1 12 3 - - L
Cancel Options Self Meter Gain Whiff Hit Block / Tech Opponent Meter Gain Hit Block / Tech
- - - - - -
  • Self meter gain: Whiff: 2, Hit: 11, Block: 6.
  • Opponent meter gain: Whiff: 0, Hit: 2, Block: 0.
FATonline.png
2HK
Crouch HK
D.png+Hk.png
(elenachk).gif
Startup Active Recovery Block Hit Cr. Hit Damage Stun Kara Guard Level Parry Level
11 2 26 -9 34 34 17 3 - - L
Cancel Options Self Meter Gain Whiff Hit Block / Tech Opponent Meter Gain Hit Block / Tech
- - - - - -
  • -4 kara range
  • Self meter gain: Whiff: 3, Hit: 19, Block: 10.
  • Opponent meter gain: Whiff: 0, Hit: 4, Block: 0.
FATonline.png


Jumping Normals

j.LP
Jump LP
U.png/Uf.png+Lp.png
(elenajlp).gif
Startup Active Recovery Block Hit Cr. Hit Damage Stun Kara Guard Level Parry Level
5 10 - - - - 8 7 - - H
Cancel Options Self Meter Gain Whiff Hit Block / Tech Opponent Meter Gain Hit Block / Tech
- - - - - -
FATonline.png
j.MP
Jump MP
U.png/Uf.png+Mp.png
(elenajmp).gif
Startup Active Recovery Block Hit Cr. Hit Damage Stun Kara Guard Level Parry Level
7 5 - - - - 17 13 - - H
Cancel Options Self Meter Gain Whiff Hit Block / Tech Opponent Meter Gain Hit Block / Tech
- - - - - -
  • Self meter gain: Whiff: 2, Hit: 11, Block: 6.
  • Opponent meter gain: Whiff: 0, Hit: 2, Block: 0.
FATonline.png
j.HP
Jump HP
U.png/Uf.png+Hp.png
(elenajhp).gif
Startup Active Recovery Block Hit Cr. Hit Damage Stun Kara Guard Level Parry Level
8 3 - - - - 21 11 - - H
Cancel Options Self Meter Gain Whiff Hit Block / Tech Opponent Meter Gain Hit Block / Tech
- - - - - -
  • -4 kara range
  • Self meter gain: Whiff: 3, Hit: 19, Block: 10.
  • Opponent meter gain: Whiff: 0, Hit: 4, Block: 0.
FATonline.png
j.LK
Jump LK
U.png/Uf.png+Lk.png
(elenajlk).gif
Startup Active Recovery Block Hit Cr. Hit Damage Stun Kara Guard Level Parry Level
6 8 - - - - 8 7 - - H
Cancel Options Self Meter Gain Whiff Hit Block / Tech Opponent Meter Gain Hit Block / Tech
- - - - - -
FATonline.png
j.MK
Jump MK
U.png/Uf.png+Mk.png
(elenajmk).gif
Startup Active Recovery Block Hit Cr. Hit Damage Stun Kara Guard Level Parry Level
8 6 - - - - 16 9 - - H
Cancel Options Self Meter Gain Whiff Hit Block / Tech Opponent Meter Gain Hit Block / Tech
- - - - - -
  • Self meter gain: Whiff: 2, Hit: 11, Block: 6.
  • Opponent meter gain: Whiff: 0, Hit: 2, Block: 0.
FATonline.png
j.HK
Jump HK
U.png/Uf.png+Hk.png
(elenajhk).gif
Startup Active Recovery Block Hit Cr. Hit Damage Stun Kara Guard Level Parry Level
10 6 - - - - 24 15 - - H
Cancel Options Self Meter Gain Whiff Hit Block / Tech Opponent Meter Gain Hit Block / Tech
- - - - - -
  • 4 kara range
  • Self meter gain: Whiff: 3, Hit: 18, Block: 8.
  • Opponent meter gain: Whiff: 0, Hit: 4, Block: 0.
FATonline.png


Target Combos


Throws

LPLK
Leg Lift Throw
B.png/F.png+Lp.png+Lk.png
(elenathrow).gif
Startup Active Recovery Block Hit Cr. Hit Damage Stun Kara Guard Level Parry Level
2 1 21 - 70 - 21 12 - - -
Cancel Options Self Meter Gain Whiff Hit Block / Tech Opponent Meter Gain Hit Block / Tech
- - - - - -
  • 22 throw range

Vital part of her mix due to her options for tick throws and the range it gets when kara-canceled into from 6MK.

FATonline.png


Universal Overhead

MPMK
Knee Attack
Mp.png+Mk.png
(elenaoh).gif
Startup Active Recovery Block Hit Cr. Hit Damage Stun Kara Guard Level Parry Level
15 10 5 - - - 7 3 - - H
Cancel Options Self Meter Gain Whiff Hit Block / Tech Opponent Meter Gain Hit Block / Tech
- - - - - -

Less useful than on other characters due to 6MK being a better overhead meaty via faster startup and better damage. Can still be used at specific distances with a cornered opponent to combo into supers.

FATonline.png


Taunt

HPHK
Handstand
Hp.png+Hk.png
(elenat).gif
Startup Active Recovery Block Hit Cr. Hit Damage Stun Kara Guard Level Parry Level
18 5 62 -68 - - 2 - - - A
Cancel Options Self Meter Gain Whiff Hit Block / Tech Opponent Meter Gain Hit Block / Tech
- - - - - -
  • -16 kara range
  • Self meter gain: Whiff: 6, Hit: 19, Block: 9.
  • Opponent meter gain: Whiff: 0, Hit: 4, Block: 0.

Buffs stun damage for the next hit/combo by 18%. Can stack up to four times, capping at 75%. Its lengthy recovery and awful benefits ensure that you will never use it in a real match.

FATonline.png


Special Moves

623K
Scratch Wheel
Dp.png+K.png
(elenascrw).gif
Lk.png,Mk.png,Hk.png
(elenaswex).gif
Ex.png
LK Startup Active Recovery Block Hit Cr. Hit Damage Stun Kara Guard Level Parry Level
6 4 31 -19 - - 23 13 - - A
Cancel Options Self Meter Gain Whiff Hit Block / Tech Opponent Meter Gain Hit Block / Tech
- - - - - -
  • Self meter gain: Whiff: 3, Hit: 19, Block: 10.
  • Opponent meter gain: Whiff: 0, Hit: 4, Block: 0.
FATonline.png


MK Startup Active Recovery Block Hit Cr. Hit Damage Stun Kara Guard Level Parry Level
4 5 36 -22 - - 26 15 - - A
Cancel Options Self Meter Gain Whiff Hit Block / Tech Opponent Meter Gain Hit Block / Tech
- - - - - -
  • Cancel options: su
  • Self meter gain: Whiff: 3, Hit: 20, Block: 11.
  • Opponent meter gain: Whiff: 0, Hit: 4, Block: 0.
FATonline.png


HK Startup Active Recovery Block Hit Cr. Hit Damage Stun Kara Guard Level Parry Level
3 7 40 -27 - - 28 17 - - A
Cancel Options Self Meter Gain Whiff Hit Block / Tech Opponent Meter Gain Hit Block / Tech
- - - - - -
  • Cancel options: su
  • Self meter gain: Whiff: 3, Hit: 23, Block: 17.
  • Opponent meter gain: Whiff: 0, Hit: 6, Block: 0.
FATonline.png


EX Startup Active Recovery Block Hit Cr. Hit Damage Stun Kara Guard Level Parry Level
3 8 42 -26 - - 35 19 - - A
Cancel Options Self Meter Gain Whiff Hit Block / Tech Opponent Meter Gain Hit Block / Tech
- - - - - -
  • Cancel options: su
  • Self meter gain: Whiff: -40, Hit: -40, Block: -40.
  • Opponent meter gain: Whiff: 0, Hit: 0, Block: 0.
FATonline.png
41236K
Rhino Horn
Hcf.png+K.png
(elenaryh).gif
Lk.png,Mk.png,Hk.png
(elenarhex).gif
Ex.png
LK Startup Active Recovery Block Hit Cr. Hit Damage Stun Kara Guard Level Parry Level
14 9 14 -3 - - 31 20 - - A
Cancel Options Self Meter Gain Whiff Hit Block / Tech Opponent Meter Gain Hit Block / Tech
- - - - - -
  • Self meter gain: Whiff: 3, Hit: 20, Block: 11.
  • Opponent meter gain: Whiff: 0, Hit: 4, Block: 0.
FATonline.png


MK Startup Active Recovery Block Hit Cr. Hit Damage Stun Kara Guard Level Parry Level
18 10 15 -4 - - 36 20 - - A
Cancel Options Self Meter Gain Whiff Hit Block / Tech Opponent Meter Gain Hit Block / Tech
- - - - - -
  • Self meter gain: Whiff: 3, Hit: 20, Block: 11.
  • Opponent meter gain: Whiff: 0, Hit: 4, Block: 0.
FATonline.png


HK Startup Active Recovery Block Hit Cr. Hit Damage Stun Kara Guard Level Parry Level
23 10 17 -6 - - 34 20 - - A
Cancel Options Self Meter Gain Whiff Hit Block / Tech Opponent Meter Gain Hit Block / Tech
- - - - - -
  • Self meter gain: Whiff: 3, Hit: 20, Block: 11.
  • Opponent meter gain: Whiff: 0, Hit: 4, Block: 0.
FATonline.png


EX Startup Active Recovery Block Hit Cr. Hit Damage Stun Kara Guard Level Parry Level
11 13 15 -2 - - 38 20 - - A
Cancel Options Self Meter Gain Whiff Hit Block / Tech Opponent Meter Gain Hit Block / Tech
- - - - - -
  • Self meter gain: Whiff: -40, Hit: -40, Block: -40.
  • Opponent meter gain: Whiff: 0, Hit: 0, Block: 0.
FATonline.png
63214P
Mallet Smash
Hcb.png+P.png
(elenamlsm).gif
Lp.png,Mp.png,Hp.png
(elenamsmex).gif
Ex.png
LP Startup Active Recovery Block Hit Cr. Hit Damage Stun Kara Guard Level Parry Level
21 8 13 1 - - 27 17 - - H
Cancel Options Self Meter Gain Whiff Hit Block / Tech Opponent Meter Gain Hit Block / Tech
- - - - - -
  • Self meter gain: Whiff: 3, Hit: 18, Block: 8.
  • Opponent meter gain: Whiff: 0, Hit: 4, Block: 0.
FATonline.png


MP Startup Active Recovery Block Hit Cr. Hit Damage Stun Kara Guard Level Parry Level
24 7 12 2 - - 29 17 - - H
Cancel Options Self Meter Gain Whiff Hit Block / Tech Opponent Meter Gain Hit Block / Tech
- - - - - -
  • Self meter gain: Whiff: 3, Hit: 18, Block: 8.
  • Opponent meter gain: Whiff: 0, Hit: 4, Block: 0.
FATonline.png


HP Startup Active Recovery Block Hit Cr. Hit Damage Stun Kara Guard Level Parry Level
27 6 11 5 - - 30 17 - - H
Cancel Options Self Meter Gain Whiff Hit Block / Tech Opponent Meter Gain Hit Block / Tech
- - - - - -
  • Self meter gain: Whiff: 3, Hit: 18, Block: 8.
  • Opponent meter gain: Whiff: 0, Hit: 4, Block: 0.
FATonline.png


EX Startup Active Recovery Block Hit Cr. Hit Damage Stun Kara Guard Level Parry Level
21 4 10 5 - - 31 17 - - H
Cancel Options Self Meter Gain Whiff Hit Block / Tech Opponent Meter Gain Hit Block / Tech
- - - - - -
  • Self meter gain: Whiff: -40, Hit: -40, Block: -40.
  • Opponent meter gain: Whiff: 0, Hit: 0, Block: 0.
FATonline.png
214K
Spinning Scythe
Qcb.png+K.png
(elenascy).gif
Lk.png,Mk.png,Hk.png
(elenassex).gif
Ex.png
LK Startup Active Recovery Block Hit Cr. Hit Damage Stun Kara Guard Level Parry Level
15 4 18 -2 - - 20 5 - - H
Cancel Options Self Meter Gain Whiff Hit Block / Tech Opponent Meter Gain Hit Block / Tech
- - - - - -
  • Self meter gain: Whiff: 3, Hit: 19, Block: 13.
  • Opponent meter gain: Whiff: 0, Hit: 4, Block: 0.
FATonline.png


MK Startup Active Recovery Block Hit Cr. Hit Damage Stun Kara Guard Level Parry Level
16 4 22 -6 - - 21 5 - - H
Cancel Options Self Meter Gain Whiff Hit Block / Tech Opponent Meter Gain Hit Block / Tech
- - - - - -
  • Self meter gain: Whiff: 3, Hit: 19, Block: 13.
  • Opponent meter gain: Whiff: 0, Hit: 4, Block: 0.
FATonline.png


HK Startup Active Recovery Block Hit Cr. Hit Damage Stun Kara Guard Level Parry Level
17 4 24 -8 - - 22 5 - - H
Cancel Options Self Meter Gain Whiff Hit Block / Tech Opponent Meter Gain Hit Block / Tech
- - - - - -
  • Self meter gain: Whiff: 3, Hit: 19, Block: 13.
  • Opponent meter gain: Whiff: 0, Hit: 4, Block: 0.
FATonline.png


EX Startup Active Recovery Block Hit Cr. Hit Damage Stun Kara Guard Level Parry Level
10 8 31 -15 - - 35 9 - - H
Cancel Options Self Meter Gain Whiff Hit Block / Tech Opponent Meter Gain Hit Block / Tech
- - - - - -
  • Cancel options: su
  • Self meter gain: Whiff: -40, Hit: -40, Block: -40.
  • Opponent meter gain: Whiff: 0, Hit: 0, Block: 0.
FATonline.png
421K
Lynx Tail
Rdp.png+K.png
(elenalxt).gif
Lk.png,Mk.png.Hk.png
(elenaltex).gif
Ex.png
LK Startup Active Recovery Block Hit Cr. Hit Damage Stun Kara Guard Level Parry Level
11 6 35 -17 - - 10 3 - - L
Cancel Options Self Meter Gain Whiff Hit Block / Tech Opponent Meter Gain Hit Block / Tech
- - - - - -
  • Self meter gain: Whiff: 6, Hit: 22, Block: 20.
  • Opponent meter gain: Whiff: 0, Hit: 4, Block: 0.
FATonline.png


MK Startup Active Recovery Block Hit Cr. Hit Damage Stun Kara Guard Level Parry Level
14 6 33 -15 - - 22 5 - - L
Cancel Options Self Meter Gain Whiff Hit Block / Tech Opponent Meter Gain Hit Block / Tech
- - - - - -
  • Self meter gain: Whiff: 3, Hit: 20, Block: 11.
  • Opponent meter gain: Whiff: 0, Hit: 4, Block: 0.
FATonline.png


HK Startup Active Recovery Block Hit Cr. Hit Damage Stun Kara Guard Level Parry Level
16 12 33 -15 - - 22 9 - - L
Cancel Options Self Meter Gain Whiff Hit Block / Tech Opponent Meter Gain Hit Block / Tech
- - - - - -
  • Self meter gain: Whiff: 3, Hit: 22, Block: 13.
  • Opponent meter gain: Whiff: 0, Hit: 4, Block: 0.
FATonline.png


EX Startup Active Recovery Block Hit Cr. Hit Damage Stun Kara Guard Level Parry Level
10 22 25 -10 - - 23 12 - - L
Cancel Options Self Meter Gain Whiff Hit Block / Tech Opponent Meter Gain Hit Block / Tech
- - - - - -
  • Self meter gain: Whiff: -40, Hit: -40, Block: -40.
  • Opponent meter gain: Whiff: 0, Hit: 0, Block: 0.
FATonline.png


Super Arts

236236K (SA1)
Spinning Beat
Qcf.pngQcf.png+K.png (SA1)
(elenasa1).gif
Startup Active Recovery Block Hit Cr. Hit Damage Stun Kara Guard Level Parry Level
1 17 43 -30 - - 50 14 - - A
Cancel Options Self Meter Gain Whiff Hit Block / Tech Opponent Meter Gain Hit Block / Tech
- - - - - -
FATonline.png
236236K (SA2)
Brave Dance
Qcf.pngQcf.png+K.png (SA2)
(elenasa2).gif
Startup Active Recovery Block Hit Cr. Hit Damage Stun Kara Guard Level Parry Level
1 15 14 -12 - - 68 - - - A
Cancel Options Self Meter Gain Whiff Hit Block / Tech Opponent Meter Gain Hit Block / Tech
- - - - - -
FATonline.png
236236P (SA3)
Healing
Qcf.pngQcf.png+P.png (SA3)
(elenasa3).gif
Startup Active Recovery Block Hit Cr. Hit Damage Stun Kara Guard Level Parry Level
1 - 15 - - - - - - - -
Cancel Options Self Meter Gain Whiff Hit Block / Tech Opponent Meter Gain Hit Block / Tech
- - - - - -
  • Can be cancelled by pressing P.png+P.png+P.png
FATonline.png


3S Navigation

General
Controls
Notation
HUD
Glossary
System
FAQ
Characters
Akuma
Alex
Chun-Li
Dudley
Elena
Hugo
Ibuki
Ken
Makoto
Q
Necro
Oro
Remy
Ryu
Sean
Twelve
Urien
Yang
Yun
Gill