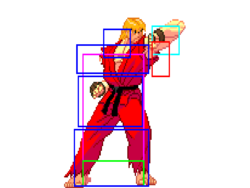
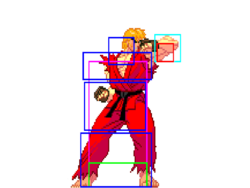
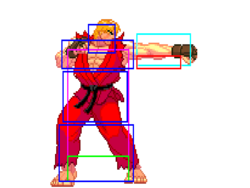
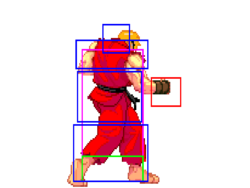
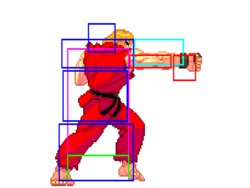
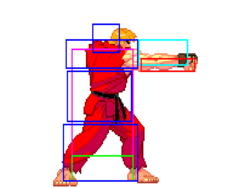
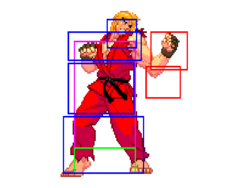
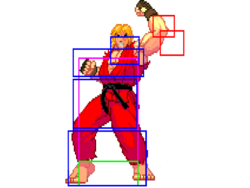
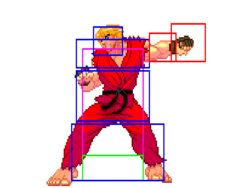
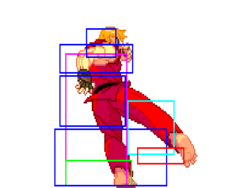
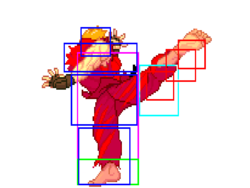
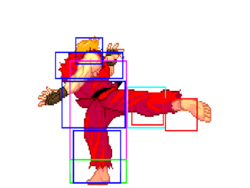
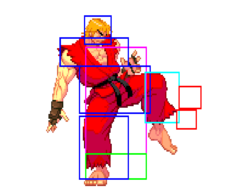
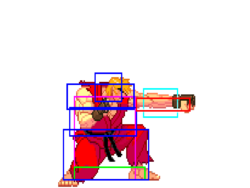
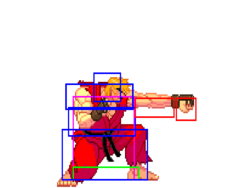
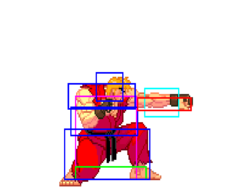
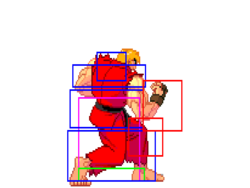
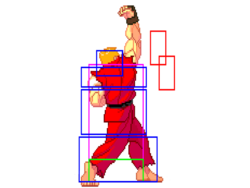
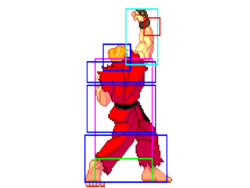
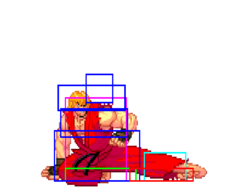
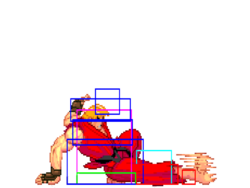
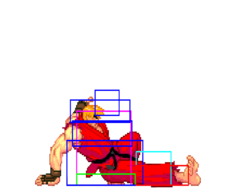
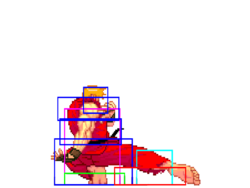
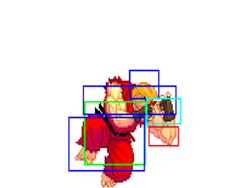
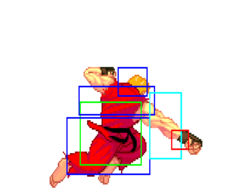
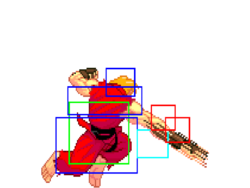
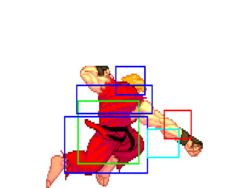
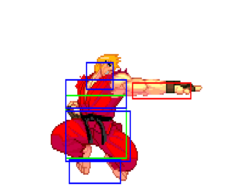
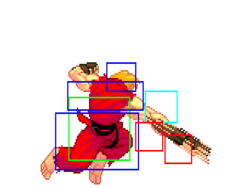
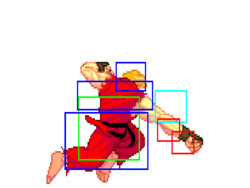
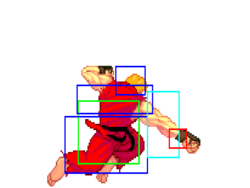
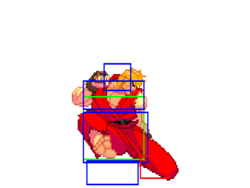
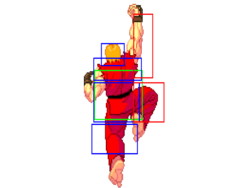
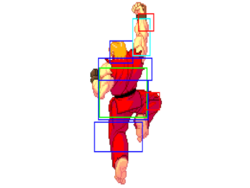
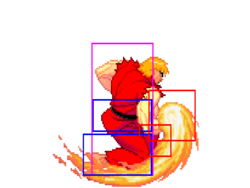
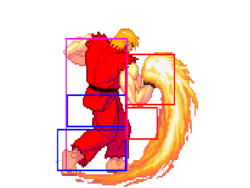
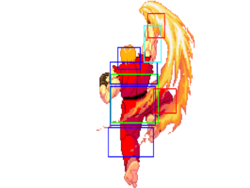
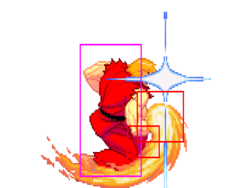
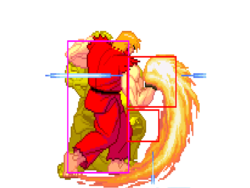
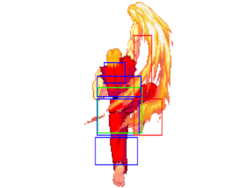
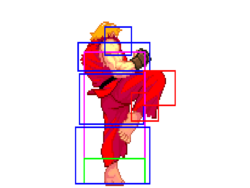
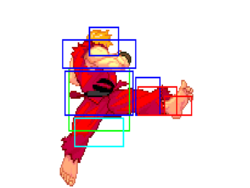
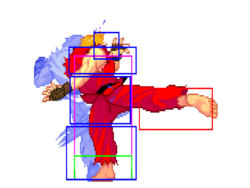
m (→Taunt: replaced a / with or) |
(→Special Moves: Moved cancel options and meter gain into the stat block. Updated some descriptions.) |
||
| Line 1,370: | Line 1,370: | ||
|version={{lp}} | |version={{lp}} | ||
|startup=11 | |startup=11 | ||
|active= | |||
|recovery=38 | |recovery=38 | ||
|onBlock=-11 | |||
|onHit=-10 | |onHit=-10 | ||
|onHitCrouch=-10 | |onHitCrouch=-10 | ||
|damage=10 | |damage=10 | ||
|stun=3 | |stun=3 | ||
| | |karaDistance= | ||
|guard=HL | |||
|parry=H | |||
|cancelOptions=su | |||
|selfMeterWhiff=0 | |||
|selfMeterHit=2 | |||
|selfMeterBlock=1 | |||
|oppMeterHit=0 | |||
|oppMeterBlock=0 | |||
|description= | |description= | ||
* If you're using the TC xx hadouken xx SA3 confirm, you should use LP hadouken. This prevents the hadouken from hitting the opponent and scaling damage. | |||
* If you're using the TC xx hadouken xx SA3 confirm, you should use LP hadouken. | |||
{{3S Button FAT|link=https://fullmeter.com/fatonline/#/framedata/movedetail/3S/Ken/normal/LP%20Hadouken}} | {{3S Button FAT|link=https://fullmeter.com/fatonline/#/framedata/movedetail/3S/Ken/normal/LP%20Hadouken}} | ||
}} | }} | ||
| Line 1,388: | Line 1,393: | ||
|version={{mp}} | |version={{mp}} | ||
|startup=11 | |startup=11 | ||
|active= | |||
|recovery=38 | |recovery=38 | ||
|onBlock=-11 | |||
|onHit=-10 | |onHit=-10 | ||
|onHitCrouch=-10 | |onHitCrouch=-10 | ||
| | |damage=10 | ||
|stun=3 | |||
|karaDistance= | |||
|guard=HL | |||
|parry=H | |parry=H | ||
| | |cancelOptions=su | ||
| | |selfMeterWhiff=0 | ||
|selfMeterHit=2 | |||
|selfMeterBlock=1 | |||
|oppMeterHit=0 | |||
|oppMeterBlock=0 | |||
|description= | |description= | ||
{{3S Button FAT|link=https://fullmeter.com/fatonline/#/framedata/movedetail/3S/Ken/normal/MP%20Hadouken}} | {{3S Button FAT|link=https://fullmeter.com/fatonline/#/framedata/movedetail/3S/Ken/normal/MP%20Hadouken}} | ||
}} | }} | ||
| Line 1,404: | Line 1,415: | ||
|version={{hp}} | |version={{hp}} | ||
|startup=11 | |startup=11 | ||
|active= | |||
|recovery=38 | |recovery=38 | ||
|onBlock=-11 | |||
|onHit=-10 | |onHit=-10 | ||
|onHitCrouch=-10 | |onHitCrouch=-10 | ||
| | |damage=10 | ||
|stun=3 | |||
|karaDistance= | |||
|guard=HL | |||
|parry=H | |parry=H | ||
| | |cancelOptions=su | ||
| | |selfMeterWhiff=0 | ||
|selfMeterHit=2 | |||
|selfMeterBlock=1 | |||
|oppMeterHit=0 | |||
|oppMeterBlock=0 | |||
|description= | |description= | ||
{{3S Button FAT|link=https://fullmeter.com/fatonline/#/framedata/movedetail/3S/Ken/normal/HP%20Hadouken}} | {{3S Button FAT|link=https://fullmeter.com/fatonline/#/framedata/movedetail/3S/Ken/normal/HP%20Hadouken}} | ||
}} | }} | ||
| Line 1,420: | Line 1,437: | ||
|version={{ex}} | |version={{ex}} | ||
|startup=11 | |startup=11 | ||
|active= | |||
|recovery=38 | |recovery=38 | ||
|onBlock=-6 | |onBlock=-6 | ||
| | |onHit=D | ||
|onHitCrouch=D | |||
|damage=20 | |damage=20 | ||
|stun=5 | |stun=5 | ||
|karaDistance= | |||
|guard=HL | |||
|parry=H | |||
|cancelOptions=su | |||
|selfMeterWhiff=-40 | |||
|selfMeterHit=-40 | |||
|selfMeterBlock=-40 | |||
|oppMeterHit=0 | |||
|oppMeterBlock=0 | |||
|description= | |description= | ||
* | * Quite a bit safer than meterless versions. | ||
* | * Sometimes used to end a block string. | ||
{{3S Button FAT|link=https://fullmeter.com/fatonline/#/framedata/movedetail/3S/Ken/normal/EX%20Hadouken}} | {{3S Button FAT|link=https://fullmeter.com/fatonline/#/framedata/movedetail/3S/Ken/normal/EX%20Hadouken}} | ||
}} | }} | ||
<br> | <br> | ||
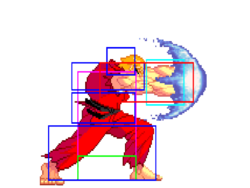
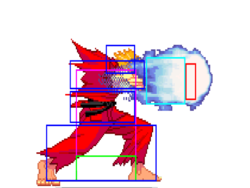
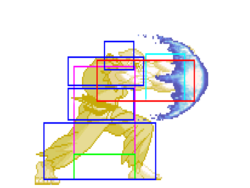
Ken's fireballs are unsafe near point blank, but become safer | Ken's fireballs are unsafe near point blank, but become safer when they are spaced out. The sweet spot is a bit outside his normal poke range, where it's hard to consistently parry on reaction. Be aware of the opponent's meter, as some fast supers can be a threat even against well-spaced fireballs. The EX version is the most useful due to its knockdown and relative safety on block. Cancelling a normal into hadouken all more time for a hit confirm. Throwing a raw fireball xx SA3 can mess up the opponent's parry timing when going for a chip KO. | ||
}} | }} | ||
| Line 1,475: | Line 1,499: | ||
|active=8 | |active=8 | ||
|recovery=26 | |recovery=26 | ||
|onBlock=-17 | |onBlock=-17 | ||
| | |onHit=D | ||
| | |onHitCrouch=D | ||
|damage=26 | |damage=26 | ||
|stun=11 | |stun=11 | ||
|karaDistance= | |||
|guard=HL | |||
|parry=HL | |||
|cancelOptions=su | |||
|selfMeterWhiff=3 | |||
|selfMeterHit=21 | |||
|selfMeterBlock=15 | |||
|oppMeterHit=6 | |||
|oppMeterBlock=0 | |||
|description= | |description= | ||
* 1-4f | * 1-4f upper-body invulnerability | ||
* Ken's fastest meterless DP at 2f startup | * Ken's fastest meterless DP at 2f startup | ||
* Be wary of TC xx LP DP, as it | * Be wary of TC xx LP DP, as it can drop from long range TC hits | ||
* Vulnerable to parry due to being one hit | * Vulnerable to parry due to being one hit | ||
* Extremely high damage potential due to shoryu -> kara shoryu combo | * Extremely high damage potential due to shoryu -> kara shoryu combo | ||
| Line 1,498: | Line 1,526: | ||
|active=14 | |active=14 | ||
|recovery=28 | |recovery=28 | ||
|onBlock=-24 | |onBlock=-24 | ||
| | |onHit=D | ||
| | |onHitCrouch=D | ||
|damage=28 | |damage=28 | ||
|stun=15 | |stun=15 | ||
|karaDistance= | |||
|guard=HL | |||
|parry=HL | |||
|cancelOptions=su | |||
|selfMeterWhiff=3 | |||
|selfMeterHit=22 | |||
|selfMeterBlock=16 | |||
|oppMeterHit=6 | |||
|oppMeterBlock=0 | |||
|description= | |description= | ||
* 1-5f | * 1-5f upper-body invulnerability | ||
* | * First hit can be canceled into super for a full, grounded combo | ||
* Second hit can beat an opponent who only expects to parry once | |||
* Second hit | |||
{{3S Button FAT|link=https://fullmeter.com/fatonline/#/framedata/movedetail/3S/Ken/normal/MP%20Shoryuken}} | {{3S Button FAT|link=https://fullmeter.com/fatonline/#/framedata/movedetail/3S/Ken/normal/MP%20Shoryuken}} | ||
}} | }} | ||
| Line 1,519: | Line 1,551: | ||
|active=21 | |active=21 | ||
|recovery=32 | |recovery=32 | ||
|onBlock=-31 | |onBlock=-31 | ||
| | |onHit=D | ||
| | |onHitCrouch=D | ||
|damage=32 | |damage=32 | ||
|stun=15 | |stun=15 | ||
|karaDistance= | |||
|guard=HL | |||
|parry=HL | |||
|cancelOptions=su | |||
|selfMeterWhiff=3 | |||
|selfMeterHit=23 | |||
|selfMeterBlock=17 | |||
|oppMeterHit=6 | |||
|oppMeterBlock=0 | |||
|description= | |description= | ||
* 1-3f | * 1-3f fully invulnerable, 4-7f upper-body invulnerability | ||
* Great meterless anti-air with multiple hits | * Great meterless anti-air with multiple hits | ||
* Fully invulnerable '''until''' the first active frame | * First two hits can be super canceled for a full, grounded combo. | ||
* Fully invulnerable '''until''' the first active frame. First active frame is only upper-body invulnerable. | |||
{{3S Button FAT|link=https://fullmeter.com/fatonline/#/framedata/movedetail/3S/Ken/normal/HP%20Shoryuken}} | {{3S Button FAT|link=https://fullmeter.com/fatonline/#/framedata/movedetail/3S/Ken/normal/HP%20Shoryuken}} | ||
}} | }} | ||
| Line 1,540: | Line 1,577: | ||
|active=20 | |active=20 | ||
|recovery=38 | |recovery=38 | ||
|onBlock=-36 | |onBlock=-36 | ||
| | |onHit=D | ||
| | |onHitCrouch=D | ||
|damage=34 | |damage=34 | ||
|stun=17 | |stun=17 | ||
|karaDistance= | |||
|guard=HL | |||
|parry=HL | |||
|cancelOptions=su | |||
|selfMeterWhiff=-40 | |||
|selfMeterHit=-40 | |||
|selfMeterBlock=-40 | |||
|oppMeterHit=0 | |||
|oppMeterBlock=0 | |||
|description= | |description= | ||
* 1-5f | * 1-5f fully invulnerable | ||
* Also a great anti-air | * Also a great anti-air | ||
* Fully invulnerable '''through''' the first active frame | * Fully invulnerable '''through''' the first active frame | ||
* Sometimes used in optimized combos, notably in the corner against Chun Li | |||
{{3S Button FAT|link=https://fullmeter.com/fatonline/#/framedata/movedetail/3S/Ken/normal/EX%20Shoryuken}} | {{3S Button FAT|link=https://fullmeter.com/fatonline/#/framedata/movedetail/3S/Ken/normal/EX%20Shoryuken}} | ||
}} | }} | ||
| Line 1,574: | Line 1,616: | ||
|active=7 | |active=7 | ||
|recovery=14 | |recovery=14 | ||
|onBlock=-5 | |||
|onHit=-3 | |onHit=-3 | ||
|onHitCrouch=-3 | |onHitCrouch=-3 | ||
|damage=19 | |damage=19 | ||
|stun=9 | |stun=9 | ||
|karaDistance= | |||
|guard=HL | |||
|parry=H | |||
|cancelOptions=su | |||
|selfMeterWhiff=3 | |||
|selfMeterHit=19 | |||
|selfMeterBlock=13 | |||
|oppMeterHit=4 | |||
|oppMeterBlock=0 | |||
|description= | |description= | ||
{{3S Button FAT|link=https://fullmeter.com/fatonline/#/framedata/movedetail/3S/Ken/normal/LK%20Tatsumaki%20Senpukyaku}} | {{3S Button FAT|link=https://fullmeter.com/fatonline/#/framedata/movedetail/3S/Ken/normal/LK%20Tatsumaki%20Senpukyaku}} | ||
}} | }} | ||
| Line 1,592: | Line 1,638: | ||
|active=14 | |active=14 | ||
|recovery=15 | |recovery=15 | ||
|onBlock=-6 | |||
|onHit=-4 | |onHit=-4 | ||
|onHitCrouch=-4 | |onHitCrouch=-4 | ||
|damage=23 | |damage=23 | ||
|stun=13 | |stun=13 | ||
|karaDistance= | |||
|guard=HL | |||
|parry=H | |||
|cancelOptions=su | |||
|selfMeterWhiff=3 | |||
|selfMeterHit=21 | |||
|selfMeterBlock=15 | |||
|oppMeterHit=4 | |||
|oppMeterBlock=0 | |||
|description= | |description= | ||
{{3S Button FAT|link=https://fullmeter.com/fatonline/#/framedata/movedetail/3S/Ken/normal/MK%20Tatsumaki%20Senpukyaku}} | {{3S Button FAT|link=https://fullmeter.com/fatonline/#/framedata/movedetail/3S/Ken/normal/MK%20Tatsumaki%20Senpukyaku}} | ||
}} | }} | ||
| Line 1,610: | Line 1,660: | ||
|active=17 | |active=17 | ||
|recovery=15 | |recovery=15 | ||
|onBlock=-7 | |onBlock=-7 | ||
| | |onHit=-5 | ||
| | |onHitCrouch=-5 | ||
|damage=27 | |damage=27 | ||
|stun=15 | |stun=15 | ||
|karaDistance= | |||
|guard=HL | |||
|parry=H | |||
|cancelOptions=su | |||
|selfMeterWhiff=3 | |||
|selfMeterHit=22 | |||
|selfMeterBlock=16 | |||
|oppMeterHit=4 | |||
|oppMeterBlock=0 | |||
|description= | |description= | ||
{{3S Button FAT|link=https://fullmeter.com/fatonline/#/framedata/movedetail/3S/Ken/normal/HK%20Tatsumaki%20Senpukyaku}} | {{3S Button FAT|link=https://fullmeter.com/fatonline/#/framedata/movedetail/3S/Ken/normal/HK%20Tatsumaki%20Senpukyaku}} | ||
}} | }} | ||
| Line 1,628: | Line 1,682: | ||
|active=21 | |active=21 | ||
|recovery=13 | |recovery=13 | ||
|onBlock=-3 | |||
|onHit=-1 | |onHit=-1 | ||
|onHitCrouch=-1 | |onHitCrouch=-1 | ||
|damage=34 | |damage=34 | ||
|stun=17 | |stun=17 | ||
|karaDistance= | |||
|guard=HL | |||
|parry=H | |||
|cancelOptions=su | |||
|selfMeterWhiff=-40 | |||
|selfMeterHit=-40 | |||
|selfMeterBlock=-40 | |||
|oppMeterHit=0 | |||
|oppMeterBlock=0 | |||
|description= | |description= | ||
* Niche combo tool | * Niche combo tool | ||
* Can close out a round if you aren't in range for a shoryuken and don't have meter for a super | * Can close out a round if you aren't in range for a shoryuken and don't have meter for a super | ||
* Especially useful against characters who can't crouch 2MK xx EX tatsu (Urien, Alex, Dudley, Hugo, Q, Sean) | * Especially useful against characters who can't crouch 2MK xx EX tatsu (Urien, Alex, Dudley, Hugo, Q, Sean) | ||
* All ground tatsus are throwable until after the first hit. | |||
* First hit of all ground tatsus is super cancelable. This is usually used for DED. | |||
{{3S Button FAT|link=https://fullmeter.com/fatonline/#/framedata/movedetail/3S/Ken/normal/EX%20Tatsumaki%20Senpukyaku}} | {{3S Button FAT|link=https://fullmeter.com/fatonline/#/framedata/movedetail/3S/Ken/normal/EX%20Tatsumaki%20Senpukyaku}} | ||
}} | }} | ||
| Line 1,658: | Line 1,719: | ||
|startup=7 | |startup=7 | ||
|active=4 | |active=4 | ||
| | |recovery= | ||
| | |onBlock=-5~+1 | ||
|onHit=-5~+1 | |onHit=-5~+1 | ||
|onHitCrouch=-1~+1 | |onHitCrouch=-1~+1 | ||
| | |damage=27 | ||
|stun=9 | |stun=9 | ||
|karaDistance= | |||
|guard=H | |||
|parry=H | |||
|cancelOptions= | |||
|selfMeterWhiff=2 | |||
|selfMeterHit=17 | |||
|selfMeterBlock=3 | |||
|oppMeterHit=4 | |||
|oppMeterBlock=0 | |||
|description= | |description= | ||
{{3S Button FAT|link=https://fullmeter.com/fatonline/#/framedata/movedetail/3S/Ken/normal/LK%20Air%20Tatsumaki%20Senpukyaku}} | {{3S Button FAT|link=https://fullmeter.com/fatonline/#/framedata/movedetail/3S/Ken/normal/LK%20Air%20Tatsumaki%20Senpukyaku}} | ||
}} | }} | ||
| Line 1,674: | Line 1,741: | ||
|startup=7 | |startup=7 | ||
|active=6 | |active=6 | ||
| | |recovery= | ||
| | |onBlock=-6~+1 | ||
|onHit=-6~+1 | |onHit=-6~+1 | ||
|onHitCrouch=-1~+1 | |onHitCrouch=-1~+1 | ||
| | |damage=40 | ||
|stun=13 | |stun=13 | ||
|karaDistance= | |||
|guard=H | |||
|parry=H | |||
|cancelOptions= | |||
|selfMeterWhiff=3 | |||
|selfMeterHit=25 | |||
|selfMeterBlock=3 | |||
|oppMeterHit=6 | |||
|oppMeterBlock=0 | |||
|description= | |description= | ||
{{3S Button FAT|link=https://fullmeter.com/fatonline/#/framedata/movedetail/3S/Ken/normal/MK%20Air%20Tatsumaki%20Senpukyaku}} | {{3S Button FAT|link=https://fullmeter.com/fatonline/#/framedata/movedetail/3S/Ken/normal/MK%20Air%20Tatsumaki%20Senpukyaku}} | ||
}} | }} | ||
| Line 1,690: | Line 1,763: | ||
|startup=7 | |startup=7 | ||
|active=8 | |active=8 | ||
| | |recovery= | ||
| | |onBlock=-6~+1 | ||
|onHit=-6~+1 | |onHit=-6~+1 | ||
|onHitCrouch=-1~+1 | |onHitCrouch=-1~+1 | ||
| | |damage=40 | ||
|stun=13 | |stun=13 | ||
|karaDistance= | |||
|guard=H | |||
|parry=H | |||
|cancelOptions= | |||
|selfMeterWhiff=4 | |||
|selfMeterHit=26 | |||
|selfMeterBlock=3 | |||
|oppMeterHit=6 | |||
|oppMeterBlock=0 | |||
|description= | |description= | ||
{{3S Button FAT|link=https://fullmeter.com/fatonline/#/framedata/movedetail/3S/Ken/normal/HK%20Air%20Tatsumaki%20Senpukyaku}} | {{3S Button FAT|link=https://fullmeter.com/fatonline/#/framedata/movedetail/3S/Ken/normal/HK%20Air%20Tatsumaki%20Senpukyaku}} | ||
}} | }} | ||
| Line 1,706: | Line 1,785: | ||
|startup=6 | |startup=6 | ||
|active=13 | |active=13 | ||
|onBlock= | |recovery= | ||
| | |onBlock=-1~+1 | ||
|onHit=D | |||
|onHitCrouch=D | |||
|damage=52 | |damage=52 | ||
|stun=17 | |stun=17 | ||
|karaDistance= | |||
|guard=H | |||
|parry=H | |||
|cancelOptions= | |||
|selfMeterWhiff=-40 | |||
|selfMeterHit=-40 | |||
|selfMeterBlock=-40 | |||
|oppMeterHit=0 | |||
|oppMeterBlock=0 | |||
|description= | |description= | ||
* Tatsu travel is modified by Ken's jump. If he's moving forward, the tatsu goes forward more. If he's moving up, the tatsu goes up more. | |||
* Excellent corner escape, Ken zooms across the entire screen if timed correctly | |||
* Tatsu | |||
* Excellent corner escape | |||
* Can create left/right mixups from a jump in | * Can create left/right mixups from a jump in | ||
* Used in some niche or situational high damage punishes | |||
* In some situations (notably when it hits crossup midscreen) Ken get dash in W shoryu for big damage | * In some situations (notably when it hits crossup midscreen) Ken get dash in W shoryu for big damage | ||
* Easiest / most consistent option in case of crossup is just land 5MK | * Easiest / most consistent option in case of crossup is just land -> 5MK | ||
{{3S Button FAT|link=https://fullmeter.com/fatonline/#/framedata/movedetail/3S/Ken/normal/EX%20Air%20Tatsumaki%20Senpukyaku}} | {{3S Button FAT|link=https://fullmeter.com/fatonline/#/framedata/movedetail/3S/Ken/normal/EX%20Air%20Tatsumaki%20Senpukyaku}} | ||
}} | }} | ||
Revision as of 02:15, 29 March 2025
Introduction
After settling into married life for a couple of years, Ken entered the third Street Fighter tournament. He's a US Martial Artist who trains to keep up with his old friend and rival, Ryu.
As one of the most famous fighting game characters ever, and a popular pick in every Street Fighter game, Ken needs little introduction. He is one of the best characters in the game, with very high meterless damage potential, one of the best anti-airs in the game with EX DP, and one of the best supers with SA3.
Super Arts
SAI (Shoryureppa)
Has good close-range hit confirms, 2 stocks, good damage, and significant invulnerability frames. It is lacking in hit confirms from Ken's long range pokes and overheads.
SAII (Shinryuken)
A fairly good anti-air since you can mash it for lots of hits. Does the most damage out of his supers by a good amount. While it does combo from slightly farther away, it has mostly the same long-range hit confirm problem as SA1. Since it has a single, long bar, this super gives you the least opportunity to use EX moves.
SAIII (Shippujinraikyaku)
The universal choice for good reason. 3 stocks means you have loopable okizeme in addition to plenty of EX meter for fireballs, uppercuts, and air tatsus. Has an absurd number of hit confirms — it links or cancels from just about everything. Extremely fast startup and far range on the first hit lets Ken punish many moves that are usually considered safe, as well as making it one of the best whiff punish tools in the game. It is his lowest damage super, but it's still respectable for a 3 bar super with short meters, and the numerous positives outweigh this one small negative.
Pros & Cons
| Strengths | Weaknesses |
|---|---|
|
|
Character Colors
| Ken #3S_KE | |
|---|---|
| Vitals | |
| Life Points | 1200 |
| Stun Points | 64 |
| Super Art Stock/Size | |
| SA1 | 2/112 |
| SA2 | 1/104 |
| SA3 | 3/80 |
| Ground Movement | |
| Forward Dash duration/distance | 12 (16) (95px) |
| Back Dash duration/distance | 15 (54px) |
| Jumping | |
| Back Jump duration | 42(4+36+2) |
| Neutral Jump duration | 40(4+34+2) |
| Forward Jump duration | 41(4+35+2) |
| Back Super Jump duration | 47(6+39+2) |
| Neutral Super Jump duration | 46(6+38+2) |
| Forward Super Jump duration | 46(6+38+2) |
| Wake up | |
| Wake up duration | 75 |
| Quick rise duration | 48 |
Frame Data
| 3S Frame Data Glossary | |
|---|---|
| Active |
How many frames a move remains active (can hurt opponents) for. Consecutive sets of active frames on a multi-hit move are separated by an asterisk (ex: 3*5). If there is a gap between sets of active frames, the gap is denoted by a number in parentheses (ex: 2(4)2) |
| Attack |
Attack level is L for low attacks (must be blocked crouching), H is for High attacks (which can be blocked high or low) and M for overhead (must be blocked standing). T is for throw attacks (which cannot be blocked). |
| Cancel options |
Available cancel options.
|
| Damage |
Attack damage on hit in life points. Notation may denote multi-hit or "sweet spot" damage values on certain frames. |
| Hit/Block |
These are frame advantage values when the attack hits or is blocked. If the number is positive, then the move will end before the defender can act again. If the number is negative, the defender will be able to act before the attacker and maybe even punish. D refers to knockdown on hit. "Cr. Hit" is an additional frame advantage value denoting if the advantage on hit changes when the defender is being hit while crouching. |
| Kara Range |
Almost all normal attacks can be canceled into a special or a multi-button command within three frames of startup. During that time, some attacks will shift position forward or backward and affect the reach of the special or command accordingly. This is denoted in pixels of range. There are a handful of moves in the game that can be kara-canceled after this initial window and will be denoted as a late kara-cancel. |
| Link |
A combo that is performed by inputting the second move after the first move has completely recovered (as opposed to cancelling the first move's animation). In 3S, the final frame of a move's hitstun allows a character to block a normal or special move, as well as some projectile supers. Therefore, an attack's frame advantage must be 2 frames greater than the followup move's startup in order to link. Ex: a +6 normal can link into a 4f normal/special, or a 5f super. |
| Parry |
This field will show a value of A if the attack can be parried standing or crouching, H if it must be parried standing or L if it must be parried crouching. |
| Recovery |
How many frames it takes for a move to finish after it's been active. |
| Startup |
How many frames it takes before the move becomes 'active' or has a hitbox. 3S uses classic startup notation, which does not include the first active frame. A move with 3 startup becomes active on frame 4. |
| Stun |
Amount of stun added to the opponent's stun bar on hit. |
| Throw range |
Range in pixels from the center of the character to the center of the opponent which allows a grab to connect. |
Standing Normals
5LP (cl)
5LP (far)
5MP (cl)
5MP (far)
5HP (cl)
5HP (far)
5LK
5MK
5HK
Command Normals
4MK
5MK (Hold)
6MK
6HK
Crouching Normals
2LP
2MP
2HP
2LK
2MK
2HK
Jumping Normals
8LP
j.LP
8MP
j.MP
8HP
j.HP
8LK
j.LK
8MK
j.MK
8HK
j.HK
Target Combos
MPHP
| Startup | Active | Recovery | Block | Hit | Cr. Hit | Damage | Stun | Kara | Guard Level | Parry Level |
|---|---|---|---|---|---|---|---|---|---|---|
| 4 | - | - | -2 | 0 | 2 | 7 | 3 | - | HL | H |
| Cancel Options | Self Meter Gain | Whiff | Hit | Block / Tech | Opponent Meter Gain | Hit | Block / Tech | |||
| sp, su | - | 6+1 | 11+1 | 2 | 0 | |||||
| ||||||||||
Throws
LPLK (mash)
4LPLK
6LPLK
Universal Overhead
MPMK
Taunt
HPHK
Special Moves
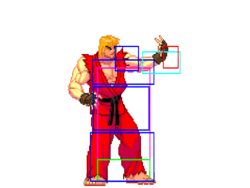
236P
623P
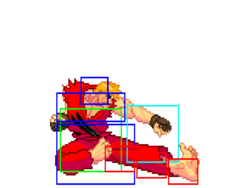
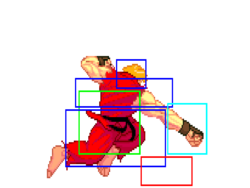
214K
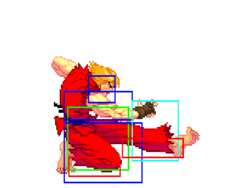
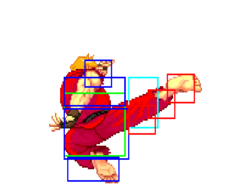
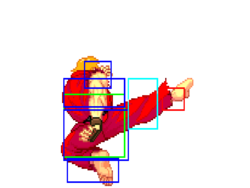
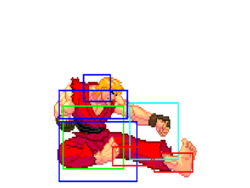
214K (air)


