TheLoudCat (talk | contribs) m (→Combos) |
TheLoudCat (talk | contribs) |
||
| Line 240: | Line 240: | ||
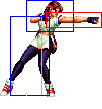
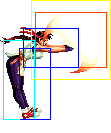
|rowspan="2" colspan="2" | [[image:ExYuri98_qcfP.png|center]] | |rowspan="2" colspan="2" | [[image:ExYuri98_qcfP.png|center]] | ||
|rowspan="2"|'''Ko'ou Ken - qcf + P''' | |rowspan="2"|'''Ko'ou Ken - qcf + P''' | ||
Your main zoning tool and | Your main zoning tool and combo ender. | ||
|- | |- | ||
! qcf + [[image:snkc.gif]] | ! qcf + [[image:snkc.gif]] | ||
| Line 255: | Line 255: | ||
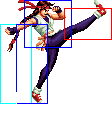
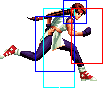
|rowspan="2" colspan="2" | [[image:ExYuri98_qcfK.png|center]] | |rowspan="2" colspan="2" | [[image:ExYuri98_qcfK.png|center]] | ||
|rowspan="2"|'''Raiou Ken - qcf + K''' | |rowspan="2"|'''Raiou Ken - qcf + K''' | ||
B | B is bad. | ||
Use D to punish projectile spammers. | Use D to punish projectile spammers. | ||
|- | |- | ||
| Line 290: | Line 290: | ||
Yuri runs up to the enemy, grabbing them and slaps them | Yuri runs up to the enemy, grabbing them and slaps them | ||
silly. B and D control the distance she runs. | silly. B and D control the distance she runs. | ||
Can be used | Can be used in tick throws once in a while, and in the | ||
unblockable projectile glitch setup. | |||
|- | |- | ||
! hcb + [[image:snkd.gif]] | ! hcb + [[image:snkd.gif]] | ||
| Line 308: | Line 308: | ||
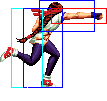
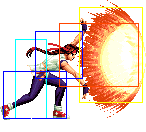
|colspan="2" rowspan="3"| [[image:Yuri98_qcfhcbK.png|center]] | |colspan="2" rowspan="3"| [[image:Yuri98_qcfhcbK.png|center]] | ||
|rowspan="3"|'''Hien Hou'ou Kyaku - qcf hcb + K''' | |rowspan="3"|'''Hien Hou'ou Kyaku - qcf hcb + K''' | ||
Deals great damage. | Deals great damage. Your main combo ender. | ||
|- | |- | ||
! qcf hcb + [[image:snkd.gif]] | ! qcf hcb + [[image:snkd.gif]] | ||
| Line 351: | Line 351: | ||
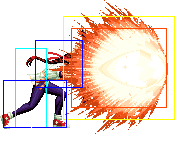
|colspan="2" rowspan="2"| [[image:exYuri98_fhcfP.png|center]] | |colspan="2" rowspan="2"| [[image:exYuri98_fhcfP.png|center]] | ||
|rowspan="3"|'''Haou Shoukou Ken - f hcf + P''' | |rowspan="3"|'''Haou Shoukou Ken - f hcf + P''' | ||
A projectile super, a good punish option. | A projectile super, it's a good punish option. | ||
|- | |- | ||
! f hcf + [[image:snkc.gif]] | ! f hcf + [[image:snkc.gif]] | ||
Revision as of 16:47, 2 October 2022
Introduction
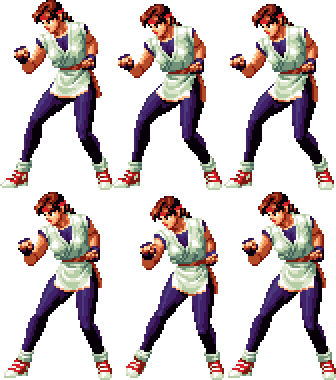
Slap slap slap, clap clap clap.
Colors

|

|

|

|
Gameplay Overview
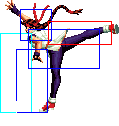
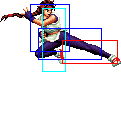
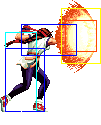
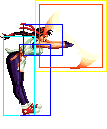
The KOF 94/AoF 2 version of Yuri Sakazaki is a zoning-focused version of the KoF98 Yuri with the Choupa and Slap attack. Her main weakness is that she has no meterless reversal and very limited combo options.
Low-Mid tier character.
In-depth Analysis
Movelist
Normal Throws
- b or f + C -
Breakable. Techable.
- b or f + D -
Breakable. Techable. Back-Turned knockdown.
- In air, b / d / f + C / D -
Techable. Back-Turned knockdown.
Combos
- Best Jump-ins:
- j.C
- j.D (Can crossup.)
- cr.B, cr.A >
- (S)DM qcf qcf + A
- (S)DM qcf hcb + K
- (cr.B (optional), cr.C) / cl.D / cl.C >
- (S)DM qcf qcf + A (Very close.)
- (S)DM qcf hcb + K
- qcb + P (Close)
- qcf + P
- Meterless combos:
- j.C/D > cr.c/cl.c > qcf.A/C (Most reliable one)
- j.D > cl.C > qcb.C (Very close/After crossup)
- With meter:
- st.A/cl.C/cr.C/cl.D/cl.B > qcf + qcf + P
- st.A/cl.C/cr.C/cl.D/cl.B > qcf + hcb + K
Strategy Corner
- MAX: cl.D >
 + P
+ P
deals ??? than
- cl.D >

 + K
+ K
Keep this in mind, when you need to decide whether to trigger MAX or keep meter for a DM.
