TheLoudCat (talk | contribs) No edit summary |
TheLoudCat (talk | contribs) No edit summary |
||
| Line 325: | Line 325: | ||
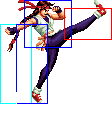
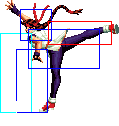
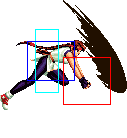
A standard spin kick move. Doesn't knockdown, B is faster, D is slower but | A standard spin kick move. Doesn't knockdown, B is faster, D is slower but | ||
travels a longer distance. Ok for corner carry, but be careful, the second | travels a longer distance. Ok for corner carry, but be careful, the second | ||
hit can whiff. | hit can whiff in combos. | ||
|- | |- | ||
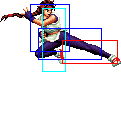
! qcb + [[image:snkd.gif]] | ! qcb + [[image:snkd.gif]] | ||
| Line 373: | Line 373: | ||
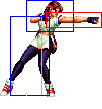
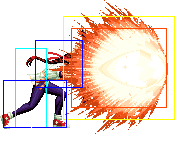
|valign="bottom" rowspan="3" style="border-left:0px;"| [[image:Yuri98_qcfx2P5.png|center]] | |valign="bottom" rowspan="3" style="border-left:0px;"| [[image:Yuri98_qcfx2P5.png|center]] | ||
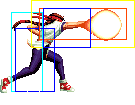
|rowspan="3"|'''Hien Rekkou (qcf qfc + P)''' | |rowspan="3"|'''Hien Rekkou (qcf qfc + P)''' | ||
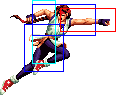
Good meter combo ender, do this | Good meter combo ender, do this when you need to reversal or you're really | ||
close to the enemy. | |||
Has invinicibility. | Has invinicibility. | ||
|- | |- | ||
| Line 395: | Line 396: | ||
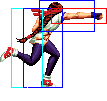
|rowspan="2" colspan="5"| [[image:Yuri98_fhcfP.png|center]] | |rowspan="2" colspan="5"| [[image:Yuri98_fhcfP.png|center]] | ||
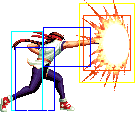
|rowspan="3"|'''Haou Shoukou Ken (f hcf + P)''' | |rowspan="3"|'''Haou Shoukou Ken (f hcf + P)''' | ||
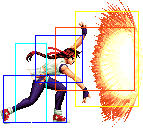
A | A projectile super, a good punish move. | ||
|- | |- | ||
! f hcf + [[image:snkc.gif]] | ! f hcf + [[image:snkc.gif]] | ||
Revision as of 05:14, 22 March 2022
Introduction
She has a balanced moveset and is a lightweight character based on rushdown strategies, her main weakness is that a lot of her specials have a long recovery and can be unsafe on block.
Low-mid tier character, I recommend using Advanced mode for her.
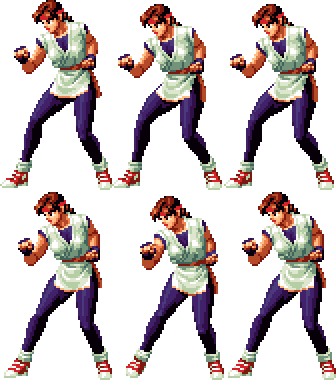
Colors

|

|

|

|
Gameplay Overview
In-depth Analysis
Movelist
Normal Throws
- b or f + C -
- b or f + D -
Breakable. They are average throws.
- In air, b / d / f + C / D -
Fastest Attacks
- 0F: C throw; D throw
- 1F: -
- 2F: cr.C; dp + A
- 3F: cl.A; cl.C; cl.D; st.A; cr.A; cr.B
- 4F: cl.B
- 5F: st.B; DM qcf qcf + A
- 6F: st.C
- 7F: cr.D; qcb + B
- 8F: (S)DM qcf hcb + K
- 9F: -
- 10F: dp + C
Combos
- Best jump-ins:
- j.C
- j.D (Can crossup.)
- cr.B, cr.A, st.A >
- dp + C > dp + C
- qcb + B (Second hit may whiff on some crouchers.)
- cr.B, cr.A >
- (S)DM qcf hcb + K
- DM qcf qcf + A
- dp + C > dp + C
- qcb + B (Second hit may whiff on some crouchers.)
- (cr.B, cr.C) / cl.D / cl.C >
- (S)DM qcf hcb + K
- DM qcf qcf + A (Close.)
- dp + C > dp + C
- qcb + D (Second hit may whiff on some crouchers.)
- qcf + A
- qcb + B (Second hit may whiff on some crouchers.)
- Simple buffers:
- cr.B, st.A / cl.A / cl.B > (S)DM qcf hcf + K
- cr.B, qcf + A/B > hcb + K (As cr.B is not cancelable, qcf + A/B will chain into a normal attack.)
- cr.B, st.A / cl.A / cl.B > (S)DM qcf hcf + K
Strategy Corner
- MAX: cl.D >
 + C >
+ C >  + C
+ C
deals ??? than
- cl.D >

 + K
+ K
Keep this in mind, when you need to decide whether to trigger MAX or keep meter for a DM.
