Introduction
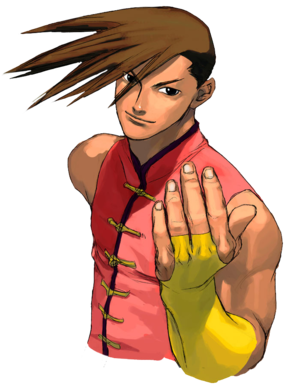
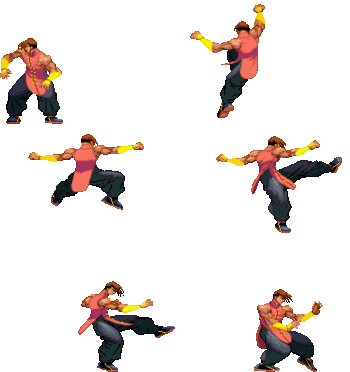
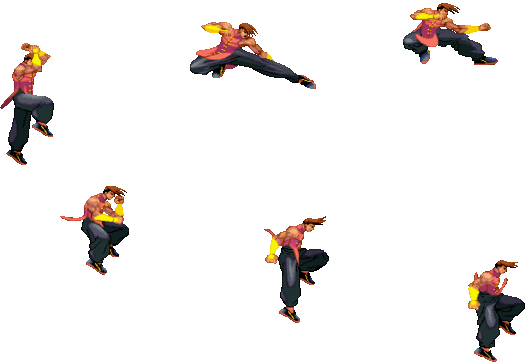
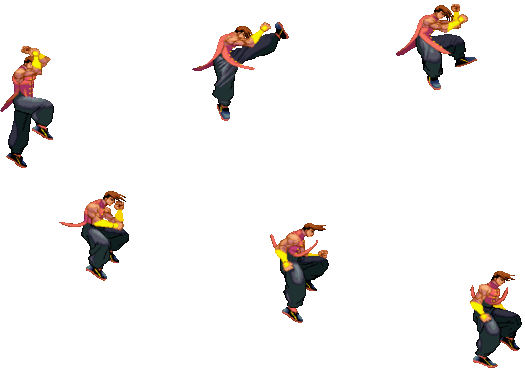
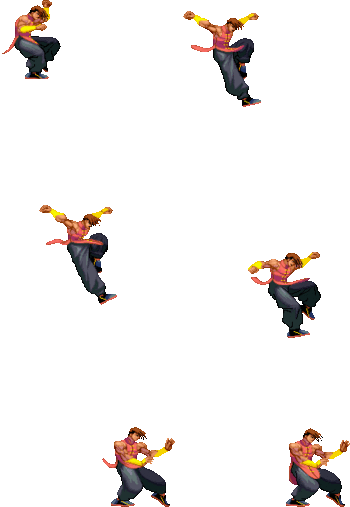
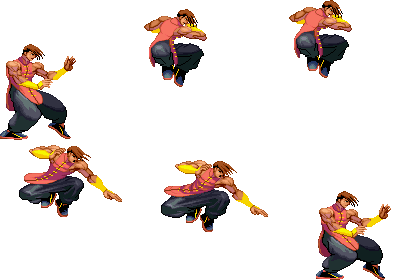
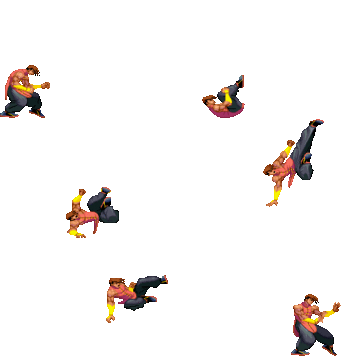
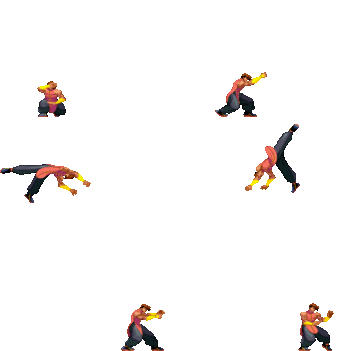
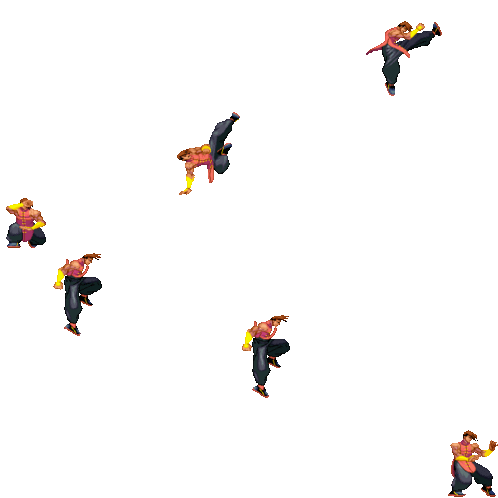
Yang is the younger twin brother of Yun. Yang is an introverted inline skater from Hong Kong. He's skilled in Chinese Kung Fu like his brother. Yang is eager to prove himself, moreso over his brother than anyone else, and can be condescending and sharp mouthed towards his opponents. He first appears in Street Fighter III: New Generation as a palette swap of Yun, before gaining a unique moveset in SF III: 2nd Impact.
Yang has the signature Twins command grab and divekicks, while also having fast walk speed. His pressure is more straightforward than Yun's, using his Rekkas to consolidate his game plan. It can be tough to find an opening out of Yang's pressure as only the final hit of his rekkas are punishable on block. His corner carry is extremely potent, and with his command dash he can create oki situations even if he knocks his opponent far away. He lacks the capability of meterlessly converting off lights, unlike his older brother. Though he has some strong options up close, from a distance he has to commit/gamble more due to slower and punishable ranged options or getting little reward from being unable to convert.
Super Arts
SA1: Raishin Mahhaken
7f startup, fully invincible, single long bar super. It has the same range of Yang's f.HP, deals 74 damage (more than 40%), and is +1 on block. While that sounds nice for a low-damage character like Yang, it's a single bar, meaning you have to avoid using EX slashes if you want the super. It's also slow enough that you can easily parry it after Yang activates, it's difficult to confirm, and loses a hilarious amount of damage in juggles, unlike SA2. The least used super.
SA2: Tenshin Senkyuutai
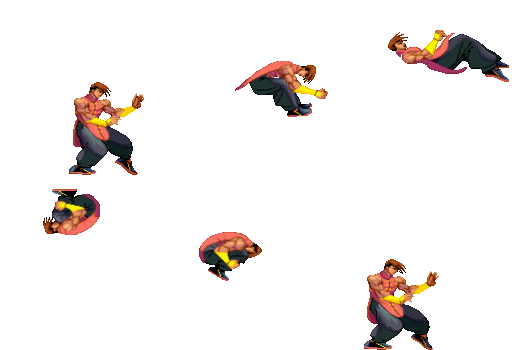
1f startup, invincible, 2 medium bar super. It deals 53 (around 25%) damage, and has Yang rolling the ground, only starting the attack once an opponent is within nearly point blank range. The super itself is pretty decent - easily confirmable from many different hits, it can be used as a reversal, allows for an optional side switch with great oki either way, etc. The real gold of this super however is the tons of meter you get, giving you more EX slashes to store in the back pocket. Generally the super of choice.
SA3: Sei-ei Enbu
Install super with a very short bar - the shortest bar in the game, in fact. The super's effects are more comparable to Rose's Soul Illusion than Custom Combos - all of Yang's moves are copied by two shadows that follow him around. Unfortunately, this super isn't very good for the most part - the main reason is that it only stores 1 EX slash. Additionally, the damage from Seiei Enbu combos scale fast, it doesn't give his normals super priority, and doesn't have much utility in neutral. So what does Yang get in return? It does give him some nice corner pressure off of repeated high/low mixups that he can convert off of easily, similar to Urien's Aegis Reflector. It also has unblockable setups. If the setup is done properly, a crossup divekick shadow hits one side of the opponent, while Yang hits them with a normal from the other, making it a true left/right unblockable. This is only effective against certain tall/wide characters like Hugo and Alex as other characters can potentially parry once and block to safety. This super radically alters Yang's game plan for better and worse, and its complexity and setups make it the preferred super to choose only in a couple of matchups and only once you have a good handle on his setups.
| Strengths | Weaknesses |
|---|---|
|
|
| Yang #3S_YA | |
|---|---|
| Vitals | |
| Life Points | 1020 |
| Stun Points | 64 |
| Super Art Stock/Size | |
| SA1 | 1/120 |
| SA2 | 2/104 |
| SA3 | 1/64 |
| Ground Movement | |
| Forward Dash duration/distance | 23 (27) (133px) |
| Back Dash duration/distance | 29 (31) (174px) |
| Jumping | |
| Back Jump duration | 39(4+33+2) |
| Neutral Jump duration | 39(4+33+2) |
| Forward Jump duration | 39(4+33+2) |
| Back Super Jump duration | 49(6+41+2) |
| Neutral Super Jump duration | 44(6+36+2) |
| Forward Super Jump duration | 44(6+36+2) |
| Wake up | |
| Wake up duration | 57 |
| Quick rise duration | 41 |
| 3S Frame Data Glossary | |
|---|---|
| Active |
How many frames a move remains active (can hurt opponents) for. Consecutive sets of active frames on a multi-hit move are separated by an asterisk (ex: 3*5). If there is a gap between sets of active frames, the gap is denoted by a number in parentheses (ex: 2(4)2) |
| Attack |
Attack level is L for low attacks (must be blocked crouching), H is for High attacks (which can be blocked high or low) and M for overhead (must be blocked standing). T is for throw attacks (which cannot be blocked). |
| Cancel options |
Available cancel options.
|
| Damage |
Attack damage on hit in life points. Notation may denote multi-hit or "sweet spot" damage values on certain frames. |
| Hit/Block |
These are frame advantage values when the attack hits or is blocked. If the number is positive, then the move will end before the defender can act again. If the number is negative, the defender will be able to act before the attacker and maybe even punish. D refers to knockdown on hit. "Cr. Hit" is an additional frame advantage value denoting if the advantage on hit changes when the defender is being hit while crouching. |
| Kara Range |
Almost all normal attacks can be canceled into a special or a multi-button command within three frames of startup. During that time, some attacks will shift position forward or backward and affect the reach of the special or command accordingly. This is denoted in pixels of range. There are a handful of moves in the game that can be kara-canceled after this initial window and will be denoted as a late kara-cancel. |
| Link |
A combo that is performed by inputting the second move after the first move has completely recovered (as opposed to cancelling the first move's animation). In 3S, the final frame of a move's hitstun allows a character to block a normal or special move, as well as some projectile supers. Therefore, an attack's frame advantage must be 2 frames greater than the followup move's startup in order to link. Ex: a +6 normal can link into a 4f normal/special, or a 5f super. |
| Parry |
This field will show a value of A if the attack can be parried standing or crouching, H if it must be parried standing or L if it must be parried crouching. |
| Recovery |
How many frames it takes for a move to finish after it's been active. |
| Startup |
How many frames it takes before the move becomes 'active' or has a hitbox. 3S uses classic startup notation, which does not include the first active frame. A move with 3 startup becomes active on frame 4. |
| Stun |
Amount of stun added to the opponent's stun bar on hit. |
| Throw range |
Range in pixels from the center of the character to the center of the opponent which allows a grab to connect. |
Frame Data
Standing Normals
5LP
5MP (cl)
5MP (far)
5HP (cl)
5HP (far)
5LK
5MK (cl)
5MK (far)
5HK
Command Normals
6MK
6HP (close)
Crouching Normals
2LP
2MP
2HP
2LK
2MK
2HK
Jumping Normals
j.LP
8MP
j.MP
8HP
j.HP
j.LK
8MK
j.MK
j.HK
j.3K
Target Combos
MPHP4HP
| Startup | Active | Recovery | Block | Hit | Cr. Hit | Damage | Stun | Kara | Guard Level | Parry Level |
|---|---|---|---|---|---|---|---|---|---|---|
| 4(close MP)/5(far MP) | - | - | - | - | - | - | - | - | - | - |
| Cancel Options | Self Meter Gain | Whiff | Hit | Block / Tech | Opponent Meter Gain | Hit | Block / Tech | |||
| - | - | - | - | - | - | |||||
|
Two normals into a palm, can be done after either close or far MP, but far tends to fall out during the palm. Has a huge delay window for its hits, which can be good to apply pressure similar to rekkkas. The Palm is super-cancellable, and is one of Yang's main confirms into SA2. | ||||||||||
LKMKHK
| Startup | Active | Recovery | Block | Hit | Cr. Hit | Damage | Stun | Kara | Guard Level | Parry Level |
|---|---|---|---|---|---|---|---|---|---|---|
| - | - | - | - | - | - | - | - | - | - | - |
| Cancel Options | Self Meter Gain | Whiff | Hit | Block / Tech | Opponent Meter Gain | Hit | Block / Tech | |||
| - | - | - | - | - | - | |||||
|
Three standing kicks in quick succession, the c.MK does not launch. The closest thing Yang has to a meterless light ender, but due to the second hit's range it tends to not work in links, and is also generally unrewarding with its low damage and no knockdown unlike SF4. Mostly used as a get-off-me-tool to mash when you're looking to create space during to defense. | ||||||||||
j.MKj.3MK
| Startup | Active | Recovery | Block | Hit | Cr. Hit | Damage | Stun | Kara | Guard Level | Parry Level |
|---|---|---|---|---|---|---|---|---|---|---|
| - | - | - | - | - | - | - | - | - | - | - |
| Cancel Options | Self Meter Gain | Whiff | Hit | Block / Tech | Opponent Meter Gain | Hit | Block / Tech | |||
| - | - | - | - | - | - | |||||
|
Probably the best TC Yang has. It can be used to mess with people attempting parries on your jumpin, can combo as an air-to-air, and is safe when the second hit whiffs due to the downwards momentum. It also works as just a raw jumpin, since it applies a large amount of hitstun and blockstun, giving Yang consistent combos or plus frames. | ||||||||||
Throws
LPLK
4LPLK
6LPLK
Universal Overhead
MPMK
Taunt
HPHK
Special Moves
236P
236K
214P
214PP
623K
63214K
Super Arts
236236P (SA1)
236236K (SA2)
236236P (SA3)
| Startup | Active | Recovery | Block | Hit | Cr. Hit | Damage | Stun | Kara | Guard Level | Parry Level |
|---|---|---|---|---|---|---|---|---|---|---|
| 16 | 300 (5 seconds) | - | - | - | - | - | - | - | - | - |
| Cancel Options | Self Meter Gain | Whiff | Hit | Block / Tech | Opponent Meter Gain | Hit | Block / Tech | |||
| - | - | - | - | - | - | |||||
|
Unlike with Yang's other supers, this version of him is actually very complicated and technical to play. Yang summons multiple shadows that repeat whatever attacks he does with a delay. Naturally this gives him very good corner pressure while the super is active, letting him combo from his overheads, or be + on his normally - or unsafe options. With good execution, this super actually gives Yang access to looping left/right unblockables on many characters that can be hard or impossible to escape. The main issue with SA3 is that it limits Yang down to one EX move's worth of meter, lowering his stun output, which is an issue since SA3 combos are not only low damage, but also can't refund much of the meter like Yun's Genei Jin, limiting his potential from getting hits. On top of that, "imperfect" or mistimed unblockables are easily escapable for a lot of characters with a single parry in either direction, unlike setups by Oro or Urien, limiting his threat further. It has some fun quirks especially when it comes to its tendency to win trades thanks to the shadows, but generally this super is only picked in a few matchups (namely larger characters) by Yang experts, though it can be very fun to experiment with. It's also worth noting that resources on, or footage of, efficient SA3 usage are incredibly scarce (though clips like this exist). A couple of specific notes: The shadow clones inflict 1/4th the damage that Yang's main body does, they always have a block advantage of 0 no matter what move they emulate, and they cannot inflict chip damage. | ||||||||||
