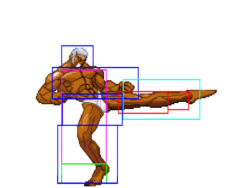
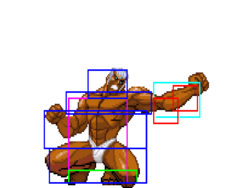
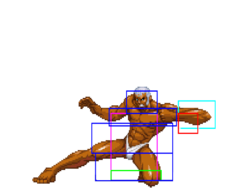
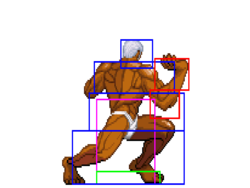
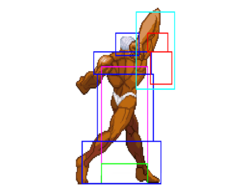
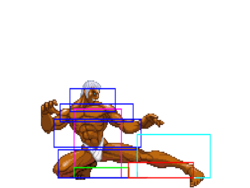
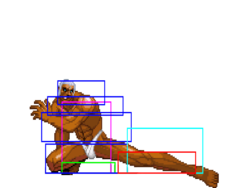
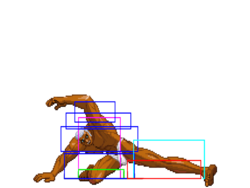
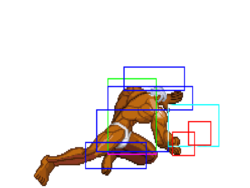
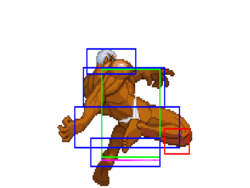
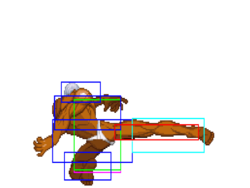
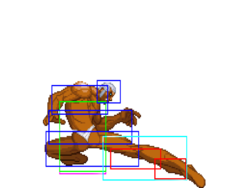
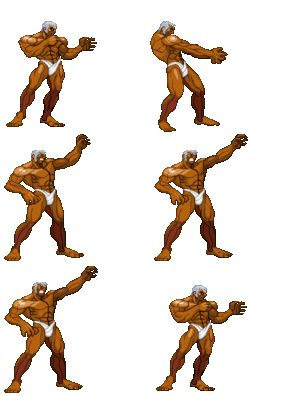
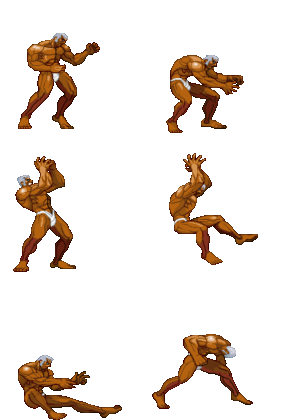
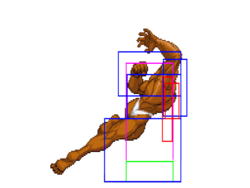
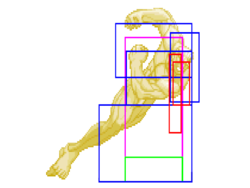
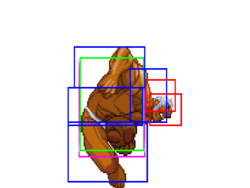
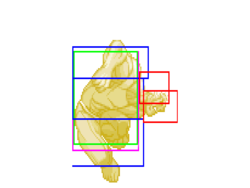
Street Fighter 3: 3rd Strike/Urien/2021

From SuperCombo Wiki

Introduction

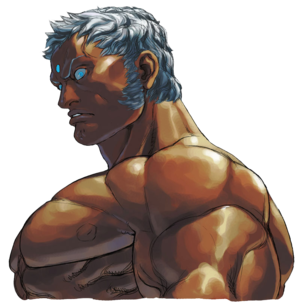
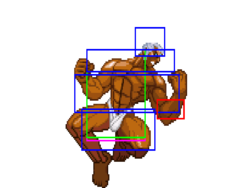
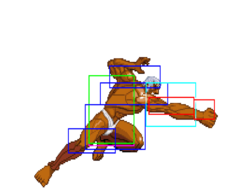
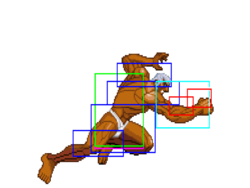
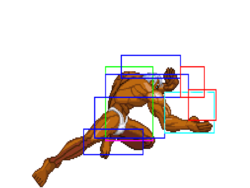
Urien is the second strongest member of the mysterious Secret Society, only outranked by his own brother Gill. He resents his older brother's supremacy and longs to overthrow Gill by any means. Urien was first introduced in Street Fighter III: 2nd Impact

Urien is a character that relies mostly on setups, basic mixups and normal moves. His fundamental game plan is basic, and his normals are unexceptional, but the added threat of Aegis Reflector glues his entire kit together. If you can manage his meter economy, and are willing to learn character-specific setups and combo routes, you can make your opponent's life absolutely miserable. If a basic, solid game plan backed by a nuclear option sounds up your alley, Urien is your character.

Super Arts

SA1: Tyrant Punish

An extremely basic Super Art that can be canceled into from most of Urien's relevant moves. Does great damage, combos easily, and can be used as Urien's only real "good" reversal. Not necessarily good for beginners, however; engaging with Aegis at a basic level will be far more beneficial than getting comfortable with a reversal/raw damage super that is nearly irrelevant at a higher level. If you have no interest in learning anything related to Aegis, maybe this is a worthwhile pick.

SA2: Temporal Thunder

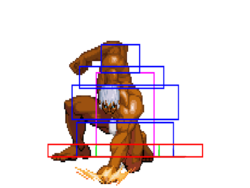
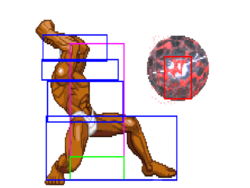
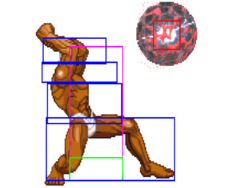
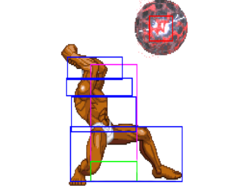
Projectile super art. Launches a blast of electrical energy that eventually weakens into a metallic sphere. Respectable stun output, terrible for anything else. Decent in corner juggles, especially as a stun-oriented reset option, but its utility is both narrow and weak. Doesn't really fill any need to complement Urien's toolkit.

SA3: Aegis Reflector

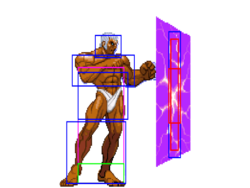
Considered Urien's best Super Art, as well as one of the most (or the most) unique Super Arts in the game. Urien creates a purple shield that will hit 6 times, and remain near stationary once it reaches its destination, with a very slight homing effect towards the opponent's position at the time of deployment.

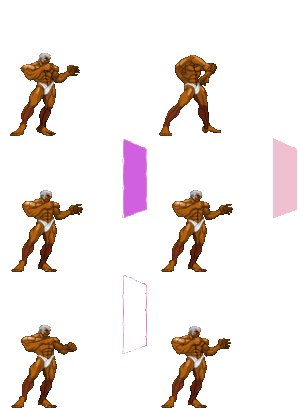
The strength of the P button determines how far it will travel (see 'Positions and Utility' section). Because projectiles must be blocked according to the direction they were deployed from, couple with Urien's high burst mobility, Urien can cross up an opponent and create situations where the opponent is mechanically asked to block both directions at once. This is an unblockable situation; they must parry out or try to do something else to break the setup. Aegis can also be placed directly on or in front of opponents to create mixup situations that range from the mundane (one-time high-low 50/50s) to the insane (repeated high/low/throw mixups with limited escape options). Urien can also cancel his tackles into Aegis, using the Aegis and the added charge time to execute unblockables or high-damage tackle loops.

Because of the Aegis' versatility and 2 super bars, it is considered the best Super Art Urien has.

Strengths Weaknesses
  • Best setup potential in the game with Aegis Reflector. Aegis's applications allow for an unprecedented degree of control and round theft
    • Unblockables in the corner and midscreen
    • Resets, mixups, and lockdown in the corner
    • Huge juggle extensions
    • Potential touches of death on a large amount of characters with full meter
  • Extremely high meterless damage in the corner against most of the cast
  • Good meterless midscreen corner carry
  • Solid meter gain and clear, strong uses for meter
  • Can run an effective neutral game with a small handful of very good moves
  • By far the most mechanical character in the game
    • Requires mastery of a large amount of setups that vary character-to-character and situation-to-situation
    • Makes heavy use of advanced techniques like charge buffering, charge partitioning, alongside generally high execution
  • Launcher- and juggle-based character
    • Your combos and punishes are basically divided into extraordinarily high-damage juggles, or very low-reward single pokes
  • Notably worse character without meter
  • Unblockables are an investment in potential damage, not raw damage
    • Urien lacks direct, immediate ways to cash out huge damage; dropped or escaped setups are hugely costly, in terms of both meter and momentum
Urien
#3S_UR
3S Urien Art.png
Vitals
Life Points 1220
Stun Points 72
Super Art Stock/Size
SA1 2/104
SA2 2/80
SA3 2/88
Ground Movement
Forward Dash duration/distance 15 (17)
(121px)
Back Dash duration/distance 19 (82px)
Jumping
Back Jump duration 38(5+32+1)
Neutral Jump duration 38(5+32+1)
Forward Jump duration 38(5+32+1)
Back Super Jump duration 51(7+43+1)
Neutral Super Jump duration 51(7+43+1)
Forward Super Jump duration 51(7+43+1)
Wake up
Wake up duration 76
Quick rise duration 56
3S Frame Data Glossary
Active

How many frames a move remains active (can hurt opponents) for. Consecutive sets of active frames on a multi-hit move are separated by an asterisk (ex: 3*5). If there is a gap between sets of active frames, the gap is denoted by a number in parentheses (ex: 2(4)2)

Attack

Attack level is L for low attacks (must be blocked crouching), H is for High attacks (which can be blocked high or low) and M for overhead (must be blocked standing). T is for throw attacks (which cannot be blocked).

Cancel options

Available cancel options.

  • "ch": Chain cancel (into itself or another light attack), refer to description for options.
  • "self": Self-only chain cancel. Much more restrictive than a standard chain cancel.
  • "tc": Target combo, refer to description for options. Successive attacks in a target combo may warrant their own move entry.
  • "dash": Grounded dashes.
  • "sj": Super jump.
  • "sp": Special move.
  • "su": Super Art.
Damage

Attack damage on hit in life points. Notation may denote multi-hit or "sweet spot" damage values on certain frames.

Hit/Block

These are frame advantage values when the attack hits or is blocked. If the number is positive, then the move will end before the defender can act again. If the number is negative, the defender will be able to act before the attacker and maybe even punish. D refers to knockdown on hit.

"Cr. Hit" is an additional frame advantage value denoting if the advantage on hit changes when the defender is being hit while crouching.

Kara Range

Almost all normal attacks can be canceled into a special or a multi-button command within three frames of startup. During that time, some attacks will shift position forward or backward and affect the reach of the special or command accordingly. This is denoted in pixels of range. There are a handful of moves in the game that can be kara-canceled after this initial window and will be denoted as a late kara-cancel.

Link

A combo that is performed by inputting the second move after the first move has completely recovered (as opposed to cancelling the first move's animation). In 3S, the final frame of a move's hitstun allows a character to block a normal or special move, as well as some projectile supers. Therefore, an attack's frame advantage must be 2 frames greater than the followup move's startup in order to link. Ex: a +6 normal can link into a 4f normal/special, or a 5f super.

Parry

This field will show a value of A if the attack can be parried standing or crouching, H if it must be parried standing or L if it must be parried crouching.

Recovery

How many frames it takes for a move to finish after it's been active.

Startup

How many frames it takes before the move becomes 'active' or has a hitbox. 3S uses classic startup notation, which does not include the first active frame. A move with 3 startup becomes active on frame 4.

Stun

Amount of stun added to the opponent's stun bar on hit.

Throw range

Range in pixels from the center of the character to the center of the opponent which allows a grab to connect.

Frame Data

Standing Normals

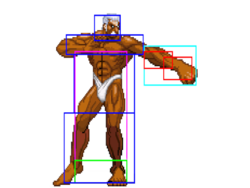
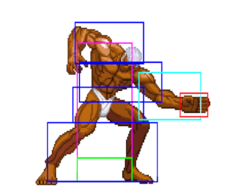
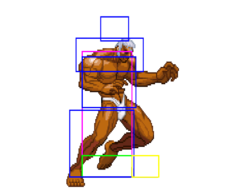
5LP
Stand LP
Lp.png
3s urien st.lp.png
Startup Active Recovery Hit Cr. Hit
4 2 6 +3 +3
Damage Stun Guard Parry Block
3 3 - A +3
  • Cancel options: self ch sp su
  • Self meter gain: Whiff: 0, Hit: 2, Block: 1.
  • Opponent meter gain: Whiff: 0, Hit: 0, Block: 0.
FATonline.png
5MP
Stand MP
Mp.png
3s urien st.mp.png
Startup Active Recovery Hit Cr. Hit
5 5 10 +1 +2
Damage Stun Guard Parry Block
14 9 - H 0
  • Cancel options: sp su
  • Self meter gain: Whiff: 2, Hit: 11, Block: 6.
  • Opponent meter gain: Whiff: 0, Hit: 2, Block: 0.
FATonline.png
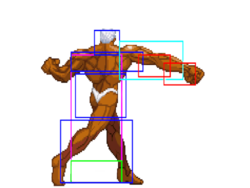
5HP
Stand HP
Hp.png
3s urien st.hp 1.png
Frame 11
3s urien st.hp 2.png
Frames 12-14
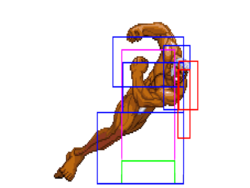
Startup Active Recovery Hit Cr. Hit
10 4 15 -1 +1
Damage Stun Guard Parry Block
23 15 - H -3
  • -6 kara range
  • Self meter gain: Whiff: 3, Hit: 19, Block: 10.
  • Opponent meter gain: Whiff: 0, Hit: 4, Block: 0.
FATonline.png
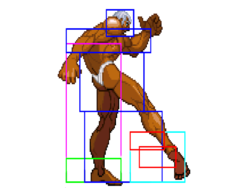
5LK
Stand LK
Lk.png
3s urien st.lk.png
Startup Active Recovery Hit Cr. Hit
5 2 7 +2 +2
Damage Stun Guard Parry Block
5 3 - A +2
  • Cancel options: ch sp su
  • Self meter gain: Whiff: 0, Hit: 2, Block: 1.
  • Opponent meter gain: Whiff: 0, Hit: 0, Block: 0.
FATonline.png
5MK
Stand MK
Mk.png
3s urien st.mk.png
Startup Active Recovery Hit Cr. Hit
8 2 15 -3 -2
Damage Stun Guard Parry Block
14 9 - H -4
  • Self meter gain: Whiff: 2, Hit: 11, Block: 6.
  • Opponent meter gain: Whiff: 0, Hit: 2, Block: 0.
FATonline.png
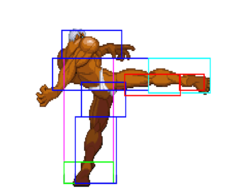
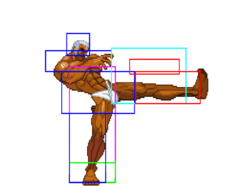
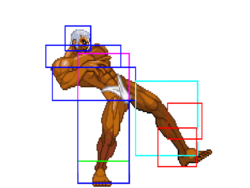
5HK
Stand HK
Hk.png
3s urien st.hk 1.png
Frames 18-20
3s urien st.hk 2.png
Frames 21-22
3s urien st.hk 3.png
Frame 23
Startup Active Recovery Hit Cr. Hit
17 6 20 -5 -3
Damage Stun Guard Parry Block
16 9 - H -7
  • -10 kara range
  • Self meter gain: Whiff: 3, Hit: 17, Block: 7.
  • Opponent meter gain: Whiff: 0, Hit: 4, Block: 0.
FATonline.png


Command Normals

6MP
Quarrel Upper
F.png+Mp.png
3s urien f+mp.png
Startup Active Recovery Hit Cr. Hit
9 2 14 -2 0
Damage Stun Guard Parry Block
14 9 - H -3
  • 4 kara range
  • Self meter gain: Whiff: 2, Hit: 11, Block: 6.
  • Opponent meter gain: Whiff: 0, Hit: 2, Block: 0.
FATonline.png
6HP
Terrible Smash
F.png+Hp.png
3s urien f+hp.png
Startup Active Recovery Hit Cr. Hit
14 1 21 -4 -2
Damage Stun Guard Parry Block
21 3 - H -6
  • Self meter gain: Whiff: 3, Hit: 19, Block: 10.
  • Opponent meter gain: Whiff: 0, Hit: 4, Block: 0.
FATonline.png
6MK
Quarrel Kick
F.png+Mk.png
3s urien f+mk.png
Startup Active Recovery Hit Cr. Hit
16 3 12 -1 0
Damage Stun Guard Parry Block
16 9 - H -2
  • Self meter gain: Whiff: 2, Hit: 11, Block: 6.
  • Opponent meter gain: Whiff: 0, Hit: 2, Block: 0.
FATonline.png


Crouching Normals

2LP
Crouch LP
D.png+Lp.png
3s urien cr.lp.png
Startup Active Recovery Hit Cr. Hit
4 2 7 +1 +1
Damage Stun Guard Parry Block
3 3 - A +1
  • Cancel options: self ch sp su
  • Self meter gain: Whiff: 0, Hit: 2, Block: 1.
  • Opponent meter gain: Whiff: 0, Hit: 0, Block: 0.
FATonline.png
2MP
Crouch MP
D.png+Mp.png
3s urien cr.mp.png
Startup Active Recovery Hit Cr. Hit
11 4 15 -1 0
Damage Stun Guard Parry Block
10 3 - A -2
  • Self meter gain: Whiff: 2, Hit: 11, Block: 6.
  • Opponent meter gain: Whiff: 0, Hit: 2, Block: 0.
FATonline.png
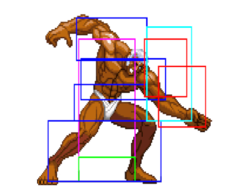
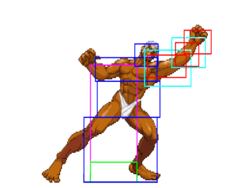
2HP
Crouch HP
D.png+Hp.png
3s urien cr.hp 1.png
Frame 10
3s urien cr.hp 2.png
Frame 11
Startup Active Recovery Hit Cr. Hit
9 2 25 Soft KD Soft KD
Damage Stun Guard Parry Block
18 9 - A -10
  • Cancel options: sp su
  • 2 kara range
  • Self meter gain: Whiff: 3, Hit: 18, Block: 8.
  • Opponent meter gain: Whiff: 0, Hit: 4, Block: 0.
FATonline.png
2LK
Crouch LK
D.png+Lk.png
3s urien cr.lk.png
Startup Active Recovery Hit Cr. Hit
5 1 9 +1 +1
Damage Stun Guard Parry Block
3 3 - L +1
  • Cancel options: sp su
  • Self meter gain: Whiff: 0, Hit: 2, Block: 1.
  • Opponent meter gain: Whiff: 0, Hit: 0, Block: 0.
FATonline.png
2MK
Crouch MK
D.png+Mk.png
3s urien cr.mk.png
Startup Active Recovery Hit Cr. Hit
7 3 11 +1 +2
Damage Stun Guard Parry Block
12 3 - L 0
  • Self meter gain: Whiff: 2, Hit: 11, Block: 6.
  • Opponent meter gain: Whiff: 0, Hit: 2, Block: 0.
FATonline.png
2HK
Crouch HK
D.png+Hk.png
3s urien cr.hk.png
Startup Active Recovery Hit Cr. Hit
12 3 21 Soft KD Soft KD
Damage Stun Guard Parry Block
17 3 - L -13
  • Self meter gain: Whiff: 3, Hit: 19, Block: 10.
  • Opponent meter gain: Whiff: 0, Hit: 4, Block: 0.
FATonline.png


Jumping Normals

j.LP
Jump LP
U.png/Uf.png+Lp.png
3s urien j.lp.png
Startup Active Recovery Hit Cr. Hit
4 Until Landing - -5~+6 +4~+7
Damage Stun Guard Parry Block
8 7 - H -5~+7
  • Self meter gain: Whiff: 0, Hit: 2, Block: 1.
  • Opponent meter gain: Whiff: 0, Hit: 0, Block: 0.
FATonline.png
j.MP
Jump MP
U.png/Uf.png+Mp.png
3s urien j.mp 1.png
Frame 7
3s urien j.mp 2.png
Frames 8-10
Startup Active Recovery Hit Cr. Hit
6 4 - +3~+10 +9~+10
Damage Stun Guard Parry Block
16 9 - H +3~+10
  • Self meter gain: Whiff: 2, Hit: 11, Block: 6.
  • Opponent meter gain: Whiff: 0, Hit: 2, Block: 0.
FATonline.png
j.HP
Jump HP
U.png/Uf.png+Hp.png
3s urien j.hp 1.png
Frame 8
3s urien j.hp 2.png
Frames 9-10
Startup Active Recovery Hit Cr. Hit
7 3 - +2~+12 +11~+12
Damage Stun Guard Parry Block
23 11 - H +5~+13
  • Self meter gain: Whiff: 3, Hit: 19, Block: 10.
  • Opponent meter gain: Whiff: 0, Hit: 4, Block: 0.
FATonline.png
j.LK
Jump LK
U.png/Uf.png+Lk.png
3s urien j.lk.png
Startup Active Recovery Hit Cr. Hit
4 10 - +2~+12 +11~+12
Damage Stun Guard Parry Block
8 7 - H +5~+13
  • Self meter gain: Whiff: 0, Hit: 2, Block: 1.
  • Opponent meter gain: Whiff: 0, Hit: 0, Block: 0.
FATonline.png
j.MK
Jump MK
U.png/Uf.png+Mk.png
3s urien j.mk.png
Startup Active Recovery Hit Cr. Hit
6 4 - +3~+10 +9~+10
Damage Stun Guard Parry Block
16 9 - H +2~+10
  • Self meter gain: Whiff: 2, Hit: 11, Block: 6.
  • Opponent meter gain: Whiff: 0, Hit: 2, Block: 0.
FATonline.png
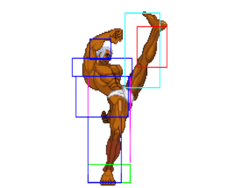
j.HK
Jump HK
U.png/Uf.png+Hk.png
3s urien j.hk.png
Startup Active Recovery Hit Cr. Hit
10 3 - +1~+13 +9~+13
Damage Stun Guard Parry Block
23 11 - H -4~+12
  • Self meter gain: Whiff: 3, Hit: 19, Block: 10.
  • Opponent meter gain: Whiff: 0, Hit: 4, Block: 0.
FATonline.png


Target Combos

MPHP
Target Combo
Lp.png>Mp.png
3s urien st.lp.png
3s urien st.mp.png
Startup Active Recovery Hit Cr. Hit
4 - - 0 +2
Damage Stun Guard Parry Block
7 3 - H -2


Throws

LPLK
Destroy Claw
Lp.png+Lk.png
3s urien lp+lk.png
(uriennt).gif
Startup Active Recovery Hit Cr. Hit
2 1 21 Soft KD Soft KD
Damage Stun Guard Parry Block
15 22 - - -
  • 26 throw range
  • Self meter gain: Whiff: 0, Hit: 8, Block: 0.
  • Opponent meter gain: Whiff: 0, Hit: 2, Block: 0.
FATonline.png
4/6LPK
Spartan Bomb
B.png/F.png+Lp.png+Lk.png
3s urien lp+lk.png
(uriensbft).gif
Startup Active Recovery Hit Cr. Hit
2 1 21 Soft KD Soft KD
Damage Stun Guard Parry Block
24 8 - - -
  • 26 throw range
  • Self meter gain: Whiff: 0, Hit: 8, Block: 0.
  • Opponent meter gain: Whiff: 0, Hit: 2, Block: 0.
FATonline.png


Universal Overhead

MPMK
Elbow Strike
Mp.png+Mk.png
3s urien mp+mk.png
Startup Active Recovery Hit Cr. Hit
15 10 5 0~+8 +1~+9
Damage Stun Guard Parry Block
7 3 - H -5~0
  • Self meter gain: Whiff: 0, Hit: 2, Block: 1.
  • Opponent meter gain: Whiff: 0, Hit: 0, Block: 0.
FATonline.png


Taunts

HPHK
Ground Pound
Hp.png+Hk.png
3s urien hp+hk.png
Startup Active Recovery Hit Cr. Hit
21 3 31 Soft KD Soft KD
Damage Stun Guard Parry Block
1 - - L -15
  • 16 kara range
  • Self meter gain: Whiff: 4, Hit: 6, Block: 5.
  • Opponent meter gain: Whiff: 0, Hit: 0, Block: 0.
FATonline.png


Special Moves

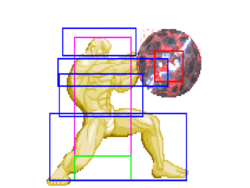
236P
Metallic Sphere
Qcf.png+P.png
3s urien qcf lp.png
Lp.png
3s urien qcf mp.png
Mp.png
3s urien qcf hp.png
Hp.png
3s urien qcf ex.png
Ex.png
LP Startup Active Recovery Hit Cr. Hit
14 - 39 -7 if point blank -7 if point blank
Damage Stun Guard Parry Block
12 3 - H -8
  • Cancel options: su
  • Self meter gain: Whiff: 0, Hit: 2, Block: 1.
  • Opponent meter gain: Whiff: 0, Hit: 0, Block: 0.
FATonline.png
MP Startup Active Recovery Hit Cr. Hit
14 - 35 -3 if point blank -3 if point blank
Damage Stun Guard Parry Block
12 3 - H -4 if point blank
  • Cancel options: su
  • Self meter gain: Whiff: 0, Hit: 2, Block: 1.
  • Opponent meter gain: Whiff: 0, Hit: 0, Block: 0.
FATonline.png
HP Startup Active Recovery Hit Cr. Hit
14 - 28 -3 if point blank -
Damage Stun Guard Parry Block
12 3 - H +3 if point blank
  • Cancel options: su
  • Self meter gain: Whiff: 0, Hit: 2, Block: 1.
  • Opponent meter gain: Whiff: 0, Hit: 0, Block: 0.
FATonline.png
EX Startup Active Recovery Hit Cr. Hit
14 - 55 -15 if point blank -15 if point blank
Damage Stun Guard Parry Block
27 5 - H -16
  • Cancel options: su
  • Self meter gain: Whiff: -40, Hit: -40, Block: -40.
  • Opponent meter gain: Whiff: 0, Hit: 0, Block: 0.
FATonline.png
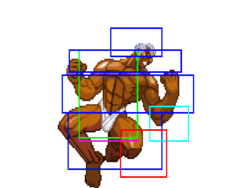
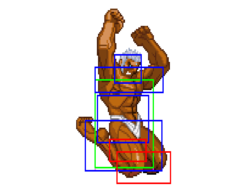
28K
Violence Knee Drop
(hold)D.png~U.png+K.png
3s urien du K.png
Lk.png/Mk.png/Hk.png
3s urien du K.png
Ex.png
Normal Startup Active Recovery Hit Cr. Hit
24 12 7 Soft KD Soft KD
Damage Stun Guard Parry Block
19 11 - H -16
  • Self meter gain: Whiff: 3, Hit: 18, Block: 12.
  • Opponent meter gain: Whiff: 0, Hit: 4, Block: 0.
FATonline.png
EX Startup Active Recovery Hit Cr. Hit
26 5 7 -18~-14 -15
Damage Stun Guard Parry Block
23 17 - H -18~-14
  • Self meter gain: Whiff: -40, Hit: -40, Block: -40.
  • Opponent meter gain: Whiff: 0, Hit: 0, Block: 0.
FATonline.png
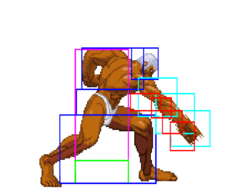
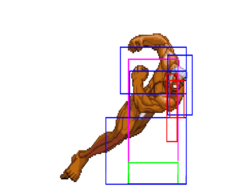
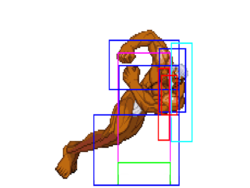
46K
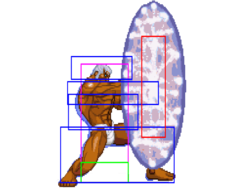
Chariot Tackle
(hold)B.png~F.png+K.png
3s urien bf lk.png
Lk.png
3s urien bf mk.png
Mk.png
3s urien bf hk.png
Hk.png
3s urien bf ex.png
Ex.png
LK Startup Active Recovery Hit Cr. Hit
7 10 25 0 +2
Damage Stun Guard Parry Block
21 7 - H -10
  • Cancel options: su
  • Self meter gain: Whiff: 3, Hit: 19, Block: 10.
  • Opponent meter gain: Whiff: 0, Hit: 4, Block: 0.
FATonline.png
MK Startup Active Recovery Hit Cr. Hit
10 12 26 -1 +1
Damage Stun Guard Parry Block
24 9 - H -11
  • Cancel options: su
  • Self meter gain: Whiff: 3, Hit: 19, Block: 10.
  • Opponent meter gain: Whiff: 0, Hit: 4, Block: 0.
FATonline.png
HK Startup Active Recovery Hit Cr. Hit
13 15 27 -2 0
Damage Stun Guard Parry Block
26 11 - H -12
  • Cancel options: su
  • Self meter gain: Whiff: 3, Hit: 19, Block: 10.
  • Opponent meter gain: Whiff: 0, Hit: 4, Block: 0.
FATonline.png
EX Startup Active Recovery Hit Cr. Hit
6 34 39 +2 +4
Damage Stun Guard Parry Block
29 17 - H -9
  • Cancel options: su
  • Self meter gain: Whiff: -40, Hit: -40, Block: -40.
  • Opponent meter gain: Whiff: 0, Hit: 0, Block: 0.
FATonline.png


28P
Headbutt
(hold)D.png~U.png+P.png
3s urien du P.png
Lp.png/Mp.png/Hp.png
3s urien du p EX.png
Ex.png
LP Startup Active Recovery Hit Cr. Hit
7 2 19 Soft KD Soft KD
Damage Stun Guard Parry Block
21 13 - H -5
  • Self meter gain: Whiff: 3, Hit: 13, Block: 5.
  • Opponent meter gain: Whiff: 0, Hit: 3, Block: 0.
FATonline.png
MP Startup Active Recovery Hit Cr. Hit
9 4 18 Soft KD Soft KD
Damage Stun Guard Parry Block
23 15 - H -6
  • Self meter gain: Whiff: 3, Hit: 13, Block: 5.
  • Opponent meter gain: Whiff: 0, Hit: 3, Block: 0.
FATonline.png
HP Startup Active Recovery Hit Cr. Hit
12 6 19 Soft KD Soft KD
Damage Stun Guard Parry Block
24 17 - H -9
  • Self meter gain: Whiff: 3, Hit: 13, Block: 5.
  • Opponent meter gain: Whiff: 0, Hit: 3, Block: 0.
FATonline.png
EX Startup Active Recovery Hit Cr. Hit
9 4 15 Soft KD Soft KD
Damage Stun Guard Parry Block
27 21 - H -1
  • Self meter gain: Whiff: -40, Hit: -40, Block: -40.
  • Opponent meter gain: Whiff: 0, Hit: 0, Block: 0.
FATonline.png


Super Arts

236236P (SA1)
Tyrant Punish
Qcf.pngQcf.png+P.png (SA1)
3s urien sa1.png
Startup Active Recovery Hit Cr. Hit
1 55 23 Hard KD Hard KD
Damage Stun Guard Parry Block
69 - - - -18
FATonline.png
236236P (SA2)
Temporal Thunder
Qcf.pngQcf.png+P.png (SA2)
3s urien sa2.png
Startup Active Recovery Hit Cr. Hit
1 75 91 Hard KD Hard KD
Damage Stun Guard Parry Block
48 33 - - -36 if point blank
FATonline.png
236236P (SA3)
Aegis Reflector
Qcf.pngQcf.png+P.png (SA3)
3s urien sa3.png
(uriensa3pp).gif
Ex.png
(uriensa3pzones).png
Lp.png/Mp.png/Hp.png
LP/MP/HP Startup Active Recovery Hit Cr. Hit
12/24/32 224/212/204 12 Applies Hard KD effect after you knockdown the opponent Applies Hard KD effect after you knockdown the opponent
Damage Stun Guard Parry Block
23 - - A +65
FATonline.png
EX Startup Active Recovery Hit Cr. Hit
2 238 12 Applies Hard KD effect after you knockdown the opponent Applies Hard KD effect after you knockdown the opponent
Damage Stun Guard Parry Block
23 - - A +46
FATonline.png

3S Navigation

General
Controls
Notation
HUD
Glossary
System
FAQ
Characters
Akuma
Alex
Chun-Li
Dudley
Elena
Hugo
Ibuki
Ken
Makoto
Q
Necro
Oro
Remy
Ryu
Sean
Twelve
Urien
Yang
Yun
Gill