Move List
Normals
| Damage | Guard | Startup | Active | Recovery | FrameAdv |
|---|---|---|---|---|---|
| 13 | Mid | 5 | - | - | -+2 |
|
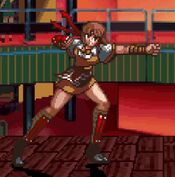
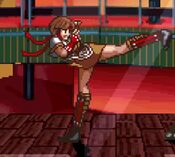
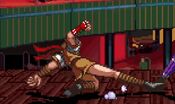
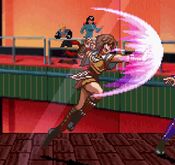
A shin kick with slightly worse frame data than 5LP and no chains or links, but has killer range and is still special cancelable. | |||||
| Damage | Guard | Startup | Active | Recovery | FrameAdv |
|---|---|---|---|---|---|
| 28 | Mid | 7 | - | - | --5 |
|
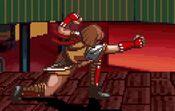
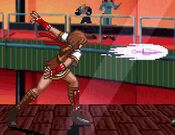
A palm thrust with more range than it looks. Also special cancelable, so you can negate the -5f on block with a fireball. | |||||
| Damage | Guard | Startup | Active | Recovery | FrameAdv |
|---|---|---|---|---|---|
| 8 | Mid | 4 | - | - | -+4 |
|
A very good poke in terms of distance, no chains but it can link into itself (a tougher link than 5LP for sure) and special cancel. | |||||
| Damage | Guard | Startup | Active | Recovery | FrameAdv |
|---|---|---|---|---|---|
| 13 | Low | 3 | - | - | -+4 |
|
The preferred crouching light normal, slightly faster and more damaging than 2LP, still links into itself, but it cant be special cancelled. It can however link into 2LP. | |||||
| Damage | Guard | Startup | Active | Recovery | FrameAdv |
|---|---|---|---|---|---|
| 28 | Mid | 5(->8) | - | - | --9 |
|
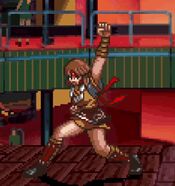
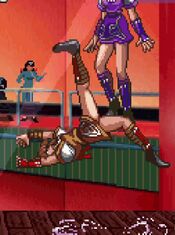
An upward punch on loan from Third Strike Makoto. This has a horizontal hitbox to hit grounded opponents which is good because this is an AWFUL anti-air. Despite how it looks, the hitbox for 2HP is more around Chiho's head than her obviously-outstretched-in-a-way-to-hit-airborne-opponents fist. This will only anti-air people who are super deep in their jump and if you try to use it in a manner more befitting of its animation it will totally whiff on a jumping opponent. No chains, but it can at least special cancel. | |||||
| Damage | Guard | Startup | Active | Recovery | FrameAdv |
|---|---|---|---|---|---|
| 32 | Low | 9 | - | - | --9 |
|
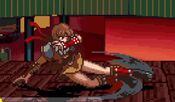
A sweep that doubles as Chiho's OTG pickup tool. | |||||
| Damage | Guard | Startup | Active | Recovery | FrameAdv |
|---|---|---|---|---|---|
| 28 | High | 5 | - | - | - |
|
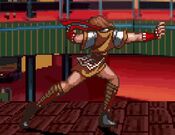
A twisting backfist delivered strictly horizontal, at 5f this is an awesome tool for space control and air to air encounters. | |||||
| Damage | Guard | Startup | Active | Recovery | FrameAdv |
|---|---|---|---|---|---|
| 28 | High | 8 (->12) | - | - | - |
|
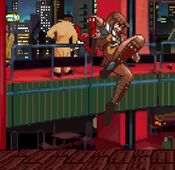
An inside twisting kick with a killer hitbox. This bad boy can cross up very ambiguously and gives enough hitstun for an easy combo conversion when you hit the ground. | |||||
| Damage | Guard | Startup | Active | Recovery | FrameAdv |
|---|---|---|---|---|---|
| 28 | High | 9 | - | - | - |
|
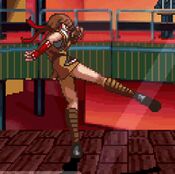
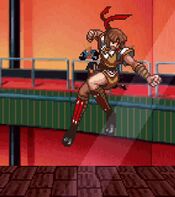
A downward flip kick. It works better for covering the space below you, as the hitbox extends further down, but it is noticeably slower than j.HP. | |||||
Command Normals
| Damage | Guard | Startup | Active | Recovery | FrameAdv |
|---|---|---|---|---|---|
| - | - | - | - | - | - |
|
Classic wall jump, it is worth noting that you can only get a normal jump arc off the wall, no way to super jump off the wall. | |||||
| Damage | Guard | Startup | Active | Recovery | FrameAdv |
|---|---|---|---|---|---|
| - | - | - | - | ||
|
Air throw with decent range. However, use this judiciously, as the long recovery animation, while not punishable in and of itself, leaves Chiho at minus frames. If your opponent is wise to this, they might try to "punish" you with a 0F, so be ready to pop an install or EX Hien Geki in response. | |||||
| Damage | Guard | Startup | Active | Recovery | FrameAdv |
|---|---|---|---|---|---|
| 26 | Mid | 15 | - | - | --13 |
|
A spinning wheel kick command launcher, rough frame data for both startup and block makes this hard to use. | |||||
| Damage | Guard | Startup | Active | Recovery | FrameAdv |
|---|---|---|---|---|---|
| 32 | Low | 6 | - | - | --10~+4 |
|
A low hitting slide kick, does not have the best range to it but if you can space it out to hit at the end it becomes much more advantageous. Very useful in neutral pressure. | |||||
| Damage | Guard | Startup | Active | Recovery | FrameAdv |
|---|---|---|---|---|---|
| 34 | Mid | 9 | - | - | --14 |
|
Advancing knee that launches for a small juggle follow-up. More useful than 3LK because it's faster and can low crush some pokes. | |||||
| Damage | Guard | Startup | Active | Recovery | FrameAdv |
|---|---|---|---|---|---|
| 28 | High | 18 | - | - | --11 |
|
Hopping overhead, kind of like a 3rd Strike UOH. Poor frame data makes it hard to justify using normally, but it becomes an absolute menace while Zanei Jin is active. | |||||
Special Moves
| Damage | Guard | Startup | Active | Recovery | FrameAdv |
|---|---|---|---|---|---|
| 15,30 | Mid | 1 | - | - | -0 |
|
Chiho's command grab. A good option to have, especially since it leads to combos. Has two follow-ups. | |||||
| Damage | Guard | Startup | Active | Recovery | FrameAdv |
|---|---|---|---|---|---|
| 40 | Mid | - | - | - | - |
|
It's an izuna drop. Adds on extra damage and leaves the opponent close to you if you choose not to use the final follow-up | |||||
| Damage | Guard | Startup | Active | Recovery | FrameAdv |
|---|---|---|---|---|---|
| 16 | Mid | - | - | - | - |
|
A final kick that tacks on some extra damage and knocks the opponent far away from you. Leaves them at a distance where you can reliably come in with a sj.LK, so whether or not you use it is up to you. | |||||
Guard Cancels
Super Moves
| Damage | Guard | Startup | Active | Recovery | FrameAdv |
|---|---|---|---|---|---|
| N/A | N/A | 0 | - | - | - |
|
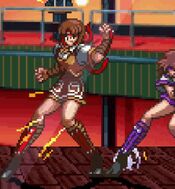
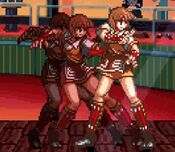
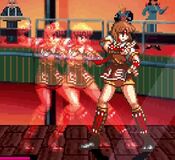
For a limited time, Chiho gains two shadows that duplicate her attacks on a 7F delay. While Zanei Jin is active, she loses access to Genei Jin, as well as her normal throw and her command throw, but she is still able to build super meter at a reduced rate. This super is more or less the crux of Chiho's gameplan, as not only does it give her access to incredibly strong combos, but it also allows her to enforce some suffocating setplay mixups and, occasionally, genuine unblockable setups. The move's nature as an install super also means that Chiho can use it in defensive situations -- specifically, she can activate Zanei Jin in response to a 0F attack during the superflash in order to gain the actionable frames necessary to block it. Additionally, Zanei Jin changes the behaviour of some moves. Shin Kuuga Zan: Gains a second hit only against airborne opponents, but reduces the damage to such a huge degree that the move becomes completely not worth using. | |||||
| Damage | Guard | Startup | Active | Recovery | FrameAdv |
|---|---|---|---|---|---|
| N/A | N/A | 0 | - | - | - |
|
For a limited time, Chiho's movement speed is doubled. While a fair bit more niche in usage compared to Zanei Jin, Genei Jin is still a useful tool in Chiho's repertoire, as it can give her the ability to convert into full combos from ranges she may not otherwise be able to. The movement speed increase also gives her much more versatility in neutral, as it can be used to gain or create space very quickly. Much like Zanei Jin, Genei Jin can also be activated in response to a 0F attack to give Chiho time to block. | |||||
| Damage | Guard | Startup | Active | Recovery | FrameAdv |
|---|---|---|---|---|---|
| 144 | 4 | - | - | -+8 | |
|
Fast super that tracks to the opponent's position, coming down on the opponent with a single attack. These two factors make it an exceptionally good tool for stuffing approaches and even anti-airing, but the trade-off is that the damage is the lowest of any Super in the game, and she risks taking huge damage due to a bug with damage calculation that occurs when the opponent guard cancels the move. Still can be situationally useful, especially since you get a small juggle after if it lands in the corner. Can also be performed with SP1+SP2. | |||||
