No edit summary |
No edit summary |
||
| Line 5: | Line 5: | ||
|hash=AL | |hash=AL | ||
|image=3S_Alex_Art.png | |image=3S_Alex_Art.png | ||
|health= | |health=? | ||
|stun= | |stun=? | ||
|SA1=1/ | |SA1=1/? | ||
|SA2=2/ | |SA2=2/? | ||
|SA3=1/ | |SA3=1/? | ||
|fDash= | |fDash=? | ||
|bDash= | |bDash=? | ||
|nJump= | |nJump=? | ||
|bJump= | |bJump=? | ||
|fJump= | |fJump=? | ||
|nSuperJump= | |nSuperJump=? | ||
|bSuperJump= | |bSuperJump=? | ||
|fSuperJump= | |fSuperJump=? | ||
|wakeupNormal= | |wakeupNormal=? | ||
|wakeupQuick= | |wakeupQuick=? | ||
}} | }} | ||
Revision as of 06:45, 27 April 2022
Introduction
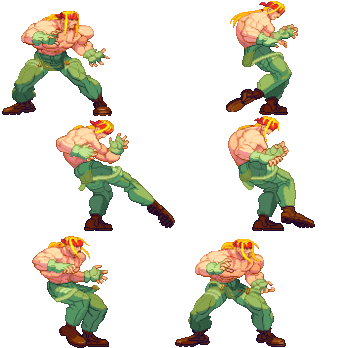
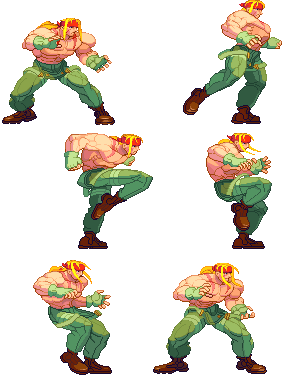
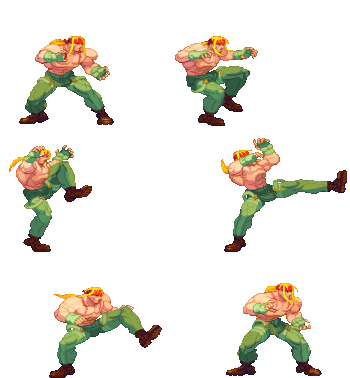
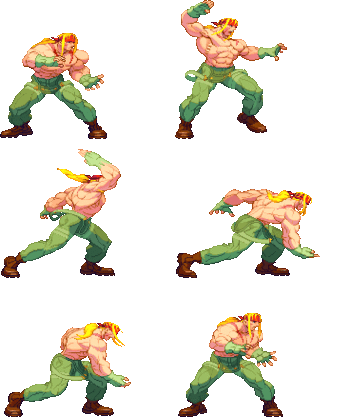
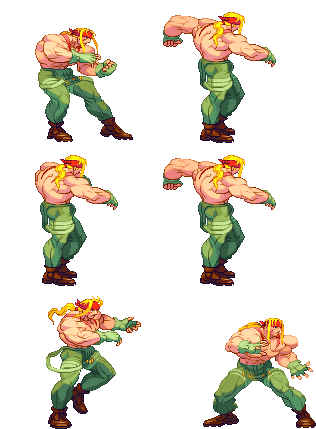
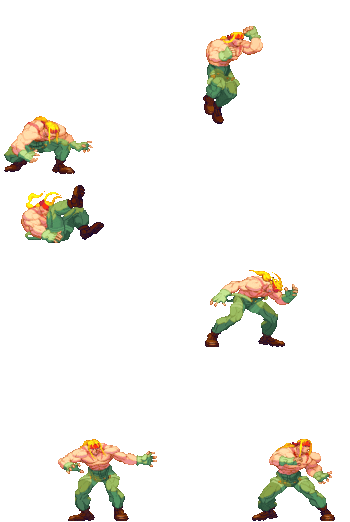
As the new main character of Street Fighter at the time, Alex was created to be another well-rounded character like Ryu and Ken, but also original from the Shoto archetype. As such, he is a semi-grappler who is both strong and decently swift, has good health and can rack up a lot of stun very quickly, with a breadth of various and unique tools to work with. While he may not have many combos or offensive mixups, in the right hands, he can bring down his opponents quicker than anyone else in the game.
Super Arts
SA1: Hyper Bomb
Alex's command grab SPD super. Very high damage and has some useful invul. The startup is not instant which leads to your opponent being able to jump out unless in very specific setups. The only time that it is ever guaranteed is after amp or Fierce Flash Chop. Can be useful against low stamina characters that are very offense oriented as it can frighten their offense as they will explode for overcommitting
SA2: Boomerang Raid
Alex's most obviously useful super, and the general go-to option. With 2 stocks, Alex has more access to his EX moves which make him much strong. Also easy to combo into. One issue is the grab won't connect if the opponent is too far.
SA3: Stun Gun Head-butt
Fairly strong with high damage, and has it's uses vs characters with no anti-airs. Also can punish a blocked Chun crMK, so take that as you will. The Stun Gun Trap is escapable so this super is fairly gimmicky, however it's not very easy to avoid. Has the smallest stock bar of all Alex's SAs which means you have more opportunity to use the SA itself, but less so for EX moves which is a notable downside.
| Strengths | Weaknesses |
|---|---|
|
|
| Alex #3S_AL | |
|---|---|
| Vitals | |
| Life Points | ? |
| Stun Points | ? |
| Super Art Stock/Size | |
| SA1 | 1/? |
| SA2 | 2/? |
| SA3 | 1/? |
| Ground Movement | |
| Forward Dash duration/distance | ? |
| Back Dash duration/distance | ? |
| Jumping | |
| Back Jump duration | ? |
| Neutral Jump duration | ? |
| Forward Jump duration | ? |
| Back Super Jump duration | ? |
| Neutral Super Jump duration | ? |
| Forward Super Jump duration | ? |
| Wake up | |
| Wake up duration | ? |
| Quick rise duration | ? |
| 3S Frame Data Glossary | |
|---|---|
| Active |
How many frames a move remains active (can hurt opponents) for. Consecutive sets of active frames on a multi-hit move are separated by an asterisk (ex: 3*5). If there is a gap between sets of active frames, the gap is denoted by a number in parentheses (ex: 2(4)2) |
| Attack |
Attack level is L for low attacks (must be blocked crouching), H is for High attacks (which can be blocked high or low) and M for overhead (must be blocked standing). T is for throw attacks (which cannot be blocked). |
| Cancel options |
Available cancel options.
|
| Damage |
Attack damage on hit in life points. Notation may denote multi-hit or "sweet spot" damage values on certain frames. |
| Hit/Block |
These are frame advantage values when the attack hits or is blocked. If the number is positive, then the move will end before the defender can act again. If the number is negative, the defender will be able to act before the attacker and maybe even punish. D refers to knockdown on hit. "Cr. Hit" is an additional frame advantage value denoting if the advantage on hit changes when the defender is being hit while crouching. |
| Kara Range |
Almost all normal attacks can be canceled into a special or a multi-button command within three frames of startup. During that time, some attacks will shift position forward or backward and affect the reach of the special or command accordingly. This is denoted in pixels of range. There are a handful of moves in the game that can be kara-canceled after this initial window and will be denoted as a late kara-cancel. |
| Link |
A combo that is performed by inputting the second move after the first move has completely recovered (as opposed to cancelling the first move's animation). In 3S, the final frame of a move's hitstun allows a character to block a normal or special move, as well as some projectile supers. Therefore, an attack's frame advantage must be 2 frames greater than the followup move's startup in order to link. Ex: a +6 normal can link into a 4f normal/special, or a 5f super. |
| Parry |
This field will show a value of A if the attack can be parried standing or crouching, H if it must be parried standing or L if it must be parried crouching. |
| Recovery |
How many frames it takes for a move to finish after it's been active. |
| Startup |
How many frames it takes before the move becomes 'active' or has a hitbox. 3S uses classic startup notation, which does not include the first active frame. A move with 3 startup becomes active on frame 4. |
| Stun |
Amount of stun added to the opponent's stun bar on hit. |
| Throw range |
Range in pixels from the center of the character to the center of the opponent which allows a grab to connect. |
Frame Data
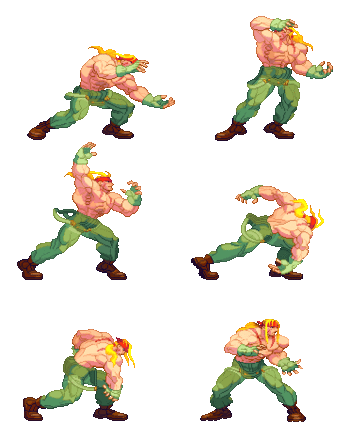
Standing Normals
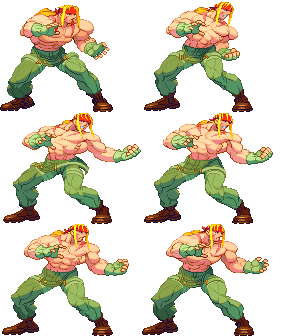
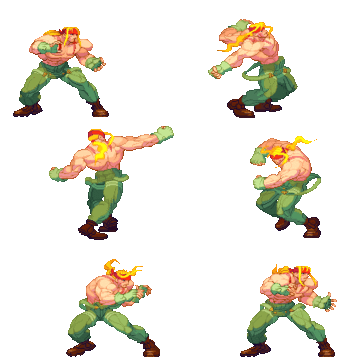
5LP (cl)
5LP (far)
5MP
5HP
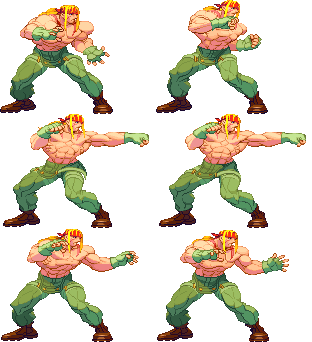
5LK
5MK (cl)
5MK (far)
5HK
Command Normals
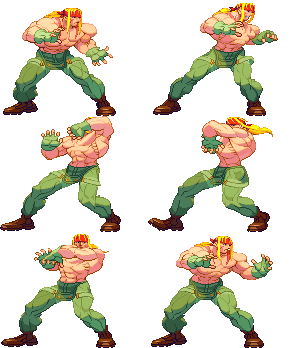
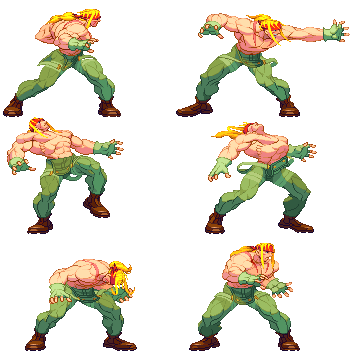
6MP
6HP
4HP
4HP (opp turn, mash)
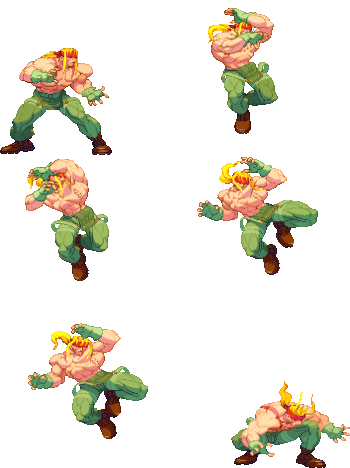
Crouching Normals
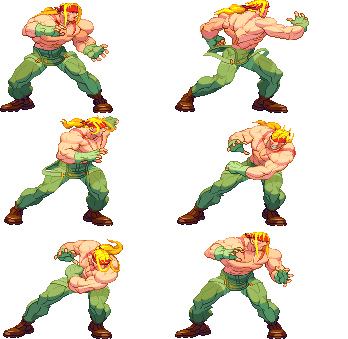
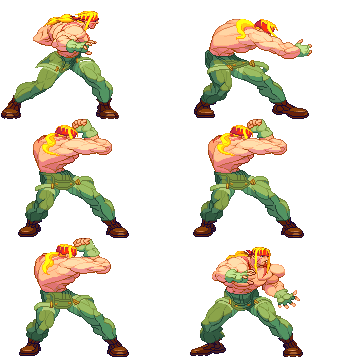
2LP
2MP
2HP
2LK
2MK
2HK
Jumping Normals
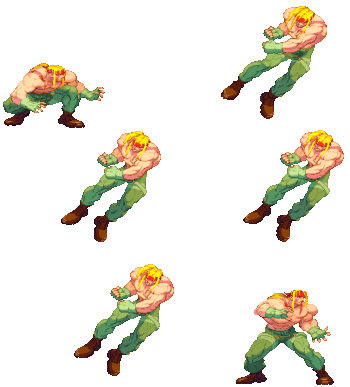
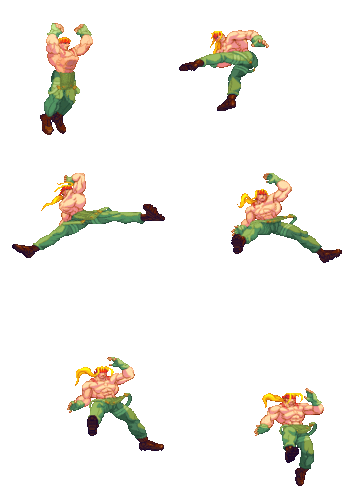
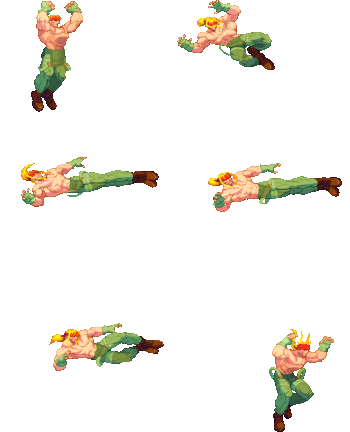
j.LP
j.MP
j.HP
j.LK
j.MK
j.HK
2HP (air)
Target Combos
2LK,2K
2LK,2HK
Throws
LPLK
Universal Overhead
MPMK
Taunt
HPHK
Specials
236P
63214P
63214P (opp turn)
623K
28K
46K
63214K

