SeenConnroy (talk | contribs) m (→Special Moves) |
SeenConnroy (talk | contribs) (→Move List: Edited active frames to include hovertext to prevent congestion in the cell.) |
||
| Line 119: | Line 119: | ||
|guard= Mid | |guard= Mid | ||
|startup=6 | |startup=6 | ||
|active=2 | |active={{Tooltip | text=2| hovertext= 1 hit. 1, 1}} | ||
|recovery=14 | |recovery=14 | ||
|frameAdv=- | |frameAdv=- | ||
| Line 236: | Line 236: | ||
|guard= High | |guard= High | ||
|startup=8 | |startup=8 | ||
|active=6 | |active={{Tooltip | text=6| hovertext= 1 hit. 4, 2}} | ||
|recovery=9 | |recovery=9 | ||
|frameAdv=- | |frameAdv=- | ||
| Line 363: | Line 363: | ||
|damage= | |damage= | ||
|guard= Mid | |guard= Mid | ||
|startup= 8 | |startup=8 | ||
|active=4 | |active=4 | ||
|recovery=14 | |recovery=14 | ||
| Line 399: | Line 399: | ||
|header=no | |header=no | ||
|version={{Motion|41236}} + {{Icon-Capcom|P}}+{{Icon-Capcom|HK}} | |version={{Motion|41236}} + {{Icon-Capcom|P}}+{{Icon-Capcom|HK}} | ||
|damage= ,1 | |damage= X, 1 | ||
|guard= Mid | |guard= Mid | ||
|startup=8 | |startup=8 | ||
Revision as of 16:51, 6 September 2024
Move List
Standing Normals
| Damage | Guard | Startup | Active | Recovery | FrameAdv |
|---|---|---|---|---|---|
| Mid | 4 | 2 | 6 | - | |
|
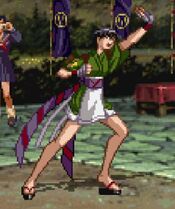
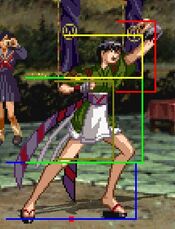
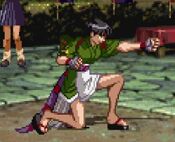
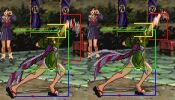
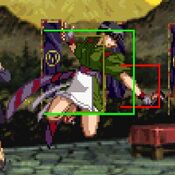
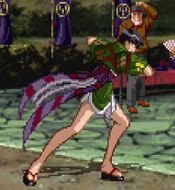
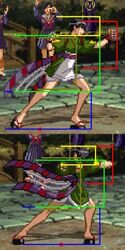
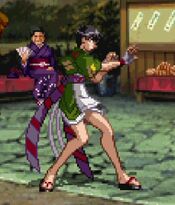
A short elbow jab, the speed and recovery on this bad boy is insane, it has no chains but due to how fast it is it can link into every other standing or crouching normal she has. The range is also much better than what it looks like, albeit still a short jab. Special cancelable. | |||||
| Damage | Guard | Startup | Active | Recovery | FrameAdv |
|---|---|---|---|---|---|
| Mid | 5 | 2 | 13 | - | |
|
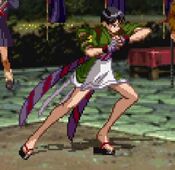
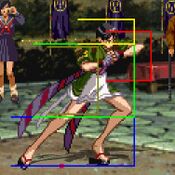
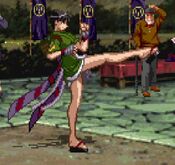
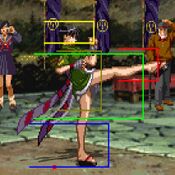
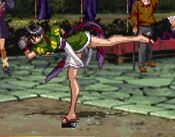
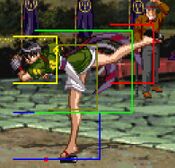
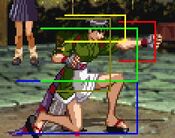
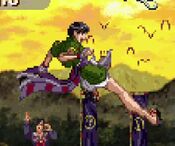
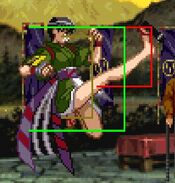
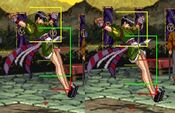
A long front kick, one of Kyoko's best space control and harassment tools as it has quick startup, good range (for a light), and she can link into itself or special cancel it (although linking multiple times will put you out of range for an Ominaeshi). | |||||
| Damage | Guard | Startup | Active | Recovery | FrameAdv |
|---|---|---|---|---|---|
| Mid | 9 | 2 | 16 | - | |
|
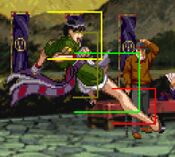
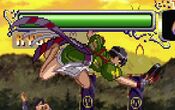
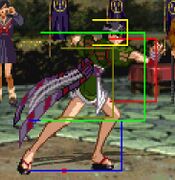
A reverse kick, kinda useless as it actually has less range than stLK and has so much pushback that special cancelling it into Ominaeshi will whiff anywhere but point blank. This will move Kyoko forward a little bit after recovering. | |||||
Crouching Normals
| Damage | Guard | Startup | Active | Recovery | FrameAdv |
|---|---|---|---|---|---|
| Mid | 4 | 2 | 4 | - | |
|
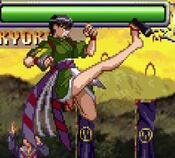
A quick punch, much like its standing version it too can link into every other standing or crouching normal and is special cancellable. | |||||
| Damage | Guard | Startup | Active | Recovery | FrameAdv |
|---|---|---|---|---|---|
| Low | 3 | 2 | 11 | - | |
|
A quick low kick with good range and good recovery, can link into itself and 2LP but does not offer enough hitstun for anything else. Is special cancellable. | |||||
| Damage | Guard | Startup | Active | Recovery | FrameAdv |
|---|---|---|---|---|---|
| Low | 8 | 2 | 14 | - | |
|
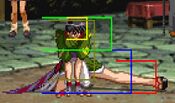
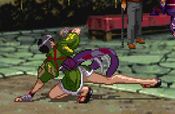
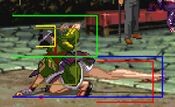
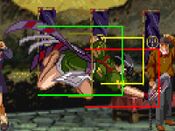
A good sweep, acceptable range, special cancellable, and is her OTG pickup. | |||||
Jumping Normals
| Damage | Guard | Startup | Active | Recovery | FrameAdv |
|---|---|---|---|---|---|
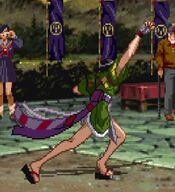
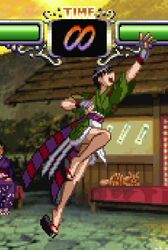
| High | 4 | 14 | 4 | - | |
| Damage | Guard | Startup | Active | Recovery | FrameAdv |
|---|---|---|---|---|---|
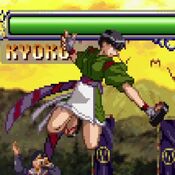
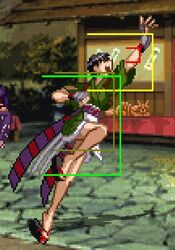
| High | 8 | 6 | 9 | - | |
Command Normals
| Damage | Guard | Startup | Active | Recovery | FrameAdv |
|---|---|---|---|---|---|
| Mid | 6 | 4 | 22 | - | |
|
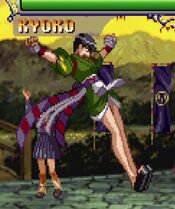
A short-range hook slap, slightly less range than stLP (partially due to the back input). Special cancels, but doesn't really do a whole lot for you compared to any other button that hits at the same range. | |||||
Throws
| Damage | Guard | Startup | Active | Recovery | FrameAdv |
|---|---|---|---|---|---|
|
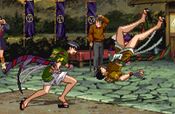
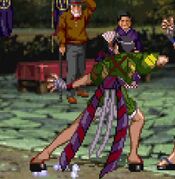
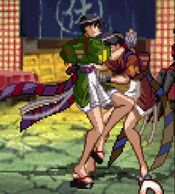
Kyoko throws wrist lock then throws the opponent away from her, does not allow OTG extensions and the recovers slower than most. Useful as a defensive option if you don't want to risk EX Ominaeshi being baited or taking time to input Jinchouge. | |||||
Guard Cancels
Special Moves
Super Moves
| Damage | Guard | Startup | Active | Recovery | FrameAdv |
|---|---|---|---|---|---|
| N/A | 1 | N/A | N/A | - | |
|
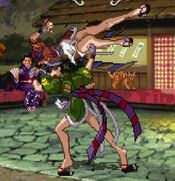
1F command grab super that's unjumpable after the flash. Because of the way the final group of hits work, the best damage will often come from landing this in the center of the screen (not the center of the stage). However, you can combo after this in the corner by following up with Ominaeshi (it will whiff, but Otokoeshi will hit), which you can then extend with a super cancel if you feel like dumping meter. Can also be performed with SP1+SP2. | |||||
