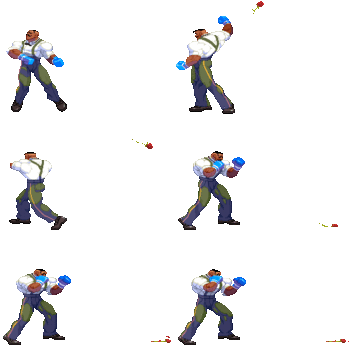
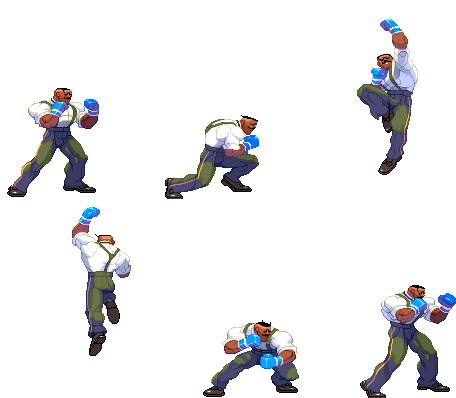
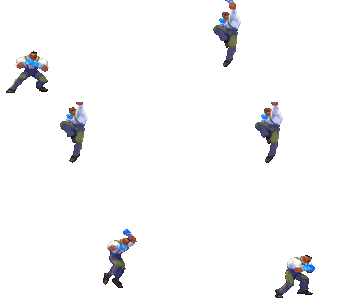
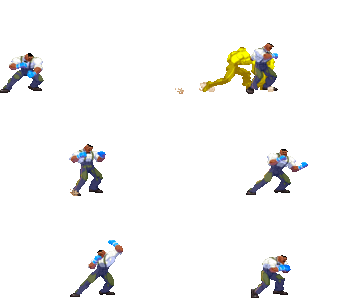
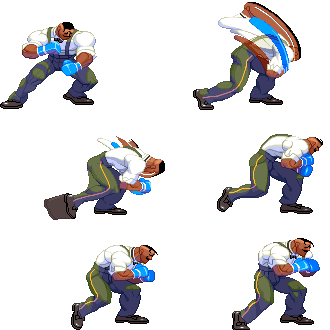
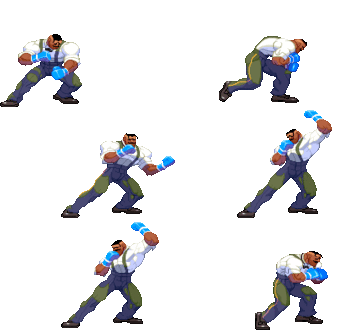
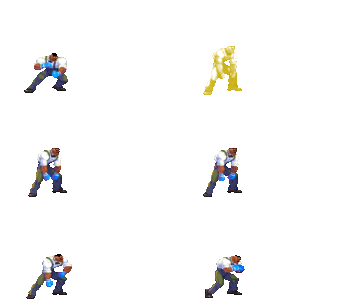
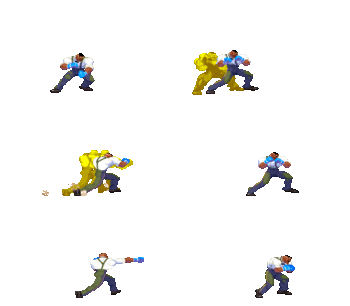
RaVen-ahzi (talk | contribs) (Created page with "{{Infobox Character 3S |name=Dudley |hash=DLY |image=Dudley3sport.gif |health=1200 |stun=64 |SA1=2/80 |SA2=1/104 |SA3=3/128 |fDash=19 |bDash=20 |nJump=39(4+33+2) |bJump=36(4+3...") |
|||
| (25 intermediate revisions by 8 users not shown) | |||
| Line 1: | Line 1: | ||
{{TOClimit|3}} | |||
{{Infobox Character 3S | {{Infobox Character 3S | ||
|name=Dudley | |name=Dudley | ||
|hash= | |hash=DU | ||
|image= | |image=3S_Dudley_Art.png | ||
|health=1200 | |health=1200 | ||
|stun= | |stun=72 | ||
|SA1=2/ | |SA1=2/96 | ||
|SA2=1/ | |SA2=1/112 | ||
|SA3=3/ | |SA3=3/80 | ||
|fDash= | |fDash=18 (111px) | ||
|bDash= | |bDash=19 (95px) | ||
|nJump= | |nJump=38(4+33+1) | ||
|bJump= | |bJump=35(4+30+1) | ||
|fJump= | |fJump=35(4+30+1) | ||
|nSuperJump= | |nSuperJump=39(5+33+1) | ||
|bSuperJump= | |bSuperJump=45(5+39+1) | ||
|fSuperJump= | |fSuperJump=39(5+33+1) | ||
|wakeupNormal=55 | |wakeupNormal=55 | ||
|wakeupQuick=45 | |wakeupQuick=45 | ||
| Line 23: | Line 25: | ||
== Frame Data == | == Frame Data == | ||
====Standing Normals==== | |||
=====<font style="visibility:hidden; float:right">5LP</font>===== | =====<font style="visibility:hidden; float:right">5LP</font>===== | ||
{{MoveData | {{MoveData | ||
| Line 36: | Line 39: | ||
|onHitCrouch=3 | |onHitCrouch=3 | ||
|onBlock=3 | |onBlock=3 | ||
|parry= | |guard=HL | ||
|parry=HL | |||
|damage=3 | |damage=3 | ||
|stun=3 | |stun=3 | ||
| Line 56: | Line 60: | ||
|recovery=10 | |recovery=10 | ||
|onHit=2 | |onHit=2 | ||
|onHitCrouch= | |onHitCrouch=3 | ||
|onBlock=1 | |onBlock=1 | ||
|guard=HL | |||
|parry=H | |parry=H | ||
|damage=10 | |damage=10 | ||
| Line 81: | Line 86: | ||
|onHit=1 | |onHit=1 | ||
|onHitCrouch=3 | |onHitCrouch=3 | ||
|guard=HL | |||
|onBlock=-1 | |onBlock=-1 | ||
|parry=H | |parry=H | ||
| Line 104: | Line 110: | ||
|recovery=8 | |recovery=8 | ||
|onHit=2 | |onHit=2 | ||
|onBlock=2 | |||
|onHitCrouch=2 | |onHitCrouch=2 | ||
| | |guard=HL | ||
|parry= | |parry=HL | ||
|damage=5 | |damage=5 | ||
|stun=3 | |stun=3 | ||
| Line 161: | Line 168: | ||
}} | }} | ||
}} | }} | ||
<br> | |||
<br> | |||
<br> | |||
==== Command Normals ==== | |||
=====<font style="visibility:hidden; float:right">6LP</font>===== | =====<font style="visibility:hidden; float:right">6LP</font>===== | ||
{{MoveData | {{MoveData | ||
| Line 284: | Line 295: | ||
}} | }} | ||
}} | }} | ||
<br> | |||
<br> | |||
<br> | |||
==== Crouching Normals ==== | |||
=====<font style="visibility:hidden; float:right">2LP</font>===== | =====<font style="visibility:hidden; float:right">2LP</font>===== | ||
{{MoveData | {{MoveData | ||
| Line 417: | Line 432: | ||
}} | }} | ||
}} | }} | ||
<br> | |||
<br> | |||
<br> | |||
==== Jumping Normals ==== | |||
*Dudley's jump normals do not change during angled jumps | |||
=====<font style="visibility:hidden; float:right">j.LP</font>===== | =====<font style="visibility:hidden; float:right">j.LP</font>===== | ||
{{MoveData | {{MoveData | ||
| Line 494: | Line 514: | ||
|name=Jump MK | |name=Jump MK | ||
|input={{u}}+{{mk}} | |input={{u}}+{{mk}} | ||
|image=(dudleyjmk). | |image=(dudleyjmk).gif | ||
|data= | |data= | ||
{{AttackData-3S | {{AttackData-3S | ||
| Line 513: | Line 533: | ||
|name=Jump HK | |name=Jump HK | ||
|input={{u}}+{{hk}} | |input={{u}}+{{hk}} | ||
|image=(dudleyjhk). | |image=(dudleyjhk).gif | ||
|data= | |data= | ||
{{AttackData-3S | {{AttackData-3S | ||
| Line 527: | Line 547: | ||
}} | }} | ||
}} | }} | ||
<br> | |||
<br> | |||
<br> | |||
==== Target Combos ==== | |||
=====<font style="visibility:hidden; float:right">None</font>===== | =====<font style="visibility:hidden; float:right">None</font>===== | ||
{{MoveData | {{MoveData | ||
|name=f | |name=f.LP > MP | ||
|image= | |image= | ||
|data= | |data= | ||
{{AttackData-3S | {{AttackData-3S | ||
| Line 541: | Line 565: | ||
=====<font style="visibility:hidden; float:right">None</font>===== | =====<font style="visibility:hidden; float:right">None</font>===== | ||
{{MoveData | {{MoveData | ||
|name=f | |name=f.LP > MP > MK | ||
|image= | |image= | ||
|data= | |data= | ||
{{AttackData-3S | {{AttackData-3S | ||
| Line 552: | Line 576: | ||
=====<font style="visibility:hidden; float:right">None</font>===== | =====<font style="visibility:hidden; float:right">None</font>===== | ||
{{MoveData | {{MoveData | ||
|name= | |name=cr.LK > st.MK | ||
|image= | |image= | ||
|data= | |data= | ||
{{AttackData-3S | {{AttackData-3S | ||
| Line 560: | Line 584: | ||
}} | }} | ||
}} | }} | ||
<br> | |||
<br> | |||
<br> | |||
==== Throws ==== | |||
=====<font style="visibility:hidden; float:right">LPLK (mash)</font>===== | =====<font style="visibility:hidden; float:right">LPLK (mash)</font>===== | ||
{{MoveData | {{MoveData | ||
| Line 598: | Line 626: | ||
}} | }} | ||
}} | }} | ||
<br> | |||
<br> | |||
<br> | |||
==== Universal Overhead ==== | |||
=====<font style="visibility:hidden; float:right">MPMK</font>===== | =====<font style="visibility:hidden; float:right">MPMK</font>===== | ||
{{MoveData | {{MoveData | ||
| Line 623: | Line 655: | ||
<br> | <br> | ||
<br> | <br> | ||
==== Taunt ==== | ==== Taunt ==== | ||
=====<font style="visibility:hidden; float:right">HPHK</font>===== | =====<font style="visibility:hidden; float:right">HPHK</font>===== | ||
| Line 641: | Line 674: | ||
}} | }} | ||
}} | }} | ||
<br> | |||
<br> | |||
<br> | |||
==== Special Moves ==== | |||
=====<font style="visibility:hidden; float:right">623P</font>===== | =====<font style="visibility:hidden; float:right">623P</font>===== | ||
{{MoveData | {{MoveData | ||
| Line 648: | Line 685: | ||
|subtitle=DP | |subtitle=DP | ||
|image=(dudleyjup).gif | |image=(dudleyjup).gif | ||
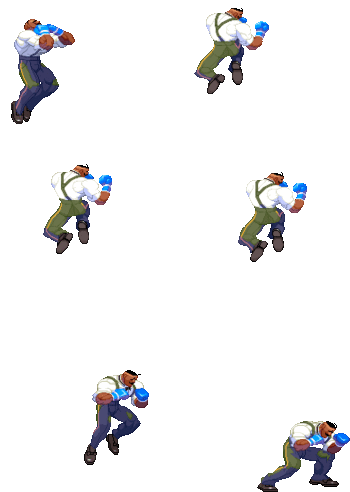
|caption={{lp}} | |caption={{lp}}/{{mp}}/{{hp}} | ||
|image2=(dudleyjupex).gif | |||
|caption2={{ex}} | |||
| | |||
| | |||
|data= | |data= | ||
{{AttackData-3S | {{AttackData-3S | ||
|version=LP | |version=LP | ||
| Line 671: | Line 705: | ||
{{3S Button FAT|link=https://fullmeter.com/fatonline/#/framedata/movedetail/3S/Dudley/normal/LP%20Jet%20Uppercut}} | {{3S Button FAT|link=https://fullmeter.com/fatonline/#/framedata/movedetail/3S/Dudley/normal/LP%20Jet%20Uppercut}} | ||
}} | }} | ||
{{AttackData-3S | {{AttackData-3S | ||
|version=MP | |version=MP | ||
| Line 686: | Line 721: | ||
{{3S Button FAT|link=https://fullmeter.com/fatonline/#/framedata/movedetail/3S/Dudley/normal/MP%20Jet%20Uppercut}} | {{3S Button FAT|link=https://fullmeter.com/fatonline/#/framedata/movedetail/3S/Dudley/normal/MP%20Jet%20Uppercut}} | ||
}} | }} | ||
{{AttackData-3S | {{AttackData-3S | ||
|version=HP | |version=HP | ||
| Line 701: | Line 737: | ||
{{3S Button FAT|link=https://fullmeter.com/fatonline/#/framedata/movedetail/3S/Dudley/normal/HP%20Jet%20Uppercut}} | {{3S Button FAT|link=https://fullmeter.com/fatonline/#/framedata/movedetail/3S/Dudley/normal/HP%20Jet%20Uppercut}} | ||
}} | }} | ||
{{AttackData-3S | {{AttackData-3S | ||
|version=EX | |version=EX | ||
| Line 722: | Line 759: | ||
|input={{hcf}}+{{p}} | |input={{hcf}}+{{p}} | ||
|image=(dudleymgb).gif | |image=(dudleymgb).gif | ||
|caption={{lp}} | |caption={{lp}}/{{mp}}/{{hp}} | ||
|image2=(dudleymgbex).gif | |||
|caption2={{ex}} | |||
| | |||
| | |||
|data= | |data= | ||
{{AttackData-3S | {{AttackData-3S | ||
|version=LP | |version=LP | ||
| Line 744: | Line 778: | ||
{{3S Button FAT|link=https://fullmeter.com/fatonline/#/framedata/movedetail/3S/Dudley/normal/LP%20Machine%20Gun%20Blow}} | {{3S Button FAT|link=https://fullmeter.com/fatonline/#/framedata/movedetail/3S/Dudley/normal/LP%20Machine%20Gun%20Blow}} | ||
}} | }} | ||
{{AttackData-3S | {{AttackData-3S | ||
|version=MP | |version=MP | ||
| Line 758: | Line 793: | ||
{{3S Button FAT|link=https://fullmeter.com/fatonline/#/framedata/movedetail/3S/Dudley/normal/MP%20Machine%20Gun%20Blow}} | {{3S Button FAT|link=https://fullmeter.com/fatonline/#/framedata/movedetail/3S/Dudley/normal/MP%20Machine%20Gun%20Blow}} | ||
}} | }} | ||
{{AttackData-3S | {{AttackData-3S | ||
|version=HP | |version=HP | ||
| Line 772: | Line 808: | ||
{{3S Button FAT|link=https://fullmeter.com/fatonline/#/framedata/movedetail/3S/Dudley/normal/HP%20Machine%20Gun%20Blow}} | {{3S Button FAT|link=https://fullmeter.com/fatonline/#/framedata/movedetail/3S/Dudley/normal/HP%20Machine%20Gun%20Blow}} | ||
}} | }} | ||
{{AttackData-3S | {{AttackData-3S | ||
|version=EX | |version=EX | ||
| Line 853: | Line 890: | ||
|subtitle=Counter | |subtitle=Counter | ||
|image=(dudleycrco).gif | |image=(dudleycrco).gif | ||
|caption={{lp}} | |caption={{lp}}/{{mp}}/{{hp}} | ||
|image2=(dudleyccex).gif | |||
|caption2={{ex}} | |||
| | |||
| | |||
|data= | |data= | ||
{{AttackData-3S | {{AttackData-3S | ||
|version=LP | |version=LP | ||
| Line 866: | Line 900: | ||
|parry=A | |parry=A | ||
|description= | |description= | ||
* If | * If input with HCB,F+LP (Punch & Cross), can be used to perform a standing LP that cancels into Cross Counter on connect. Cancelling into this standing jab can make HK an additional +4 on block/hit/crouching hit, and make all mediums a flat +3/+4/+5 on block/hit/crouching hit. | ||
* This also means that if canceled from standing HK against a crouching opponent who is too short to be hit by the canceled LP, Dudley ends up being +12 instead of +8 and can connect a standing HP afterwards (which can be canceled into super). | |||
{{3S Button FAT|link=https://fullmeter.com/fatonline/#/framedata/movedetail/3S/Dudley/normal/LP%20Cross%20Counter}} | {{3S Button FAT|link=https://fullmeter.com/fatonline/#/framedata/movedetail/3S/Dudley/normal/LP%20Cross%20Counter}} | ||
}} | }} | ||
{{AttackData-3S | {{AttackData-3S | ||
|version=MP | |version=MP | ||
| Line 874: | Line 910: | ||
|parry=A | |parry=A | ||
|description= | |description= | ||
* If | * If input with HCB,F+MP (Punch & Cross), can be used to perform a standing MP that cancels into Cross Counter on connect | ||
{{3S Button FAT|link=https://fullmeter.com/fatonline/#/framedata/movedetail/3S/Dudley/normal/MP%20Cross%20Counter}} | {{3S Button FAT|link=https://fullmeter.com/fatonline/#/framedata/movedetail/3S/Dudley/normal/MP%20Cross%20Counter}} | ||
}} | }} | ||
{{AttackData-3S | {{AttackData-3S | ||
|version=HP | |version=HP | ||
| Line 882: | Line 919: | ||
|parry=A | |parry=A | ||
|description= | |description= | ||
* If | * If input with HCB,F+HP (Punch & Cross), can be used to perform a standing HP that cancels into Cross Counter on connect | ||
{{3S Button FAT|link=https://fullmeter.com/fatonline/#/framedata/movedetail/3S/Dudley/normal/HP%20Cross%20Counter}} | {{3S Button FAT|link=https://fullmeter.com/fatonline/#/framedata/movedetail/3S/Dudley/normal/HP%20Cross%20Counter}} | ||
}} | }} | ||
{{AttackData-3S | {{AttackData-3S | ||
|version=EX | |version=EX | ||
| Line 890: | Line 928: | ||
|parry=A | |parry=A | ||
|description= | |description= | ||
* If input with HCB,F+PP (Punch & Cross), can be used to perform a standing HP that cancels into Cross Counter on connect. Consumes meter even if the HP whiffs | |||
{{3S Button FAT|link=https://fullmeter.com/fatonline/#/framedata/movedetail/3S/Dudley/normal/EX%20Cross%20Counter}} | {{3S Button FAT|link=https://fullmeter.com/fatonline/#/framedata/movedetail/3S/Dudley/normal/EX%20Cross%20Counter}} | ||
}} | }} | ||
| Line 900: | Line 939: | ||
|subtitle=Sway Punch | |subtitle=Sway Punch | ||
|image=(dudleyssb).gif | |image=(dudleyssb).gif | ||
|caption={{lk}} | |caption={{lk}}/{{mk}}/{{hk}} | ||
|image2=(dudleyssbex).gif | |||
|caption2={{ex}} | |||
| | |||
| | |||
|data= | |data= | ||
{{AttackData-3S | {{AttackData-3S | ||
|version=LK | |version=LK | ||
| Line 916: | Line 952: | ||
|damage=33 | |damage=33 | ||
|stun=19 | |stun=19 | ||
|onHit=2 | |||
|onHitCrouch=4 | |||
|onBlock=0 | |||
|description= | |description= | ||
* Cancel options: su | * Cancel options: su | ||
* Self meter gain: Whiff: 3, Hit: 17, Block: 12. | * Self meter gain: Whiff: 3, Hit: 17, Block: 12. | ||
* Opponent meter gain: Whiff: 0, Hit: 4, Block: 0. | * Opponent meter gain: Whiff: 0, Hit: 4, Block: 0. | ||
* Backwards movement starts on frame 2. | |||
{{3S Button FAT|link=https://fullmeter.com/fatonline/#/framedata/movedetail/3S/Dudley/normal/LK%20Short%20Swing%20Blow}} | {{3S Button FAT|link=https://fullmeter.com/fatonline/#/framedata/movedetail/3S/Dudley/normal/LK%20Short%20Swing%20Blow}} | ||
}} | }} | ||
{{AttackData-3S | {{AttackData-3S | ||
|version=MK | |version=MK | ||
| Line 930: | Line 971: | ||
|damage=33 | |damage=33 | ||
|stun=19 | |stun=19 | ||
|onHit=2 | |||
|onHitCrouch=4 | |||
|onBlock=0 | |||
|description= | |description= | ||
* Cancel options: su | * Cancel options: su | ||
* Self meter gain: Whiff: 3, Hit: 17, Block: 12. | * Self meter gain: Whiff: 3, Hit: 17, Block: 12. | ||
* Opponent meter gain: Whiff: 0, Hit: 4, Block: 0. | * Opponent meter gain: Whiff: 0, Hit: 4, Block: 0. | ||
* Backwards movement starts on frame 3. | |||
{{3S Button FAT|link=https://fullmeter.com/fatonline/#/framedata/movedetail/3S/Dudley/normal/MK%20Short%20Swing%20Blow}} | {{3S Button FAT|link=https://fullmeter.com/fatonline/#/framedata/movedetail/3S/Dudley/normal/MK%20Short%20Swing%20Blow}} | ||
}} | }} | ||
{{AttackData-3S | {{AttackData-3S | ||
|version=HK | |version=HK | ||
| Line 944: | Line 990: | ||
|damage=33 | |damage=33 | ||
|stun=19 | |stun=19 | ||
|onHit=2 | |||
|onHitCrouch=4 | |||
|onBlock=0 | |||
|description= | |description= | ||
* Cancel options: su | * Cancel options: su | ||
* Self meter gain: Whiff: 3, Hit: 17, Block: 12. | * Self meter gain: Whiff: 3, Hit: 17, Block: 12. | ||
* Opponent meter gain: Whiff: 0, Hit: 4, Block: 0. | * Opponent meter gain: Whiff: 0, Hit: 4, Block: 0. | ||
* Backwards movement starts on frame 4. | |||
{{3S Button FAT|link=https://fullmeter.com/fatonline/#/framedata/movedetail/3S/Dudley/normal/HK%20Short%20Swing%20Blow}} | {{3S Button FAT|link=https://fullmeter.com/fatonline/#/framedata/movedetail/3S/Dudley/normal/HK%20Short%20Swing%20Blow}} | ||
}} | }} | ||
{{AttackData-3S | {{AttackData-3S | ||
|version=EX | |version=EX | ||
| Line 957: | Line 1,008: | ||
|damage=33 | |damage=33 | ||
|stun=22 | |stun=22 | ||
|onHit=KD | |||
|onHitCrouch=KD | |||
|onBlock=-3 | |||
|description= | |description= | ||
* Cancel options: su | * Cancel options: su | ||
* Self meter gain: Whiff: -40, Hit: -40, Block: -40. | * Self meter gain: Whiff: -40, Hit: -40, Block: -40. | ||
* Opponent meter gain: Whiff: 0, Hit: 0, Block: 0. | * Opponent meter gain: Whiff: 0, Hit: 0, Block: 0. | ||
* Invincible frame 1, backwards movement starts on frame 2. | |||
{{3S Button FAT|link=https://fullmeter.com/fatonline/#/framedata/movedetail/3S/Dudley/normal/EX%20Short%20Swing%20Blow}} | {{3S Button FAT|link=https://fullmeter.com/fatonline/#/framedata/movedetail/3S/Dudley/normal/EX%20Short%20Swing%20Blow}} | ||
}} | }} | ||
}} | }} | ||
<br> | |||
<br> | |||
<br> | |||
==== Super Arts ==== | |||
=====<font style="visibility:hidden; float:right">236236P (SA1)</font>===== | =====<font style="visibility:hidden; float:right">236236P (SA1)</font>===== | ||
{{MoveData | {{MoveData | ||
| Line 1,006: | Line 1,065: | ||
{{MoveData | {{MoveData | ||
|name=Rolling Thunder (Hold) | |name=Rolling Thunder (Hold) | ||
|input={{qcf}}{{qcf}}+{{p}} (hold PPP | |input={{qcf}}{{qcf}}+{{p}} (hold 6+PPP) | ||
|subtitle=SA2 (Hold) | |subtitle=SA2 (Hold) | ||
|image= | |image=(dudleysa2).gif | ||
|data= | |data= | ||
{{AttackData-3S | {{AttackData-3S | ||
| Line 1,018: | Line 1,077: | ||
|stun=13 | |stun=13 | ||
|description= | |description= | ||
* Dudley will continue Ducking toward the opponent, extending the range of SA2 at the cost of startup time | |||
{{3S Button FAT|link=https://fullmeter.com/fatonline/#/framedata/movedetail/3S/Dudley/normal/Rolling%20Thunder%20(Hold)}} | {{3S Button FAT|link=https://fullmeter.com/fatonline/#/framedata/movedetail/3S/Dudley/normal/Rolling%20Thunder%20(Hold)}} | ||
}} | }} | ||
| Line 1,033: | Line 1,093: | ||
|active=10 | |active=10 | ||
|recovery=24 | |recovery=24 | ||
|onBlock=-10 | |||
|parry=H | |parry=H | ||
|damage=46 | |damage=46 | ||
|description= | |description= | ||
* Higher strength versions travel farther (1st active frames all have the same range)<br>- The LP version can be useful for anti-airing since it's less likely to go under the opponent | |||
{{3S Button FAT|link=https://fullmeter.com/fatonline/#/framedata/movedetail/3S/Dudley/normal/Corkscrew%20Blow}} | {{3S Button FAT|link=https://fullmeter.com/fatonline/#/framedata/movedetail/3S/Dudley/normal/Corkscrew%20Blow}} | ||
}} | }} | ||
Latest revision as of 15:41, 28 March 2025
Introduction
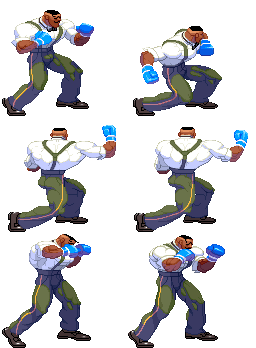
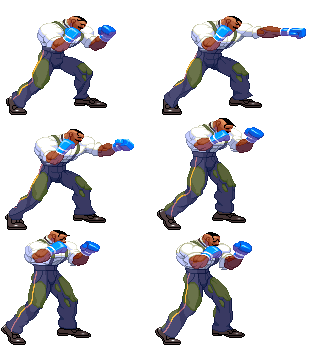
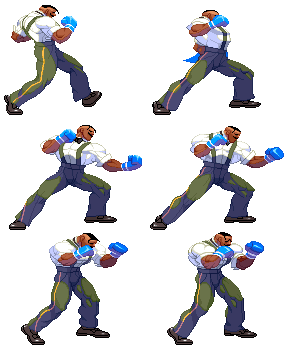
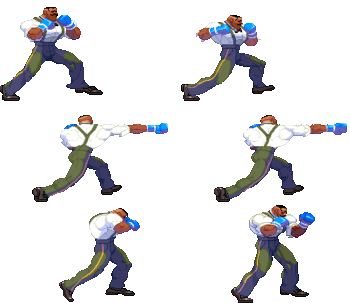
Dudley is an English gentleman boxer who despises dirty fighting and seeks opponents who offer a good, clean match. He is never seen without his beloved blue boxing gloves even while driving, drinking tea, and reading the newpaper. His first appearance was Street Fighter III: New Generation.
Dudley is an incredibly powerful rushdown character, sporting some of the best offense and likely the best mixups in the game, with tons of damage to back it up. He's got an unreactably fast overhead in 6HK, which links into his SAI and SAIII for knockdowns and damage, mixed with a low confirm in 2LK that leads to the same. All of it leads into more offense, which is easily sustained with Dudley's variety of plus normals and Target Combos. This is further accentuated by Ducking (41236K) and Short Swing Blow (63214K), evasive moves that let Dudley dodge attacks and punish.
One of his most attractive features however is his sheer damage output. Dudley has long and flashy juggles from his 2HK launcher and EX Machine Gun Blow (41236PP) that do immense damage. While they are difficult and character specific, they allow Dudley to turn his parries into some of the highest damage in the game with Light Machine Gun Blow loops and his infamous 2HK sweep loops.
This all comes with a few tough issues however. Dudley's hardest problem is his lack of a strong low poke. Many of the top tiers have 2MK normals that cancel into specials and supers while retaining safety, but Dudley lacks one of these or a solid answer to them. He's also quite wide, leaving him vulnerable to high damage combos and confirms. He also struggles to deal with rushdown himself, with 2LP being fast but no reward, and only EX Jet Upper (623PP) being invincible.
Dudley is a high execution rushdown, and while properly mastering his combos and confirms may take some time in training mode, he rewards you with some of the best okizeme and offense 3S has to offer, and the flashiest combos to flex execution with.
Super Arts
SA1: Rocket Uppercut
One of Dudley's two best supers, requires more meter in exchange for more damage. Deals 52 damage to a standing Ken. Favored by specific players, or for specific matchups (gives additional range on the dart shot super link vs Makoto and twins, can be used for burst damage vs characters with low health or who are hard to hit). Opponents can fall out when it's used as a juggle ender midscreen, make sure not to hit them when they're too close or too high up. For example play, Fujiwara is a strong player who nearly always plays SA1.
SA2: Rolling Thunder
Deals 58 damage to a standing Ken. Can be mashed for extra hits, up to 8 total. It's the least popular option as it doesnt combo after juggles, doesn't combo after dart shot (6HK), and only has 1 large stock. Can be used in a similar manner to Ken's SA3.
SA3: Corkscrew Blow
Easiest to use super. Deals 38 damage to a standing Ken. It has 3 stocks and a significantly shorter bar, so you'll have access to super in many more situations. Has no issues with the opponent dropping out if they're hit while airborne; if you do miss one or two hits, it won't significantly impact the oki you get afterwards. LP Corkscrew Blow also deals an obnoxious amount of pushback on block, making it difficult to punish for many characters.
Pros and Cons
| Strengths | Weaknesses |
|---|---|
|
|
| Dudley #3S_DU | |
|---|---|
| Vitals | |
| Life Points | 1200 |
| Stun Points | 72 |
| Super Art Stock/Size | |
| SA1 | 2/96 |
| SA2 | 1/112 |
| SA3 | 3/80 |
| Ground Movement | |
| Forward Dash duration/distance | 18 (111px) |
| Back Dash duration/distance | 19 (95px) |
| Jumping | |
| Back Jump duration | 35(4+30+1) |
| Neutral Jump duration | 38(4+33+1) |
| Forward Jump duration | 35(4+30+1) |
| Back Super Jump duration | 39(5+33+1) |
| Neutral Super Jump duration | 45(5+39+1) |
| Forward Super Jump duration | 39(5+33+1) |
| Wake up | |
| Wake up duration | 55 |
| Quick rise duration | 45 |
| 3S Frame Data Glossary | |
|---|---|
| Active |
How many frames a move remains active (can hurt opponents) for. Consecutive sets of active frames on a multi-hit move are separated by an asterisk (ex: 3*5). If there is a gap between sets of active frames, the gap is denoted by a number in parentheses (ex: 2(4)2) |
| Attack |
Attack level is L for low attacks (must be blocked crouching), H is for High attacks (which can be blocked high or low) and M for overhead (must be blocked standing). T is for throw attacks (which cannot be blocked). |
| Cancel options |
Available cancel options.
|
| Damage |
Attack damage on hit in life points. Notation may denote multi-hit or "sweet spot" damage values on certain frames. |
| Hit/Block |
These are frame advantage values when the attack hits or is blocked. If the number is positive, then the move will end before the defender can act again. If the number is negative, the defender will be able to act before the attacker and maybe even punish. D refers to knockdown on hit. "Cr. Hit" is an additional frame advantage value denoting if the advantage on hit changes when the defender is being hit while crouching. |
| Kara Range |
Almost all normal attacks can be canceled into a special or a multi-button command within three frames of startup. During that time, some attacks will shift position forward or backward and affect the reach of the special or command accordingly. This is denoted in pixels of range. There are a handful of moves in the game that can be kara-canceled after this initial window and will be denoted as a late kara-cancel. |
| Link |
A combo that is performed by inputting the second move after the first move has completely recovered (as opposed to cancelling the first move's animation). In 3S, the final frame of a move's hitstun allows a character to block a normal or special move, as well as some projectile supers. Therefore, an attack's frame advantage must be 2 frames greater than the followup move's startup in order to link. Ex: a +6 normal can link into a 4f normal/special, or a 5f super. |
| Parry |
This field will show a value of A if the attack can be parried standing or crouching, H if it must be parried standing or L if it must be parried crouching. |
| Recovery |
How many frames it takes for a move to finish after it's been active. |
| Startup |
How many frames it takes before the move becomes 'active' or has a hitbox. 3S uses classic startup notation, which does not include the first active frame. A move with 3 startup becomes active on frame 4. |
| Stun |
Amount of stun added to the opponent's stun bar on hit. |
| Throw range |
Range in pixels from the center of the character to the center of the opponent which allows a grab to connect. |
Frame Data
Standing Normals
5LP
5MP
5HP
5LK
5MK
5HK
Command Normals
6LP
6MP
6HP
6MK
6HK
Crouching Normals
2LP
2MP
2HP
2LK
2MK
2HK
Jumping Normals
- Dudley's jump normals do not change during angled jumps
j.LP
j.MP
j.HP
j.LK
j.MK
j.HK
Target Combos
None
None
None
Throws
LPLK (mash)
4LPLK
Universal Overhead
MPMK
Taunt
HPHK
Special Moves
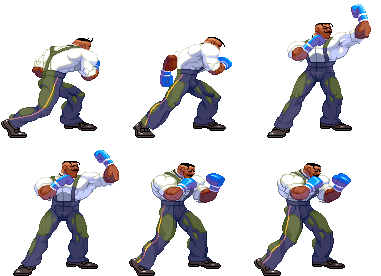
623P
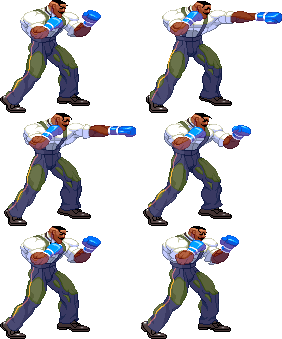
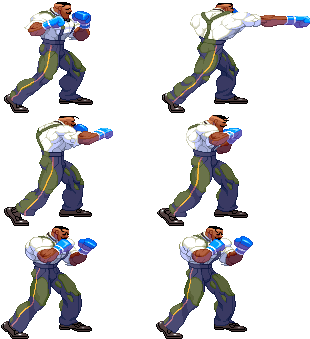
41236P
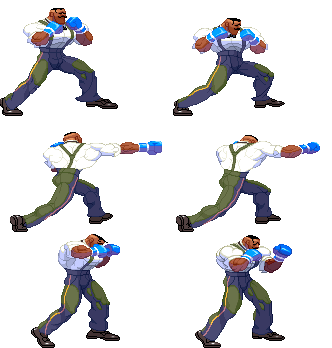
41236K
41236K > P
41236K > K
63214P
63214K

