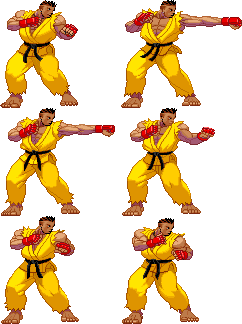
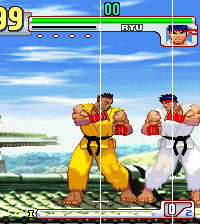
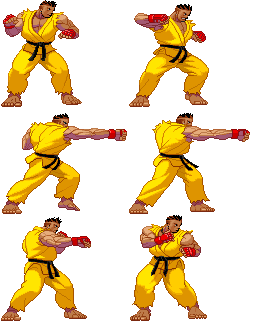
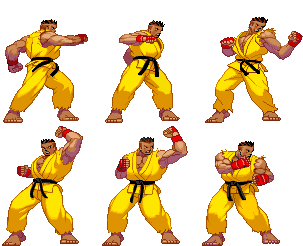
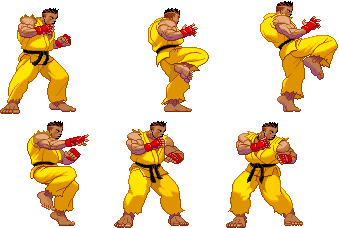
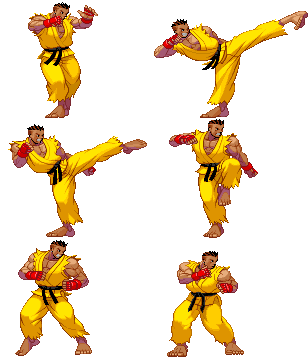
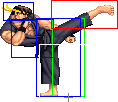
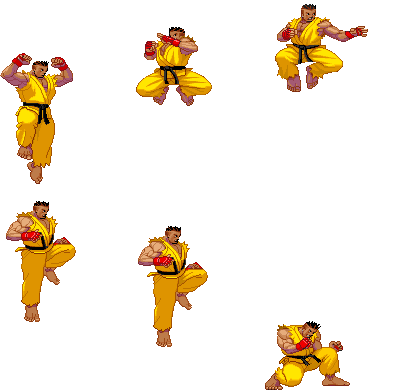
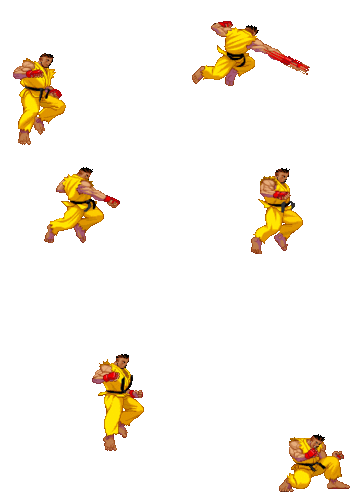
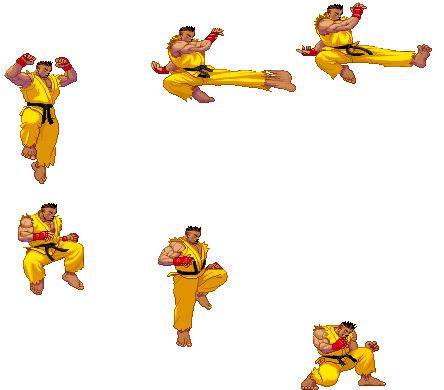
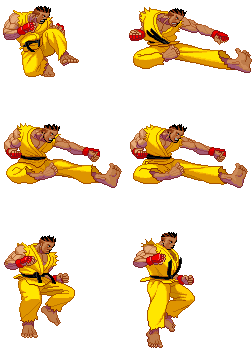
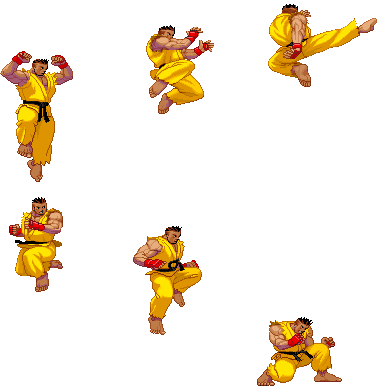
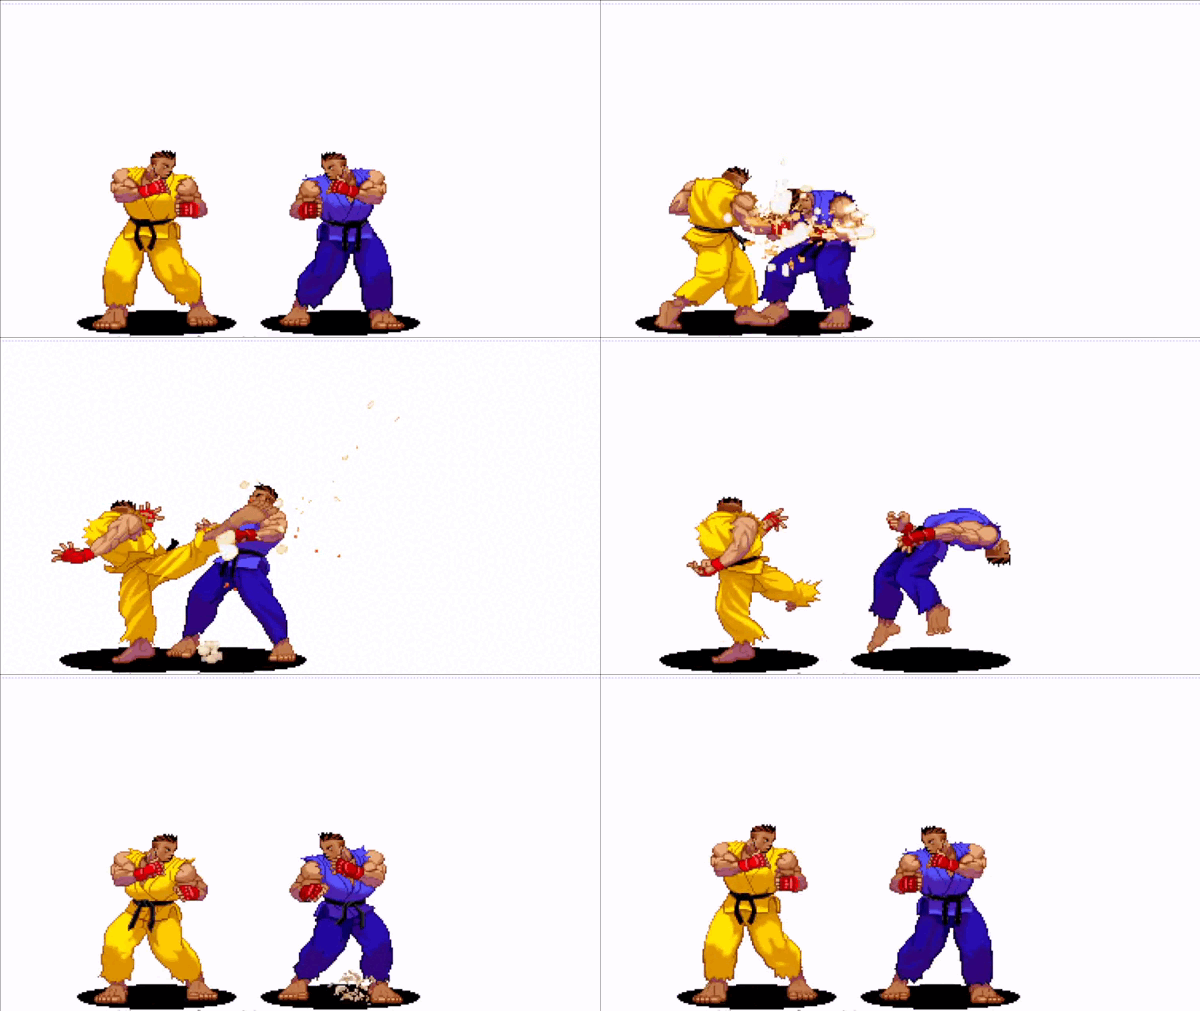
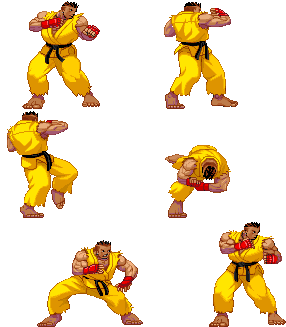
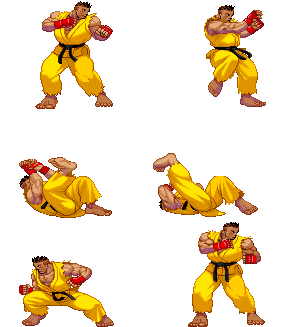
(→236K) |
(→236K) |
||
| Line 1,008: | Line 1,008: | ||
* Self meter gain: Whiff: 3, Hit: 21, Block: 15. | * Self meter gain: Whiff: 3, Hit: 21, Block: 15. | ||
* Opponent meter gain: Whiff: 0, Hit: 6, Block: 0. | * Opponent meter gain: Whiff: 0, Hit: 6, Block: 0. | ||
** Another one of the game's slowest overheads that's even slower than the frame data shows cause it normally hits around 32 frames | |||
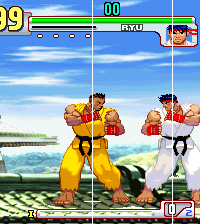
* Another one of the game's slowest overheads that's even slower than the frame data shows cause it normally hits around 32 frames | ** The variation that you'll likely use the most considering it gets safer at max range and its easy to kara into from F+HP. This gives it a good bit of range which further dissuades using the other variations | ||
* The variation that you'll likely use the most considering it gets safer at max range and its easy to kara into from F+HP. This gives it a good bit of range which further dissuades using the other variations | ** The bane of 12's existence | ||
* The bane of 12's existence | ** Insane amount of stun for just a single hit | ||
* Insane amount of stun for just a single hit | ** Can be annoying for your opponent to punish when they block it cause they don't know that it can be made safe on block from reversals | ||
* Can be annoying for your opponent to punish when they block it cause they don't know that it can be made safe on block from reversals | ** Knocks down on air hit which grants the same knockdown as a Dragon Smash (albeit a little less advantage) | ||
* Knocks down on air hit which grants the same knockdown as a Dragon Smash (albeit a little less advantage) | ** Although it can be seen coming a mile away, if your opponent is panicking to get away from you then this has a much higher chance of hitting | ||
* Although it can be seen coming a mile away, if your opponent is panicking to get away from you then this has a much higher chance of hitting | ** Whiffing this occasionally at range can hit your opponent over-extending just to hit you (think like how Yun uses his shoulder in neutral) | ||
* Whiffing this occasionally at range can hit your opponent over-extending just to hit you (think like how Yun uses his shoulder in neutral) | ** Builds the most meter of any of Sean's specials making this another necessary gambit of his | ||
* Builds the most meter of any of Sean's specials making this another necessary gambit of his | ** If this is parried, remember to not land crouch blocking or else you'll eat more damage | ||
* If this is parried, remember to not land crouch blocking or else you'll eat more damage | |||
{{3S Button FAT|link=https://fullmeter.com/fatonline/#/framedata/movedetail/3S/Sean/normal/LK%20Ryuubi%20Kyaku}} | {{3S Button FAT|link=https://fullmeter.com/fatonline/#/framedata/movedetail/3S/Sean/normal/LK%20Ryuubi%20Kyaku}} | ||
}} | }} | ||
| Line 1,035: | Line 1,034: | ||
* Self meter gain: Whiff: 3, Hit: 21, Block: 15. | * Self meter gain: Whiff: 3, Hit: 21, Block: 15. | ||
* Opponent meter gain: Whiff: 0, Hit: 6, Block: 0. | * Opponent meter gain: Whiff: 0, Hit: 6, Block: 0. | ||
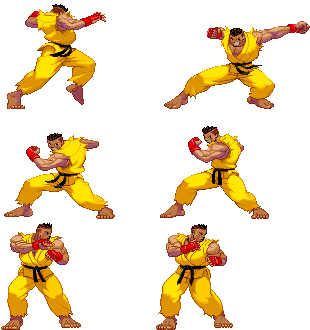
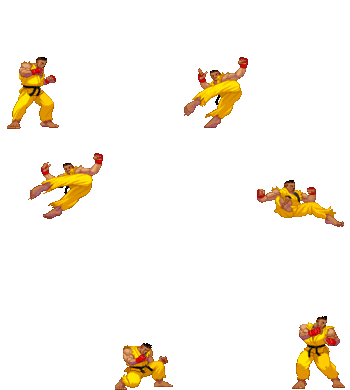
** Used less over the LK version | |||
* Used less over the LK version | ** Can cross-up in special instances like if Sean is able to cross over the opponent in the corner (example: Dudley) | ||
* Can cross-up in special instances like if Sean is able to cross over the opponent in the corner (example: Dudley) | |||
{{3S Button FAT|link=https://fullmeter.com/fatonline/#/framedata/movedetail/3S/Sean/normal/MK%20Ryuubi%20Kyaku}} | {{3S Button FAT|link=https://fullmeter.com/fatonline/#/framedata/movedetail/3S/Sean/normal/MK%20Ryuubi%20Kyaku}} | ||
| Line 1,055: | Line 1,053: | ||
* Self meter gain: Whiff: 3, Hit: 21, Block: 15. | * Self meter gain: Whiff: 3, Hit: 21, Block: 15. | ||
* Opponent meter gain: Whiff: 0, Hit: 6, Block: 0. | * Opponent meter gain: Whiff: 0, Hit: 6, Block: 0. | ||
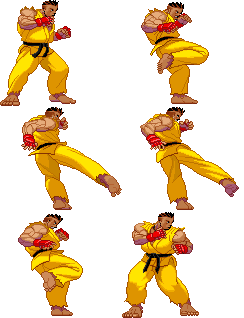
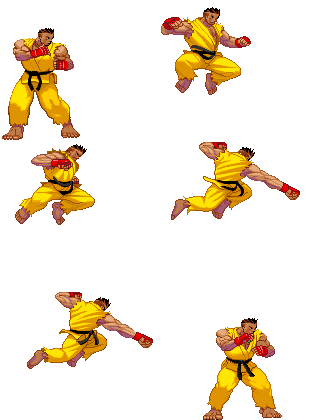
** Covers nearly the full screen and with a kara, it does | |||
* Covers nearly the full screen and with a kara, it does | ** Jump back HK into HK Wheel kick is a well known verse of the Sean Bible™ | ||
* Jump back HK into HK Wheel kick is a well known verse of the Sean Bible™ | ** Same concept of crossing up with MK wheel applies to the HK version as well | ||
* Same concept of crossing up with MK wheel applies to the HK version as well | |||
{{3S Button FAT|link=https://fullmeter.com/fatonline/#/framedata/movedetail/3S/Sean/normal/HK%20Ryuubi%20Kyaku}} | {{3S Button FAT|link=https://fullmeter.com/fatonline/#/framedata/movedetail/3S/Sean/normal/HK%20Ryuubi%20Kyaku}} | ||
| Line 1,076: | Line 1,073: | ||
* Self meter gain: Whiff: -40, Hit: -40, Block: -40. | * Self meter gain: Whiff: -40, Hit: -40, Block: -40. | ||
* Opponent meter gain: Whiff: 0, Hit: 0, Block: 0. | * Opponent meter gain: Whiff: 0, Hit: 0, Block: 0. | ||
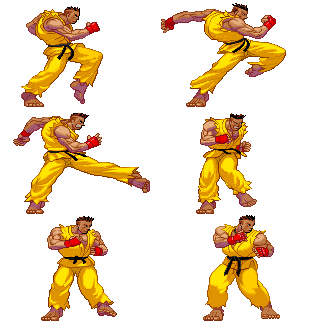
** Off the ground a bit faster than regular versions but for some reason still hits at the same timing while Sean glows yellow | |||
* Off the ground a bit faster than regular versions but for some reason still hits at the same timing while Sean glows yellow | ** On the 6th frame, the lower feet portion of his sprite disappears allowing him to call out delayed lows on wake-up and in neutral | ||
* On the 6th frame, the lower feet portion of his sprite disappears allowing him to call out delayed lows on wake-up and in neutral | ** Has a homing property that can be manipulated during corpse-hop QS or AA situations to make it hit left or right | ||
* Has a homing property that can be manipulated during corpse-hop QS or AA situations to make it hit left or right | ** Taunt into EX Wheel is another prominent verse of the Sean Bible | ||
* Taunt into EX Wheel is another prominent verse of the Sean Bible | |||
{{3S Button FAT|link=https://fullmeter.com/fatonline/#/framedata/movedetail/3S/Sean/normal/EX%20Ryuubi%20Kyaku}} | {{3S Button FAT|link=https://fullmeter.com/fatonline/#/framedata/movedetail/3S/Sean/normal/EX%20Ryuubi%20Kyaku}} | ||
}} | }} | ||
Revision as of 01:01, 8 June 2024
Introduction
Sean is a young, prideful amateur martial artist from Brazil. He idolizes Ken, eventually becoming Ken's student and seeking to prove his worth as a fighter. Sean first appears in Street Fighter III: New Generation.
Sean is perhaps the most efficient definition of an underrated character in the history of fighting games. In the 2nd version of Street Fighter III, 2nd Impact, he was pretty much totally broken, doing tons of damage off of his lengthy combo strings. In response to this, Capcom did the responsible thing and made him an original character, as opposed to a black Ken in a yellow gi.
Well, they did it a little too well.
Other than being extremely hard to use and situational because of his hit-box placement and frame advantage (Dragon Smash's hit-box is located over his head), 3s makes Sean much more of a defensive counter character. When you play as him you have to understand that he does have a lot of good points, such as his MP-HK target combo, Cl.HK/Shoto normals, EX Tornado, and his supers. He trades pretty well if used properly with the right SA's against the right match-ups. He also has an assortment of AAs to choose from.
| Strengths | Weaknesses |
|---|---|
|
|
| Sean #3S_SE | |
|---|---|
| Vitals | |
| Life Points | 1120 |
| Stun Points | 64 |
| Super Art Stock/Size | |
| SA1 | 3/72 |
| SA2 | 2/96 |
| SA3 | 1/120 |
| Ground Movement | |
| Forward Dash duration/distance | 13 (17) (112px) |
| Back Dash duration/distance | 15 (54px) |
| Jumping | |
| Back Jump duration | 41(4+36+1) |
| Neutral Jump duration | 37(4+32+1) |
| Forward Jump duration | 38(4+33+1) |
| Back Super Jump duration | 52(7+44+1) |
| Neutral Super Jump duration | 52(7+44+1) |
| Forward Super Jump duration | 52(7+44+1) |
| Wake up | |
| Wake up duration | 77 |
| Quick rise duration | 50 |
}}
| 3S Frame Data Glossary | |
|---|---|
| Active |
How many frames a move remains active (can hurt opponents) for. Consecutive sets of active frames on a multi-hit move are separated by an asterisk (ex: 3*5). If there is a gap between sets of active frames, the gap is denoted by a number in parentheses (ex: 2(4)2) |
| Attack |
Attack level is L for low attacks (must be blocked crouching), H is for High attacks (which can be blocked high or low) and M for overhead (must be blocked standing). T is for throw attacks (which cannot be blocked). |
| Cancel options |
Available cancel options.
|
| Damage |
Attack damage on hit in life points. Notation may denote multi-hit or "sweet spot" damage values on certain frames. |
| Hit/Block |
These are frame advantage values when the attack hits or is blocked. If the number is positive, then the move will end before the defender can act again. If the number is negative, the defender will be able to act before the attacker and maybe even punish. D refers to knockdown on hit. "Cr. Hit" is an additional frame advantage value denoting if the advantage on hit changes when the defender is being hit while crouching. |
| Kara Range |
Almost all normal attacks can be canceled into a special or a multi-button command within three frames of startup. During that time, some attacks will shift position forward or backward and affect the reach of the special or command accordingly. This is denoted in pixels of range. There are a handful of moves in the game that can be kara-canceled after this initial window and will be denoted as a late kara-cancel. |
| Link |
A combo that is performed by inputting the second move after the first move has completely recovered (as opposed to cancelling the first move's animation). In 3S, the final frame of a move's hitstun allows a character to block a normal or special move, as well as some projectile supers. Therefore, an attack's frame advantage must be 2 frames greater than the followup move's startup in order to link. Ex: a +6 normal can link into a 4f normal/special, or a 5f super. |
| Parry |
This field will show a value of A if the attack can be parried standing or crouching, H if it must be parried standing or L if it must be parried crouching. |
| Recovery |
How many frames it takes for a move to finish after it's been active. |
| Startup |
How many frames it takes before the move becomes 'active' or has a hitbox. 3S uses classic startup notation, which does not include the first active frame. A move with 3 startup becomes active on frame 4. |
| Stun |
Amount of stun added to the opponent's stun bar on hit. |
| Throw range |
Range in pixels from the center of the character to the center of the opponent which allows a grab to connect. |
Frame Data
Standing Normals
5LP
5MP (cl)
5MP (far)
5HP (cl)
5HP (far)
5LK
5MK
5HK (cl)
5HK (far)
Command Normals
6HP
6HK
Crouching Normals
2LP
2MP
2HP
2LK
2MK
2HK
Jumping Normals
8LP
j.LP
8MP
j.MP
8HP
j.HP
8LK
j.LK
8MK
j.MK
8HK
j.HK
Target Combos
5MP (cl) - 5HK
| Startup | Active | Recovery | Block | Hit | Cr. Hit | Damage | Stun | Kara | Guard Level | Parry Level |
|---|---|---|---|---|---|---|---|---|---|---|
| 4 | 5 | 10 | -2 | -1 | 0 | 24 | 10 | - | - | H |
| Cancel Options | Self Meter Gain | Whiff | Hit | Block / Tech | Opponent Meter Gain | Hit | Block / Tech | |||
| - | - | - | - | - | - | |||||
| ||||||||||
Throws
LPLK
4LPLK
Universal Overhead
MPMK
Taunt
HPHK
Special Moves
214P
236K
214K
41236P
623P

