Introduction
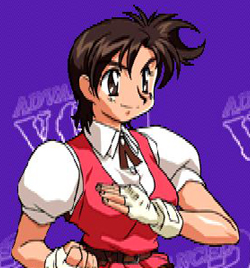
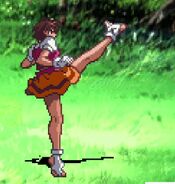
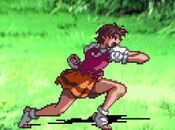
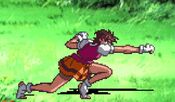
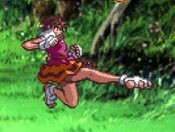
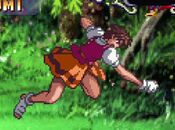
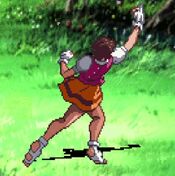
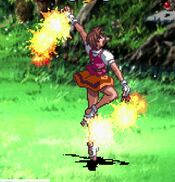
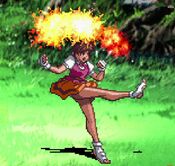
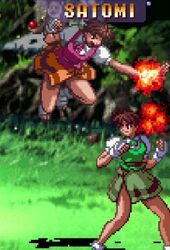
Satomi is gonna swing her arms around like this, and if you get hit, it's your own fault.
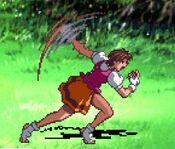
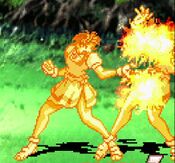
Satomi is one of the strongest characters in the game thanks to her straightforward, but overwhelmingly effective gameplan. Her ![]() button gives her some of the most fearsome normals in the game, giving her a top-class footsie game. Combined with a powerful anti-air in Kaenzan, and a simple but highly effective mixup thanks to her high-hitting Gokuenshou special, she can punish both impatience and passivity with ease. However, with her strengths concentrated in such specific areas, she can suffer from an overall linearity with her gameplan, especially when she comes up against a patient opponent who is able to limit her opportunities to score big damage. Satomi is a character who is easy to learn, but can be quite demanding at high levels of play, requiring a lot of creativity and a strong conditioning game.
button gives her some of the most fearsome normals in the game, giving her a top-class footsie game. Combined with a powerful anti-air in Kaenzan, and a simple but highly effective mixup thanks to her high-hitting Gokuenshou special, she can punish both impatience and passivity with ease. However, with her strengths concentrated in such specific areas, she can suffer from an overall linearity with her gameplan, especially when she comes up against a patient opponent who is able to limit her opportunities to score big damage. Satomi is a character who is easy to learn, but can be quite demanding at high levels of play, requiring a lot of creativity and a strong conditioning game.
| Pros | Cons |
|
|
Movelist
| Damage | Guard | Startup | Active | Recovery | FrameAdv |
|---|---|---|---|---|---|
| - | Mid | - | - | - | |
|
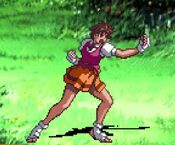
A quick backfist strike that is an awesome button. Good speed and range and it chains into all other standing normals as well as crLP. | |||||
| Damage | Guard | Startup | Active | Recovery | FrameAdv |
|---|---|---|---|---|---|
| - | Mid | - | - | - | |
|
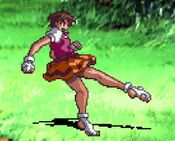
A low-looking shin kick, still a mid but it easily links into itself multiple times and can special cancel, meaning you can get Gokuensho as an ender. | |||||
| Damage | Guard | Startup | Active | Recovery | FrameAdv |
|---|---|---|---|---|---|
| - | Mid | 5 | - | - | - |
|
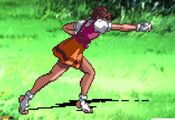
The button of all time. Satomi lets loose a killer poke with only 5f of start-up. Outside of some interactions where it can be low-profiled, this button can strike fear into the opponent with it's speed and range. Not only that, but because it's also her dashing attack she can give this bad boy crazy momentum by doing the dashing version. stHP is one of the strongest single buttons in the game and enables Satomi to out footsie most characters without breaking a sweat. This does chain into stHK, but it will never connect. | |||||
| Damage | Guard | Startup | Active | Recovery | FrameAdv |
|---|---|---|---|---|---|
| - | Mid | - | -+1 | - | |
|
An inside spinning roundhouse that could have used some additional frames of animation to get that across. While it does special cancel, it's range is inferior to stHP. However once inside the oppoenent's range this becomes more useful as it is +1 on block. | |||||
| Damage | Guard | Startup | Active | Recovery | FrameAdv |
|---|---|---|---|---|---|
| - | Mid | - | - | - | |
|
A quick elbow jab, the range is stubby but it has awesome chain routes. You can chain to stLP, chain to crHP for a juggle, or chain into crLK > crHK for a knockdown. | |||||
| Damage | Guard | Startup | Active | Recovery | FrameAdv |
|---|---|---|---|---|---|
| - | Low | - | - | - | |
|
No links, no chains, but with the threat of a Gokuensho overhead it doesn't necessarily need it. Because of how fast Gokuensho is, crLK can just pressure them to block low or if they really want to block Gokuensho, allow her to get free crLK's in. | |||||
| Damage | Guard | Startup | Active | Recovery | FrameAdv |
|---|---|---|---|---|---|
| - | Mid | - | - | - | |
|
The button of all time's little brother. While not quite as good as stHP, crHP has the advantage of not being about to be low-profiled. Because of this Satomi can switch between the two depending on her needs to bully the opponent at range. | |||||
| Damage | Guard | Startup | Active | Recovery | FrameAdv |
|---|---|---|---|---|---|
| - | Low | - | - | - | |
|
A sweep that actually juggles, so you can sore some extra damage off of it. | |||||
| Damage | Guard | Startup | Active | Recovery | FrameAdv |
|---|---|---|---|---|---|
| - | High | - | - | - | |
|
A small karate chop, it's downward hitbox is actually quite good and it can cross up the opponent. Standard jHP and jHK chains | |||||
| Damage | Guard | Startup | Active | Recovery | FrameAdv |
|---|---|---|---|---|---|
| - | High | - | - | - | |
|
Satomi's best ranged air normal, it's got the biggest hitbox and controls space quite nicely. Also standard jHP and jHK chains | |||||
| Damage | Guard | Startup | Active | Recovery | FrameAdv |
|---|---|---|---|---|---|
| - | High | - | - | - | |
|
A fierce downward punch. Not particularly special, but good as a jump-in tool. | |||||
| Damage | Guard | Startup | Active | Recovery | FrameAdv |
|---|---|---|---|---|---|
| - | High | - | - | - | |
|
You would like to believe this kick has a good hitbox, but it actually has less range than crLK. Really a bit of a shame. | |||||
Command Normals
| Damage | Guard | Startup | Active | Recovery | FrameAdv |
|---|---|---|---|---|---|
| - | Mid | - | - | - | |
|
A command launcher. It could probably do as an anti-air in a pinch, but this is Satomi we are talking about, she has much better AA options. | |||||
| Damage | Guard | Startup | Active | Recovery | FrameAdv |
|---|---|---|---|---|---|
| - | Low | - | - | - | |
|
Instantly gives her low-profile and has excellent range, meaning it can be a terror to deal with in neutral. | |||||
Target Combos
st.LP > (st.HP > st.HK)/(st.HK > st.HP)
st.LP > (cr.LP) > st.LK > (cr.LK) > (st.HP > st.HK)/(st.HK > st.HP)
st.HP > st.HK
cr.LP > cr.HP
cr.LP > (st.LP) > cr.LK > cr.HK
st.LK > cr.LK
j.LP/LK > j.HP/j.HK
Guard Cancels
LP: st.LP
LK: st.LK
HP: LK Gokuensho
HK: LP Kaenzan
LP has the best reward on hit, but LK is more reliable in more situations, and HP is a good catch-all guard cancel for knockdowns. HK has the best hitbox, but its speed as a guard cancel is strangely slow, making it somewhat unreliable.
Special Moves
Super Moves
| Damage | Guard | Startup | Active | Recovery | FrameAdv |
|---|---|---|---|---|---|
| - | - | - | - | ||
|
A dashing 2 bar ranbu super, deals awesome damage if done raw but with no fixed damage it will scale when in combos. Regardless, it is a useful way to cash out meter. | |||||
Combos
Basic Combos
Anti-Air Combos
Guard Break String
Misc. Combo
