No edit summary |
No edit summary |
||
| Line 15: | Line 15: | ||
|pros= | |pros= | ||
* '''Easy Infinite:''' Blackheart has a very simple infinite, utilizing his capture demons and air-dash to erase opponent's life bars while gaining meter at a fast rate. | * '''Easy Infinite:''' Blackheart has a very simple infinite, utilizing his capture demons and air-dash to erase opponent's life bars while gaining meter at a fast rate. | ||
* '''Good | * '''Good Assist:''' Blackheart's anti-air assist is good for both zoning and anti-zoning, due to its tracking, huge hitbox, and two hits, though it has slow start-up. | ||
* '''Meter | * '''Meter Build:''' Blackheart builds meter at a fairly fast rate while just playing his ordinary zoning strategy. | ||
|cons = | |cons = | ||
'''Big Body:''' It's easy for certain characters to catch and pick apart Blackheart once they land a hit. Characters with great movement (Storm/Magneto) and great zoning (Cable) can exploit this the best. | '''Big Body:''' It's easy for certain characters to catch and pick apart Blackheart once they land a hit. Characters with great movement (Storm/Magneto) and great zoning (Cable) can exploit this the best. | ||
Revision as of 02:44, 24 September 2023


Introduction
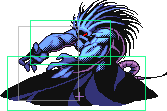
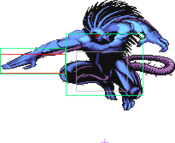
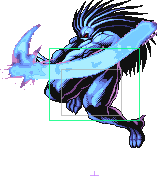
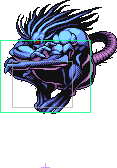
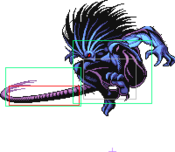
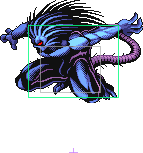
Blackheart is one of the Marvel characters in Marvel vs Capcom 2. The son of Mephisto and (badly) seen in Ghostrider.
He's top tier and has one great zoning assist and a tricky ground assist. His infinite can kill anybody not paying attention.
Note that the Xbox 360 and PS3 versions of MvC2 have a variety of glitches involving Blackheart, such as his super sometimes doing no chip damage.
TODO- upload more move images
| Strengths | Weaknesses |
|---|---|
|
Big Body: It's easy for certain characters to catch and pick apart Blackheart once they land a hit. Characters with great movement (Storm/Magneto) and great zoning (Cable) can exploit this the best. |
Colors
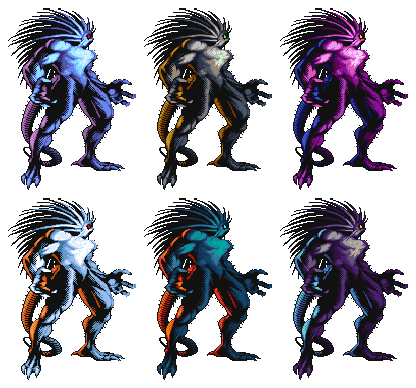
First row: LP, HP, A1. Second row: LK, HK, A2.
Moves
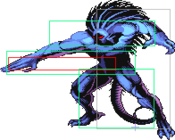
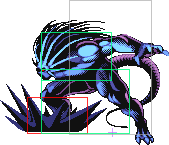
5LP
| Damage | Guard | Startup | Active | Recovery | Total | Hit Adv | Block Adv | Meter Gain | Property | |
|---|---|---|---|---|---|---|---|---|---|---|
| 6 | Mid | 5 | - | - | - | - | - | - | - | |
|
| ||||||||||
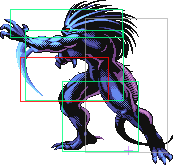
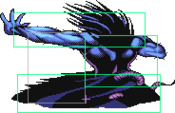
5MP
| Damage | Guard | Startup | Active | Recovery | Total | Hit Adv | Block Adv | Meter Gain | Property | |
|---|---|---|---|---|---|---|---|---|---|---|
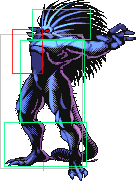
| 9 | Mid | 11 | - | - | - | - | - | - | Launch | |
|
| ||||||||||
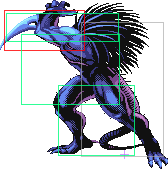
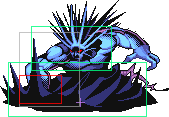
5HP
| Damage | Guard | Startup | Active | Recovery | Total | Hit Adv | Block Adv | Meter Gain | Property | |
|---|---|---|---|---|---|---|---|---|---|---|
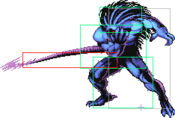
| 2~22 | Mid | 13 | - | - | - | - | - | - | Projectile | |
|
| ||||||||||
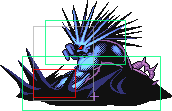
5LK
| Damage | Guard | Startup | Active | Recovery | Total | Hit Adv | Block Adv | Meter Gain | Property | |
|---|---|---|---|---|---|---|---|---|---|---|
| 6 | Mid | 5 | - | - | - | - | - | - | - | |
|
| ||||||||||
5MK
| Damage | Guard | Startup | Active | Recovery | Total | Hit Adv | Block Adv | Meter Gain | Property | |
|---|---|---|---|---|---|---|---|---|---|---|
| 9 | Mid | 8 | - | - | - | - | - | - | - | |
|
| ||||||||||
5HK
| Damage | Guard | Startup | Active | Recovery | Total | Hit Adv | Block Adv | Meter Gain | Property | |
|---|---|---|---|---|---|---|---|---|---|---|
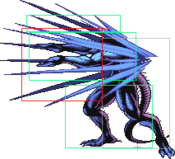
| 4~21 | Mid | 9 | - | - | - | - | - | - | Projectile | |
|
| ||||||||||
2LP
| Damage | Guard | Startup | Active | Recovery | Total | Hit Adv | Block Adv | Meter Gain | Property | |
|---|---|---|---|---|---|---|---|---|---|---|
| 6 | Mid | 2 | - | - | - | - | - | - | - | |
|
| ||||||||||
2MP
| Damage | Guard | Startup | Active | Recovery | Total | Hit Adv | Block Adv | Meter Gain | Property | |
|---|---|---|---|---|---|---|---|---|---|---|
| 9 | Mid | 8 | - | - | - | - | - | - | Strike | |
|
| ||||||||||
2HP
| Damage | Guard | Startup | Active | Recovery | Total | Hit Adv | Block Adv | Meter Gain | Property | |
|---|---|---|---|---|---|---|---|---|---|---|
| 6 | Mid | 11 | - | - | - | - | - | - | - | |
|
| ||||||||||
2LK
| Damage | Guard | Startup | Active | Recovery | Total | Hit Adv | Block Adv | Meter Gain | Property | |
|---|---|---|---|---|---|---|---|---|---|---|
| 6 | Mid | 5 | - | - | - | - | - | - | Low | |
|
| ||||||||||
2MK
| Damage | Guard | Startup | Active | Recovery | Total | Hit Adv | Block Adv | Meter Gain | Property | |
|---|---|---|---|---|---|---|---|---|---|---|
| 9 | Mid | 8 | - | - | - | - | - | - | - | |
|
| ||||||||||
2HK
| Damage | Guard | Startup | Active | Recovery | Total | Hit Adv | Block Adv | Meter Gain | Property | |
|---|---|---|---|---|---|---|---|---|---|---|
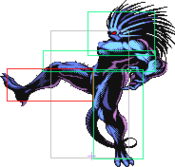
| 4~19 | Mid | 9 | - | - | - | - | - | - | Projectile/Launch | |
|
| ||||||||||
8LP
| Damage | Guard | Startup | Active | Recovery | Total | Hit Adv | Block Adv | Meter Gain | Property | |
|---|---|---|---|---|---|---|---|---|---|---|
| 6 | High | 2 | - | - | - | - | - | - | - | |
|
| ||||||||||
8MP
| Damage | Guard | Startup | Active | Recovery | Total | Hit Adv | Block Adv | Meter Gain | Property | |
|---|---|---|---|---|---|---|---|---|---|---|
| 9 | High | 12 | - | - | - | - | - | - | Launch | |
|
| ||||||||||
8HP
| Damage | Guard | Startup | Active | Recovery | Total | Hit Adv | Block Adv | Meter Gain | Property | |
|---|---|---|---|---|---|---|---|---|---|---|
| 3~14 | High | 21 | - | - | - | - | - | - | Projectile | |
|
| ||||||||||
8LK
| Damage | Guard | Startup | Active | Recovery | Total | Hit Adv | Block Adv | Meter Gain | Property | |
|---|---|---|---|---|---|---|---|---|---|---|
| 6 | High | 4 | - | - | - | - | - | - | - | |
|
| ||||||||||
8MK
| Damage | Guard | Startup | Active | Recovery | Total | Hit Adv | Block Adv | Meter Gain | Property | |
|---|---|---|---|---|---|---|---|---|---|---|
| 9 | High | 7 | - | - | - | - | - | - | - | |
|
Ender | ||||||||||
8HK
| Damage | Guard | Startup | Active | Recovery | Total | Hit Adv | Block Adv | Meter Gain | Property | |
|---|---|---|---|---|---|---|---|---|---|---|
| 4~21 | High | 26 | - | - | - | - | - | - | Projectile | |
|
| ||||||||||
Special Moves
Super Moves
Assist Types
The Basics
Beginner Overview
Combos
-s.HP XX qcb + PP
-s.LK > s.HK, (f,f) df + HP /\ sj.LP > sj.LK > sj.LP > sj.LK
-Corner s.HP XX hcf + LP XX qcb + PP
-Corner s.LK > s.HK XX qcb + PP /\ j.LP > j.LP
-hcb + HP XX qcf + KK
-s.HP XX hcf + LP XX qcf + KK
-s.HP XX hcf + HP XX qcf + PP
-Corner hcf + LP XX qcf + PP
Strategy
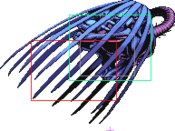
Blackheart is skilled at occupying space through his demon normal moves; hitting fierce or roundhouse summons demons of varying effects. You can use those to keep the opponent busy while building meter and maintaining a lead.
Post-Heart of Darkness Flying Screen Problem
If Blackheart connects with the Heart of Darkness super with non-visible screen space remaining away from him, he will be forced into an auto-dash once the super completes. Very unfortunately, he will be vulnerable during this time and can be punished. Thus you could HoD Cable ... only to have Blackheart dash forward and Cable AHVB'ing that as he recovers first.
To minimize this, Dasrik suggests:
"1. Hold up(back) during the forced dash. This is a simple and reliable method but it won't get Blackheart up as quickly as the second method, so moderately quick Cable players can still shoot you.
2. Do the superjump motion, hard, as soon as Blackheart disappears. This is the quick method, but it's difficult and you only have one or two frames to do it. I'm able to do it reliably enough so that I'll go for HOD on Cable if I need to."
Links

