| Line 18: | Line 18: | ||
*<b>5LP:</b> | *<b>5LP:</b> | ||
{{STDiagramHeader}} | {{STDiagramHeader}} | ||
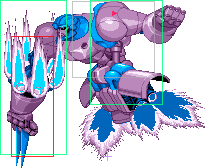
{{STDiagramCell| Damage}} |{{STDiagramCell| | {{STDiagramCell| Damage}} |{{STDiagramCell| 6 }} |{{STDiagramImageCell| 6 | Sent_5LP_1.png}} |{{STDiagramImageCell| 6 | Sent_5LP_2.png}} |{{STDiagramImageCell| 6 | Sent_5LP_3.png}} |{{STDiagramImageCell| 6 | Sent_5LP_4.png}} |{{STDiagramImageCell| 6 | Sent_5LP_5.png}} |{{STDiagramImageCell| 6 | Sent_5LP_6.png}} | ||
|- | |- | ||
{{STDiagramCell| Super Jump Cancellable}} |{{STDiagramCellCancel| Yes}} | {{STDiagramCell| Super Jump Cancellable}} |{{STDiagramCellCancel| Yes}} | ||
| Line 36: | Line 36: | ||
Placeholder text | Placeholder text | ||
*<b>5MP:</b> | |||
{{STDiagramHeader}} | |||
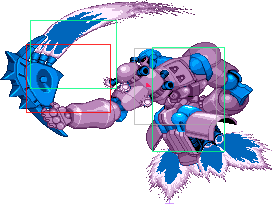
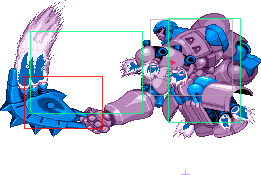
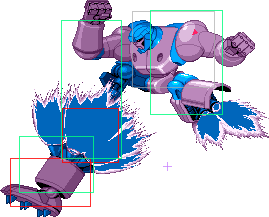
{{STDiagramCell| Damage}} |{{STDiagramCell| 6+3 }} |{{STDiagramImageCell| 6 | Sent_5MP_1.png}} |{{STDiagramImageCell| 6 | Sent_5MP_2.png}} |{{STDiagramImageCell| 6 | Sent_5MP_3.png}} |{{STDiagramImageCell| 6 | Sent_5MP_4.png}} |{{STDiagramImageCell| 6 | Sent_5MP_5.png}} |{{STDiagramImageCell| 6 | Sent_5MP_6.png}} |{{STDiagramImageCell| 6 | Sent_5MP_7.png}} |{{STDiagramImageCell| 6 | Sent_5MP_8.png}} | |||
|- | |||
{{STDiagramCell| Super Jump Cancellable}} |{{STDiagramCellCancel| 17 / 33}} | |||
|- | |||
{{STDiagramCell| Magic Series}} |{{STDiagramCellCancel| Yes}} | |||
|- | |||
{{STDiagramCell| Special Cancel}} |{{STDiagramCellCancel| Yes}} | |||
|- | |||
{{STDiagramCell| Super Cancel}} |{{STDiagramCellCancel| Yes}} | |||
|- | |||
{{STDiagramCell| Frame Advantage}} |{{STDiagramCell| ???}} | |||
|- | |||
{{STDiagramCellColSpan| 2 | Frame Count}} |{{STDiagramCell| 6}} |{{STDiagramCell| 6}} |{{STDiagramCell| 3}} |{{STDiagramCell| 3}} |{{STDiagramCell| 3}} |{{STDiagramCell| 16}} |{{STDiagramCell| 5}} |{{STDiagramCell| 5}} | |||
|- | |||
{{STDiagramCellColSpan| 2 | Simplified}} |{{STDiagramCell| 6}} |{{STDiagramCell| 6}} |{{STDiagramCell| 3}} |{{STDiagramCell| 3}} |{{STDiagramCellColSpan| 4 | 29}} | |||
|} | |||
Placeholder text | |||
{|border="1" | {|border="1" | ||
!width="6%"| | !width="6%"| | ||
Revision as of 23:46, 8 September 2021


Introduction
THANK GOD FOR THE ROBOT.
Sentinel is a beast in MvC2. A high-level Sentinel stomping on the opponent and then unblockabling the next character coming in renders about 3/4 of the game's characters nearly unplayable. He is God Tier and one of the best characters in the game.
Colors
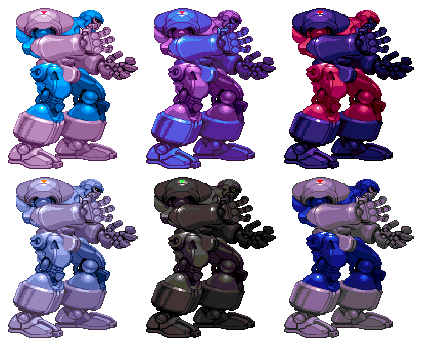
First row: LP, HP, A1. Second row: LK, HK, A2.
Moves List
Normal Moves
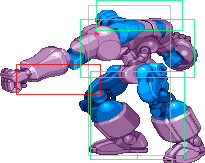
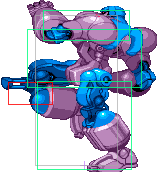
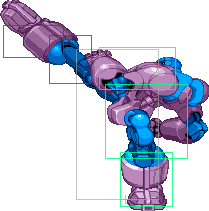
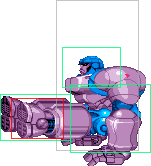
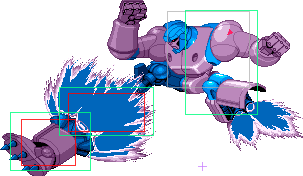
- 5LP:
| Damage | 6 |  |
 |
 |
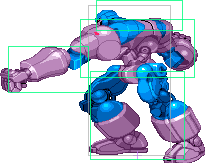 |
 |

|
| Super Jump Cancellable | Yes | ||||||
| Magic Series | Yes | ||||||
| Special Cancel | Yes | ||||||
| Super Cancel | Yes | ||||||
| Frame Advantage | ??? | ||||||
| Frame Count | 4 | 4 | 4 | 4 | 4 | 4 | |
| Simplified | 8 | 4 | 12 | ||||
Placeholder text
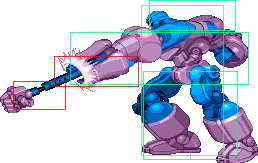
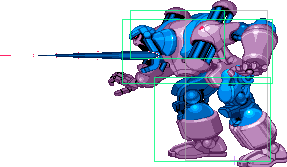
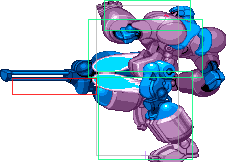
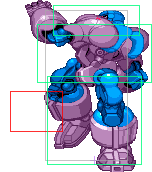
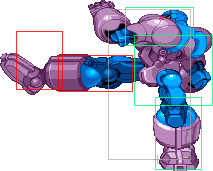
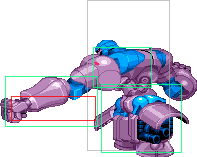
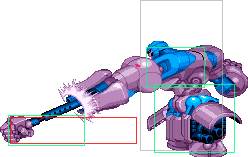
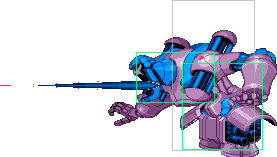
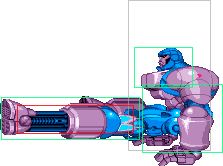
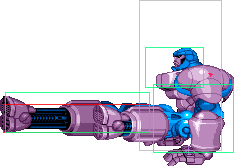
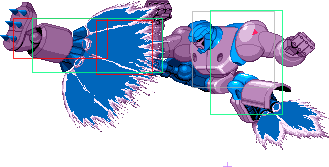
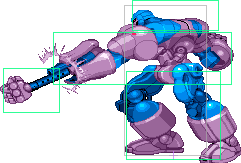
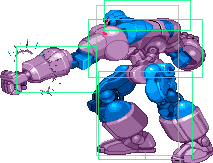
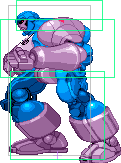
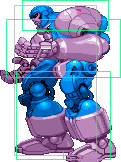
- 5MP:
| Damage | 6+3 |  |
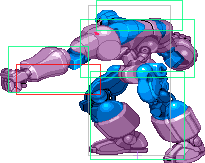 |
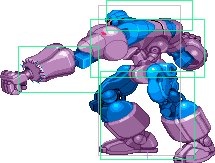 |
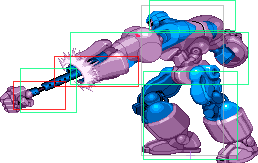 |
 |
 |
 |
|
| Super Jump Cancellable | 17 / 33 | ||||||||
| Magic Series | Yes | ||||||||
| Special Cancel | Yes | ||||||||
| Super Cancel | Yes | ||||||||
| Frame Advantage | ??? | ||||||||
| Frame Count | 6 | 6 | 3 | 3 | 3 | 16 | 5 | 5 | |
| Simplified | 6 | 6 | 3 | 3 | 29 | ||||
Placeholder text
| Frames | Advantage | Cancel | Block | Hitbox | Notes | |||
|---|---|---|---|---|---|---|---|---|
| Standing | ||||||||
| C | HL | |||||||
| HL | ||||||||
| C | HL | |||||||
| C | HL | |||||||
| C | HL | |||||||
| C | HL | |||||||
| Crouching | ||||||||
| C | HL | |||||||
| C | HL | |||||||
| - | HL | |||||||
| C | ||||||||
| C | ||||||||
| KD | - | |||||||
| Jump | ||||||||
| -/- | - | |||||||
| -/- | - | |||||||
| -/- | - | |||||||
| -/- | - | |||||||
| -/- | - | |||||||
| -/- | - | |||||||
The Unblockable
His cFP is unblockable in a certain situations. This can then easily be linked into most any combo, notably cFP (unblockable), RP, death combo. There are two parts to this move: only the first part is unblockable. If they wake up or land on the second part, they cannot block it. Wake-up into it is the guaranteed version: learn this. Them coming onscreen into it (as in after one character dies) IS blockable but only if they block as soon as you start the move. If they're already blocking or forget to do this, it's unblockable and they should be dead if you do your job.
Special Moves
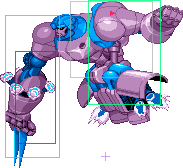
The rocket punch can be chained from the lp>mp>short/hard RP or from ![]() (hard RP)
(hard RP)
SECONDARY NOTE: this can be used as an anti-air with Z+punch, though it's not very useful outside of air combos
Short Sentinel Force is pretty easy to use, although it's tricky to combo afterwards because you can't use Hyper Sentinel Force while mini-Sentinels are on screen. Roundhouse Sentinel Force is harder, and is best used with an assist that pins the opponent vertically such as Blackheart. RH also is a good way to stop crossup rushdown if they use superjumps to come in at you.
Super Moves
Assist Moves
The Basics
Bread-and-Butter Combos
HP xx Rocket Punch xx Hyper Sentinel Force. Can be repeated: HP xx RP xx HSF xx HP xx RP xx HSF, etc. This is a semi-infinite
(in air)short>rh xx light rocket punch. This is his bread-and-butter stomp combo that does 1/3 damage on some characters, and without the rocket punch is used for pressure
launcher>sj.lp>sj.short>sj.strong>sj.mk>rocket punch
(in corner) Any combo into HSF>Dash xx launcher>sj.lp>sj.short>sj.strong>sj.mk xx fly mode> fly forward>airthrow> fly forward>short>forward>upwards rocket punch>fly forward>airthrow>fly forward>short>forward>upwards rocket punch
Fastfly: Launch > wait until sentinel is ABOVE character > lk xx fly xx joystick up xx lk > mk > dpRP (if team has Captain Commando, you can press Assist+lk for much extra damage)
Fast Fly
Normally when you enter into Fly mode, there is a (vulnerable) pause for activation. However, you can can cancel this and immediately get the ability to attack, defend, etc. To do this, after you fly return to neutral, then select a direction and press an attack button.
Easy fast fly combo: jump in LK HK, jump up LK HK, fastfly LK HK Rocket Punch. (7hits)
Unfly
Normally when you end fly mode you can't attack nor block(!). To get unfly mode you need to get hit in the air by any non-knockdown move. You then enter into unfly mode (until you normal jump or use it 5-7 times). This is extremely useful for fast stomping.

