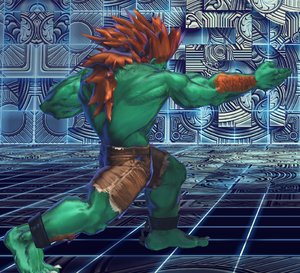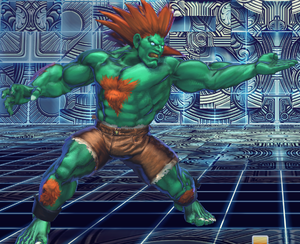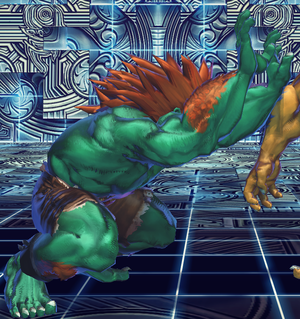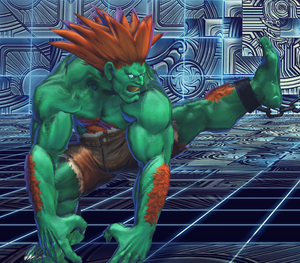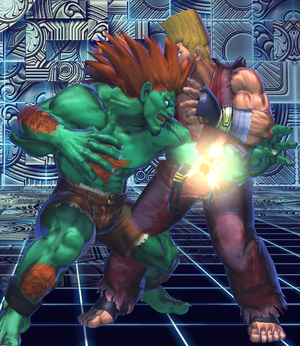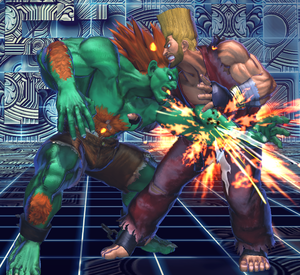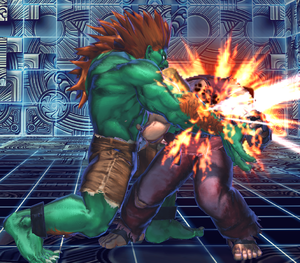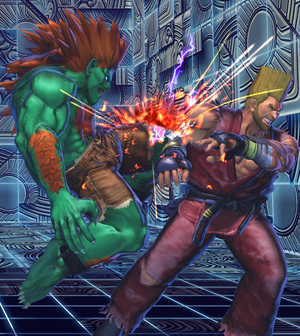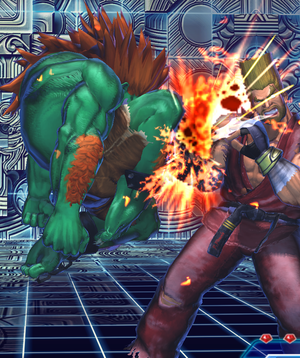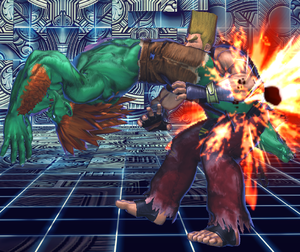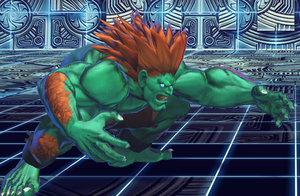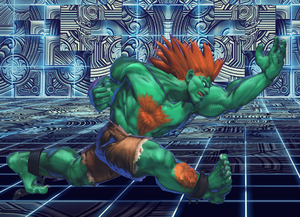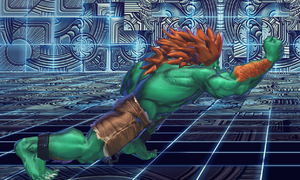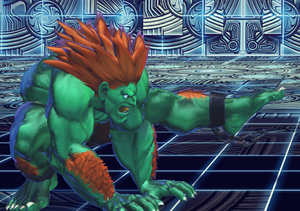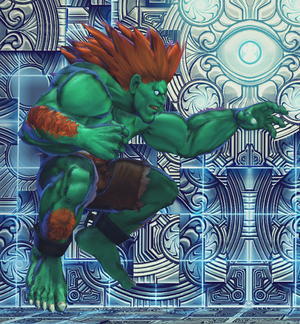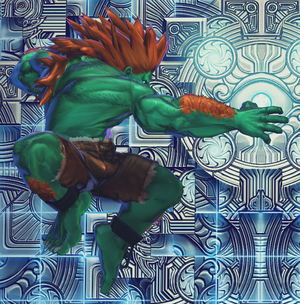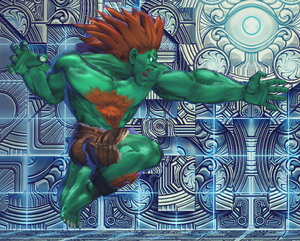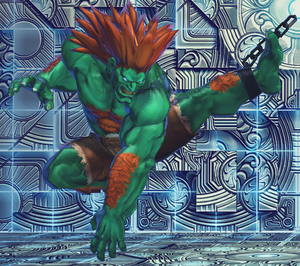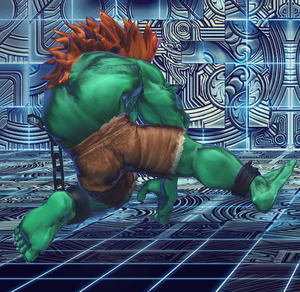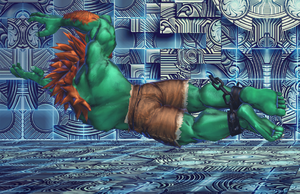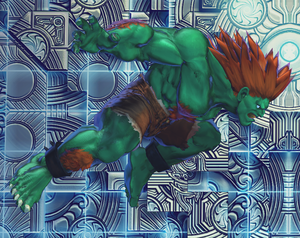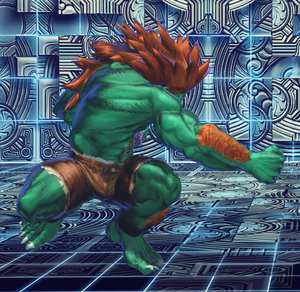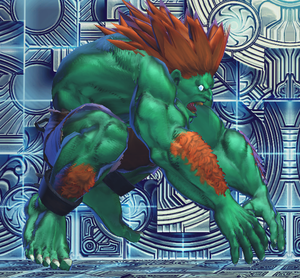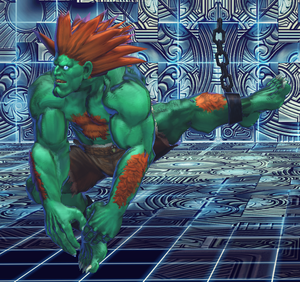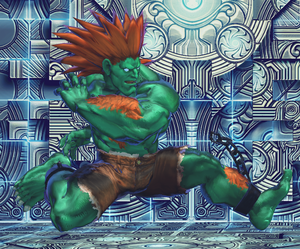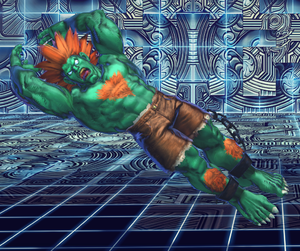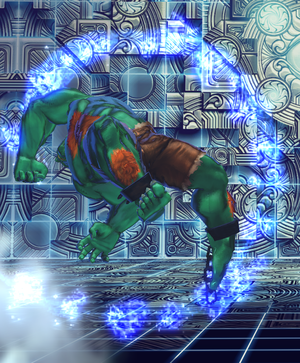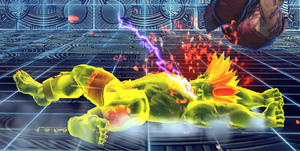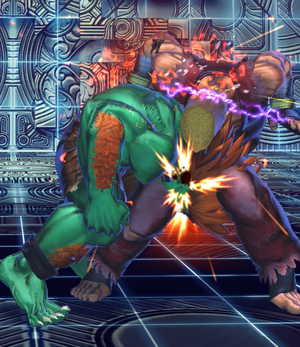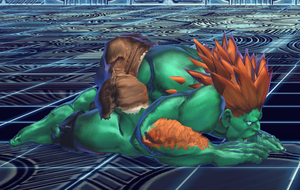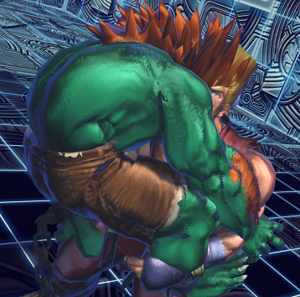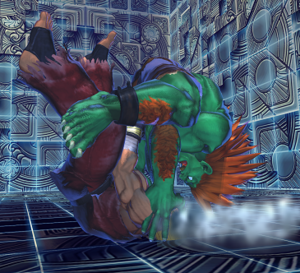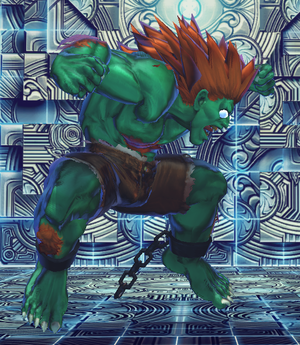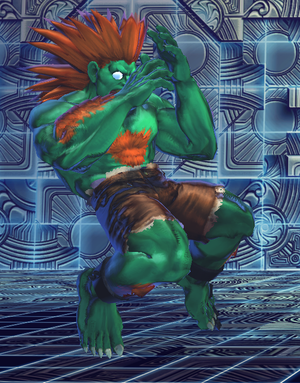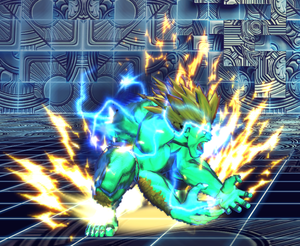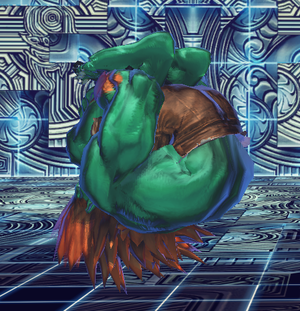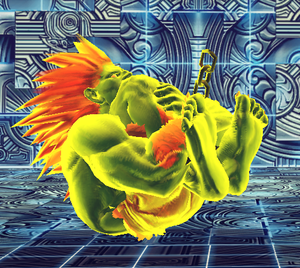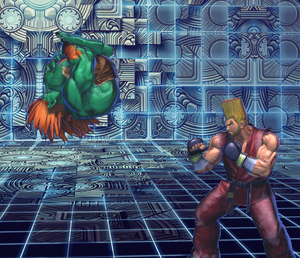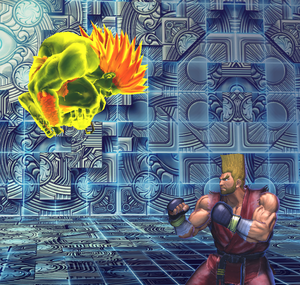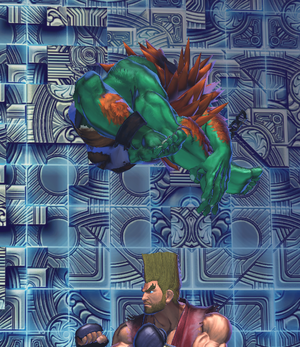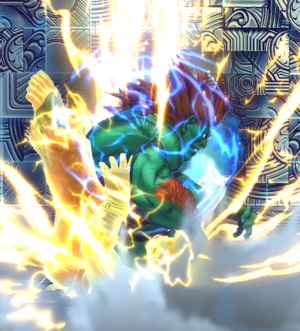

Blanka
Ideal Team Position: Point
The ruler of the jungle, who survived the harsh conditions of his environment since he was a child. The jungle has tempered his body so that he can move around quickly and with unpredictability. He uses unusual techniques to chase down his opponents.
Blanka is one of the harder characters to master in the game thanks to the execution barriers involved in his charge and mash inputs, but in the right hands, he can be a terror. His strengths include a strong neutral presence, annoying mobility, and oppressive offense. However, he has a few shortcomings, including a lack of combo options, limited access to damage, and lack of an easy anti-air.
| Strengths | Weaknesses |
|---|---|
|
|
Moves
Normal Attacks
| Move | Hit | Damage | Startup | Active | Recovery | Hit Adv | Block Adv | Cancel | JP | JC | JS | Notes |
|---|---|---|---|---|---|---|---|---|---|---|---|---|
| Far LP | H | 30 | 3 | 2 | 12 | +3 | -1 | SM,EX,SA,CA | 1 | 1 | 1 | - |
| This button has incredible range for its 3f startup. Use this a lot. It's -1 on block, but due to its range, other characters can't challenge it easily, except for Blanka and Elena. It links into itself, which makes it possible to hit-confirm into cross rush. It is also special-cancelable, so at the right range you can | ||||||||||||
| Far MP | H | 60 | 7 | 4 | 12 | +5 | +1 | - | 2 | 1 | 1 | - |
| Slower poke at 7f startup, but has enough advantage on hit to combo into other normals, and can frame trap into far lp for a 2 frame gap on block. | ||||||||||||
| Far HP | H | 90 | 7 | 6 | 25 | -6 | -11 | - | 3 | 1 | 1 | **LC |
| Far LK | H | 30 | 5 | 2 | 16 | -1 | -5 | - | 1 | 1 | 1 | - |
| Far MK | H | 60 | 5 | 3 | 21 | -3 | -7 | - | 2 | 1 | 1 | - |
| Far HK | H | 90 | 4 | 6 | 26 | float | -12 | - | 3 | 1 | 1(for 3 frames),0 | - |
| Similar to close HK, but too far away and has too much recovery to combo into much other than Cross Art. The startup of only 4f allows it to be linked into from a few other normals. | ||||||||||||
| Close LP | H | 30 | 4 | 2 | 13 | +2 | -2 | SM,EX,SA,CA | 1 | 1 | 1 | - |
| Can be cancelled into Electric Thunder for a 4 frame option to start pressure with, or boost combo from if you are looking to punish something -4. | ||||||||||||
| Close MP | H | 60 | 6 | 2 | 13 | +6 | +2 | - | 2 | 1 | 1 | - |
| One of Blanka's better pressure tools as it is +2 on block, giving him a few options to frame trap with, as well as being +6 on hit allowing him to combo into various normals. | ||||||||||||
| Close HP | H | 90 | 8 | 4 | 22 | 0 | -6 | SM,EX,SA,CA | 3 | 1 | 1 | Forces standing |
| Used for his difficult, but optimal, post-tag combo. | ||||||||||||
| Close LK | H | 30 | 4 | 3 | 14 | 0 | -4 | SM,EX,SA,CA | 1 | 1 | 1 | - |
| Close MK | H | 60 | 5 | 2(2)2 | 15 | +4 | 0 | 1st hit BC | 2,2 | 1,1 | 1,1 | - |
| 2-hitting normal which can be used for hit-confirming up close. | ||||||||||||
| Close HK | H | 90 | 7 | 6 | 22 | float | -8 | - | 3 | 1 | 1(for 2 frames),0 | - |
| Puts the opponent in a float state, allowing Blanka to combo into several different options. | ||||||||||||
| Crouch LP | H | 30 | 4 | 2 | 11 | +4 | 0 | SM,EX,SA,CA | 1 | 1 | 1 | - |
| Links into itself and Standing LP. Can be special-canceled. | ||||||||||||
| Crouch MP | H | 60 | 7 | 4 | 20 | -3 | -7 | - | 2 | 1 | 1 | **LC |
| Works as an anti-air in rare cases but loses to many jump-ins. | ||||||||||||
| Crouch HP | H | 90 | 8 | 4 | 27 | -5 | -11 | - | 3 | 1 | 1 | Forces standing |
| Blanka's farthest range normal excluding Amazon River Run. Can be a good poke, but due to the large frame disadvantage on block, it can be punished by most characters. | ||||||||||||
| Crouch LK | L | 30 | 4 | 3 | 11 | +3 | -1 | SM,EX,SA,CA | 1 | 1 | 1 | - |
| Low hitting normal that can combo into far LP. | ||||||||||||
| Crouch MK | L | 60 | 5 | 2 | 15 | +4 | 0 | SM,EX,SA,CA | 2 | 1 | 1 | - |
| Low attack which can link into Standing LP or Crouching LP or be special-canceled. | ||||||||||||
| Crouch HK | L | 90 | 6 | 5 | 24 | hard |
-9 | - | 3 | 1 | - | - |
| Sweep. | ||||||||||||
| Jump Up LP | M | 40 | 5 | 7 | until ground+4 | +12 | +4 | - | 1 | 1 | 1 | - |
| Jump Up MP | M | 70 | 6 | 3 | until ground+4 | +16 | +5 | - | 2 | 1 | 1 | - |
| Jump Up HP | M | 100 | 5 | 3 | until ground+4 | +20 | +8 | - | 3 | 1 | 1 | - |
| Jump Up LK | M | 40 | 4 | 3 | until ground+4 | +12 | +4 | - | 1 | 1 | 1 | - |
| Jump Up MK | M | 70 | 5 | 5 | until ground+4 | +16 | +5 | - | 2 | 1 | 1 | - |
| Jump Up HK | M | 100 | 7 | 3 | until ground+4 | +20 | +8 | - | 3 | 1 | 1 | - |
| Jump Diagonal LP | M | 40 | 5 | 7 | until ground+4 | +12 | +4 | - | 1 | 1 | 1 | - |
| Jump Diagonal MP | M | 70 | 6 | 5 | until ground+4 | +16 | +5 | - | 2 | 1 | 1 | - |
| Jump Diagonal HP | M | 100 | 5 | 4 | until ground+4 | +20 | +8 | - | 3 | 1 | 1 | Ground bounce on airborne |
| Good air-to-air attack. Causes a ground bounce on | ||||||||||||
| Jump Diagonal LK | M | 40 | 5 | 5 | until ground+4 | +12 | +4 | - | 1 | 1 | 1 | - |
| Jump Diagonal MK | M | 70 | 5 | 5 | until ground+4 | +16 | +5 | - | 2 | 1 | 1 | - |
| Main cross-up attack. | ||||||||||||
| Jump Diagonal HK | M | 100 | 7 | 6 | until ground+4 | +20 | +8 | - | 3 | 1 | 1 | - |
| Launcher | H | 100 | 13 | 2 | 54 | switch | -35 | - | 3 | - | - | **LC Crushes crouching attacks frames 1-14, Launches opponent while switching characters |
| Guard Cancel | H | 120 | 14 | 19 | 16 | hard |
- | - | - | - | - | Invulnerability frames 1-14, Resembles Amazon River Run |
Unique Attacks
| Move | Hit | Damage | Startup | Active | Recovery | Hit Adv | Block Adv | Cancel | JP | JC | JS | Notes |
|---|---|---|---|---|---|---|---|---|---|---|---|---|
| Rock Crusher | H,H | 50,40 | 5 | 2(1)5 | 9 | +5 | +1 | 1st hit SM,EX,SA,CA | 0,0 | 1,0 | 0 | Forces standing, Can be charged (25F start up) to hit M, loses cancelability, Knockdown on airborne opponent |
| Hits overhead when fully charged. Links into Crouching MK. | ||||||||||||
| Amazon River Run | L | 100 | 10 | 19 | 16 | hard |
-15 | - | 0 | 0 | - | - |
| Slide which knocks down on hit. Also a good low-profile move, evading most projectiles, and also most launchers except for those of Dhalsim, Zangief, and Sakura. | ||||||||||||
| Coward Crouch | - | - | 1 | 29-65 | 27 | - | - | 27F+:SM,EX,SA,CA | - | - | - | **LC Upper body invulnerable until the end of active frames |
| Can be canceled into specials, allowing you to avoid many attacks with the upper body invulnerability then punishing with a Roll attack or Electric, or canceling into a hop forward or back. | ||||||||||||
Throws
| Move | Hit | Damage | Startup | Active | Recovery | Hit Adv | Block Adv | Cancel | JP | JC | JS | Notes |
|---|---|---|---|---|---|---|---|---|---|---|---|---|
| Wild Fang | 140 | 5 | 2 | 20 | - | - | - | - | - | - | - | |
| Does slightly more damage than the back throw. Possible to cross up the opponent afterwards with Surprise Forward (f+KKK). | ||||||||||||
| Jungle Wheel | 130 | 5 | 2 | 20 | - | - | - | - | - | - | - | |
| The | ||||||||||||
Special Moves
Super Art
| Move | Hit | Damage | Startup | Active | Recovery | Hit Adv | Block Adv | Cancel | JP | JC | JS | Notes |
|---|---|---|---|---|---|---|---|---|---|---|---|---|
| Ground Shave Roll | H | 320 | 7 | 16 | 15+23 | hard |
-21 | - | 3 | 3 | - | 73 frames cinematic freeze before attack begins, Invulnerability frames 1-7 |
| Cross Art | H | 150+ | 7 | 2 | 71 | switch | -47 | - | 3 | - | - | 68 frames cinematic freeze before attack begins, Invulnerability frames 1-8 |
Boost Chain Frame Data
| Move | Hit | Damage | Startup | Active | Recovery | Hit Adv | Block Adv | Cancel | "Notes |
|---|---|---|---|---|---|---|---|---|---|
| " | |||||||||
| Far MP | H | 42 | 7 | 4 | 22 | -5 | -9 | - | - |
| Far HP **LC | H | 63 | 7 | 6 | 34 | -15 | -20 | - | - |
| Far MK **LC | H | 42 | 5 | 3 | 28 | -10 | -14 | - | - |
| Far HK | H | 63 | 4 | 6 | 35 | float | -21 | - | - |
| Close MP | H | 42 | 6 | 2 | 24 | -5 | -9 | - | - |
| Close HP | H | 63 | 8 | 4 | 31 | -9 | -15 | EX,SA,CA | Forces standing |
| Close MK | H | 42 | 5 | 2(3)2 | 24 | -5 | -9 | - | Airborne frames |
| Close HK | H | 63 | 7 | 6 | 31 | float | -17 | - | - |
| Crouch MP **LC | H | 42 | 7 | 4 | 25 | -8 | -12 | - | - |
| Crouch HP | H | 63 | 8 | 4 | 33 | -11 | -17 | - | Forces standing |
| Crouch MK | L | 42 | 5 | 2 | 25 | -6 | -10 | EX,SA,CA | - |
| Crouch HK **LC | L | 63 | 6 | 5 | 35 | hard knockdown | -20 | - | - |
The Basics
When playing the neutral game, make use of Blanka's Far Standing LP and Far Standing MP to poke the opponent as much as possible. Far Standing LP in particular has incredible speed and range, rivaled only by Elena's Standing LK. However, beware of your opponent's jumps because Blanka lacks a strong anti-air move. Blanka's best tool against jumps is his Diagonal Jumping HP, which is quite fast and can start a combo on counterhit. Blanka's own jump is also a useful neutral and offensive tool, as it is quite fast and has a short arc, which can easily catch opponents off-guard if used unpredictably.
When going on the offense with Blanka, Far Standing LP can be an excellent tool for applying pressure. It is -1 on block, but because of its exceptional speed and range, the only characters who can challenge the frame disadvantage with their own buttons are Blanka and Elena. Diagonal Jumping MK is a very strong attack for cross-ups, as it can hit very deep and generate frame advantage for further offense. Electric Thunder (P,P,P,P,P~) can also be a fantastic tool for applying pressure, with the HP version being +11 on block. (However, beginners may find it difficult to input this move because it can accidentally turn into a boost combo if not done fast enough.) EX Electric Thunder is a great low-risk tool to use to bait reversals, as it has strike invulnerability and is +8 on block.
To tag Blanka out of battle, the safest option (if you cannot get a guaranteed combo) is to switch cancel Electric Thunder, which is positive on block for your incoming character. Unlike many other characters, Blanka's Alpha Counter is not a good way to tag out because the knockdown is too short.
Advanced Strategy
Horizontal Ball Cross-up
After a knockdown, it is possible to utilize Blanka's Horizontal Ball (b,f+P) to do left/right mix-ups on the opponent. The timing and which version to use varies depending on the knockdown. You can capitalize off of this mix-up by using a switch cancel and following it up with your other character. When Hori-Ball hits as a cross-up, the switch cancel actually makes your incoming character come in from the opposite side of the screen. This causes some awkwardness in performing the follow-up combo, as all but the largest characters will run under the opponent; however, it also gives more frame advantage and some characters will be able to do better follow-up combos from that side. In the situation where your opponent blocks the mix-up, the cross-up is highly preferred as it gives you frame advantage to keep up pressure, while the non-cross-up leaves you open to being punished.
Chip Combos and Infinite
Blanka's Electric Thunder has an unusual property - the pushback direction of the move's first hit is determined by the direction the opponent is facing, rather than that of Blanka himself. Because of this property, having an opponent block Electric Thunder while they are facing away from Blanka causes a suction effect instead of pushback, which is very powerful due to the high frame advantage of the move. It is even possible to link Electric Thunder into itself on block, creating chip combos which can only be escaped with an Alpha Counter. Each version of Electric Thunder can be linked into the same or a weaker version (EX links into MP or LP). Linking into the same version multiple times is difficult, but it can be repeated infinitely. The easiest version to use for the infinite is MP, which has a 2f link window instead of 1f.
Sample combos:
- P,P,P,P,HP~, P,P,P,P,MP~, P,P,P,P,LP~, cr.LP xx P,P,P,P,HP~ (132)
- P,P,P,P,MP~, P,P,P,P,MP~, [...] (32 x N)
Electricity Juggle
Electric Thunder is typically not a very juggle-friendly move outside of the corner, but with the right team composition you can use this move even in mid-screen combos to add a chunk of extra damage. This is possible due to the same property that enables the infinite chip combo. If you can get Blanka behind your opponent before hitting Electric Thunder, they will fall towards him instead of away from him, which allows you to finish the combo. This only works with certain switch cancels where a move either has a very vertical pop up (e.g. JACK-X's dp+HP) or holds an opponent in place for some time (e.g. Jin's f,b,f+HP).
The mid-screen electricity juggle is known to work with these characters:
- Jin
- JACK-X
- Bob
- Hwoarang
- Xiaoyu
- Dudley
- Chun-li
- Lars
Okizeme Strategies
HK Up Ball
HK Up Ball is Blanka's standard combo ender, and fortunately, it also sets up the best overall okizeme situation. Immediately following it up with HP Hori-Ball allows you to cross up your opponent if they quick rise. Adding a slight delay before your HP Hori-Ball makes it hit on the same side. If your opponent didn't quick rise and you whiff your HP-Horiball, you can follow up with a microwalk forward or backward into a Forward Hop (f+KKK) to do another left/right mix-up. If you expect your opponent to roll forward, you can wait and punish them with a throw.
Flowchart breakdown:
- (immediate) HP Hori-Ball + opponent quick rises -> cross-up
- (delay) HP Hori-Ball + opponent quick rises -> same side
- HP Hori-Ball + opponent stays down
- microwalk forward, Forward Hop + opponent rises (cross-up)
- microwalk back, Forward Hop + opponent rises (non-cross-up)
- wait + opponent rolls forward, throw (punish)
Electric Thunder
Electric Thunder sets up a decent okizeme situation where you can go for a Hori-Ball cross-up if your opponent quick rises, either by doing MP Hori-Ball immediately or by waiting a moment and doing HP Hori-Ball. You have to pay attention to your charge times here; if you walk up to the opponent and hit them with st.LP xx HP Electric Thunder, you won't be able to complete a charge fast enough for the MP Hori-Ball cross-up and have to wait slightly to use HP Hori-Ball instead. If your opponent didn't quick rise and you whiff your HP Hori-Ball, you will land next to them and can pressure with whatever you want, like cl.b+MP for an overhead, cr.MK for a low, or EX Electric Thunder to bait reversals. You can also get a safe-jump nj.HK here if your timing is good.
Flowchart breakdown:
- (immediate) MP Hori-Ball + opponent quick rises -> cross-up
- (immediate) LP Hori-Ball + opponent quick rises -> same side feint
- (delay) HP Hori-Ball + opponent quick rises -> cross-up
- (more delay) HP Hori-Ball + opponent quick rises -> same side
- (delay) HP Hori-Ball + opponent stays down
- cl.b+MP (overhead)
- cr.MK (low)
- EX Electric Thunder (reversal bait)
- nj.HK (safe jump)
Combos
Hit Confirm Combos
- cr.LP, st.LP~cl.MP~cl.HP~HP_HK
- cl.MK, st.LP~st.MP~cl.HP~HP_HK
- cl.MK, st.LP~cr.MK xx [b],f+PP, cr.MK xx [d],u+HK (309)
Punish Combos
- cl.HK, cr.MK xx [d],u+HK (254)
- (corner) cl.MP, st.HK, cr.MK, cr.MK xx [d],u+HK (318)
Tag-in Combos
- cr.MK, cr.MK xx [d],u+HK
- cl.HP xx f+KKK, cr.LK, cr.MK xx [d],u+HK
- cl.HP xx f+KKK, cr.MK, cr.MK xx [d],u+HK
- (corner) P,P,P,P,HP~, cr.MK, cr.MK xx [d],u+HK
- (behind opponent) P,P,P,P,P~, cr.MK, cr.MK xx [d],u+HK
Air-to-Air Combos
- CH j.HP, cr.MK, cr.MK xx [d],u+HK (324)
- CH (back jump) j.HP, [b],f+HP (245)
Advanced Combos
- st.LP, st.LP~st.MP~st.HP~HP_HK
- cr.LP, cr.LP, st.LP~cl.MP~cl.HP~HP_HK
- cr.MK, cr.LP, st.LP xx [b],f+HP (198)
- cr.MK, cr.LP, st.LP xx [b],f+PP, cr.MK xx [d],u+HK (297)
- cl.b_f+MP, cr.MK~st.HP~HP_HK
- cl.b+MP, cr.MK xx [b],f+PP, cr.MK xx [d],u+HK (366)
Combos Into Supers
- cl.hk, cr.mk xx [b],f+PPP
- cl.f_b+mp, cr.mk xx [b],f+PP, cr.mk xx [b],f+PPP
- cl.mp, st.hk, qcf+mp+mk
Anti-air / Air-to-Air Combos
- CH j.HP, cr.MK, cr.MK xx [d],u+HK (324)
- CH cr.MP, st.LP xx [b],f+HP (201)
