Introduction
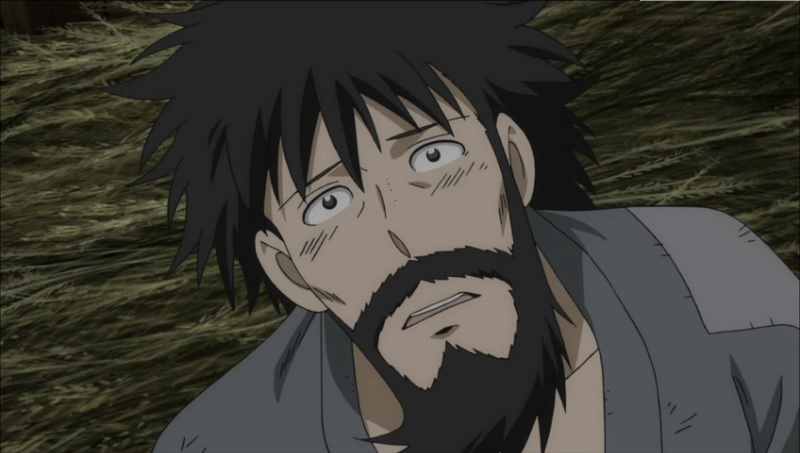
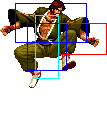
After losing a few bets with the Yakuza, Saisyu becomes an alcoholic and has to go into hiding. He then becomes a Getbacker, living day to day doing oddjobs trying to bring a smile to the faces of those who have lost theirs.
Colors

|

|

|

|
Final Edition Change List
- DP+B - second hit has a larger hitbox so it shouldn't whiff if the first connects.
- HCB+K - less recovery, second hit should be easier to connect if the first connects.
- QCB+P - First hit has a bigger hitbox and less recovery.
- QCFx2+P - A version and MAX version have faster startup.
Gameplay Overview
Saisyu is a zoning/pressure/raw damage character. He lacks the options/normals of Iori or '95 Kyo, but he still has some great tools specific to him. His main weakness is the lack of fast short hop anti-airs and mid/long-range pokes. He is lighter on execution than most characters, the hardest things he has are f+A to super or cr.B,cr.A to dp. He is a great character for a beginner.
In-depth Overview
Normal Throws
b or f+C - Forward knockdown, face forward, un-rollable.
b or f+D - Reverse knockdown, back turned, un-rollable.
D throw preferred, not only because of back turned wakeups, but because it takes longer for the blue grab 'effect' to appear, making it a bit harder to break on reaction.
Movelist
Combos
- cl.C (2 hits) xx DP+D/QCB+C, QCB+C/QCB,HCF+P
- cl.C (1 hit),f+A xx DP+D/QCB+C, QCB+C/QCB,HCF+P
- If you've gotten this confirm you should really avoid the rekka. Any air reset you get doesn't match the damage you'd get from either additional option and doesn't match the ambiguous roll or other mixup you'd get from Slam Kick.
- cr.B,cr.A/cl.B xx DP+B/ QCF,QCF+A
- B Slam Kick is the Saisyu BnB. It's tricky to do but you need to learn it, preferably from cr.A.
- cr.B, cl.C (2 hits) xx DP+D/QCB,HCF+P
- cr.B, cl.C,f+A xx DP+D/QCB,HCF+P
- Adding in the f+A. Learn this BnB instead of the previous just for the sake of consistency.
- (Extra guage)cr.B, cl.C(1 hit), f+A, qcb+A, qcb+A, abc, qcb,hcf+P
- if your health is red, just go for cr.B, abc, cl.C, f+A, qcf,qcf+A. cause max version of qcb,hcf+P wont fully hit in air thus deals less damage. though you can get dp+C follow up in corner, and it does more damage than earlier combo. so consider about it.
- f+B, st.B/cr.D/DP+B/cr.A xx QCF,QCF+A
- Newly buffed A Flame Pillar makes landing this more of a threat if you can confirm.
Basic Strategy
Always combo into super when you get a chance!
After you land the Flame Uppers, you can do either A Dragon Punch (dp+A) is you are close or a superjump B for a reset. Though personally, I think that move is useless when the Slam Kick does more damage and gives you un-rollable wakeups.
Note that generally, close C (1 hit) into f+A is your best bet. Close C (2 hits) by itself is easier to buffer motions from, but the 2nd hit whiffs if your opponent is back turned + crouching. You can still use close C by itself, just be aware when things have the potential to hit back turned (ie after a crossup, certain knockdowns, etc.). Close C (2 hits) into f+A will only connect if you are very close, but does connect from a jump-in if you perform the jump-in early/close enough.
Crouching B links into close C, although it is much harder now.
