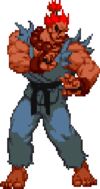
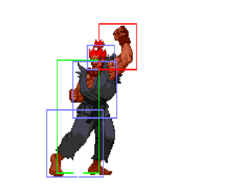
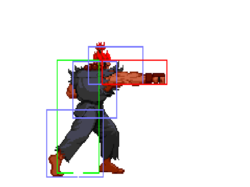
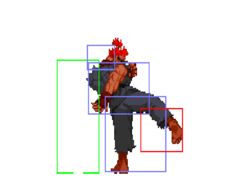
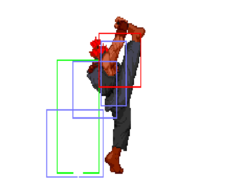
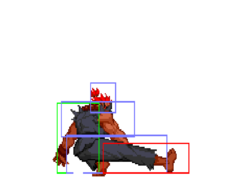
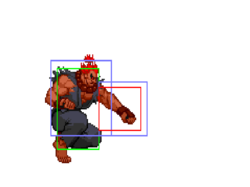
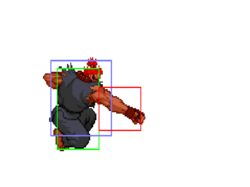
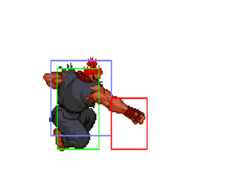
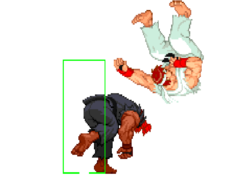
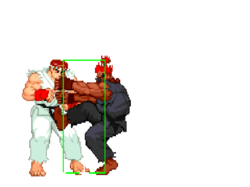
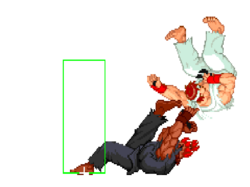
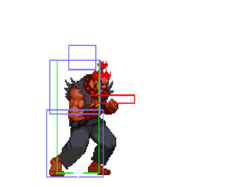
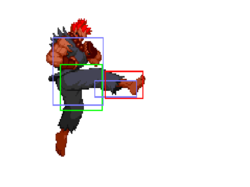
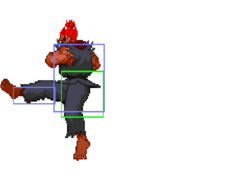
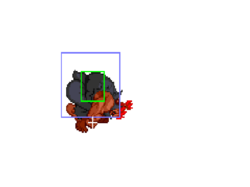
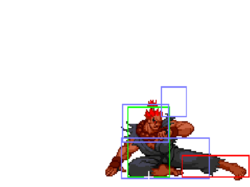
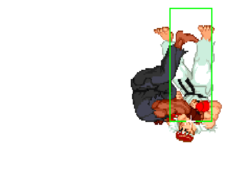
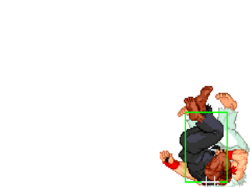
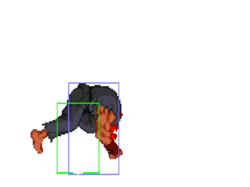
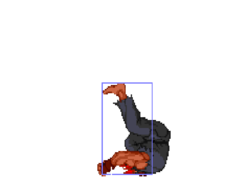
| Akuma | |
|---|---|

| |
| Health: | 144 |
| Defensive Rating: | -4 |
| Stun: | 34 |
| Walk Speed Forward: | 300 |
| Walk Speed Backward: | 200 |
| Jump Backward: | 51f (3+48+0) |
| Neutral Backward: | 50f (3+47+0) |
| Jump Forward: | 49f (3+46+0) |
| Wake-Up: | 51f |
| Quick Rise: | 20f |
| Throw Range: | 20 |
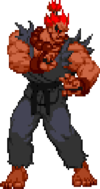
He believed his ancestors to be fools for sealing the Raging Demon. So what if the technique could kill the person who executed it? Akuma will do everything he can to win. By releasing the Raging Demon, he sealed his evil destiny and destroyed his own master.
Players to watch: BAS, Eyeson, Maxspider, Onagai
Normal Moves
| SFA2 Framedata Glossary | |
|---|---|
| Damage |
Units of base damage inflicted by the move (100% life bar = 144 units of health). Most moves have a damage range; the number inside the square brackets indicates which Random Damage Table the move uses to look up any additional damage and the % chance of doing so. |
| Stun |
Units of stun inflicted by the move. |
| Startup |
The frame the move hits on (1st active frame). Super moves with a screen freeze will separate pre- and post-screen freeze startup frames by a '+' (Ex: 5+0). |
| Active |
The portion of a move that can hit. How many frames a move remains active for. ()=Inactive frames in-between active frames. [xN]=Repeated sequences. |
| Frame Adv |
The frame advantage values when the attack is blocked. (Add +1 frame to all OnBlockAdv values for the move's OnHitAdv value; Ex: +2oB/+3oH, -4oB/-3oH) |
| Meter |
The units of meter gained on whiff/block/hit. (48, 96, and 144 units of meter are required for 1, 2, and 3 bars of meter respectively) |
| Block |
Low attacks must be blocked crouching. High attacks must be blocked standing. Mid attacks can be blocked either way. |
| Properties |
|
| Frames |
All framedata collected with the game speed set to normal, where the game tickrate and framerate are the same(60fps). |
| Speed |
All framedata collected with the game speed set to normal. |
| Hitboxes |
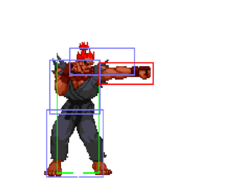
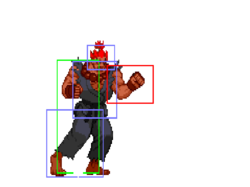
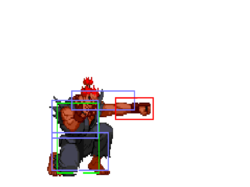
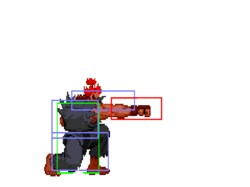
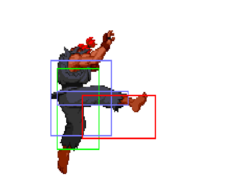
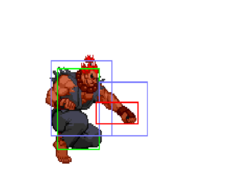
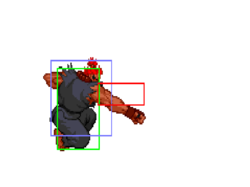
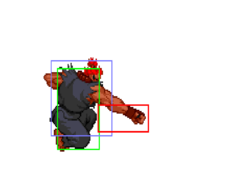
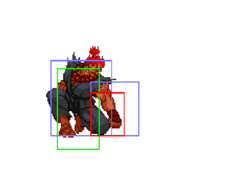
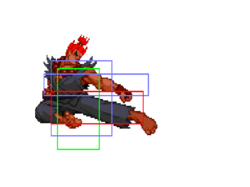
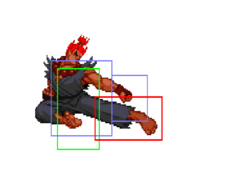
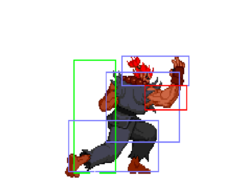
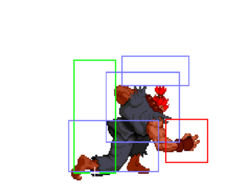
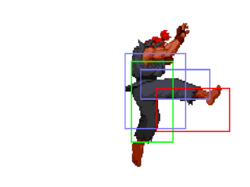
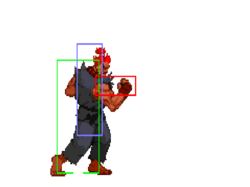
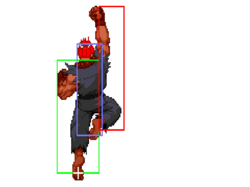
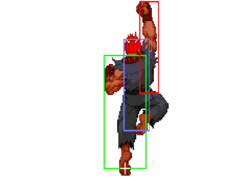
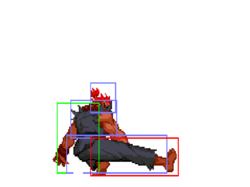
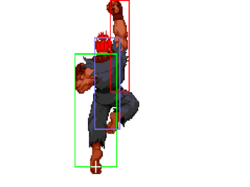
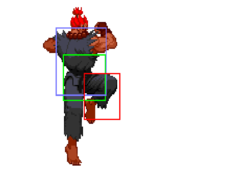
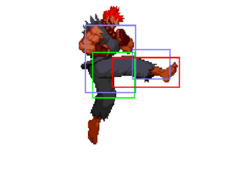
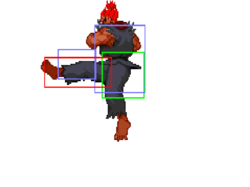
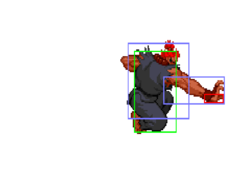
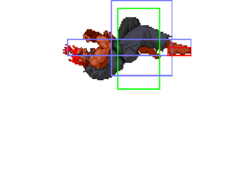
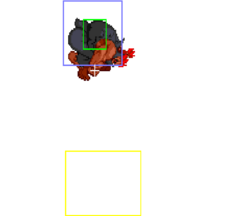
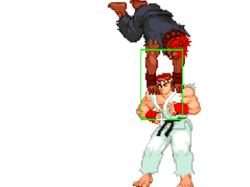
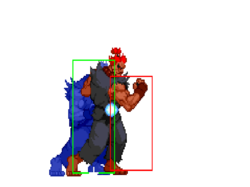
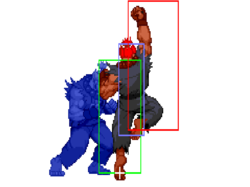
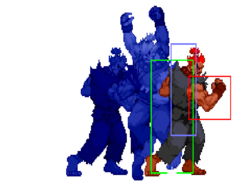
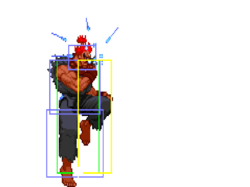
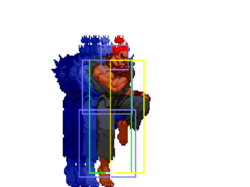
All hitbox images have the character standing/jumping in the exact same position, so hitbox distances can be easily compared.
|
| Credit | Damage, stun, framedata, meter, and updated hitboxes collected by |
Standing
Crouching
| Damage | Stun | Startup | Active | Frame Adv | Meter | Block | Properties |
|---|---|---|---|---|---|---|---|
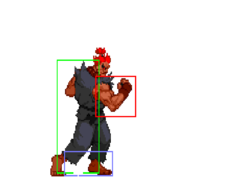
| 16[2], 14[2] | 10, 8 | 5 | 4(0)8 | -2 | 2/5/9 |
- Hits 1 time.
- Second hit is only super cancelable.
A really good anti-air for some reason in this game. It stuffs a lot of stuff clean but it doesn’t beat everything. Do not substitute this for a dp. Use this to stop crossups on top of you.
Neutral Jumping
Diagonal Jumping
Command Normals
| Damage | Stun | Startup | Active | Frame Adv | Meter | Block | Properties |
|---|---|---|---|---|---|---|---|
| 14[1], 5[1] | 4, 4 | 27 | 4(0)4 | +1 | 1/2,2/3,3 | - |
Overhead is great every now and then to throw off your opponent from blocking right as they’re waking up.
- Akuma has an average speed overhead. (Alpha2Overheads).
Normal Throws
| Damage | Stun | Startup | Active | Frame Adv | Meter | Block | Properties |
|---|---|---|---|---|---|---|---|
| 17[0] | 0 | 1 | N/A | N/A | -/-/3 | N/A |
- Deals 8 damage when opponent tech throws.
- Akuma's Throw Range is 20 pixels, tied for the second furthest in the game. (Alpha2ThrowRanges).
| Damage | Stun | Startup | Active | Frame Adv | Meter | Block | Properties |
|---|---|---|---|---|---|---|---|
| 17[0] | 0 | 1 | N/A | N/A | -/-/3 | N/A |
- Deals 8 damage when opponent tech throws.
- Akuma's Throw Range is 20 pixels, tied for the second furthest in the game. (Alpha2ThrowRanges).
Alpha Counters
Punch Alpha Counter
(while in blockstun)![]() +
+ ![]()
| Damage | Stun | Startup | Active | Frame Adv | Meter | Block | Properties |
|---|---|---|---|---|---|---|---|
| 12[1], 6[0], 5[0], 4[0] | 4, 2x3 | 4 | 2(0)3(0)8(0)10 | -33 | 0/0/0 |
- Hits 3 times max.
- Can't be air-blocked until frame 13.
Works good against jump-ins done early. Do not use this to replace a dp because opponents will be able to block if their attack is done deep.
Kick Alpha Counter
(while in blockstun)![]() +
+ ![]()
Special Moves
| Version | Damage | Stun | Startup | Active | Frame Adv | Meter | Block | Properties |
|---|---|---|---|---|---|---|---|---|
| 14[5], 10[5] | 8, 8 | 14 | 3(0)inf | -12 | 4/6/8 | |||
| 16[6], 11[6] | 10, 10 | 14 | 3(0)inf | -13 | 4/6/8 | |||
| 17[9], 13[9] | 12, 12 | 14 | 3(0)inf | -14 | 4/6/8 |
- Punishable on hit.
- Softknockdown when hit within the first 3 frames.
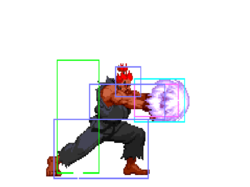
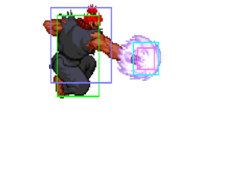
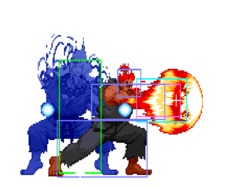
![]()
- Speed: 300 pixels per 100 frames; Tied for the slowest possible fireball in SFA2 (Alpha2Fireballs).
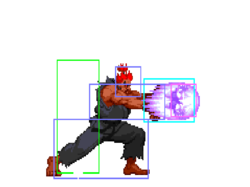
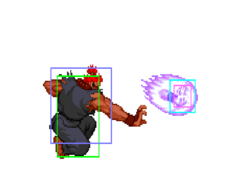
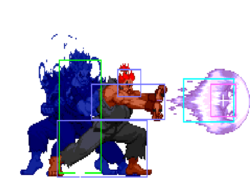
![]()
- Speed: 375 pixels per 100 frames (Alpha2Fireballs).
![]()
- Speed: 450 pixels per 100 frames; 4th fastest fireball in the game (Alpha2Fireballs).
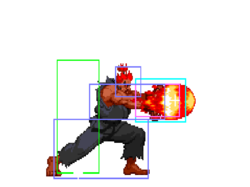
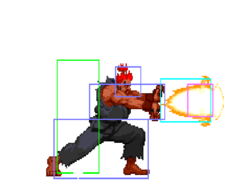
Shakunetsu Hadoken
Red Fireball![]() +
+ ![]()
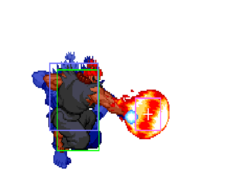
![]()
- Speed: 325 pixels per 100 frames (Alpha2Fireballs).
![]()
- Hits 2 times.
- Speed: 400 pixels per 100 frames (Alpha2Fireballs).
![]()
- Hits 3 times.
- Speed: 475 pixels per 100 frames; 3rd fastest fireball in the game (Alpha2Fireballs).
Zanku Hadoken
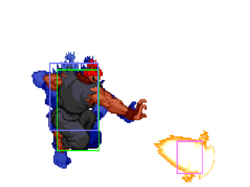
Air Fireball
(in air)![]() +
+ ![]()
| Version | Damage | Stun | Startup | Active | Frame Adv | Meter | Block | Properties |
|---|---|---|---|---|---|---|---|---|
| 8[5] | 8 | 15 | inf | - | 3/4/5 | |||
| 9[6] | 10 | 15 | inf | - | 3/4/5 | |||
| 10[9] | 12 | 15 | inf | - | 3/4/5 |
- Receives 125% damage when counter hit.
- Jump forward has 6 frames of recovery on landing.
- Jump backward and neutral jump has 10 frames of recovery on landing.
- Akuma receives extra damage when getting counter hit during air fireball.
Goshoryuken
Dragon Punch, Uppercut![]() +
+ ![]()
- Unscaled damage in CC.
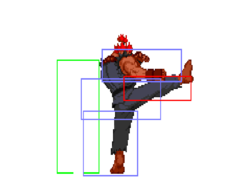
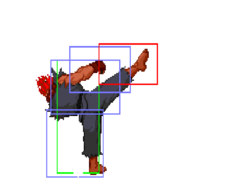
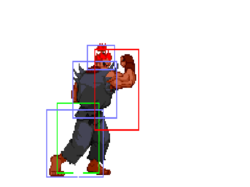
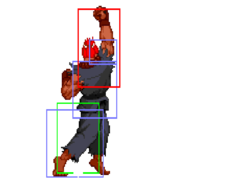
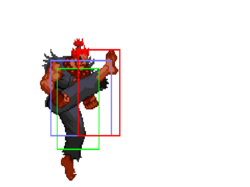
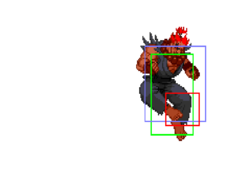
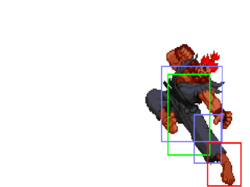
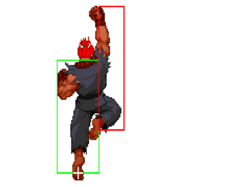
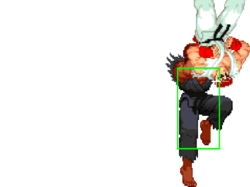
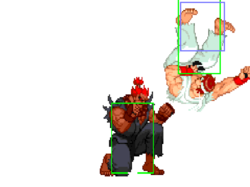
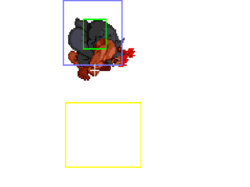
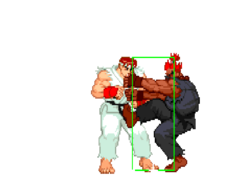
![]() - [Hitboxes pictured]
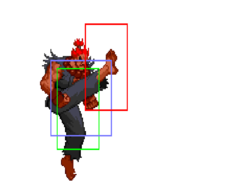
- [Hitboxes pictured]
- 3 frames of startup invul; 0 of which while active.
- Can't be air-blocked until frame 17.
- Hits 1 time max.
Best used as an invincible anti-air. Not a great reversal because of the lower hurtbox during the first hit; it will trade with low attacks. Amazing way to build meter from full-screen when kara-canceled with cr.hk (11 units).
![]()
- 7 frames of startup invul; 4 of which while active.
- Can't be air-blocked until frame 9.
- Hits 2 times max.
Not the best version to anti-air with because it's not invincible after the first hit.
![]()
- 7 frames of startup invul; 5 of which while active.
- Can't be air-blocked until frame 9.
- Hits 3 times max.
HP DP is best used for chip damage. Not the best reversal because it hits more than once and can possibly not combo. Not the best version to anti-air with because it's not invincible after the first hit.
Tatsumaki Zankukyaku
Hurricane Kick, Tatsu![]() +
+ ![]()
(air)Tatsumaki Zankukyaku
(air)Hurricane Kick, (air)Tatsu
(in air)![]() +
+ ![]()
Hyakkishu -> Hyakki Gozan
Demon Flip -> Slide![]() +
+ ![]()
Hyakkishu -> Hyakki Gosho
Demon Flip -> Palm![]() +
+ ![]() ,
, ![]()
| Version | Damage | Stun | Startup | Active | Frame Adv | Meter | Block | Properties |
|---|---|---|---|---|---|---|---|---|
| 10[1] | 1 | 18 | 4 | - | 1/3/6 | |||
| 10[2] | 1 | 18 | 4 | - | 1/3/6 | |||
| 10[3] | 1 | 18 | 4 | - | 1/3/6 |
- Damage is determined by the punch strength used for the demon flip, not the follow up punch for the palm.
![]()
- Travels about 1/3 screen.
![]()
- Travels about 1/2 screen.
![]()
- Travels about 3/4 screen.
Hyakkishu -> Hyakki Gosen
Demon Flip -> Flop![]() +
+ ![]() ,
, ![]()
| Version | Damage | Stun | Startup | Active | Frame Adv | Meter | Block | Properties |
|---|---|---|---|---|---|---|---|---|
| 10[1] | 1 | 10 | 18 | - | 1/3/6 | |||
| 10[2] | 1 | 10 | 18 | - | 1/3/6 | |||
| 10[3] | 1 | 10 | 18 | - | 1/3/6 |
- Damage is determined by the punch strength used for the demon flip, not the follow up kick for the flop.
![]()
- Travels about 1/3 screen.
![]()
- Travels about 1/2 screen.
![]()
- Travels about 3/4 screen.
Hyakkishu -> Hyakki Gosai
Demon Flip -> Throw![]() +
+ ![]() ,
, ![]()
| Version | Damage | Stun | Startup | Active | Frame Adv | Meter | Block | Properties |
|---|---|---|---|---|---|---|---|---|
| 21[0] | 0 | 1 | N/A | N/A | -/-/9 | N/A | ||
| 22[0] | 0 | 1 | N/A | N/A | -/-/9 | N/A | ||
| 23[0] | 0 | 1 | N/A | N/A | -/-/9 | N/A |
- Damage is determined by the punch strength used for the demon flip, not the follow up punch for the throw.
- Can't throw an opponent who's at the edge of the screen or crouching.
![]()
- Travels about 1/3 screen.
![]()
- Travels about 1/2 screen.
![]()
- Travels about 3/4 screen.
Hyakkishu -> Hyakki Gotsui
Demon Flip -> Throw![]() +
+ ![]() ,
, ![]()
| Version | Damage | Stun | Startup | Active | Frame Adv | Meter | Block | Properties |
|---|---|---|---|---|---|---|---|---|
| 21[0] | 0 | 1 | N/A | N/A | -/-/9 | N/A | ||
| 22[0] | 0 | 1 | N/A | N/A | -/-/9 | N/A | ||
| 23[0] | 0 | 1 | N/A | N/A | -/-/9 | N/A |
- Damage is determined by the punch strength used for the demon flip, not the follow up kick for the throw.
- Can't throw an opponent who's at the edge of the screen or crouching.
![]()
- Travels about 1/3 screen.
![]()
- Travels about 1/2 screen.
![]()
- Travels about 3/4 screen.
| Version | Damage | Stun | Startup | Active | Frame Adv | Meter | Block | Properties |
|---|---|---|---|---|---|---|---|---|
| N/A | N/A | N/A | N/A | N/A | 0/-/- | N/A | ||
| N/A | N/A | N/A | N/A | N/A | 0/-/- | N/A | ||
| N/A | N/A | N/A | N/A | N/A | 0/-/- | N/A |
- Receives 125% damage when counter hit.
Akuma rolls forward towards the opponent, with each punch strength determining the distance of it (lp for shortest, hp for farthest). This move is great for mixing up combos and throwing off a defensive player. Will low profile under fireballs and go through opponents to side switch.
| Version | Damage | Stun | Startup | Active | Frame Adv | Meter | Block | Properties |
|---|---|---|---|---|---|---|---|---|
| N/A | N/A | N/A | N/A | N/A | 2/-/- | N/A | ||
| N/A | N/A | N/A | N/A | N/A | 2/-/- | N/A |
- Receives 125% damage when counter hit.
Good to avoid chip ccs, or use as wake-up. Useful in blocked cc.
- Akuma as P2 can cross-up opponent in the corner.
- Invul on first frame.
![]()
- 25-66 frames of invul. forward
- 23-66 frames of invul. backward
- 10 frames of recovery
Teleport that travels a little over full-screen.
![]()
- 27-51 frames of invul. forward
- 24-51 frames of invul. backward
- 10 frames of recovery
Teleport that travels a little under half-screen.
Super Moves
Startup Invulnerability Notes:
- At the end of a super screen freeze, projectiles will start moving before the opponent's character is unfrozen, giving the supers more projectile invul. frames than hit invul. frames.
Messatsu Gohado
Fireball Super![]()
![]() +
+ ![]()
- Cannot be air blocked.
Level 1
- 4 frames of startup hit invul.; 0 of which while active.
- 11 frames of startup projectile invul.
- Hits 4 times.
Level 2
- 4 frames of startup hit invul.; 0 of which while active.
- 11 frames of startup projectile invul.
- Hits 6 times.
Level 3
- 4 frames of startup hit invul.; 0 of which while active.
- 11 frames of startup projectile invul.
- Hits 8 times.
Tenma Gozanku
Air Fireball Super
(in air)![]()
![]() +
+ ![]()
- Unscaled damage in CC.
Level 1
- 5 frames of startup hit invul.; 0 of which while active.
- 5 frames of startup projectile invul.
- Hits 4 times.
Level 2
- 5 frames of startup hit invul.; 0 of which while active.
- 5 frames of startup projectile invul.
- Hits 6 times.
Level 3
- 5 frames of startup hit invul.; 0 of which while active.
- 5 frames of startup projectile invul.
- Hits 8 times.
Messatsu Goshoryu
Dragon Punch Super![]()
![]() +
+ ![]()
- A full 2 quarter-circles isn't required. Required inputs:


 +
+ 
Level 1
- 5 frames of startup hit invul.; 1 of which while active.
- 10 frames of startup projectile invul.
- Hits 4 times.
Level 2
- 5 frames of startup hit invul.; 1 of which while active.
- 14 frames of startup projectile invul.
- Hits 6 times.
Level 3
- 5 frames of startup hit invul.; 1 of which while active.
- 18 frames of startup projectile invul.
- Hits 8 times.
| Damage | Stun | Startup | Active | Frame Adv | Meter | Block | Properties |
|---|---|---|---|---|---|---|---|
| 72 | 0 | 5+5 | 49 | N/A | 0/-/0 | N/A |
- 6 frames of startup hit invul.; 0 of which while active.
- 6 frames of startup projectile invul.
- Requires 3 bars of meter.
- Every grounded normal can be canceled into Raging Demon, even normals that aren't normally cancelable.
Command grab that travels a little less than 2/3 screen. Horrible in this game, you can be point blank and they can jump. Go for it at your own risk, definite style points if you land it.
The Basics
What does Akuma want?
Akuma is a two touch character in a three touch game. Despite having among the strongest mixup games in Alpha 2, Akuma's low health punishes him hard for making mistakes in neutral. He needs to make the most of his diverse tools to overwhelm and confuse the opponent. If Akuma can't get in and run his coinflips, he withers and dies.
Notes
Akuma plays like a mix of Ryu and Ken. He can zone with fireballs like Ryu or he can be in your face attacking like Ken. Due to the amount of normals he has though, Akuma is best played aggressively. A good opening to start off his offense on the ground is cr.lkx2. From this, it can lead to a couple of options:
- Option 1: cr.lkx2, throw (if blocked)
- Option 2: cr.lkx2, fireball (if not blocked)
- Option 3: cr.lkx2, do nothing momentarily then walk up to repeat with a different option.
Since Akuma has access to a roll type move it works in the same way Ken can use it. The best version to use is the lp version. It’s fast and leaves you at an advantage when you add it at the end of your block strings. However, you want to establish a mid-range game early on with properly placed fireballs and air fireballs to kind of “feel” out the match. One of the objects of Akuma’s game is to land that custom combo. It’s very damaging and can turn the tide of the match.
Akuma works best when the opponent is in the corner and when the opponent is knocked down. After this you can begin a series of mixups:
Do nothing, if you suspect your opponent will wakeup and punish accordingly Begin a series of block strings, beginning with cr.lkx2 Jump straight up, air fireball Overhead When you’re playing Akuma, always always be thinking about trying to land that cc.
s.mk is a real good anti cross up
buffer s.mp into a fireball when anti-airing
Raging Demon sucks
Dive kick has great priority
Advanced Strategy
Akuma's Objective
- Establishing Mid-Range Offense
Your goal at mid-range is to land LP Shoryuken or cr.HK. Stand just outside of your opponents poke range and work your spacing as they move. From this distance, Hadouken beats a lot of low attacks , and its pretty difficult for your opponent to jump in on it on reaction. Anticipate the opponents attack, then throw a HP Hadouken. You can bait jumps by occasionally whiffing LP which may make them jump forward. If they do, counter with HP Shoryuken or a CC. If they don't, immediately follow up with another HP Hadouken.
You can also try walking into attack range to bait attacks from your opponent. Be ready to back away in anticipation of an attack and use cr.HK xx LP Zenpo Tenshin to whiff punish. Doing this allows you to be close enough to punish recovery roll attempts. Since it's unsafe to use recovery roll against Akuma, you can gain a positional advantage if you whiff punish with cr.HK. This sets up an option select depending on whether or not the opponent attempts a recovery roll. When you recover from LP Zenpo Tenshin, immediately perform cr.MK xx HP Hadouken. If your opponent does in fact recovery roll, the cr.MK hits cancelling into HP Hadouken for a quick 2 hit. However, if they don't, only cr.MK will come out, and you have ample time to walk forward and begin applying wake-up pressure.
- Air Hadouken Pressure
Against opponents with strong air defense, you can jump forward from just outside mid-range and throw a LP Zanku Hadou. Because it is a projectile, it can be hard to anti-air effectively without meter. Whether or not it hits, you can apply mix-up pressure.
- Tenma Kujin Kyaku(Divekick) Tactics
Read a ground attack and jump in on your opponent. When you reach the top of your jump arc,
Keep in mind that his MP dp doesn’t always knock down, which is a shame as it is his possible answer to lows unlike his LP dp for example.
His air fireball is not good at all, except certain special situation you should stay away from it.
Teleports are pretty bad, really just use them to get away and don’t involve it into your offense as the recovery is bad.
The divekick is great and the timing is easier then in A3. Learn that and use it. It’s his fastest air move to get you grounded and beats out quite some stuff, too.
Basic lvl 1 CC is the same as for Ken. As lvl 3 CC better use after the c.HK, qcb+HK, his red fireballs and then finish with an FP dp insted of going into a FP after the qcb+HK in a lvl 1 CC. His CC’s do a lot more damage then his supers, hit easier too, so really try to learn them quickly.
Sides canceling his c.HK on block into a Hadoken you can also use an LP roll to stay close and continue your pressure. So basically the same stuff as Ken has. Exspecially good as Akumas fireball recovery isn’t good.
You can use special moves, supers after c.LK or include them into your pressure strings. Also note the range is not as bad as it seems and you can easily throw after getting a close short blocked by your opponent.
Akumas overhead is slow as hell, so don’t use it often and if your opponent has good reaction --> never! Maybe mix some demon flips and quick divekicks into your game as overhead moves.
Combos
Cr.LK x2, LK TSK,HP GRK
(Cr.MP,Link), cr.MK,GDK
Cr.LK x2 s.LK, MGS
cr.hk XX hk tatsu, hp uppercut
j. hk, cr. mk, mk tatsu, hp uppercut j. hk, cr. mk, mk tatsu, fireball super
cr. mk xx hcb x 2 lvl 3 super (not sure if notation is right?)
c.lk, c.lk xx shoryureppa c.mk xx lk hurricane, lvl 1 shoryureppa c.mk xx lk hurricane, hp dp c.rh xx lk hurricane, activate, [lp dp, red fireball]xN air hurricane, hurricane or dp c.rh xx hk hurricane c.rh xx lk hurricane, lp dp c.lk x3 xx hk hurricane
Custom Combos
- Lv1:
[CC]c.HK,LK TSK,HP S.HDK,HP HDK,HP SRK[/CC]
[CC]c.HK,HK TSK,HP SRK[/CC]
- Lv3:
[CC]c.HK,HK TSK,LK TSKX3,HP S.HDK,HP SRK[/CC]
[CC]c.HK,s.HK,HP S.HDKx4[/CC]
[CC]c.HK,[LP SRK,HP S.HDK]x2,HP SRK[/CC]
[CC]c.HK,[HP G.HDK,HP SRK]x3[/CC]
Akuma: lvl 1- c.rh xx lp dp, red fb, hp dp
lvl 1- c.rh xx hk hurricane, hp dp (far cc)
lvl 2- c.rh xx hk hurricane, lk hurricane, red fb, hp dp
lvl 3- c.rh xx lp dp, lp dp, lk hurricane, red fb, hp dp
lvl 3- c.rh xx hk hurricane, lk hurricane x3, red fb, hp dp
lvl 3- c.rh xx lp dp, red fb, lp dp, red fb, hp dp (dreamfire cc)
Match-ups
The best thing to do to Rose with Akuma is low alpha counter (knocks her down). Then cross her up, making sure u kick about at the point where u reach perpendicular to her head. It is a super difficult block for Rose, and she really cant consistently bock it. other usefull things to do. …Rose has a big body, so she is easy to filp grab, if you see her toss a fireball u can do a flip and grab her (depending on how close u are, it will be overhead, body to body) or just finish with the slide and she cant really hit u back…air-fireballs are good to keep her off balance, just dont get too into tossing them…sweep into hurricane kick is good for her too, cause she misses the low alpha counter.
Sagat will make you do all the work the moment he corners you, or if meter is built up. Your saving grace besides the roll, is the catch the Sagat player messing up the zone game where you can go on the offensive, or time your level 2/3 CC activation to go past the tiger shot. If he throws a high one, you can safely low profile it with the roll, and get a punish on his recovery if you're in range.
Keep away, Dive Kick, and Shoto roll is key with this matchup. Zoning/Spacing builds meter which in return opens up alot of options with what Akuma can do. Air Fireball super can pin Sakura down if she's cornred and is forced to jump. The dive kick is really hard to react to as long as you don't become predictable with it, as you can lead up to some damage upon landing. Lastly, the shoto roll as the mixup potential with that move can be very deadly against high level Sakura players. Shoto roll into super, activate, get her to press a button out of fear so you can AC on reaction, etc. The reason why this MU is even is because once Sakura gets the knockdown, its gg the moment you get caught in the vortex. This is due to how fast Akuma can get stunned, plus his low health.
