Capcom vs SNK 2/Kim

From SuperCombo Wiki

Introduction

CVS2 Kim Data.png

Story

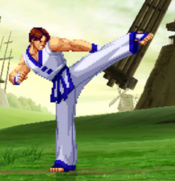
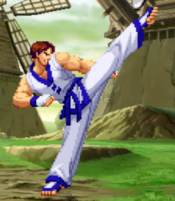
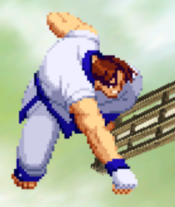
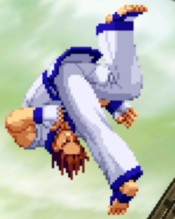
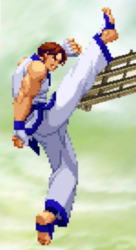
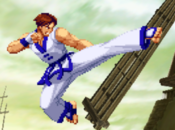
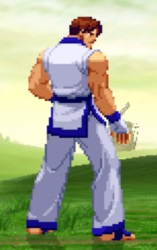
Kim Kaphwan is a Korean Tae Kwon Do master. He is strict, and has a deep love for the idea of justice through learning martial arts. He had been the reigning champion of the martial art for quite some time when he was invited to the second King of Fighter's tournament, hosted by Wolfgang Krauser. He ended up losing to Terry, and openly admitted Terry to be a better fighter than him. Since then, the two have maintained a healthy rivalry/friendship, with Kim frequently staying in South Town to aid Terry in whatever adventures he has going on. Kim eventually has two sons, who become his future students as seen in Garou: Mark of the Wolves. One day, Kim saw that a rampage had started when Chang Koehan had escaped from prison and none of the police could stop him. Kim, enraged at this, went to fight Chang himself. During their fight, Choi Bounge jumped out to help Chang. Even in a 2 vs 1 against two convicted serial killers who even the police couldn't stop, Kim dispatched the two with ease. Seeing the potential in his power, Kim began his infamous Rehabilitation Project, where he would take wanted criminals and teach them about Tae Kwon Do and his strict, justice-based worldview.

Gameplay

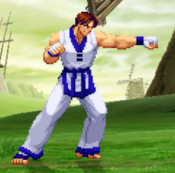
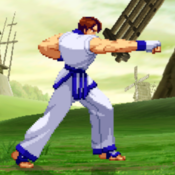
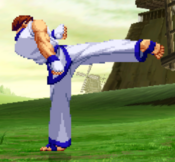
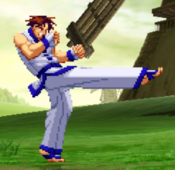
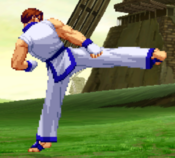
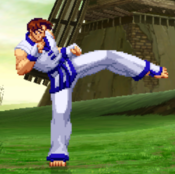
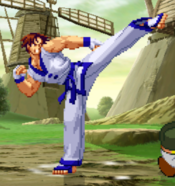
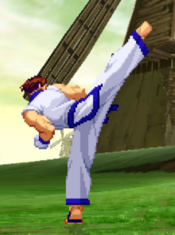
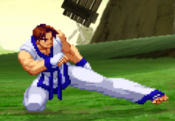
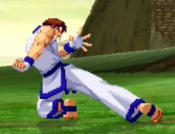
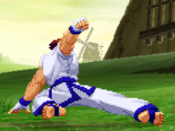
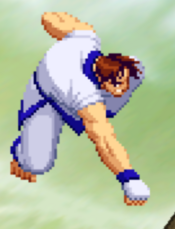
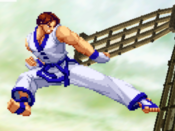
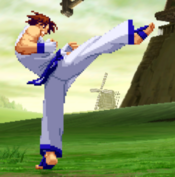
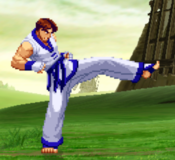
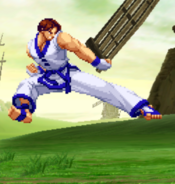
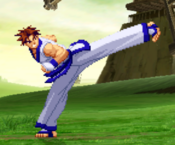
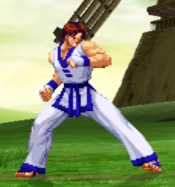
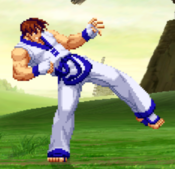
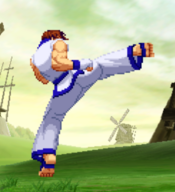
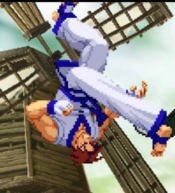
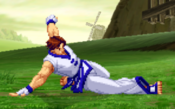
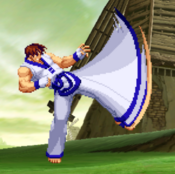
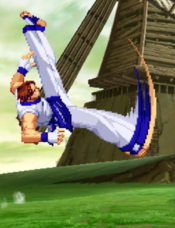
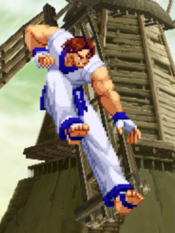
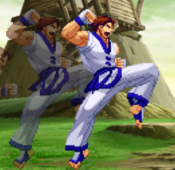
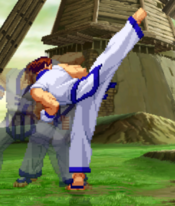
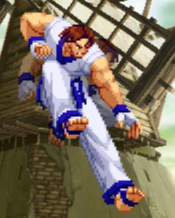
Kim is a rushdown oriented character with solid mobility and some good tools for pressure. His combos are simple and fairly reliable, but some are punishable even on hit and many of his specials require you to charge which can limit how he does them. He has great tools for playing neutral as well, between some solid close-range pokes, his [4]6K Ryuseiraku slide that hits low, and some great anti-airs like his [2]8K Hienzan flash kicks. 214K Hangetsuzan is a fairly annoying flip kick special that jumps into the air and gets Kim in, and his j.236K Hishokyaku divekicks are useful multi-hitting divekicks as well. He has a very unique special in 22K Hakikyaku, a low hitting stomp that can super cancel for big damage combos.

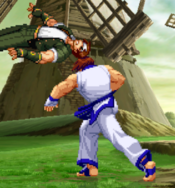
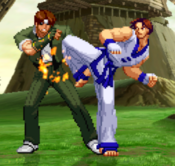
Kim even has a stance by doing 5HK or 22HK and then holding HK, with 5 different possible followups for the opponent to deal with. Setting it up over a knocked down opponent is a powerful way to use it, or even just threatening it after a blocked 5HK/22HK. However, what truly makes Kim as viable as he is would be his infinite. His 236236K Ho-o Hitenkyaku super launches the opponent for juggles, and by cancelling the level 2 version into a 22HK Hakikyaku, activating stance, and then kara-cancelling the stance LP into another 22HK, you can infinitely juggle them in the corner. With Kim's great rushdown ability, putting them in the corner isn't too hard, and if you can land this consistently you'll absolutely be stealing rounds. It isn't easy or damaging however, and you have to be in C-Groove with at least 2 bars of meter, limiting how you use it immensely.

Groove Selection

Best - C: As stated above, C-Kim is the only Kim that can reliably access the infinite. This immediately puts C-Kim above the rest, as being able to perform the infinite is required at a high level. C-Kim does get other useful tools in general however, like an airblock to make his approach safer and a roll for RC specials. Kim's RC Hangetsuzan and RC Ryuseiraku can be very annoying in some situations. Consistent access to meter helps him in general as well, as it allows him to more often end combos in big damage and a knockdown without having charge. C-Kim doesn't get run or hop, but Kim has fine enough mixups and offense to live without them, though they definitely help. Even without the infinite, C-Kim is strong, and having consistent access to the infinite makes him even better.

Useful - A/N/K: If the stomp infinite was more easily available, A-Kim would likely outrank C-Kim. A-Kim actually has very good synergy with CC as a whole, and his CC does pretty good damage overall. He maintains all of the things C-Kim has except airblock as well. Sadly, you can't end a CC in the infinite (if you could, A-Kim would likely be a top tier), meaning it loses out to C-Kim overall. N-Kim gets more mobility for rushdown, and one of the better guard cancel rolls thanks to his fast roll. While ending in a level 1 super doesn't do much damage, being able to end in level 1 Ho-okyaku consistently helps Kim convert more often without charge. His level 1 Ho-o Tenbukyaku divekick super is great at calling out anti-airs and air-to-airs, however a level 1 Ho-o Hitenkyaku is essentially useless. K-Kim gets run and hop, but also gets a huge damage buff when in Rage, making his offense even scarier. A stomp cancelled into level 3 Ho-okyaku will do great damage, and level 3 Hitenkyaku allows for juggles afterward for high damage. Still, big damage doesn't match to an infinite, leaving K-Kim by the wayside.

Worst - P/S: P-Kim sounds alright on paper, but you have to give up charge in order to parry, meaining he rarely has a worthwhile meterless punish. In the rare instances he has meter, a level 3 super will do good damage, but it isn't an infinite. S-Kim has to give up neutral presence in order to charge for meter he really needs, and even then, a level 1 Kim super just isn't as threatening in neutral. S-Kim does get the ability to end with a solid knockdown and damage without charge every time when in Desperation, but it isn't as powerful as other S-Groove characters can be.


Kim is a rushdown and mixup character defined by his solid normals, good pressure and mixup ability, and his C-Groove infinite combo. He requires a lot of practice, and has to make his opponent get to the corner while maintaining at least a level 2 super meter, but if he does he can end a round immediatelly. Kim is best in C-Groove.

Difficulty: Medium
Tier: B+
Pros Cons
  • Aggression: Kim has lots of tools to keep himself in close range, or get into close range from a bit farther out
  • Neutral: He has a few solid pokes overall, and multiple good anti-airs to keep the opponent from freely moving around
  • Mixup: Kim naturally has solid mixup potential, with his Nerichagi overhead command and a great crossup, but adding in his stance makes it even better, where he can go between 5 different stance moves to beat out whatever the opponent does or even just reset back into stance
  • Supers: Kim has three useful supers, between his j.2363214K divekick super, a powerful launcher super in 236236K, and his 22K stomp cancels into his 21416K super for huge damage potential
  • Infinite: His defining trait is his cornered stomp infinite in C-Groove, which is difficult to do but will kill any character if he gets a solid enough hit. It's performed by doing 236236MK super, cancelling that into 22HK, activating stance from 22HK, doing stance LP, and cancelling stance LP's startup into another 22HK, looping the stance cancel multiple times until ending in a level 3 21416K super to kill them
  • Charge Reliant: Kim wants to be aggressive, but has to maintain charge while doing so, limiting how he can end his combos with knockdown
  • Zoning: Kim can't zone out any opponents, and even moreso he struggles to deal with solid zoning himself sometimes
  • Infinite Reliant: Kim really just wants to land his infinite most of the time, and that requires that the opponent be in the corner and that Kim has 2 bars of meter. This makes it a bit more situational, as opponents will play around not getting cornered. The infinite is very difficult as well, and can sometimes be dropped by a poorly timed stun or just misinputting, leaving Kim without meter and having to play the waiting game for another level 2


Players to Watch

Name Country Groove Accounts Notes
Tetsu Japan C-Groove N/A Great Kim player. Lands the infinite with ease.
Sample Match
Towel Japan C-Groove Twitter: @TowelManX Very dominant player, plays great footsies and applies even better pressure.
Sample Match
masathu Japan A-Groove N/A A low tier hero of sorts, but Kim is definitely his strongest character.
Sample Match
Leezy USA K-Groove N/A Among Norcal's sea of K-Groovers, Leezy is arguably the best of them. His Kim is absolutely terrifying with great use of shorthops and stagger pressure to make him a surprisingly oppressive character.
Sample Match


!!!THIS PAGE IS STILL A WIP. IF YOU NEED FRAME DATA NOW, REFER TO THE CVS2 BIBLE OR LOOK THROUGH THE EDIT HISTORY TO FIND THE LAST EDIT CONTAINING FRAME DATA IF THERE WAS ONE!!!

Normal Moves

Far Normals

5LP

Far Jab
Far Light Punch
5LP / Far LP
CVS2 Kim 5LP.png
Version Damage Stun Cancel Guard Parry Startup Active Recovery Total Adv Hit Adv Block Invul
Far Lp.png 200 2 Y Mid Mid 3 4 8 15 +3 +3 -

Placeholder

5MP

Far Strong
Far Medium Punch
5MP / Far MP
CVS2 Kim 5MP.png
Version Damage Stun Cancel Guard Parry Startup Active Recovery Total Adv Hit Adv Block Invul
Far Mp.png 800 8 N Mid Mid 5 5 15 25 +2 +2 -

Placeholder

5HP

Far Fierce
Far Heavy Punch
5HP / Far HP
CVS2 Kim 5HP.png
Version Damage Stun Cancel Guard Parry Startup Active Recovery Total Adv Hit Adv Block Invul
Far Hp.png 1300 13 N Mid Mid 9 4 24 37 -2 -2 -

A decent poke to chunk an opponents guard or whiff punish, but able to be crouched by some characters. For list see Jayts move height doc

5LK

Far Short
Far Light Kick
5LK / Far LK
CVS2 Kim 5LK.png
Version Damage Stun Cancel Guard Parry Startup Active Recovery Total Adv Hit Adv Block Invul
Far Lk.png 500 5 Y Mid Mid 6 6 8 20 +5 +5 -

Extremely long light poke, with strong frame advantage. Can use to fish for counter hits and great for max range c.lk confirms into super. Very useful pressure tool.

5MK

Far Forward
Far Medium Kick
5MK / Far MK
CVS2 Kim 5MK.png
Version Damage Stun Cancel Guard Parry Startup Active Recovery Total Adv Hit Adv Block Invul
Far Mk.png 1000 10 Super Mid Mid 7 7 14 24 +1 +1 -

Primarily used as a decent anti-air which charge is not available or if you suspect an air block.

5HK

Far Roundhouse
Far Heavy Kick
5HK / Far HK
CVS2 Kim 5HK.png
Version Damage Stun Cancel Guard Parry Startup Active Recovery Total Adv Hit Adv Block Invul
Far Hk.png 1400 14 Stance Mid Mid 18 4 28 50 -6 -6 -

Great range, but not the best button due to lengthy start up. Holding down the kick button will put Kim into his stance allowing him access to follow up moves.

Close Standing Normals

clHP

Close Fierce
Close Heavy Punch
cl.HP
CVS2 Kim cHP.png
First Hit
CVS2 Kim cHP 2.png
Second Hit
Version Damage Stun Cancel Guard Parry Startup Active Recovery Total Adv Hit Adv Block Invul
Close Hp.png 600+800 6+8 1st Hit Only Mid Mid 4 16 24 44 Knock Up -4 -

Not the best normal to use, but the first hit can be canceled into, but less damage than linking to c.mk. The second hit will launch into an air reset states, not allowing any follow ups.

clLK

Close Short
Close Light Kick
cl.LK
CVS2 Kim cLK.png
Version Damage Stun Cancel Guard Parry Startup Active Recovery Total Adv Hit Adv Block Invul
Close Lk.png 600 6 Y Mid Mid 2 6 14 22 -3 -3 -

Placeholder

Crouching Normals

2LP

Crouch Jab
Crouching Light Punch
2LP / cr.LP
CVS2 Kim 2LP.png
Version Damage Stun Cancel Guard Parry Startup Active Recovery Total Adv Hit Adv Block Invul
D.png+Lp.png 200 2 Y Mid Mid/Low 3 2 6 11 +7 +7 -

Placeholder

2MP

Crouch Strong
Crouching Medium Punch
2MP / cr.MP
CVS2 Kim 2MP.png
Version Damage Stun Cancel Guard Parry Startup Active Recovery Total Adv Hit Adv Block Invul
D.png+Mp.png 700 7 Y Mid Mid/Low 4 4 13 21 +3 +3 -

Placeholder

2HP

Crouch Fierce
Crouching Heavy Punch
2HP / cr.HP
CVS2 Kim 2HP.png
Version Damage Stun Cancel Guard Parry Startup Active Recovery Total Adv Hit Adv Block Invul
D.png+Hp.png 1200 12 N Mid Mid/Low 9 2 30 41 -8 -8 -

Placeholder

2LK

Crouch Short
Crouching Light Kick
2LK / cr.LK
CVS2 Kim 2LK.png
Version Damage Stun Cancel Guard Parry Startup Active Recovery Total Adv Hit Adv Block Invul
D.png+Lk.png 300 3 Y Low Low 3 4 7 14 +4 +4 -

Placeholder

2MK

Crouch Forward
Crouching Medium Kick
2MK / cr.MK
CVS2 Kim 2MK.png
Version Damage Stun Cancel Guard Parry Startup Active Recovery Total Adv Hit Adv Block Invul
D.png+Mk.png 900 9 Y Low Low 6 7 16 29 -1 -1 -

Placeholder

2HK

Crouch Roundhouse
Crouching Heavy Kick
2HK / cr.HK
CVS2 Kim 2HK.png
Version Damage Stun Cancel Guard Parry Startup Active Recovery Total Adv Hit Adv Block Invul
D.png+Hk.png 1300 13 Super Low Low 7 4 30 41 -10 -10 -

Jumping Normals

j.LP

Jump Jab
Jumping Light Punch
j.LP
CVS2 Kim jLP.png
Version Damage Stun Cancel Guard Parry Startup Active Recovery Total Adv Hit Adv Block Invul
Ub.png/U.png/Uf.png+Lp.png 500 5 Super High Mid 5 22 - 27 - - -

Placeholder

j.MP

Jump Strong
Jumping Medium Punch
j.MP
CVS2 Kim jMP.png
Version Damage Stun Cancel Guard Parry Startup Active Recovery Total Adv Hit Adv Block Invul
Ub.png/U.png/Uf.png+Mp.png 700 7 Super High Mid 6 10 - 16 - - -

Placeholder

j.HP

Jump Fierce
Jumping Heavy Punch
j.HP
CVS2 Kim jHP.png
Version Damage Stun Cancel Guard Parry Startup Active Recovery Total Adv Hit Adv Block Invul
Ub.png/U.png/Uf.png+Hp.png 1200 12 Super High Mid 7 6 - 13 - - -

Placeholder

j.LK

Jump Short
Jumping Light Kick
j.LK
CVS2 Kim jLK.png
Version Damage Stun Cancel Guard Parry Startup Active Recovery Total Adv Hit Adv Block Invul
Ub.png/U.png/Uf.png+Lk.png 600 6 Super High Mid 5 22 - 27 - - -

Placeholder

j.MK

Jump Forward
Jumping Medium Kick
j.MK
CVS2 Kim jMK.png
Version Damage Stun Cancel Guard Parry Startup Active Recovery Total Adv Hit Adv Block Invul
Ub.png/U.png/Uf.png+Mk.png 900 9 Super High Mid 5 7 - 12 - - -

Placeholder

j.HK

Jump Roundhouse
Jumping Heavy Kick
j.HK
CVS2 Kim jHK.png
Version Damage Stun Cancel Guard Parry Startup Active Recovery Total Adv Hit Adv Block Invul
Ub.png/U.png/Uf.png+Hk.png 1200 12 Super High Mid 6 8 - 14 - - -

Placeholder

Command Normals

Neri Chagi

Neri Chagi
Overhead Kick
F+HK, 6HK
CVS2 Kim 6HK.png
Version Damage Stun Cancel Guard Parry Startup Active Recovery Total Adv Hit Adv Block Invul
F.png + Hk.png 1000 10 Stance High Mid 31 2 20 53 +2 +2 -

Placeholder

Throws

Punch Throw

Sakkyaku Nage
Punch Throw
Near Opponent, 4/6HP
CVS2 Kim punchthrow.png
Version Damage Stun Cancel Guard Parry Startup Active Recovery Total Adv Hit Adv Block Invul
Close B.png/F.png+Hp.png 1700 - - - - 3 1 13 17 - - -

Placeholder

Rengekikyaku

Rengekikyaku
Kick Throw
Near Opponent, 4/6HK
CVS2 Kim kickthrow.png
Version Damage Stun Cancel Guard Parry Startup Active Recovery Total Adv Hit Adv Block Invul
Close B.png/F.png+Hk.png 1900 - - - - 5 1 13 19 - - -

Placeholder

Stance Moves

Kamae

Kamae
Stance
[HK]
CVS2 Kim stance.png
Version Damage Stun Cancel Guard Parry Startup Active Recovery Total Adv Hit Adv Block Invul
Hold Hk.png, - - - - - 14 - 10 - - - None

Placeholder

Shinkyaku

Shinkyaku
Stance LP
CVS2 Kim stance LP.png
Version Damage Stun Cancel Guard Parry Startup Active Recovery Total Adv Hit Adv Block Invul
Hold Hk.png, Lp.png 800 8 SP/SU Mid High 9 8 20 37 -2 -2 None

Placeholder

Haishukyaku

Haishukyaku
Stance MP
CVS2 Kim stance MP.png
Version Damage Stun Cancel Guard Parry Startup Active Recovery Total Adv Hit Adv Block Invul
Hold Hk.png, Mp.png 1200 12 None Mid High 18 6 20 44 0 0 None

Placeholder

Haisenkyaku

Haisenkyaku
Stance HP
CVS2 Kim stance HP.png
Version Damage Stun Cancel Guard Parry Startup Active Recovery Total Adv Hit Adv Block Invul
Hold Hk.png, Hp.png 1200 12 None Mid High 10 6 31 47 DWN -11 None

Placeholder

Setten Gedankyaku

Setten Gedankyaku
Stance LK
CVS2 Kim stance LK.png
Version Damage Stun Cancel Guard Parry Startup Active Recovery Total Adv Hit Adv Block Invul
Hold Hk.png, Lk.png 900 9 None Low Low 22 14 17 53 -5 -5 None

Placeholder

Neri Chagi

Neri Chagi
Stance MK
CVS2 Kim stance MK.png
Version Damage Stun Cancel Guard Parry Startup Active Recovery Total Adv Hit Adv Block Invul
Hold Hk.png, Mk.png 900 9 None High High 23 2 17 42 +5 +5 None

Placeholder

Special Moves

Kusajin

Kusajin
[2]8P
CVS2 Kim 28P.png
Version Damage Stun Cancel Guard Parry Startup Active Recovery Total Adv Hit Adv Block Invul
Hold D.png, U.png + Lp.png 1300 13 None Mid High 5 3(9)3 34 54 DWN -25 5 (Full)
Hold D.png, U.png + Mp.png 800+600 8+6 None Mid High 6 3(9)3(9)3 35 68 DWN -38 6 (Full)
Hold D.png, U.png + Hp.png 600+500+400 6+5+4 None Mid High 7 3(9)3(9)3 36 70 DWN -39 7 (Full)

Placeholder

Hienzan

Hienzan
[2]8K
CVS2 Kim 28K.png
Version Damage Stun Cancel Guard Parry Startup Active Recovery Total Adv Hit Adv Block Invul
Hold D.png, U.png + Lk.png 1400 14 None Mid Mid 4 14 39 57 DWN -33 4 (Full) 5-6 (Anti-air)
Hold D.png, U.png + Mk.png 1500 15 None Mid Mid 4 14 45 63 DWN -39 4 (Full) 5-6 (Anti-air)
Hold D.png, U.png + Hk.png 800 8 2HK Mid Mid 4 14 52 70 DWN -46 6 (Full)

Placeholder

Tenshozan

Tenshozan
2HK after H Hienzan
CVS2 Kim 28K 2HK.png
Version Damage Stun Cancel Guard Parry Startup Active Recovery Total Adv Hit Adv Block Invul
Hold D.png, U.png + Hk.png, D.png + Hk.png 800 8 None Mid High 8 4 30 42 DWN -36 None

Placeholder

Ryuseiraku

Ryuseiraku
[4]6K
CVS2 Kim 46K.png
First Hit
CVS2 Kim 46K 2.png
Second Hit
Version Damage Stun Cancel Guard Parry Startup Active Recovery Total Adv Hit Adv Block Invul
Hold B.png, F.png + Lk.png 400+1100 4+11 None Low, Mid Low, High 19 10(24)4 27 74 DWN -11 None
Hold B.png, F.png + Mk.png 400+1200 4+12 None Low, Mid Low, High 19 15(25)5 27 81 DWN -12 None
Hold B.png, F.png + Hk.png 400+1300 4+13 None Low, Mid Low, High 19 19(27)6 27 88 DWN -13 None

Placeholder

Hangentsuzan

Hangentsuzan
214K
CVS2 Kim 214K.png
First Hit
CVS2 Kim 214K 2.png
Second Hit
Version Damage Stun Cancel Guard Parry Startup Active Recovery Total Adv Hit Adv Block Invul
Qcb.png + Lk.png 500+800 5+8 None Mid High 18 3(3)3 27 54 -4 -4 None
Qcb.png + Mk.png 500+900 5+9 None Mid High 18 3(5)3 28 57 -5 -5 None
Qcb.png + Hk.png 500+1000 5+10 None Mid High 18 3(8)3 29 61 -6 -6 None

Placeholder

Hakikyaku

Hakikyaku
22K
CVS2 Kim 22K.png
Version Damage Stun Cancel Guard Parry Startup Active Recovery Total Adv Hit Adv Block Invul
D.pngD.png + Lk.png 1000 10 SU Low Low 10 6 19 35 -1 -1 None
D.pngD.png + Mk.png 1100 11 SU Low Low 11 6 20 37 -2 -2 None
D.pngD.png + Hk.png 1200 12 SU/Stance Low Low 12 6 21 39 -3 -3 None

Placeholder

Hishokyaku

Hishokyaku
j.236K
CVS2 Kim j236K.png
Version Damage Stun Cancel Guard Parry Startup Active Recovery Total Adv Hit Adv Block Invul
In Air, Qcf.png + Lk.png 300xN 3xN None Mid High 8 Varies 14 Varies 0 0 None
In Air, Qcf.png + Mk.png 300xN 3xN None Mid High 9 Varies 14 Varies 0 0 None
In Air, Qcf.png + Hk.png 300xN 3xN None Mid High 10 Varies 14 Varies 0 0 None

Placeholder

Super Moves

Houou Kyaku

Houou Kyaku
21416K
CVS2 Kim 21416K.png
Version Damage Stun Cancel Guard Parry Startup Active Recovery Total Adv Hit Adv Block Invul
Qcb.pngDb.pngF.png + Lk.png 2400 0 None Mid High 4:4 24 6 38 DWN -13 8 (Full)
Qcb.pngDb.pngF.png + Mk.png 3700 0 SP/SU Mid High 4:4 46 6 60 DWN -13 14 (Full)
Qcb.pngDb.pngF.png + Hk.png 5300 0 None Mid High 4:4 58 6 72 DWN -13 22 (Full)

Placeholder

Houou Hitenkyaku

Houou Hitenkyaku
236236K
CVS2 Kim 236236K.png
Version Damage Stun Cancel Guard Parry Startup Active Recovery Total Adv Hit Adv Block Invul
Qcf.pngQcf.png + Lk.png 2000 0 None Mid High 4:10 6 24 44 DWN - 8 (Full)
Qcf.pngQcf.png + Mk.png 2500 0 SP/SU Mid High 4:10 6 24 44 DWN - 14 (Full)
Qcf.pngQcf.png + Hk.png 4000 0 None Mid High 4:10 6 24 44 DWN - 22 (Full)

Placeholder

Houou Tenbukyaku

Houou Tenbukyaku
j.2363214K
CVS2 Kim j2363214K.png
Version Damage Stun Cancel Guard Parry Startup Active Recovery Total Adv Hit Adv Block Invul
In Air, Qcf.png Hcb.png + Lk.png 2200 0 None Mid High 4:4 Varies 10 Varies DWN -26 8 (Full)
In Air, Qcf.png Hcb.png + Mk.png 3500 0 SP/SU Mid High 4:4 Varies 10 Varies DWN -26 14 (Full)
In Air, Qcf.png Hcb.png + Hk.png 5000 0 None Mid High 4:4 Varies 10 Varies DWN -26 22 (Full)

Placeholder

Colors
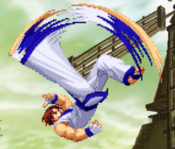
Kim CvS2 colors.png


CvS2 Wiki Navigation

General
Controls
Notation
HUD
Glossary
System
Roll Cancel
Combo
CvS2 Versions
Netplay/ Training
FAQ
Grooves
Groove Overview
Groove Subsystems
C-Groove
A-Groove
P-Groove
S-Groove
N-Groove
K-Groove
Capcom Characters
Akuma (Gouki)
Balrog (Boxer)
Blanka
Cammy
Chun-Li
Dan
Dhalsim
Eagle
E.Honda
Guile
Ken
Kyosuke
Maki
M. Bison (Dictator)
Morrigan
Rolento
Ryu
Sagat
Sakura
Vega (Claw)
Yun
Zangief
SNK Characters
Athena
Benimaru
Chang
Geese
Haohmaru
Hibiki
Iori
Joe
Kim
King
Kyo
Mai
Nakoruru
Raiden
Rock
Rugal
Ryo
Terry
Todo
Vice
Yamazaki
Yuri
Boss Characters
Shin Akuma
Ultimate Rugal
Evil Ryu
Orochi Iori