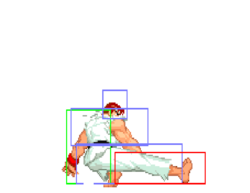
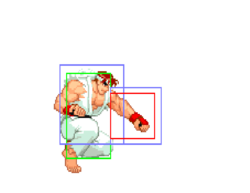
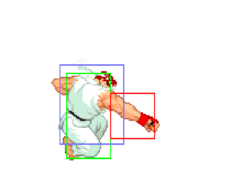
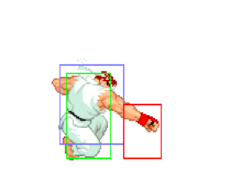
| Ryu | |
|---|---|

| |
| Health: | 144 |
| Defensive Rating: | 0 |
| Stun: | 40 |
| Walk Speed Forward: | 300 |
| Walk Speed Backward: | 200 |
| Jump Backward: | 51f (3+48+0) |
| Neutral Backward: | 50f (3+47+0) |
| Jump Forward: | 49f (3+46+0) |
| Wake-Up: | 51f |
| Quick Rise: | 20f |
| Throw Range: | 20 |
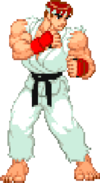
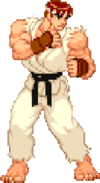
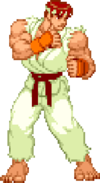
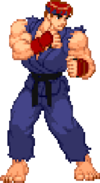
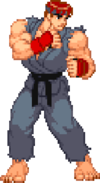
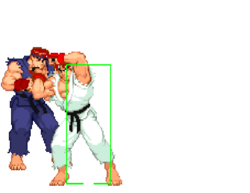
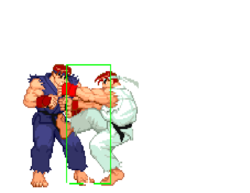
A student of the Shotokan school of karate, Ryu has devoted his entire life to perfecting the true way of the warrior through mastery of the fireball. Now Ryu must stand tall against revitalized rivals.
The main character. Ryu is a top-4 character in Alpha 2. Ryu is the definition of solid, being able to effectively zone, rush, or turtle. Ryu is a very good beginner or expert character.
| Strengths | Weaknesses |
|---|---|
|
|
Normal Moves
| SFA2 Framedata Glossary | |
|---|---|
| Damage |
Units of base damage inflicted by the move (100% life bar = 144 units of health). Most moves have a damage range; the number inside the square brackets indicates which Random Damage Table the move uses to look up any additional damage and the % chance of doing so. |
| Stun |
Units of stun inflicted by the move. |
| Startup |
The frame the move hits on (1st active frame). Super moves with a screen freeze will separate pre- and post-screen freeze startup frames by a '+' (Ex: 5+0). |
| Active |
The portion of a move that can hit. How many frames a move remains active for. ()=Inactive frames in-between active frames. [xN]=Repeated sequences. |
| Frame Adv |
The frame advantage values when the attack is blocked. (Add +1 frame to all OnBlockAdv values for the move's OnHitAdv value; Ex: +2oB/+3oH, -4oB/-3oH) |
| Meter |
The units of meter gained on whiff/block/hit. (48, 96, and 144 units of meter are required for 1, 2, and 3 bars of meter respectively) |
| Block |
Low attacks must be blocked crouching. High attacks must be blocked standing. Mid attacks can be blocked either way. |
| Properties |
|
| Frames |
All framedata collected with the game speed set to normal, where the game tickrate and framerate are the same(60fps). |
| Speed |
All framedata collected with the game speed set to normal. |
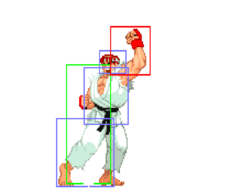
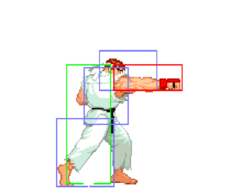
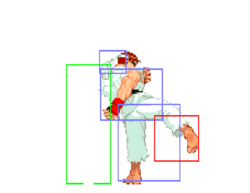
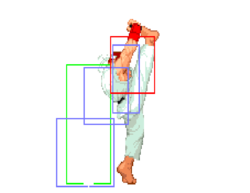
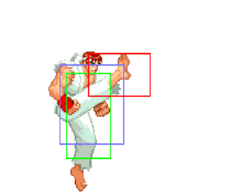
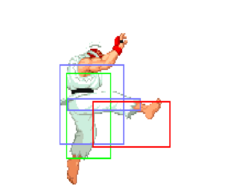
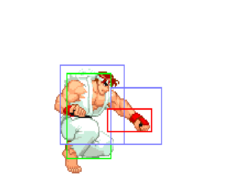
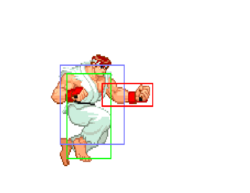
| Hitboxes |
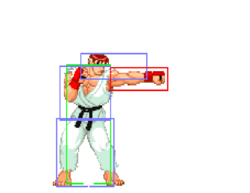
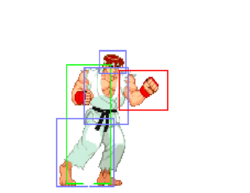
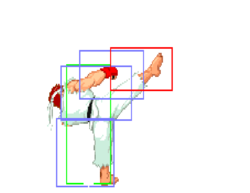
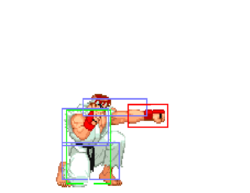
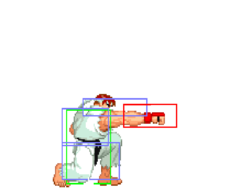
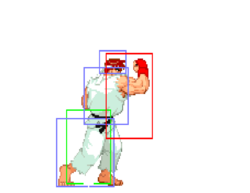
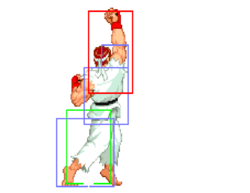
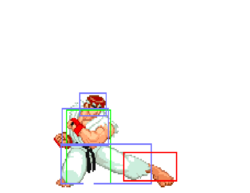
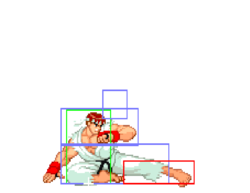
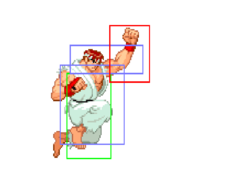
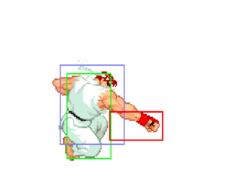
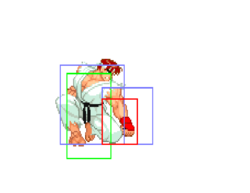
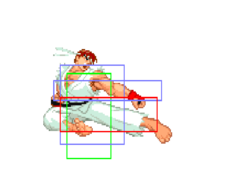
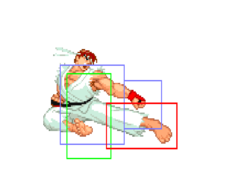
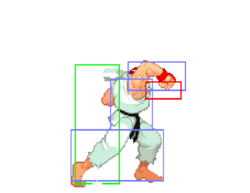
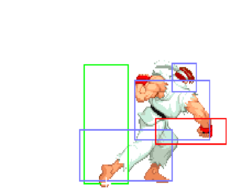
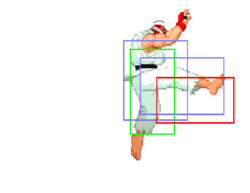
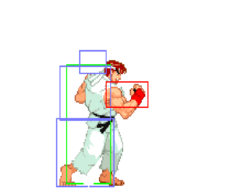
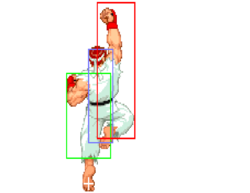
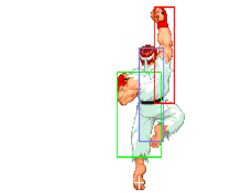
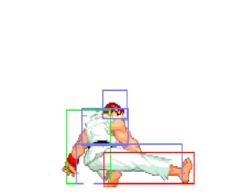
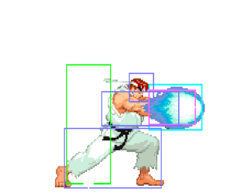
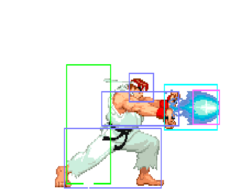
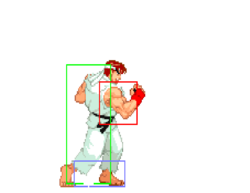
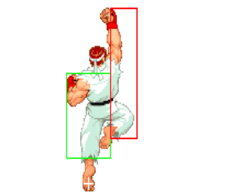
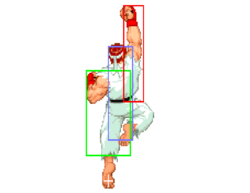
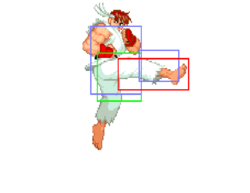
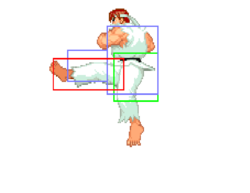
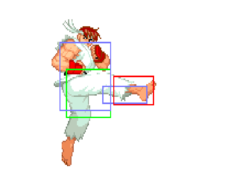
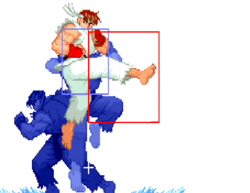
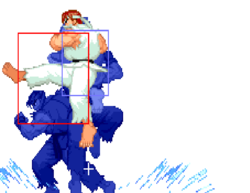
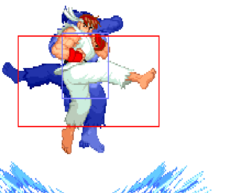
All hitbox images have the character standing/jumping in the exact same position, so hitbox distances can be easily compared.
|
| Credit | Damage, stun, framedata, meter, and updated hitboxes collected by |
Standing
Crouching
Neutral Jumping
Diagonal Jumping
Command Normals
| Damage | Stun | Startup | Active | Frame Adv | Meter | Block | Properties |
|---|---|---|---|---|---|---|---|
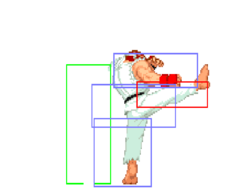
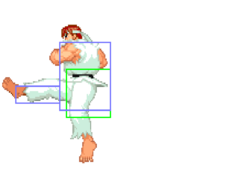
| 5[1], 14[0] | 6, 2 | 23 | 4(0)4 | -7 | 1/2,2/3,3 | - |
- Hits 2 times
- Unsafe; can be punished by CC and fast normals.
- Punishable on hit.
- Tied for 2nd fastest overhead in the game. (Alpha2Overheads).
A overhead with very good range.
Normal Throws
| Damage | Stun | Startup | Active | Frame Adv | Meter | Block | Properties |
|---|---|---|---|---|---|---|---|
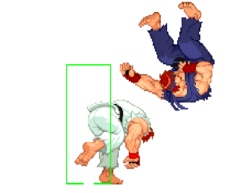
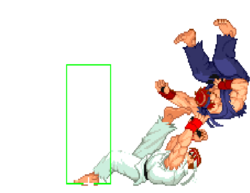
| 19 | 0 | 0 | N/A | N/A | -/-/3 | N/A |
- Deals 9 damage when opponent tech throws.
- Ryu has the 2rd best throw range in the game (Alpha2ThrowRanges).
Alpha Counters
Punch Alpha Counter
(while in blockstun)![]() +
+ ![]()
Kick Alpha Counter
(while in blockstun)![]() +
+ ![]()
Special Moves
| Version | Damage | Stun | Startup | Active | Frame Adv | Meter | Block | Properties |
|---|---|---|---|---|---|---|---|---|
| 15[5], 11[5] | 8 | 12 | 3, inf | -11 | 4/5/7 | |||
| 16[6], 12[6] | 10 | 12 | 3, inf | -12 | 4/5/7 | |||
| 18[9], 14[6] | 12 | 12 | 3, inf | -13 | 4/5/7 |
- Punishable on hit.
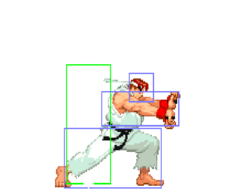
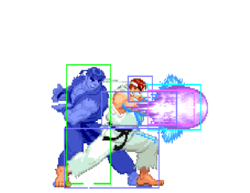
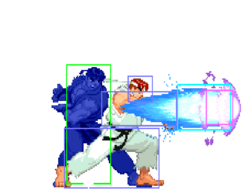
A fireball. His best poke, good release speed and damage. Throw a hell of alot of these but be smart with it. Throwing smart fireballs will annoy your opponent, just tossing them out will get you killed.
![]()
- Speed: 300 pixels per 100 frames; slowest fireball in the game (Alpha2Fireballs).
![]()
- Speed: 375 pixels per 100 frames (Alpha2Fireballs).
![]() Shakunetsu Hadoken aka Red Fireball
Shakunetsu Hadoken aka Red Fireball
- Softknockdown when hit within the first 4 frames.
- Speed: 450 pixels per 100 frames; 4th fastest fireball in the game (Alpha2Fireballs).
Shoryuken
Dragon Punch, Uppercut![]() +
+ ![]()
![]()
- 3 frames of startup invul; 0 of which while active.
- Hits 1 time max.
Best used as an invincible anti-air. Will also anti-air jump-in CCs. Not a great reversal because of the lower hurtbox during the first hit; it will trade with low attacks. Amazing way to build meter from full-screen when kara-canceled with cr.![]() (11 units).
(11 units).
![]()
- 7 frames of startup invul; 4 of which while active.
- Hits 1 time max.
Best used as a reversal. Not the best version to anit-air with because it's not invincible after the first hit.
![]()
- 7 frames of startup invul; 4 of which while active.
- Hits 1 time max.
Hp dp is best used as a reversal. Not the best version to anit-air with because it's not invincible after the first hit. By performing a close light, medium, or heavy DP towards the other person while they're blocking will hit them twice instead of once, which does more chip damage.
Tatsumaki Senpukyaku
Hurricane Kick![]() +
+ ![]()
| Version | Damage | Stun | Startup | Active | Frame Adv | Meter | Block | Properties |
|---|---|---|---|---|---|---|---|---|
| 17[0]x2 | 8, 8 | 12 | 3(3)3 | -5 | 6/7/8 | |||
| 19[1]x4 | 10x4 | 12 | 3[(3)3x3] | -5 | 6/6+1 per hit/8 | |||
| 21[4]x6 | 12x6 | 12 | 3[(3)3x5] | -5 | 6/6+1 per hit/8 |
- Hits 1 time max.
All hits will whiff on crouching opponents. Used for mobility and to punish fireballers, use ![]() version to pass fireballs when you cant use
version to pass fireballs when you cant use ![]() version to hit opponent.
version to hit opponent.
(air)Tatsumaki Senpukyaku
(air)Hurricane Kick
(in air)![]() +
+ ![]()
Hado no Kamae
Fake Fireball![]() + Taunt (Start)
+ Taunt (Start)
| Damage | Stun | Startup | Active | Frame Adv | Meter | Block | Properties |
|---|---|---|---|---|---|---|---|
| N/A | N/A | N/A | N/A | N/A | 0/-/- | N/A | - |
Ryu will use his fireball animation where nothing comes out, but it has very fast recovery and can catch foes off-guard during a fireball war. Not used often due to the placement of the start button can vary depending on your controller setup, and a inputting it incorrectly will give you a regular taunt instead, which can be dangerous.
Super Moves
Startup Invulnerability Notes:
- At the end of a super screen freeze, projectiles will start moving before the opponent's character is unfrozen, giving the supers more projectile invul. frames than hit invul. frames.
Shinku Hadoken
Fireball Super![]()
![]() +
+ ![]()
Only real use is to blow thru fireballs, sucks as a AA at any lvl other than 1, and you have better choices anyway. Can combo off light attacks. Lvl 1 does does not knock down, and if to close can be hit.
Level 1
- 4 frames of startup hit invul.; 0 of which while active.
- 6 frames of startup projectile invul.
- Hits 3 times.
- Punishable on hit.
Level 2
- 4 frames of startup hit invul.; 0 of which while active.
- 6 frames of startup projectile invul.
- Hits 4 times.
Level 3
- 4 frames of startup hit invul.; 0 of which while active.
- 6 frames of startup projectile invul.
- Hits 5 times.
Shinku Tatsumaki Senpukyaku
Hurricane Kick Super![]()
![]() +
+ ![]()
Probably the best wake-up super in the game, best used defensively than offensively. Completely safe on block, good chip damage, and good damage. Good anti-cross up when knocked down. Ryu's pushbox is removed throughout the duration of the super.
- A full 2 quarter-circles isn't required. Required inputs:


 +
+ 
Level 1
- 5 frames of startup hit invul.; 0 of which while active.
- 15 frames of startup projectile invul.
- Hits 5 times.
Level 2
- 6 frames of startup hit invul.; 1 of which while active.
- 16 frames of startup projectile invul.
- Hits 9 times.
Level 3
- 7 frames of startup hit invul.; 2 of which while active.
- 17 frames of startup projectile invul.
- Hits 13 times.
The Basics
I like to zone with ryu, fireball away, build meter, cc for chip whatever. Ryu is scary cause its hard to rush him when he has meter, after a few eaten ccs your opponent wont rush you so much. This is in you favor since his fireball is so good. Main goal is to force the opponent to make mistakes by zoning with fireballs, then anti-airing them if they jump. His HP fb knocks down and has great release speed, so Ryu can really get annoying fast.
Advanced Strategy
Well if within or a little outside sweep range go for his cc:
c.rh xx lk hurricane xN, fp dp
UPDATED: Better Customs at lvl 3
c.rh xx lk hurricane x3, fp dp x2 c.rh xx lk hurricane x2, lp dp, lp dp, hp dp c.rh xx lk hurricane x3, hp fireball x4, hp dp c.rh xx hp dp, hp dp, lp dp, hp dp. Note in CC mode E. Ryu’s specials are like regular Ryu’s.
Tired of people jumping on you, well then just anti-air cc. Shoto’s have probably the best AA ccs. If no cc is available, used c.fp or s.mp (cancel into hurricane to move close or hadouken to push back). S.mk works as a anti-cross up.
Activate, s.mp xx lk hurricane xN, fp dp
Now if they jump from afar…
Activate, s.fp xx rh hurricane, fp dp
Congrats! You just made you opponent think twice about jumping on you which leads to more hadouken and cc mix-up fun! This is just a quick overview if you have any in depth question feel free to ask.
Also vs fireballers, if you hit a air hurricane kick…
immeadiately jump activate, j.mp xx hurricane, land, continue hurricane kick juggle, end with fp dp.
Hadoken Knockdown
After a c.mk xx fireball knockdown, hold uf, j.lk at the last second. Its a safe jump in and if it hits go into c.lk x2 fireball. Alot of times they try to throw which leads to c.lk x2 xx fireball another knockdown into the same situation. Repeat til j.lk and c.lk is blocked.
From the blocked c.lk, go for throw, or c.mk xx fireball if you think they expected your throw attempt. If they jump at you when you have meter, cc them with s.mp/c.mp xx lk hurricanes xN, end with hp dp. If they jump from afar, actiavte, s.fp xx hk hurricane into lk hurricanes, end with dp.
C.fp is one of the best meaties and if it hits you can link a c.mk or sweep, if blocked walk forward and throw, or go for a counter hit. S.mk is a really good anti cross up, hitting instantly above his head.
Combos
cr.![]() , cr.
, cr.![]() , st.
, st.![]() xx
xx ![]() Fireball or Fireball Super
Fireball or Fireball Super
cr.![]() xx
xx ![]() DP
DP
cr.![]() xx
xx ![]() Fireball or Fireball Super
Fireball or Fireball Super
j.![]() , cr.
, cr.![]() xx
xx ![]() Fireball
Fireball
j.![]() , cr.
, cr.![]() , cr.
, cr.![]() (One-Frame Link) xx
(One-Frame Link) xx ![]() Tatsu
Tatsu
st.![]() , cr.
, cr.![]() (One-Frame Link) - Ryu's least relevant link, here for completeness. Unfortunately st.
(One-Frame Link) - Ryu's least relevant link, here for completeness. Unfortunately st.![]() 's startup is too slow to combo from jump-ins, even excessively deep ones.
's startup is too slow to combo from jump-ins, even excessively deep ones.
Corner Only
j.![]() , cr.
, cr.![]() xx Lvl 1 Tatus Super, Lvl 1 Fireball Super
xx Lvl 1 Tatus Super, Lvl 1 Fireball Super
j.![]() , cr.
, cr.![]() , cr.
, cr.![]() xx
xx ![]() Tatsu
Tatsu
Custom Combos
Lv1:
cr.![]() ,
, ![]() Fireball x4,
Fireball x4, ![]() DP
DP
cr.![]() ,
, ![]() Tatsus x2,
Tatsus x2, ![]() DP
DP
Lv3:
cr.![]() ,
, ![]() Tatus x6,
Tatus x6, ![]() DP
DP
cr.![]() ,
, ![]() DP x2,
DP x2, ![]() DP x2
DP x2
st.![]() ,
, ![]() Fireball xN, c.
Fireball xN, c.![]() ,
, ![]() DP
DP
Ryu:
any lvl- cr.![]() xx
xx ![]() Tatus xN,
Tatus xN, ![]() DP
DP
aa cc- st.![]() /cr.
/cr.![]() into above cc
into above cc
Match-ups
While Adon is a weaker character, don't underestimate his simple, effective mix. Adon uses "shallow" Jaguar Tooths to bait Uppercuts and "Deep" JTs to punish fireballs on reads. Once he's dictated the pace of the match, Adon can set up Strike/Throw. Jaguar Kick is punishable on hit outside of fringe cases.
quite tricky. S.lk beats out chuns low fwd and I think this is applied to ryu\ken\akuma. Not quite sure about dan\sakura. You read the opponent for low fwd patterns and interupt her with s.lk, KD FB.
ryus hcf+fp is KD @ perfect ranges to counter chuns normal game. Its really effective because KD’s give you time to set her up for something.
if someone is getting fireball happy w\in the proper FB range, you pacman her FB with a shinku. She’ll stop zoning less with fb’s and you can work yours.
for the most part, ryu can’t really out footsie chun. However, his fwd+mk will go over low fwd which counts for something but its not safe from certain ranges. I’ve noticed that if you decide to turtle it up, shell walk in and out of her low fwd range to bait you to do something. Most players have patterns when they start doing this and you can time when they walk fwd and catch them with c.mk, FB. Its not great life but it is footsie and you can catch her frequently with this till they stop walking around. Chuns walk speed is too good and seems to be a staple point of her footsie mind game.
I’ve noticed that once chun has established her dominant footsie game, she’ll get in close so she can force easy pressure with her normals. This is the only time when you can try to out footsie her and get her with something. c.lk x2 super, low fwd into KD FB etc…
and the best strategy is to just use the fucking clock. Take off time. See if the other guy can actually maintain the proper moves through out the entire course of the match. I’ve noticed that some chun players are really gimmicky and when you use the clock, you’ll be able to see that gimmick more and more and you’ll eventually think of a counter. Even when you use the clock vs a smart chun, you establish the mental game and you’ll be able to work options to land hits.
a big problem with chun isn’t her normals but rather her damn CC. Its chunky life and from what i’ve seen, it can be done with 1 button lol. Its important to win the first round. Its crucial. When the 2nd round comes up, try to gain the life lead and force the chun player to burn up his CC so when the 3rd round comes aroud, you have bar, she doesn’t and you can pick her off with your CC then fight it out. Thats probably the best strat i’ve managed to come up with so far.
