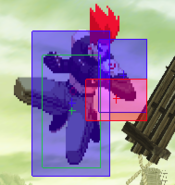
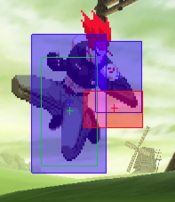
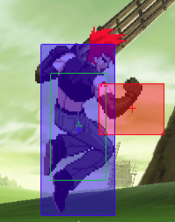
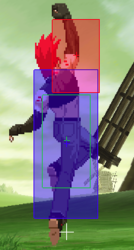
Callie Rose (talk | contribs) |
Callie Rose (talk | contribs) No edit summary |
||
| Line 20: | Line 20: | ||
== Normal Moves == | == Normal Moves == | ||
=== Far Standing Normals === | === Far Standing Normals === | ||
<span class="invisible-header">5LP</span> | === <span class="invisible-header">5LP</span> === | ||
{{MoveData | {{MoveData | ||
| name = Far Jab | | name = Far Jab | ||
| Line 49: | Line 49: | ||
}} | }} | ||
<span class="invisible-header">5MP</span> | === <span class="invisible-header">5MP</span> === | ||
{{MoveData | {{MoveData | ||
| name = Far Strong | | name = Far Strong | ||
| Line 78: | Line 78: | ||
}} | }} | ||
<span class="invisible-header">5HP</span> | === <span class="invisible-header">5HP</span> === | ||
{{MoveData | {{MoveData | ||
| name = Far Fierce | | name = Far Fierce | ||
| Line 107: | Line 107: | ||
}} | }} | ||
<span class="invisible-header">5LK</span> | === <span class="invisible-header">5LK</span> === | ||
{{MoveData | {{MoveData | ||
| name = Far Short | | name = Far Short | ||
| Line 136: | Line 136: | ||
}} | }} | ||
<span class="invisible-header">5MK</span> | === <span class="invisible-header">5MK</span> === | ||
{{MoveData | {{MoveData | ||
| name = Far Forward | | name = Far Forward | ||
| Line 165: | Line 165: | ||
}} | }} | ||
<span class="invisible-header">5HK</span> | === <span class="invisible-header">5HK</span> === | ||
{{MoveData | {{MoveData | ||
| name = Far Roundhouse | | name = Far Roundhouse | ||
| Line 371: | Line 371: | ||
=== Crouching Normals === | === Crouching Normals === | ||
<span class="invisible-header">2LP</span> | === <span class="invisible-header">2LP</span> === | ||
{{MoveData | {{MoveData | ||
| name = Crouching Jab | | name = Crouching Jab | ||
| Line 400: | Line 400: | ||
}} | }} | ||
<span class="invisible-header">2MP</span> | === <span class="invisible-header">2MP</span> === | ||
{{MoveData | {{MoveData | ||
| name = Crouching Strong | | name = Crouching Strong | ||
| Line 429: | Line 429: | ||
}} | }} | ||
<span class="invisible-header">2HP</span> | === <span class="invisible-header">2HP</span> === | ||
{{MoveData | {{MoveData | ||
| name = Crouch Fierce | | name = Crouch Fierce | ||
| Line 458: | Line 458: | ||
}} | }} | ||
<span class="invisible-header">2LK</span> | === <span class="invisible-header">2LK</span> === | ||
{{MoveData | {{MoveData | ||
| name = Crouch Short | | name = Crouch Short | ||
| Line 487: | Line 487: | ||
}} | }} | ||
<span class="invisible-header">2MK</span> | === <span class="invisible-header">2MK</span> === | ||
{{MoveData | {{MoveData | ||
| name = Crouch Forward | | name = Crouch Forward | ||
| Line 516: | Line 516: | ||
}} | }} | ||
<span class="invisible-header">2HK</span> | === <span class="invisible-header">2HK</span> === | ||
{{MoveData | {{MoveData | ||
| name = Crouch Roundhouse | | name = Crouch Roundhouse | ||
| Line 547: | Line 547: | ||
=== Jumping Normals === | === Jumping Normals === | ||
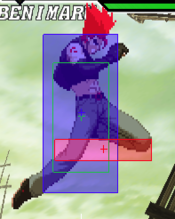
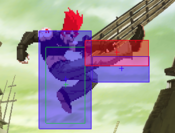
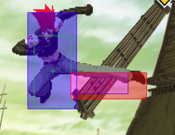
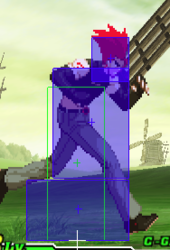
<span class="invisible-header">8LP</span> | === <span class="invisible-header">8LP</span> === | ||
{{MoveData | {{MoveData | ||
| name = Jump Jab | | name = Jump Jab | ||
| Line 576: | Line 576: | ||
}} | }} | ||
<span class="invisible-header">8MP</span> | === <span class="invisible-header">8MP</span> === | ||
{{MoveData | {{MoveData | ||
| name = Jump Strong | | name = Jump Strong | ||
| Line 605: | Line 605: | ||
}} | }} | ||
<span class="invisible-header">8HP</span> | === <span class="invisible-header">8HP</span> === | ||
{{MoveData | {{MoveData | ||
| name = Jump Fierce | | name = Jump Fierce | ||
| Line 636: | Line 636: | ||
}} | }} | ||
<span class="invisible-header">8LK</span> | === <span class="invisible-header">8LK</span> === | ||
{{MoveData | {{MoveData | ||
| name = Jump Short | | name = Jump Short | ||
| Line 665: | Line 665: | ||
}} | }} | ||
<span class="invisible-header">8MK</span> | === <span class="invisible-header">8MK</span> === | ||
{{MoveData | {{MoveData | ||
| name = Jump Forward | | name = Jump Forward | ||
| Line 694: | Line 694: | ||
}} | }} | ||
<span class="invisible-header">8HK</span> | === <span class="invisible-header">8HK</span> === | ||
{{MoveData | {{MoveData | ||
| name = Jump Roundhouse | | name = Jump Roundhouse | ||
| Line 725: | Line 725: | ||
== Command Normals == | == Command Normals == | ||
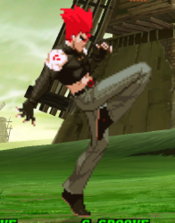
<span class="invisible-header">Jackknife Kick</span> | === <span class="invisible-header">Jackknife Kick</span> === | ||
{{MoveData | {{MoveData | ||
| name = Jackknife Kick | | name = Jackknife Kick | ||
| Line 758: | Line 758: | ||
}} | }} | ||
<span class="invisible-header">Flying Drill</span> | === <span class="invisible-header">Flying Drill</span> === | ||
{{MoveData | {{MoveData | ||
| name = Flying Drill | | name = Flying Drill | ||
Revision as of 01:53, 2 June 2022
Introduction
Character Intro
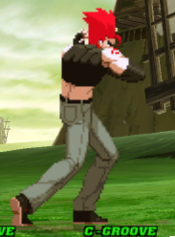
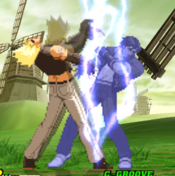
Benimaru Nikaido is many things. He's the son of a rich family, with a Japanese father and American mother. He's a star of the fashion world. He's Kyo Kusanagi's friend and rival. He's an electric wielding martial artist with powerful kicks. Most importantly, though: he's gorgeous. He keeps his hair styled and straight using his electric abilities.
Benimaru in CvS2 is widely regarded as one of the worst characters for a variety of reasons. His health is very low, and his damage output without meter isn't much better either. His longest range options pose no threat to most characters while not even really having that much range. His anti-airs are only strong when you add roll cancels behind them as well. On top of all that, he has one of the absolute floatiest jumps, making anti-airing him a breeze even with his divekick. If you plan on using him, have one or two top tiers on your team to help out, cuz he won't be doing much.
While he has a lot holding him back, Benimaru does have a few strengths. His mixup and general close range game is fairly strong, with lots of ways to generate frame advantage and many strong normals for interrupting opponents trying to escape. His mixup is powerful too, especially with meter, since he can access his level 1 Electrigger command grab which is a damaging 1 frame grab. The fear of being grabbed will make opponents move around and try to escape more, which is when you can take advantage of his strong close-range normals to catch them moving and hopefully secure a knockdown. Beni also doesn't lack in having lots of combo potential, with lots of links for long confirms and a super with very lenient juggle properties. He isn't the scariest close range brawler by any means, but he has a few tools and tricks to keep himself in the game and make the opponent think twice about not learning the matchup.
Groove Selection
Benimaru's best grooves are A, N, and K. A groove gives him access to rolls, which he needs to be able to approach well, alongside the ability to Custom Combo, though it does make his admittedly good supers less accessible. N groove gives him rolls, Max Mode, and run/hop which aids in his issues with jumping. K groove has no rolls, but JD gives him a much needed defensive tool and rage makes his lackluster pokes more threatening. S groove Benimaru is surprisingly not bad, dodge works well for him and he gets easy access to his level 1 command grab super and damaging level 1 juggles, though he has to play at low health to be a threat and he barely has enough health to risk that. C groove gives him access to more supers as well, and air blocking helps a little with his floaty jump, but he has very little use for level 2 supers as he can only combo from level 2 Rai-Kou Ken which already allows combos with the level 1 version. P groove is essentially useless for Beni.
Youtube Guide
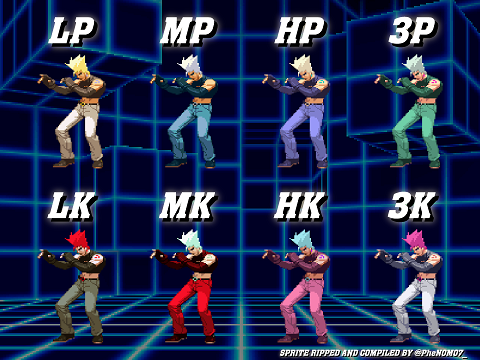
Colors
Normal Moves
Far Standing Normals
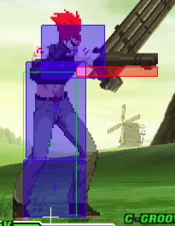
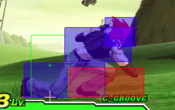
5LP
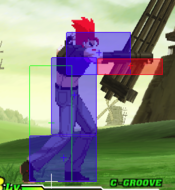
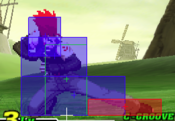
5MP
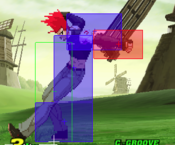
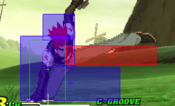
5HP
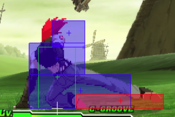
5LK
5MK
5HK
Close Normals
clLP
clMP
clHP
clLK
clMK
clHK
Crouching Normals
2LP
2MP
2HP
2LK
2MK
2HK
Jumping Normals
8LP
8MP
8HP
8LK
8MK
8HK
Command Normals
Jackknife Kick
Flying Drill
Special Moves
Raijinken
Anti-Air Raijinken
Iai Geri
Iai Geri
Jinrai Kick
Shinku Katate Koma
Benimaru Collider
Super Moves
Rai-Kou Ken
Benimaru Rising Shot
Electrigger
The Basics
Advanced Strategy
Groove-Specific Strategy
C-Groove
In C-Groove
Against C-Groove
A-Groove
In A-Groove
Against A-Groove
P-Groove
In P-Groove
Against P-Groove
S-Groove
In S-Groove
Against S-Groove
N-Groove
In N-Groove
Against N-Groove
K-Groove
In K-Groove
Against K-Groove
