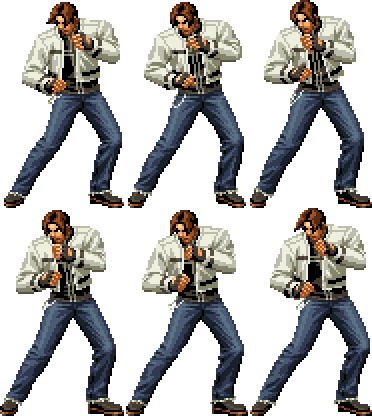
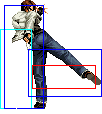
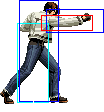
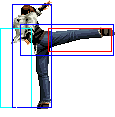
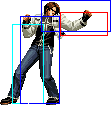
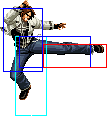
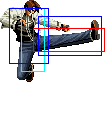
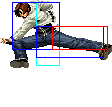
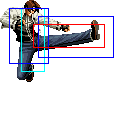
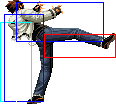
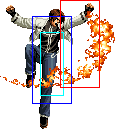
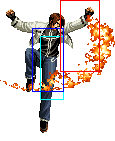
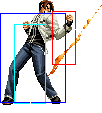
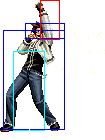
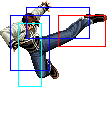
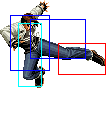
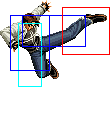
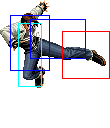
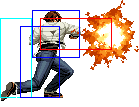
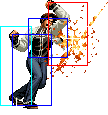
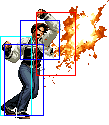
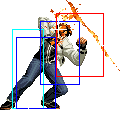
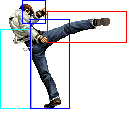
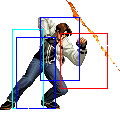
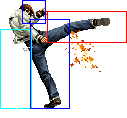
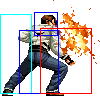
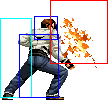
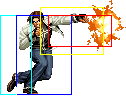
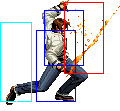
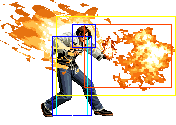
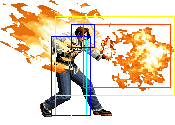
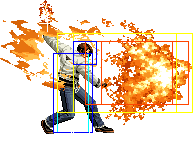
General Info
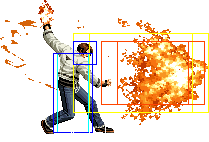
Kyo is the prom queen and everyone wants to fuck him.
Crouch height: Medium
Jump: 4/31/1
Hop: 4/23/1
Dash: 3/10~∞/3
Backdash: 3/15/3
Wakeup: 26 frames
Recovery roll: 23 frames
| Stand | Crouch | Jump | Grab | Run |
|---|---|---|---|---|

|

|

|
|
Colors

|

|

|

|
Movelist
Short Movelist
- air d + C
- f + B (Overhead (2) if not cancelled into.)
- df + D (Low.)
- qcf + A
- qcf + P
- P (Overhead.)
- K
- hcb + P (Overhead.)
- P (Low. May OTG.)
- K
- hcb + K (May OTG.)
- qcf + P
- qcf + C
- hcb + C
- f + C
- dp + C
- f + C
- hcb + C
- dp + P
- qcf + K
- K
- hcb + B
- hcb + D
- rdp + K
- DM qcb hcf + P (May charge.)
- SDM qcb hcf + AC (May charge.)
- HSDM hcb hcb + AC (Throw.)
Notes
Cancellable moves
- Close: A, B, C, D
- Far: A
- Crouch: A, C, D
- CD is cancellable into specials and DMs.
- f + B (2) is cancellable only when you cancel into it.
Super cancellable moves
- hcb + B
- dp + C (1)
Free cancellable into moves
- dp + P
- qcf + A
- qcf + C
- hcb + B
- qcf + K
- rdp + K
Free cancellable out-of moves
- f + B
- df + D
- qcf + A
- qcf + A > ... (Except qcf + A > hcb + P > hcb + K)
- qcf + C
- qcf + C > hcb + C
- hcb + B
- dp + P (1)
Moves with Invincibility
- dp + A (Full: active (1st part).)
- dp + C (Full: startup & active (1st part).)
- hcb + B (Lower: startup.)
- hcb + D (Upper: startup (middle).)
- DM qcb hcf + P (Full: startup (1st part) & "after charge" (1st part). Lower: "charge".)
- SDM qcb hcf + AC (Full: startup & "after charge" (1st part). Lower: "charge".)
- HSDM hcb hcb + AC (Full: startup.)
Moves with autoguard
- qcf + A (startup (last part).)
- qcf + C (startup (??).)
Other Notes
- cl.B is a low attack.
- st.D can evade low attacks.
Combos
Basic Combos
- (cr.B, cr.A) / st.A >
- df + D
- dp + A
- cl.C >
- DM qcb hcf + C (Charge slightly. Timing Required.) {1 Stock}
- qcf + C > hcb + C > f + C > dp + C [25%]
- qcf + A > qcf + P > P / K (Corner. Point Blank.) [22%/26%]
- qcf + D > D, (Very close)
- DM qcb hcf + C [39%] {1 Stock}
- hcb + B,
- qcf + A {25%}
- >> DM qcb hcf + C (Charge for some time.) [44.5%] {2 Stock}
- rdp + B [26%]
- f + B (2) >
- DM qcb hcf + C (Charge slightly. Timing Required.)
- rdp + B {23%} (only on Yamazaki, Goro, Chang, Yashiro, Maxima, Seth)
- qcf + C > hcb + C > [18%]
- f + C > dp + C (Corner. Point blank.) [27.5]
- qcf + A [19%]
- df + D [22.5%]
- dp + A [14%]
- cl.A > HSDM hcb hcb + AC, [47%] {Max Mode + 1 Stock}
- qcf + A (Miss.) > hcb + P (Miss.) > P / hcb + K (Corner. OTG.) [54%/59%]
- df + D (2) / f + B (2) >> BC ~ DM qcb hcf + C (Charge slightly. Timing Required.)
Corner
- cl.C > qcf + D > D, hcb + B, qcf + B > B,
- dp + C {35%}
- j.CD
Max Mode Activation
- cr.B, cr.A > df + D (2) >> BC, DM qcb hcf + C (Charge slightly.) {2 stocks}
Buffer as: df + D (2) >> qcb hcf + BC
- Anywhere, should end up in the corner: cr.B, cr.A > df + D >> BC, qcf + C >> qcf + A >> qcf + C >> qcf + A >> qcf + C >> qcf + D > D, (S)DM qcb hcf + P/AC {65%/??%} {2/3 stocks}
Buffer as: df + D (2) >> qcf + BC
- Corner: cl.C >> BC, run, cl.C > dp + C (1) >> qcf + C >> qcf + A >> qcf + C >> qcf + D > D, hcb + B >> (S)DM qcb hcf + P/AC {60%/80%} {3/4 stocks}
- Corner: cl.C >> BC, run, cl.C > qcf + D D, hcb + B, qcf + A >> hcb + B, qcf + A >> hcb + B, qcf + A >> hcb + B,
- qcf + A > qcf + A > K {2 stocks}
- >> (S)DM qcb hcf + P/AC {3/4 stocks}
- Corner: cl.C > df + D (1) >> BC, run, cl.C > qcf + D > D, qcf + C >> qcf + A (whiff), qcf + A >> qcf + C (whiff), hcb + B >> qcf + A (whiff), qcf + A >> hcb + B >> (S)DM qcb hcf + P/AC {3/4 stocks}
Attack Strings
- cl.C / cl.D > qcf + A > qcf + A > K
- cl.C > f + B > rdp + B
- Corner: cl.C > qcf + D > D (repeat)
- cr.D >
- f + B > rdp + B
- qcf + B > B
- qcf + A
- rdp + B
Timings
To get some of the qcb hcf + P combos to work you must use the JF timing release method.
How to do the c.B c.A df + D qcbhcf + BC combo
Surprisingly, the fastest hit possible from qcb hcf + P is not no delay, but a half second delay. It's just shortly after (like right away) Kyo says "ayeeee" when charging it up. To learn the timing, the easiest method is to practice the df + D qcb hcf + BC combo. The BC break timing is easy, it's right after the second hit, but to get it to combo, you must hold the BC (or just C) until Kyo begins to back up. As soon as you see Kyo move backwards, release. Master the timing, once you learn the timing you can now implement it in his hcb + B super cancel super, super combos.
Strategies
- Always backdash with d + C, as it makes him go back further than normal, and can hit some opponents out of their moves (such as far reaching Billy pokes)
- Learn to do the max mode combos. They aren't as hard as they seem, they don't require as much memory as it looks, and Kyo is much weaker without them.
- j.d + C has amazing priority, if you use it as a jump in, hit early. It stuns and staggers very heavily. If you hit late, you will stagger too far, comboing a far version instead of a close and killing any non BC cancel combo.
- Learn the art to comboing with Kyo instead of memorizing combos. This will make you more dangerous. Learn to BC cancel moves and combo them into qcf + C, after landing qcf + C you can push your opponent into the corner for a corner combo finish.
- While, qcf + A and qcf + C might look like good pokes, both are punishable, do not abuse them.
- rdp + K has high air to air priority, high air to ground priority and hops lows and fireballs, that said, don't abuse since on whiff it's very punishable. It has a nasty habit of beating late uppercuts.
- RED kick (rdp + K) will cross up if space right. This can be very effective on wakeup, since opponents will have a tough time anti airing kyo from above and will have to block from the other side, very difficult to see since most of kyo's body will still be in front of the opponent.
