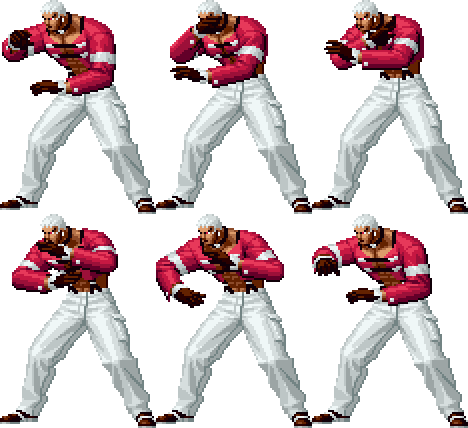
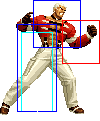
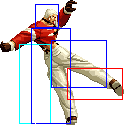
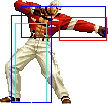
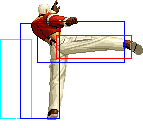
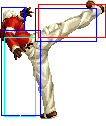
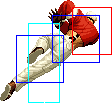
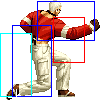
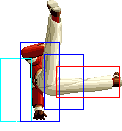
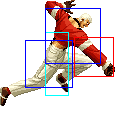
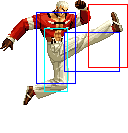
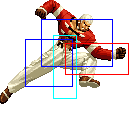
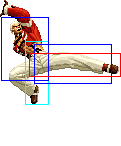
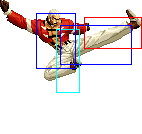
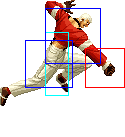
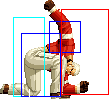
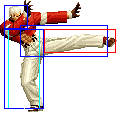
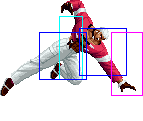
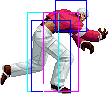
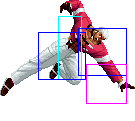
General Info
Crouch height: Low
Jump: 4/31/1
Hop: 4/23/1
Dash: 3/10~∞/3
Backdash: 3/16/3
Wakeup: 24 frames
Recovery roll: 27 frames
| Stand | Crouch | Jump | Backdash | Grab | Run |
|---|---|---|---|---|---|

|

|

|

|

|

|
Colors

|

|

|

|
Movelist
Shot Movelist
- f + A (Overhead if not cancelled into.)
- f + B
- hcf + P (Throw.)
- qcb + P (Throw.)
- hcb f + P (Throw. 0 frame startup.)
- hcf + K (Throw.)
- DM hcb hcb + P (Throw. 0 frame startup.)
- DM qcf qcf + K (Throw.)
- SDM hcb hcb + AC (Throw. 0 frame startup.)
- SDM qcf qcf + BD (Throw.)
- HSDM D B A ABC (Unblockable.)
Notes
Cancellable moves
- Close: A, B, C, D
- Far: A
- Crouch: A, C, D (1)
- CD is cancellable into specials and DMs.
- f + B is cancellable.
- f + A is cancellable only when you cancel into it.
Super cancellable moves
(none)
Free cancellable into moves
- qcb + P
Free cancellable out-of moves
- f + A
Moves with Invincibility
- hcf + P (Full: startup.)
Moves with autoguard
- HSDM B D A ABC
Other Notes
- D throw is a backturned hard knockdown.
- f + A makes Yashiro move forward, making combos more likely to land than if using the more damaging f + B.
Combos
Basic Combos
- cl.D / cl.C / cr.C > f + A / f + B >
- hcb f + P [32.9%]
- (S)DM hcb hcb + P/AC [39.6%/51.1%] {1 stock/Max Mode + 1 stock}
Damage above is based on cl.D > f + A as starter.
About f + A / f + B: f + A leave you closer. f + B deals a little more damage (+~1.5%).
About cl.D / cl.C: cl.C is slower and may miss some crouchers, but causes less pushback.
About cr.C: it deals a little less damage than cl.C / cl.D (-~2%) and is slower, but may be used from further distance.
- cr.B / cr.A, cr.A / st.A >
- hcb f + P
- (S)DM hcb hcb + P/AC {1 stock/Max Mode + 1 stock}
- cr.A > hcf + P,
- do nothing, [16.8%]
- BC, HSDM B D A ABC (Timming required. Not a real combo.) [68.3%] {2 stocks}
- CD (Timming required out of the corner) [18.2%]
- j.CD [16.8%]
- Jump attack
- do nothing, [16.8%]
Max Mode
- cl.D > f + A >> BC, run, cl.D > f + A > SDM hcb hcb + AC {3 stocks}
Combos Notes
- Jump attack, cl.D / cl.C > f + A / f + B >
- hcb f + P
- DM hcb hcb + P
Many possibliities with this combo all with different advantages. Close D is a faster starter but not as useful as close C outside of combos. f + A does less damage but moves Yashiro forward, making it easier to connect the grab after. DM hcb hcb + P only does marginally more damage than hcb f + P but has more mixup advantages after. If you are punishing something that will let you get in really close, the suggested combo to do is close D > f + B
- cr.B / cr.A, cr.A / st.A >
- hcb f + P
- DM hcb hcb + P
His only reliable way of doing damage off a low is linking crouch B into crouch A or far A, which is not an easy link. However, it's much safer to hit confirm a crouch B, crouch A than a close C > f + A / f + B so this combo is definitely useful for Yashiro.
- cr.A > hcf + P,
- do nothing ("the fall" does the most damage)
- CD
- j.CD
- Jump attack
While it is possible to combo into hcf + P, it isn't very practical. The attack after the hcf + P is optional, but it's generally best to do a normal attack and create a reset opportunity for bigger damage.
- Jump attack, cl.D > f + A >> BC, run, cl.D > f + A > SDM hcb hcb + AC
This is his most damaging combo, which takes 3 stocks to perform. It's easy to do with f + A's because f + A moves Yashiro forward - much harder with f + B's but technically do more damage.
Strategies
Defensive Options
Orochi Yashiro has a number of useful normals that can be used for defensive purposes. His far B is one of the best pokes in the game due to it's speed and horizontal range. It's great for punishing whiffed pokes and some special moves that are otherwise impossible to punish from that far B range. It's useful for hitting people out of the start of their jumps, essentially grounding them.
For anti-air, crouch C is not bad but it's difficult to use on reaction against some high priority jumpins, so it might be better to block instead. His jump D is a jump attack that can be used as air defense, though to use it effectively you will need some very good reaction as well as possibly some prediction.
Stand CD also has a number of anti-air applications as well. The hitbox is large and will cleanly beat almost all jumpins. The problem is that since the move comes out slow, it will have to be used as a preemptive anti-air. Whiffing it can get you punished by fireballs and some supers, though it's very difficult to run forward or jump attack it's recovery for a full combo.
Pressuring
On Yashiro's own wakeup
Orochi Yashiro's options on wakeup are fairly limited and risky to perform as they aren't guaranteed punishes to the opponent's actions.
If the opponent is coming down with a meaty jump attack, you can do a reversal hcf + P. The startup invincibility will go through the jump attack and will grab them if they land and don't jump immediately after. The problem is that the opponent can bait you to whiff it, in which case they can punish you with their best jumpin combo.
If the opponent is standing over you, it might be tempting to do a reversal one frame grab (either hcb f + P or hcb hcb + P) but keep in mind that smart players will probably jump in the last moment, getting a full punish combo in the process. A less risky option in this situation is to block and see if they jump out in the last moment. If they do, you can anti-air without crouch C or close C.
In most cases, it's advised to just block on wakeup and only try to throw when you really believe that he isn't going to bait it.
When opponent is waking up
Orochi Yashiro's normal hop and hyper hop cannot go over an opponent that is in a standing state. This includes the state that the opponent was in just before getting hit with a knockdown attack. You can use this fact to create sideswitches that depend on the state of the opponent before they were knocked down, which will require the opponent to pay attention to that. These sideswitches can be set up in numerous ways since he has many hard knockdowns that allow him to atleast switch sides before the opponent can get up.
After HCF + K
If you land hcf + K and you superjump immediately after hcf + K has recovered, you will land at roughly the same time (or slightly after) the opponent gets up. This of course, varies since some characters get up faster than others. If the opponent is not taken completely into the corner, then after the superjump, Yashiro will just barely switch sides if the opponent was in a crouching state while getting hit by hcf + K. If the opponent was in a standing state, then the superjump will not make him switch sides.
While in the air of the superjump, the best thing to do is probably a jump A. If Yashiro will switch sides, the jump A will whiff (he has no reliable crossup moves unfortunately), and you can do a close D or hcf + P the moment you land. If Yashiro doesn't switch sides, the jump A will make contact.
There are a few characters in which Yashiro can apply a safe jump setup after landing hcf + K. The best attack to use is his jump A due to the downward hitbox. If the opponent performs a reversal attack, then Yashiro will be able to land and block before the hit frames of the reversal come out. If the opponent does nothing, then the jump A will connect.
Safe jump setups to be worked on:
- Normal jump after hcf + K works as a safejump on Ryo, Kim and Joe.
- Super jump after hcf + K works as a safejump on Whip.
HCF + P Resets
There are a number of tricky ambigious setups that can be made after his hcf + P. The opponent has to predict which way to block/reversal or to perform a risky roll that can be punished.
- (midscreen) forward hyper hop D or superjump D, then walk toward the direction that you superjumped, though it will actually show Yashiro walking backwards. Just as opponent is going to land, either continue to walk in the direction to walk under them, or stop to not go under. The moment they land,
- (midscreen) run forward to the other side, close C, BC, run back and either run under them as they fall or don't.
- (midscreen) forward hop D, run forward and either go under or don't.
- (midscreen) forward hyper hop D, then forward jump D the moment you land. Let's assume Yashiro is on the left and his opponent is on the right. After landing from the hyper hop D, Yashiro will be facing to the left, with his opponent in the air slightly to his left. Jump right, while facing left and hit D. The opponent, from the initial hyper hop D, will be moving horizontally faster than your jump D, so when you land from the second jump attack, he will be on the right side, with Yashiro coming down to the left of him, also facing left. The jump D will hit as a crossup.
