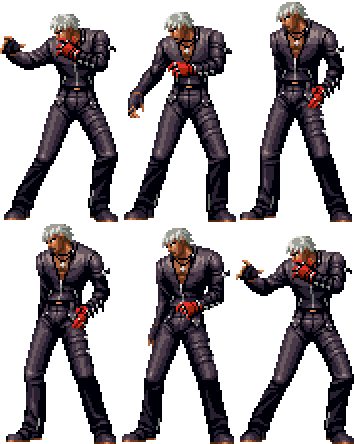
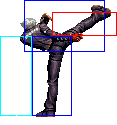
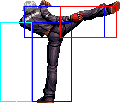
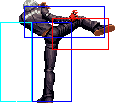
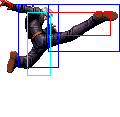
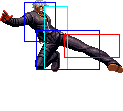
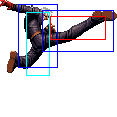
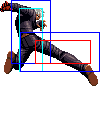
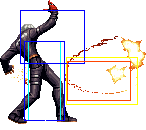
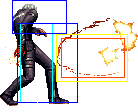
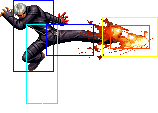
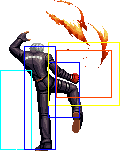
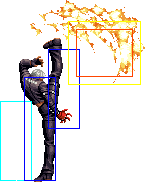
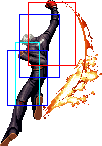
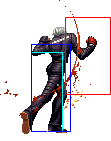
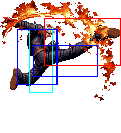
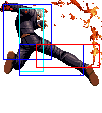
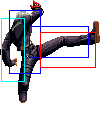
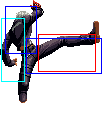
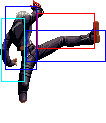
General Info
Crouch height: Low
Jump: 5/33/1
Hop: 5/24/1
Dash: 4/10~∞/3
Backdash: 4/12/3
Wakeup: 23 frames
Recovery roll: 23 frames
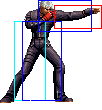
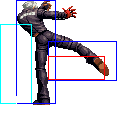
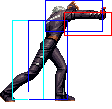
| Stand | Crouch | Jump | Backdash | Grab | Run |
|---|---|---|---|---|---|

|

|

|

|
Colors

|

|

|

|
Movelist
Short Movelist
- f + A
- f + B (Overhead if not cancelled into.)
- qcf + P
- f + B
- f + D
- dp + P (SC (1-2).)
- f + D (Only after C version.)
- qcf + K (Teleport.)
- qcb + K
- qcb + K (Low. SC.)
- air qcb + K
- DM qcf hcb + P
- DM qcf qcf + P (May charge. Unblockable when fully charged.)
- SDM qcf hcb + AC
- HSDM qcb + C A (Unblockable.)
Notes
- Cancellable moves are:
- Close: A, B, C (1-2), D
- Far: -
- Crouch: A, B, C, D
- f + A is cancellable to DMs, and can be cancelled into specials if cancelled into.
- f + B is cancellable (on air attacks) only when you cancel into it.
- There exists a bug where, if K' did his qcf + P on a waking up K9999, who decided to do his db hcb df + P moon DM, the moon DM will be negated entirely by the qcf + P. K9999's sphere animation will still be visible but since it was negated, K' can now just walk right through it.
- Ein Trigger (qcf + P) and its followups have unique blockstun. qcf + A has 20 frames, qcf + C has 19; both strengths of Second Shot (f + B) do 26 frames while both strengths of Second Shell (f + D) do 30 frames.
Combos
Anywhere
- cl.C (2) -> f + B > qcb + B {25%}
- cr.B, cr.B / cr.A > qcf + C > f + B {20%}
- cl.C(1) > f + A >
- DM qcf hcb + P {50%} {1 Stock}
- DM qcf qcf + A {36%} {1 Stock}
- qcb + K (Cancel this on startup)> qcb + K >>
- DM qcf hcb + P {55%} {2 Stock}
- DM qcf qcf + A {41%}{2 Stock}
- qcb + K (Cancel this on startup) > qcb + K, (Corner)
- DM qcf hcb + P {55%} {1 Stock}
- DM qcf qcf + A {41%} {1 Stock}
- dp + A
Corner
- Corner: cr.B, cr.B / cr.A > qcf + C, f + D,
- DM qcf hcb + P {1 Stock}
- DM qcf qcf + P {1 Stock}
- CD {32%}
- dp + C > f + D {37%}
- Corner: cl.C (1) > f + A > qcf + C, f + D,
- DM qcf hcb + P {65%} {1 Stock}
- DM qcf qcf + P {51%} {1 Stock}
- CD {40%}
- dp + C > f + D {45%}
Counterhit
- Counterhit: f + A,
- DM qcf hcb + C (Timming required) {45%} {1 Stock}
- DM qcf qcf + P {31%}
Maxmode
- Corner: cr.B, cr.B / cr.A >> BC, qcf + C (Buffer: qcf + BC) > f + D,
- SDM qcf hcb + AC {65%} {3 Stocks}
- dp + A (1) >> qcb + D (Cancel this on startup) > qcb + D, dp + A(2) >>
- (qcb + D (Cancel this on startup) > qcb + D (miss), dp + A (2) >> ) x 2 >>
- qcb + D (Cancel this on startup) > qcb + D (miss), dp + A (1) >> SDM qcf hcb + AC {4 Stocks}
- (qcb + D (Cancel this on startup) > qcb + D (miss), dp + A (2) >> ) x 2 >>
- cr.C >> BC, walk, cr.C > qcb + D (Cancel this on startup) > qcb + D, dp + A (2) >> qcb + D (Cancel this on startup) > qcb + D (miss), dp + A (2) >> qcb + D (Cancel this on startup) > qcb + D (miss), dp + A (1) >> SDM qcf hcb + AC {90%} {4 Stocks}
Strategies
Use your Trigger (qcf + P) wisely against your opponent and after 1 stock Heat Drive (DM qcf qcf + P) it at far distance
Safejumps
K' has a safejump against Ryo and Kim in the corner off the standard corner combo:
- ... qcf + C > f + D, f + A, immediately jump forward.
