Introduction
About Akuma
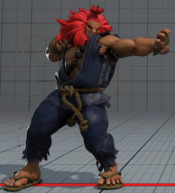
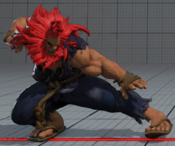
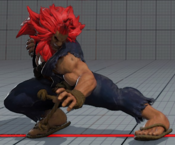
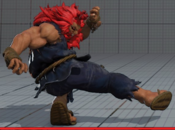
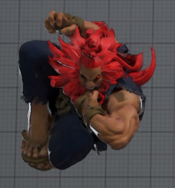
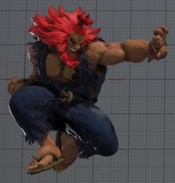
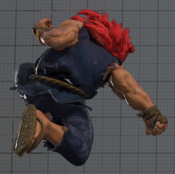
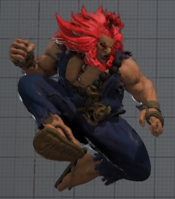
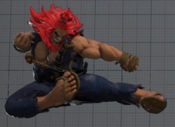
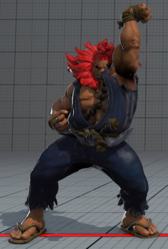
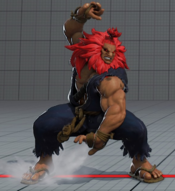
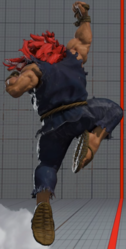
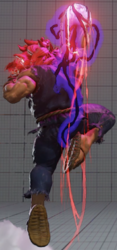
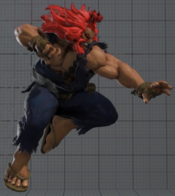
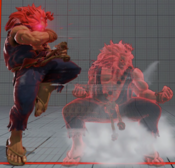
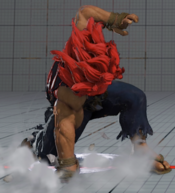
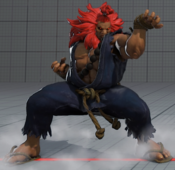
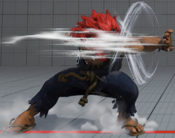
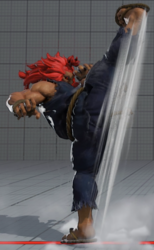
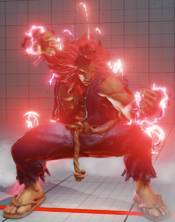
Having embraced the Satsui No Hado, Akuma seeks only to improve his ability by fighting the strongest opponents.
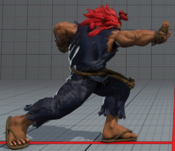
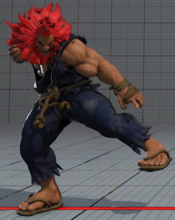
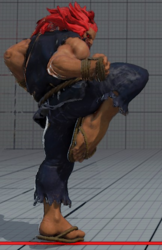
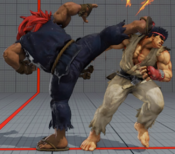
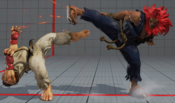
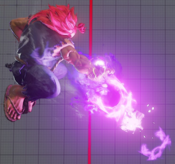
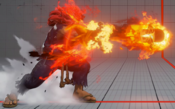
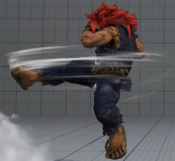
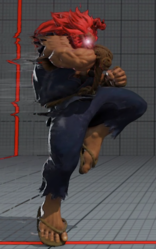
Akuma is possibly the most versatile character in the game, a flexible shoto-style character with fast walkspeed and a variety of tools to effectively approach, keep opponents out, mix up opponents on offense, and make comebacks with powerful V-triggers. The price he pays for this versatility is frighteningly low health and stun, as well as somewhat short range on some of his normals. His fireball knocks down at close range, leading to a much stronger offensive situation than other shoto projectiles if it intercepts the extended hurtbox of an attacking opponent, and his red fireballs always knock down and can hit 1 to 3 times. His combination of divekick, air fireball, EX air fireball, and his variety of demon flip attacks make it very difficult to stifle his airborne approaches for all but the most judicious defenders. Of course, on top of all this he has one of the best 3f normals in the game, fantastic for abare or intercepting an opponent's forward dash and a defensive complement to his invincible reversal. Overall, he's a character who can easily command the flow of a round right from the start, but can also see that control slip away quickly with just a few bad guesses against characters with high stun output.
| Strengths | Weaknesses |
|---|---|
|
|
V-system
V-Trigger 1: Dohatsu Shoten
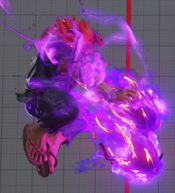
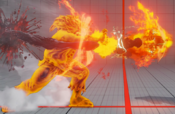
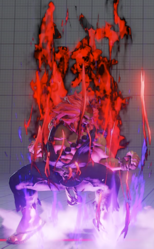
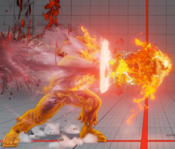
Enhances Akuma's ground and air fireballs, his DP, and grants him access to Raging Demon, a command grab super. His air fireball becomes an extremely safe tool for neutral and offense, while his DP is a great combo tool that leads to a hard knockdown. A fantastic comeback trigger, but one that's easy to quickly burn through, and demands conservative use of meter to reap the full benefits of using it.
V-Trigger 2: Shiretsu Hasshi
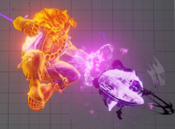
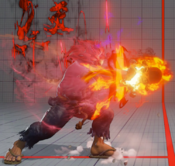
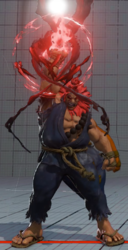
Gives Akuma access to meterless versions of his EX moves, which he can cancel into from his other specials or his heavy normals. Leads to huge damage combos, certain powerful conversions VT1 doesn't have access to, easy corner escapes on block, and devastating corner chip sequences. However, the high timer costs of its moves make it difficult to consistently get full value out of this trigger.
V-Skill 1: Rakan
Akuma takes an armored stance, which leads to a launching followup used for starting combos and anti-air, or a knockdown followup used for ending combos and ranged punishes. Can punish V-reversals or certain neutral tools like divekicks and fireballs, and allows a corner escape without the use of VT2.
V-Skill 2: Kiai
Stomps the ground, launching the opponent and allowing a followup red fireball. Greatly increases Akuma's damage on many conversions, especially his Kongoken target combo which can cancel into it. Has some options if used on block, but it's mainly a combo tool.
Final Patch
Players to watch
- Samurai
- Tokido
| Akuma | |
|---|---|
| Vitals | |
| Life Points | 900 |
| Stun Points | 900 |
| V-Gauge Points | |
| V-Trigger 1 | 3 Bars |
| V-Trigger 2 | 2 Bars |
| Ground Movement | |
| Forward Walk Speed | 0.052 |
| Backward Walk Speed | 0.036 |
| Forward Dash Speed | 16 |
| Backward Dash Speed | 21 |
| Forward Dash Distance | 1.234 |
| Backward Dash Distance | 1.096 |
| Backdash CH Frames | 3-10 |
| Jumping | |
| Back Jump Speed | 46(4+38+4) |
| Neutral Jump Speed | 46(4+38+4) |
| Forward Jump Speed | 45(3+38+4) |
| Forward Jump Distance | 2.128 |
| Backward Jump Distance | 1.824 |
| Throws | |
| Throw Hurtbox | 0.25 |
| Throw Range | 0.8 |
Frame Data & Descriptions are provided by FATOnline.
|
| SFV Frame Data Glossary | |
|---|---|
| Active |
How many frames a move remains active (can hurt opponents) for. |
| Attack |
Attack level is L for low attacks (must be blocked crouching), H is for High attacks (which can be blocked high or low) and M for overhead (must be blocked standing). T is for throw attacks (which cannot be blocked). |
| Cancel options |
Available cancel options.
|
| Confirm windows |
Hit confirm windows written as Specials & CAs/Target Combos/V-Trigger. Notation may denote V-Skill only cancel windows in Specials.
|
| Crush Counter |
Crush Counter hit advantage written as opponent state, frame advantage, and v-gauge gain on hit. |
| Damage |
Attack damage on hit. Notation may denote multi-hit or "sweet spot" damage values on certain frames. |
| Hit/Block |
These are frame advantage values when the attack hits or is blocked. If the number is positive, then the move will end before the defender can act again. If the number is negative, the defender will be able to act before the attacker and maybe even punish. KD refers to knockdown on hit.
|
| Knockdown |
Knockdown advantage against Normal, Quick Rise and Back Rise wake up options. |
| Recovery |
How many frames it takes for a move to finish after it's been active. |
| Startup |
How many frames it takes before the move becomes 'active' or have a hit box. The last startup frame and the first active frame are the same frame, meaning all values are written as Startup + 1. |
| Stun |
Amount of stun added to the opponent's stun bar on hit. |
Normals
Stand LP
Stand MP
Stand HP
Stand LK
Stand MK
Stand HK
Crouch LP
Crouch MP
Crouch HP
Crouch LK
Crouch MK
Crouch HK
Jump LP
Jump MP
Jump HP
Jump LK
Jump MK
Jump HK
Command Normals
Tenmakujinkyaku
Zugaihasatsu
Sekiseiken
Tenha
Target Combos
Kikokurenzan
Kongoken
Throws
Goshoha
Shuretsuzan
Special Moves
Neutral Stomp
LP Gohadoken
MP Gohadoken
HP Gohadoken
EX Gohadoken
LP Zanku Hadoken
MP Zanku Hadoken
HP Zanku Hadoken
EX Zanku Hadoken
EX Zanku Hadoken Initial Hit
LP Sekia Goshoha
MP Sekia Goshoha
HP Sekia Goshoha
EX Sekia Goshoha
LP Goshoryuken
MP Goshoryuken
HP Goshoryuken
EX Goshoryuken
LK Tatsumaki Zankukyaku
MK Tatsumaki Zankukyaku
HK Tatsumaki Zankukyaku
EX Tatsumaki Zankukyaku
LK Air Tatsumaki Zankukyaku
MK Air Tatsumaki Zankukyaku
HK Air Tatsumaki Zankukyaku
EX Air Tatsumaki Zankukyaku
Hyakki Gozan
EX Hyakki Gozan
Hyakkishu > Hyakki Gosho
EX Hyakkishu > Hyakki Gosho
Hyakkishu > Hyakki Gojin
EX Hyakkishu > Hyakki Gojin
Hyakkishu > Hyakki Gosai
EX Hyakkishu > Hyakki Gosai
Hyakkishu > EX Hyakki Gozanku
EX Hyakkishu > Hyakki Gozanku
Hyakkishu > EX Hyakki Gorasen
EX Hyakkishu > Hyakki Gorasen
Ashura Senku (fwd)
Ashura Senku (back)
Critical Art
Sekia Kuretsuha
Taunts
Taunt Stomp
V-System
V-Skill 1
Rakan
Rakan Gosho
Rakan Gokyaku
V-Skill 2
Kiai
Sekia Goshoha (V-Skill 2)
Sekia Goshoha EX (V-Skill 2)
Sekia Goshoha Just Frame (V-Skill 2)
Sekia Goshoha EX Just Frame (V-Skill 2)
V-Trigger 1
Dohatsu Shoten
Raging Demon
V-Trigger 2
Shiretsu Hasshi
EX V-Gohadoken
EX V-Sekia Goshoha
EX V-Zanku Hadoken
EX V-Goshoryuken
EX V-Tatsumaki Zankukyaku
EX V-Air Tatsumaki Zankukyaku
EX V-Hyakki Gozan
EX V-Hyakkishu > Hyakki Gosho
EX V-Hyakkishu > Hyakki Gojin
EX V-Hyakkishu > Hyakki Gosai
EX V-Hyakkishu > Hyakki Gozanku
EX V-Hyakkishu > Hyakki Gorasen
V-Shift
V-Shift
V-Shift Break
Rasen Shuto Uchi
V-Reversal
Gosenkyaku

