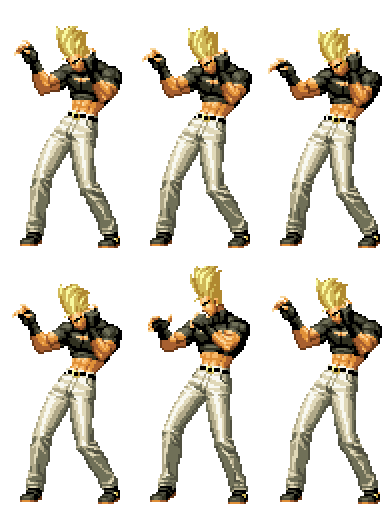
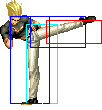
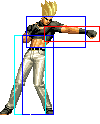
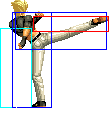
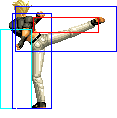
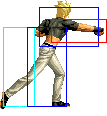
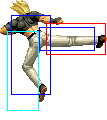
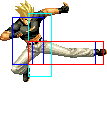
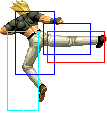
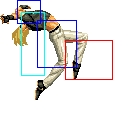
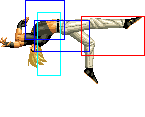
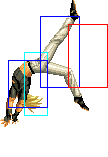
| Line 450: | Line 450: | ||
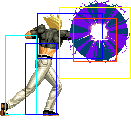
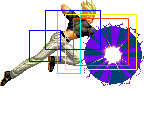
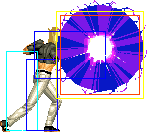
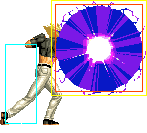
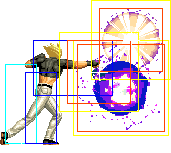
| '''Raikou Ken - qcfx2+AC''' | | '''Raikou Ken - qcfx2+AC''' | ||
* same as the Raikou Ken qcfx2+A but more damage, and the ball covers a greater area | * same as the Raikou Ken qcfx2+A but more damage, and the ball covers a greater area | ||
|- | |||
|colspan="8" align="center"| '''HSDM''' | |||
|- | |||
|} | |} | ||
===HSDM=== | ===HSDM=== | ||
Revision as of 13:05, 30 September 2013
General Info
Crouch height: Low
| Stand | Crouch | Jump | Grab | Run |
|---|---|---|---|---|

|

|
Colors

|

|

|

|
Movelist
HSDM
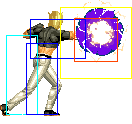
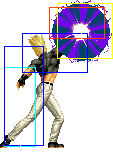
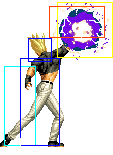
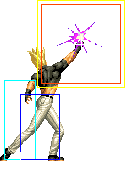
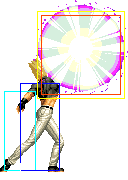
Raijin Ten - f db df b f+A/B/C/D
- can be done using hcfx3+P/K, instead of it's original motion of f db df b f+P/K
- can negate most projectiles an infinite number of times, except for DMs which go straight through. The location of the HSDM does matter when it comes to negating projectiles. If he puts it in front of his head, then he cannot negate ground projectiles like Iori's qcf+P. However, placing it in front of his foot will block ground projectiles as well as air projectiles like Athena's qcb+P
- unblockable
- the spark disappears if Benimaru is hit, or if the spark hits the opponent 8 times
Notes
- cancellable normals are close A, crouch A, close B, crouch B, close C,
crouch C, close D, crouch D, jump C(command moves only), jump CD(high only)
- whiff cancellable normals are crouch C, crouch D
- CD is cancellable into specials and DMs
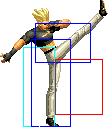
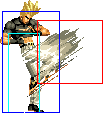
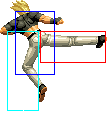
- far D evades low attacks
Combos
Anywhere
1. cl.D, hcb f+A - 20%
2. cr.BB, qcf+B, d u+B - 25%
3. cr.D, qcb+A(3), (S)qcfx2+A - 45%
4. cr.D, qcb+A(2), (S)qcbx2+K - 45%
Counterhit
1. Jump CD(counterhit), qcf+P(air) - 25%
2. Jump CD(counterhit), qcfx2+C - 35%
Maxmode
1. (Already in maxmode) Jump d+D(2), (C)qcf+P(air) - 15%
2. cl.D, BC, run cl.D, qcfx2+AC - 55%
3. cl.D, BC, run cr.B, qcf+K d u+K(1), (C)qcb+A(3), (S)qcfx2+AC - 75%
4. (Corner) cl.D, BC, run qcf+B d u+B(1), (C)qcb+A(3), (C)qcf+B d u+B(1), (C)qcb+A(3), (S)qcfx2+AC
Strategies
Benimaru's game specializes on poking. His far B is a good ranged diagonal poke that hit the opponent out of a variety of special moves, including jump attempts. His far D is very good because it also avoids various low attacks. His most useful poke is probably his far C though. It has high priority, comes out fast and its hitbox is high enough that it will stuff many jump attempts. His hop D also has very high priority and horizontal range, not to mention crossing up extremely well.
When it comes to combos, his crouch BB, qcf+B, d u+B combo is his most useful one, because his crouch B's are very good low pokes, and qcf+B is completely safe and easy to it confirm into the followup. If you land a close D, it should immediately be hit confirmed into his qcb+A supercancel combo. To combo the qcb+Kx2 DM, you must supercancel the qcb+A on the second hit. This will make the combo do a sliver of health less than if you were to supercancel after three hits into his qcfx2+A DM, but will give you the advantage of being able to mixup afterwords, since qcbx2+K is a hard knockdown attack.
Benimaru's qcbx2+K DM has very good startup invincibility and should thus be used between attack strings you can see coming. Examples of attack strings where this DM is effective would be immediately after Yashiro's hcf+AC in his Close D, f+A, hcf+AC, qcf+C attack string, or right before Yuri's qcf+A in her crouch D, qcf+P string. Sadly though, this is probably his most reliable counter move, because his anti-airs are generally very weak. He doesn't have any fast reversals that can be used as anti-air, and thus suffers from jump rushdown, especially Whip's. There are some things he can do against this though, such as jumping backwards with an immediate jump D or perhaps even going for an airthrow with jump b/f+D. Generally though, Benimaru is going to struggle against rushdown if you let them start it, so make sure you don't allow them to get in by utilizing his pokes.
