| Line 17: | Line 17: | ||
==[[The_King_of_Fighters_2002/Normals_Guide|Movelist]]== | ==[[The_King_of_Fighters_2002/Normals_Guide|Movelist]]== | ||
{|border="1" | {|border="1" | ||
! | ! width="8%"| | ||
! Frames | ! Frames | ||
! Advantage | ! Advantage | ||
| Line 251: | Line 251: | ||
|colspan="10" align="center"| '''Command Normals''' | |colspan="10" align="center"| '''Command Normals''' | ||
|- | |- | ||
! f+[[image:snka.gif]] | ! <br>f+[[image:snka.gif]]<br><br> | ||
|align="center"| 17/9/11 | |align="center"| 17/9/11 | ||
|align="center"| 0/-2 | |align="center"| 0/-2 | ||
| Line 284: | Line 284: | ||
|colspan="10" align="center"| '''Special Moves''' | |colspan="10" align="center"| '''Special Moves''' | ||
|- | |- | ||
! qcf+[[image:snka.gif]] | ! <br>qcf+[[image:snka.gif]]<br><br> | ||
|align="center"| 12/3+6/29 | |align="center"| 12/3+6/29 | ||
|align="center"| KD/-9 | |align="center"| KD/-9 | ||
| Line 301: | Line 301: | ||
|align="center"| HL | |align="center"| HL | ||
|- | |- | ||
! qcf+[[image:snkb.gif]] | ! <br>qcf+[[image:snkb.gif]]<br><br> | ||
|align="center"| 25/3+3/17 | |align="center"| 25/3+3/17 | ||
|align="center"| KD/-5 | |align="center"| KD/-5 | ||
| Line 320: | Line 320: | ||
| | | | ||
|align="center"| H | |align="center"| H | ||
|- | |||
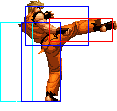
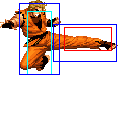
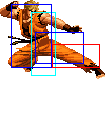
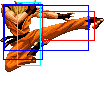
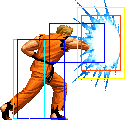
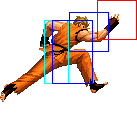
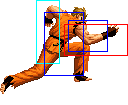
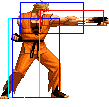
! <br>f b f+[[image:snka.gif]]<br><br> | |||
|align="center"| 13/2(4)x8/21 | |||
|align="center"| KD/-35 | |||
| | |||
|align="center"| H | |||
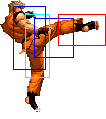
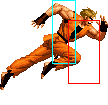
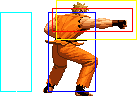
|rowspan="2" style="border-right:0px;"| [[image:Ryo02_fbfP1.png|center]] | |||
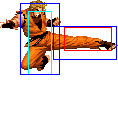
|rowspan="2" style="border-right:0px; border-left:0px;"| [[image:Ryo02_fbfP2.png|center]] | |||
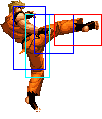
|rowspan="2" style="border-right:0px; border-left:0px;"| [[image:Ryo02_fbfP3.png|center]] | |||
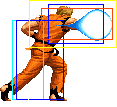
|rowspan="2" style="border-left:0px;"| [[image:Ryo02_fbfP4.png|center]] | |||
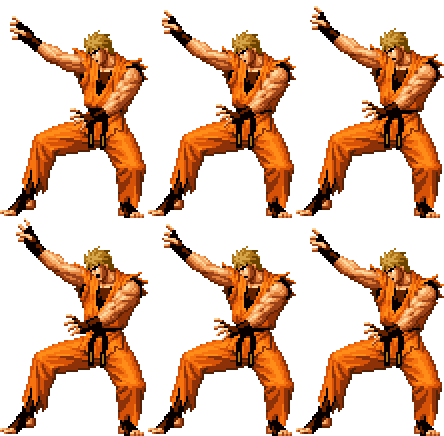
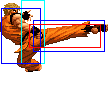
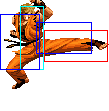
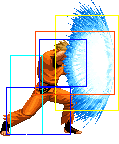
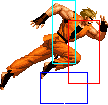
|rowspan="2" align="left"|'''Zanretsu Ken - f b f+P''' | |||
*Ryo repeatedly punches in front of him. This move has a "sucking" effect, in the sense that it can pull the opponent in if they are close. If the opponent gets sucked in, Ryo does a 13 hit combo punching them away | |||
*Has autoguard before Ryo begins punching rapidly (frames 3-8) | |||
*f b f+A is a hard knockdown | |||
*Free cancellable out of on the last hit. It is only possible to juggle the opponent after f b f+C | |||
|- | |||
! f b f+[[image:snkc.gif]] | |||
|align="center"| 13/2(4)x15/23 | |||
|align="center"| KD/-85 | |||
| | |||
|align="center"| HL | |||
|} | |} | ||
<br> | <br> | ||
<br> | <br> | ||
{| | {| | ||
|- | |- | ||
|style="border-top:1px solid #000000" rowspan="2" |4. Kohou - dp+P<br> | |style="border-top:1px solid #000000" rowspan="2" |4. Kohou - dp+P<br> | ||
| Line 348: | Line 358: | ||
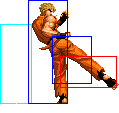
|[[File:Ryo2_DpC1.png|center]] | |[[File:Ryo2_DpC1.png|center]] | ||
|colspan="2"| [[File:Ryo02_DpC1.png|center]] | |colspan="2"| [[File:Ryo02_DpC1.png|center]] | ||
|- | |- | ||
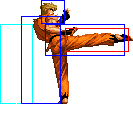
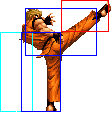
|style="border-top:1px solid #000000" rowspan="2"|5. Hien Shippuu Kyaku - hcb+K | |style="border-top:1px solid #000000" rowspan="2"|5. Hien Shippuu Kyaku - hcb+K | ||
Revision as of 14:24, 28 July 2013
General Info
Crouch height: Medium
Colors:

|

|

|

|
Movelist
Notes
- Whiff cancellable normals are cl.B, cl.C, cl.D, cr.D, CD
- Doing Ryo's SDM is nearly impossible, due to a glitch. The motion of the Ko'ou Ken qcf+C overlaps with this move. Thus, attempting to do it results in qcf+C coming out. The only reliable way to do it is to do the qcf+C part of the motion during a state where he is not able to do his Ko'ou Ken qcf+C. Such states are:
- right before waking up
- just as you land from a jump
- just as you recover from a roll
- recovering from a move that is not cancellable into qcf+C
- supercancelling from his Kohou dp+C(1)
- cancelling a CD attack(this is an exception)
- activating maxmode
- possibly some other ways
- right before waking up
Combos
Anywhere
1. cr.B, ~cr.C, qcf+C/qcf hcb+A - 30%/45%
2. cr.BBB, Far A, hcb+B - 28%
3. cl.C, dp+C, (S)qcf hcb+A(Buffer:qcb+A) - 55%
4. f+A(early on opponent's wakeup), A, hcb+B - 22%
Maxmode
1. cl.C, f+A, BC, qcfx2+AC(quickly), (j.C, cl.C, hcb+D)/(j.C, ~cr.B, cr.C, qcf hcb+A) - 75%/88%
2. (Already in maxmode) f+A, (C)dp+C(1), (S)f hcf+A(Buffer:hcf+A)/(S)qcf hcb+A - 42%/48%
Normal Links
1. cr.B, cl.C/cr.C
2. f+A(very early on the opponent's wakeup), A
Attack Strings
1. cr.D/CD, qcf+B/qcf+A
2. cr.B, ~cr.C, qcf+B/qcf+A
3. cr.B, ~cl.C/cl.D, f+A (delayed)
Strategies
- Since Ryo's f+A is an overhead and is not cancellable even if cancelled into, you should exploit the "glitch" which allows the command normals to not lose their properties if you cancel into them a bit late. Thus, you can do close C or close D, then late cancel the move into f+A if they blocked, making it hit as an overhead. The main disadvantage to doing this is that the opponent could do a very fast attack in between the cancel, such as Kim's _d u+B. Note that Ryo's crouch C cannot be cancelled late in it's animation, so doing crouch B, crouch C, delayed f+A will not work. Using crouch D instead of close C or close D also works, as his crouch D is late cancellable as well. This gives you an effective low into overhead attack string which is far less punishable than doing crouch D into qcf+B.
- His f+A overhead is very meaty compared to most moves. If done very early on a waking up opponent, Ryo will recover fast enough to be able to land a far A, hcb+B/HSDM combo. Thus, Ryo has a good high/low game with his f+A, qcf+B, crouch B and crouch D. It is especially good to cancel his crouch D into a qcf+B overhead and mix this up with f+A and crouch B, crouch C mixups
- The f+B parry is a great move for countering predictable yet high priority and unpunishable moves, such as Robert's air qcb+K, May Lee's qcf+B in Hero Mode, Terry's qcb+P, etc. After parrying the move, cancel to dp+C (if the opponent was airborne) or dp+A or qcf hcb+P if the opponent was parried on the ground.
