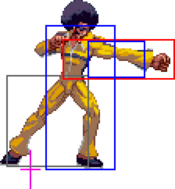
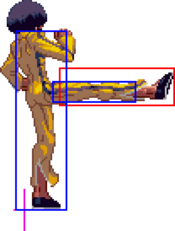
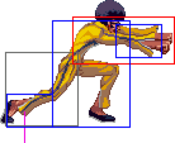
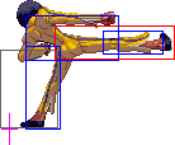
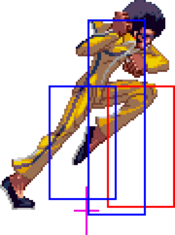
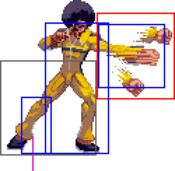
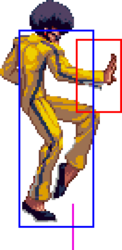
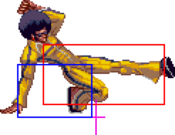
Movelist
Impact
Command Normals
Special Moves
Super Moves
Close Normals
| Damage | Guard | Stun | Cancel | |
|---|---|---|---|---|
| 6 | Mid | 2 | Chain, Command, Special | |
| Startup | Active | Recovery | Adv. Hit | Adv. Guard |
| 4 | 5 | 5 | +1 | 0 |
| Damage | Guard | Stun | Cancel | |
|---|---|---|---|---|
| 8 | Mid | 4 | Command, Special | |
| Startup | Active | Recovery | Adv. Hit | Adv. Guard |
| 5 | 3 | 6 | +2 | +1 |
| Damage | Guard | Stun | Cancel | |
|---|---|---|---|---|
| 16 | Mid | 8 | Command, Special | |
| Startup | Active | Recovery | Adv. Hit | Adv. Guard |
| 6 | 5 | 13 | -2/+1 | -5 |
| Damage | Guard | Stun | Cancel | ||
|---|---|---|---|---|---|
| 18 | Mid | 10 | Command, Special | ||
| Startup | Active | Recovery | Adv. Hit | Adv. Guard | |
| 6 | 6 | 16 | -6/-3 | -9 | |
|
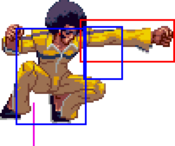
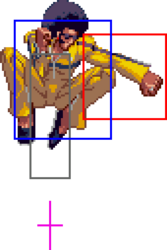
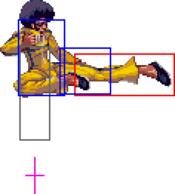
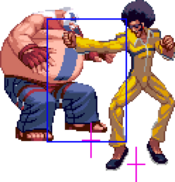
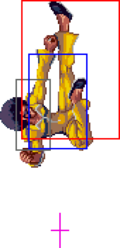
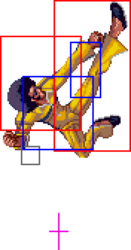
The best meaty to ever do it. Easy to time and the hitbox is tall and huge. | |||||
Standing Normals
| Damage | Guard | Stun | Cancel | |
|---|---|---|---|---|
| 8 | Mid | 2 | Chain, Command, Special | |
| Startup | Active | Recovery | Adv. Hit | Adv. Guard |
| 6 | 5 | 5 | +1 | 0 |
| Damage | Guard | Stun | Cancel | ||
|---|---|---|---|---|---|
| 10 | Mid | 5 | - | ||
| Startup | Active | Recovery | Adv. Hit | Adv. Guard | |
| 5 | 3 | 13 | -5 | -6 | |
|
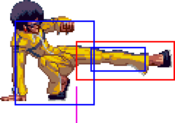
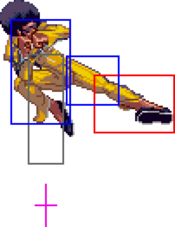
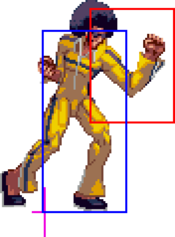
Reaches very far for a poke of its speed. Decent checking tool. | |||||
| Damage | Guard | Stun | Cancel | |
|---|---|---|---|---|
| 18 | Mid | 10 | - | |
| Startup | Active | Recovery | Adv. Hit | Adv. Guard |
| 13 | 6 | 19 | -9/-6 | -12 |
| Damage | Guard | Stun | Cancel | ||
|---|---|---|---|---|---|
| 20 | Mid | 12 | - | ||
| Startup | Active | Recovery | Adv. Hit | Adv. Guard | |
| 11 | 4 | 23 | -11/-8 | -14 | |
|
Huge poke and makeshift punish tool. | |||||
Crouching Normals
| Damage | Guard | Stun | Cancel | |
|---|---|---|---|---|
| 6 | Mid | 2 | Chain, Command, Special | |
| Startup | Active | Recovery | Adv. Hit | Adv. Guard |
| 4 | 5 | 5 | +1 | 0 |
| Damage | Guard | Stun | Cancel | ||
|---|---|---|---|---|---|
| 8 | Low | 4 | Command, Special | ||
| Startup | Active | Recovery | Adv. Hit | Adv. Guard | |
| 4 | 3 | 5 | +3 | +2 | |
|
Easy to count out because Jones's strings from heavies are so strong, but it has great range for a low, it chains into itself and it confirms into both 214A and super. | |||||
| Damage | Guard | Stun | Cancel | ||
|---|---|---|---|---|---|
| 16 | Mid | 8 | Command, Special | ||
| Startup | Active | Recovery | Adv. Hit | Adv. Guard | |
| 7 | 5 | 14 | 0 | -6 | |
|
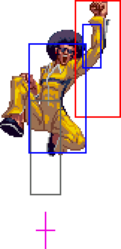
Good for anti-airs at range. | |||||
| Damage | Guard | Stun | Cancel | ||
|---|---|---|---|---|---|
| 20 | Low | 15 | - | ||
| Startup | Active | Recovery | Adv. Hit | Adv. Guard | |
| 9 | 4 | 16 | KD | -3 | |
|
Relatively slow for a sweep but still packs decent range. | |||||
Jumping Normals
| Damage | Guard | Stun | Cancel | |
|---|---|---|---|---|
| 8 | High/Air | 6 | - | |
| Startup | Active | Recovery | Adv. Hit | Adv. Guard |
| 4 | 10 | - | - | - |
| Damage | Guard | Stun | Cancel | |
|---|---|---|---|---|
| 10 | High/Air | 8 | - | |
| Startup | Active | Recovery | Adv. Hit | Adv. Guard |
| 6 | 10 | - | - | - |
| Damage | Guard | Stun | Cancel | |
|---|---|---|---|---|
| 14 | High/Air | 12 | - | |
| Startup | Active | Recovery | Adv. Hit | Adv. Guard |
| 7 | 9 | - | - | - |
| Damage | Guard | Stun | Cancel | |
|---|---|---|---|---|
| 14 | High/Air | 12 | - | |
| Startup | Active | Recovery | Adv. Hit | Adv. Guard |
| 7 | 8 | - | - | - |
| Damage | Guard | Stun | Cancel | |
|---|---|---|---|---|
| 16 | High/Air | 12 | - | |
| Startup | Active | Recovery | Adv. Hit | Adv. Guard |
| 5 | 12 | - | - | - |
| Damage | Guard | Stun | Cancel | ||
|---|---|---|---|---|---|
| 6×n | High/Air | 4×n | - | ||
| Startup | Active | Recovery | Adv. Hit | Adv. Guard | |
| 8 | [10+(4)]×∞ | - | - | - | |
|
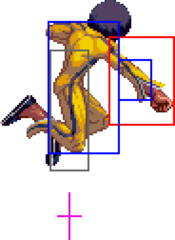
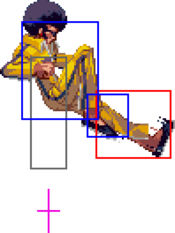
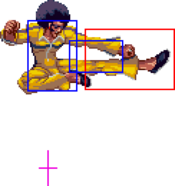
Let this rip early into your jump and you're set for life. Jones's bicycle kick has nice priority, and the gaps between its active hitboxes are miniscule while it loops forever. Jones has excellent normals in general, but this is one of his best tools to approach. | |||||
Command Normals
| Damage | Guard | Stun | Cancel | ||
|---|---|---|---|---|---|
| 14 | High | 4 | Special | ||
| Startup | Active | Recovery | Adv. Hit | Adv. Guard | |
| 23 | 2 | 21 | -12 | -13 | |
|
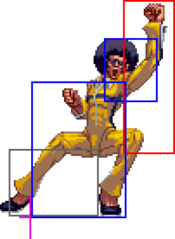
Short but quick overhead. Confirms into supers and specials. Mainly used to mixup with 3B. | |||||
| Damage | Guard | Stun | Cancel | ||
|---|---|---|---|---|---|
| 18 (8+10) | Low | 12 (6+6) | Special | ||
| Startup | Active | Recovery | Adv. Hit | Adv. Guard | |
| 13 | 7+(2)+7 | 21 | -9 | -15 | |
|
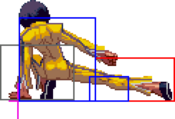
Double low kicks. Great for combo extensions, and couples with jump D to help him close the gap. Jones stops moving after the first kick. | |||||
Throws
| Damage | Guard | Stun | Cancel | ||
|---|---|---|---|---|---|
| 20 | - | 0 | - | ||
| Startup | Active | Recovery | Adv. Hit | Adv. Guard | |
| 1 | 1 | - | KD | - | |
|
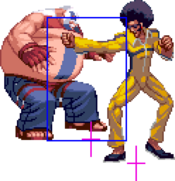
Jones spikes the opponent three quarters of the screen away. | |||||
| Damage | Guard | Stun | Cancel | ||
|---|---|---|---|---|---|
| 20 | - | 0 | - | ||
| Startup | Active | Recovery | Adv. Hit | Adv. Guard | |
| 1 | 1 | - | KD | - | |
|
Jones spikes the opponent into the ground, which is bad for hitting the wall, but it leaves him in the perfect spot to jump in. Great if the opponent expects to block jump D. | |||||
System
| Damage | Guard | Stun | Cancel | |
|---|---|---|---|---|
| 16 | Mid | 0 | Command, Special | |
| Startup | Active | Recovery | Adv. Hit | Adv. Guard |
| 6 (1-11 invuln) | 12 | 15 | KD | -10 |
| Damage | Guard | Stun | Cancel | |
|---|---|---|---|---|
| 10 | Mid | 10 | - | |
| Startup | Active | Recovery | Adv. Hit | Adv. Guard |
| 13 (1-16 invuln) | 8 | 17 | KD | -8 |
| Damage | Guard | Stun | Cancel | ||
|---|---|---|---|---|---|
| 5+5×5 | Mid | 0 | Hit: Command, Special | ||
| Startup | Active | Recovery | Adv. Hit | Adv. Guard | |
| 14 | 4 | 31 | KD | -18 | |
|
Not much to say except his Air Impact's last hit whiffs on Alice and you won't get your juggle. | |||||
| Damage | Guard | Stun | Cancel | ||
|---|---|---|---|---|---|
| 30 | Mid | 0 | - | ||
| Startup | Active | Recovery | Adv. Hit | Adv. Guard | |
| 4 | 60 | 29 | KD | -13 | |
|
Your partner must be alive and able to tag in. | |||||
| Damage | Guard | Stun | Cancel | ||
| 27 (32 with Kang) | - | 0 | - | ||
| Startup | Active | Recovery | Adv. Hit | Adv. Guard | |
| - | - | - | KD | - | |
|
Follow up with another 236BC for more damage. Costs an extra bar. Jones's Funky Impact at the end causes a wall splat, which can break a wall. However, he is way too far away to combo. | |||||
Special Moves
| Damage | Guard | Stun | Cancel | ||
|---|---|---|---|---|---|
| 20 | Mid/Air | 10 | - | ||
| Startup | Active | Recovery | Adv. Hit | Adv. Guard | |
| 10 | 4+4 | 13 | KD | -4 | |
|
If you've ever played Terry Bogard in anything, you know how to use this move. Get to know this move. This move is Jones's strongest move since it is -4 on block and can only be punished by an instant command grab, which he often isn't in range for because he can pressure from such a safe distance. It's also easy to backdash out if the move puts you in a bad spot, then you can jump back in to continue. | |||||
| Damage | Guard | Stun | Cancel | ||
| 23 (5+18) | Mid/Air | 10 (5+5) | - | ||
| Startup | Active | Recovery | Adv. Hit | Adv. Guard | |
| 21 | 6+10 | 19 | KD | -12 | |
|
Just like the light version but it has slower to start up, hits twice, and is much more unsafe on block. Very hard to compete with the light version, even if it moves a little further. | |||||
| Damage | Guard | Stun | Cancel | ||
|---|---|---|---|---|---|
| 3×n | Mid | 1×n | - | ||
| Startup | Active | Recovery | Adv. Hit | Adv. Guard | |
| 6 | [2+(2)]×n | (2)+16 | -8/-5 | -11 | |
|
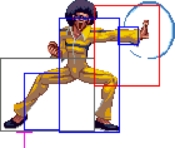
A flurry of punches. The application for this is quite limited since there is no followup like Pupa's mash, which is already useless enough. | |||||
| Damage | Guard | Stun | Cancel | ||
| 3×n | Mid | 2×n | - | ||
| Startup | Active | Recovery | Adv. Hit | Adv. Guard | |
| 18 | [2+(2)]×n | (2)+16 | -8/-5 | -11 | |
|
Even less useful because of the longer startup, but at least it adds a bit more stun. | |||||
| Damage | Guard | Stun | Cancel | ||
|---|---|---|---|---|---|
| 23 (8+15) | Mid/Air | 10 (5+5) | - | ||
| Startup | Active | Recovery | Adv. Hit | Adv. Guard | |
| 9 | 3+3+3+3 | 29 | KD | -15 | |
|
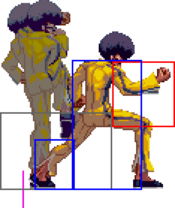
A spinning wheel kick. This version stays straight up in the air until Jones lands. Terrible anti-air. Best used to end combos with. | |||||
| Damage | Guard | Stun | Cancel | ||
| 18 (8+10) | Mid/Air | 7 (5+2) | - | ||
| Startup | Active | Recovery | Adv. Hit | Adv. Guard | |
| 12 | 4+4+4+4 | 25 | KD | -16~-12 | |
|
Jones launches forward instead of directly up. Somehow deals less damage. | |||||
| Damage | Guard | Stun | Cancel | ||
|---|---|---|---|---|---|
| 20 | Mid | 10 | - | ||
| Startup | Active | Recovery | Adv. Hit | Adv. Guard | |
| 11 | 8 | 29 | KD | -20 | |
|
A palm strike. Blows the opponent back to the wall on hit. | |||||
| Damage | Guard | Stun | Cancel | ||
| 20 | Mid | 15 | - | ||
| Startup | Active | Recovery | Adv. Hit | Adv. Guard | |
| 31 (5-26 guard) | 8 | 29 | KD | -6 (Guard Crush) | |
|
Just like the light version but this version has a high/mid guard point. On block, this move causes an instant guard crush, but Jones gets no advantage. | |||||
Super Moves
| Damage | Guard | Stun | Cancel | ||
|---|---|---|---|---|---|
| 31 (5+7×4) | Low, Mid | 0 | - | ||
| Startup | Active | Recovery | Adv. Hit | Adv. Guard | |
| 5 (1-7 invuln) | 4+(8)+25 | 32 | KD | -31 | |
|
First hit is a low, then Jones kicks into the air at an upward angle. This is Jones's only reversal, but both versions are poor. Like most supers, they're there to end combos, but when it comes to wall hits, this version is redundant compared to what you can get meterless. Its damage is very low for a super, but at least the knockback on the final hit is huge. | |||||
| Damage | Guard | Stun | Cancel | ||
| 65 (5+10×5+20) | Low, Mid | 0 | - | ||
| Startup | Active | Recovery | Adv. Hit | Adv. Guard | |
| 5 (1-7 invuln) | 4+(6)+25 | 36 | KD | -37 | |
|
Angled diagonally, this not only deals heaps more damage but also carries the opponent half the stage away. If Jones does this in neutral, wait until he lands to punish or you'll get hit by his afro. | |||||
