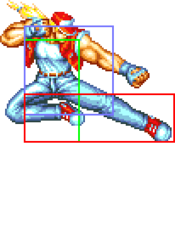
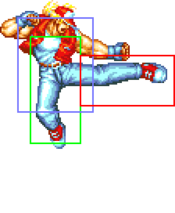
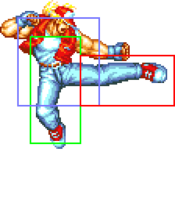
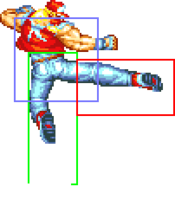
Introduction
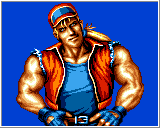
SNK's iconic poster boy and main character of the series, Terry comes with the usual protagonist kit of specials consisting of a projectile, invulnerable anti-air and an advancing special. Arguably the most balanced character of the game, which is both his biggest strength and weakness; while he doesn't struggle too hard against any character, he doesn't have too many advantageous matchups either.
| Strengths | Weaknesses |
|---|---|
|
|
Move List
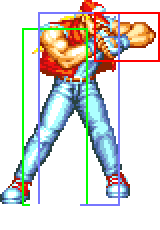
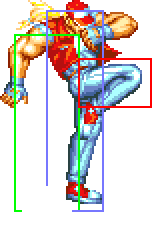
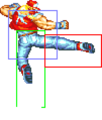
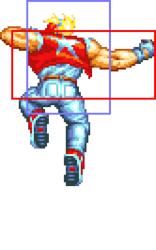
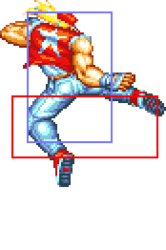
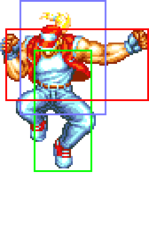
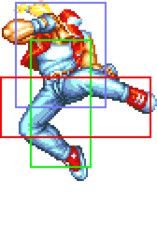
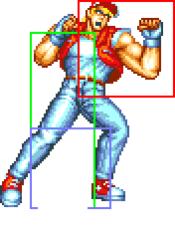
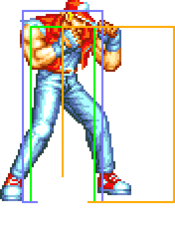
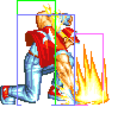
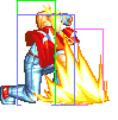
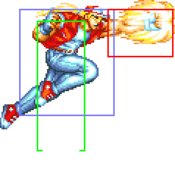
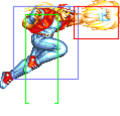
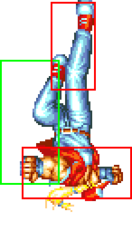
General Hurtboxes
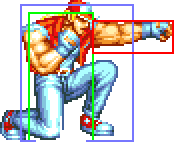
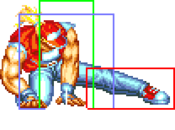
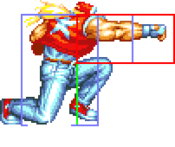
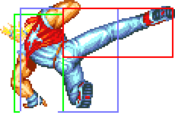
| Standing/Taunting | Crouching | Crawling | Jumping |
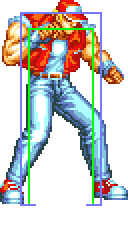 |
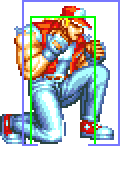 |
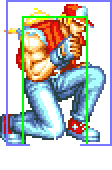 |
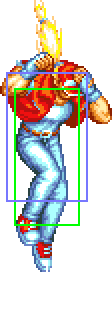
|
| 54F (4+47+3) duration. |
Close Standing Normals
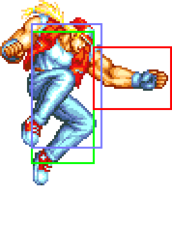
c5A
| Damage | Stun | Guard | Startup | Active | Recovery | Total | Hit Adv | Block Adv | Property | |
|---|---|---|---|---|---|---|---|---|---|---|
| 8 | 2 | Mid | 3 | 3 | 4 | 9 | +9 | +10 | Kara Cancel | |
|
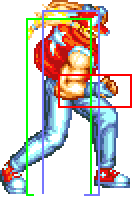
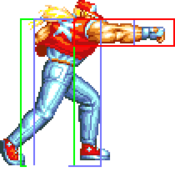
With its rapid-fire ability it's used for close poking where you can attempt a throw once they're relaxed enough. If you sense they'll try to counter your throw, link in a 2A x 1~2 -> 2C -> 2147B combo. This only whiffs against a handful of characters when crouching: Mai and the old geezers. 2A has similar uses. | ||||||||||
c5B
| Damage | Stun | Guard | Startup | Active | Recovery | Total | Hit Adv | Block Adv | Property | |
|---|---|---|---|---|---|---|---|---|---|---|
| 10 | 2 | Mid | 8 | 6 | 8 | 21 | +2 | +3 | Kara Cancel | |
|
Not really noteworthy as close A and 2A are much more advantageous and come out faster. | ||||||||||
c5C
c5D
| Damage | Stun | Guard | Startup | Active | Recovery | Total | Hit Adv | Block Adv | Property |
|---|---|---|---|---|---|---|---|---|---|
| 20 | 4 | Mid | 8 | 9 | 25 | 41 | -10 | -11 | Kara Cancel |
Far Standing Normals
f5A
| Damage | Stun | Guard | Startup | Active | Recovery | Total | Hit Adv | Block Adv | Property | |
|---|---|---|---|---|---|---|---|---|---|---|
| 6 | 2 | Mid | 3 | 3 | 4 | 9 | +9 | +10 | Kara Cancel | |
|
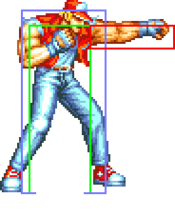
Low risk jab that can be used to beat the opponent's advancing moves. Can link into 2D for a knockdown. | ||||||||||
f5B
| Damage | Stun | Guard | Startup | Active | Recovery | Total | Hit Adv | Block Adv | Property | |
|---|---|---|---|---|---|---|---|---|---|---|
| 8 | 2 | Mid | 5 | 7 | 8 | 20 | +1 | +2 | Kara Cancel | |
|
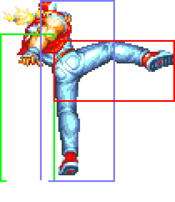
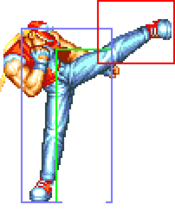
Outside of Dodge Attack, this is Terry's only anti-air normal. Make sure to be outside of c5B's proximity when anti-airing. | ||||||||||
f5C
| Damage | Stun | Guard | Startup | Active | Recovery | Total | Hit Adv | Block Adv | Property | |
|---|---|---|---|---|---|---|---|---|---|---|
| 16 | 4 | Mid | 10 | 8 | 14 | 31 | +1 | 0 | - | |
|
Fairly poor move as it has very little reach and whiffs against several characters if they're crouching. Not cancellable either. | ||||||||||
f5D
Crouching Normals
2A
| Damage | Stun | Guard | Startup | Active | Recovery | Total | Hit Adv | Block Adv | Property | |
|---|---|---|---|---|---|---|---|---|---|---|
| 6 | 2 | Mid | 4 | 3 | 5 | 11 | +8 | +9 | Kara Cancel | |
|
Good combo starter, especially against small characters. Links to itself and 2C. | ||||||||||
2B
| Damage | Stun | Guard | Startup | Active | Recovery | Total | Hit Adv | Block Adv | Property | |
|---|---|---|---|---|---|---|---|---|---|---|
| 8 | 2 | Low | 7 | 6 | 9 | 21 | +1 | +2 | - | |
|
Unfortunately cannot be linked out of, though it can combo into 214A if the opponent is standing. | ||||||||||
2C
| Damage | Stun | Guard | Startup | Active | Recovery | Total | Hit Adv | Block Adv | Property | |
|---|---|---|---|---|---|---|---|---|---|---|
| 16 | 4 | Mid | 7 | 9 | 10 | 25 | +5 | +4 | Kara Cancel | |
|
A great combo move because it links easily from any A normal and combos easily into 214A and 2147B. This also has its own specific uses - like being able to beat Billy's Sansestukon both on reaction, depending on distance; and by throwing the punch before Billy's attack appears. | ||||||||||
2D
| Damage | Stun | Guard | Startup | Active | Recovery | Total | Hit Adv | Block Adv | Property | |
|---|---|---|---|---|---|---|---|---|---|---|
| 14 | 4 | Low | 8 | 8 | 19 | 35 | KD | -3 | - | |
|
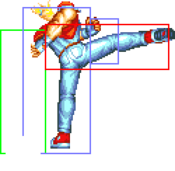
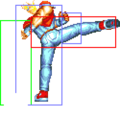
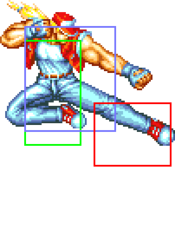
Terry's main mid-distance poking weapon. Very good reach and because it can be canceled, allows him to get right in the opponent's face and start his rush patterns. Your most frequent cancels should be into either version of Crack Shoot and for special purposes, a 236A when your opponent expects the Crack Shoot or an A Burn Knuckle. The Burn Knuckle whiffs against the smaller characters such as Mai and the old geezers, where you can throw them the instant you land. | ||||||||||
Jumping Normals
jA
| Damage | Stun | Guard | Startup | Active | Recovery | Total | Hit Adv | Block Adv | Property | |
|---|---|---|---|---|---|---|---|---|---|---|
| 8 | 2 | Overhead | 6 | ∞ | / | / | - | - | - | |
|
This is what you get if you attempt to do a light Rising Tackle without having a full charge, and it might occasionally save you as it's a passable air-to-air move. Not something you want to use on purpose, though, as Terry has better options. | ||||||||||
jB
| Damage | Stun | Guard | Startup | Active | Recovery | Total | Hit Adv | Block Adv | Property | |
|---|---|---|---|---|---|---|---|---|---|---|
| 10 | 2 | Overhead | 6 | ∞ | / | / | - | - | - | |
| ||||||||||
jC
| Damage | Stun | Guard | Startup | Active | Recovery | Total | Hit Adv | Block Adv | Property | |
|---|---|---|---|---|---|---|---|---|---|---|
| 18 | 4 | Overhead | 6 | 17 | / | / | - | - | - | |
|
Strong hitbox with more reach than you'd expect. Very good air-to-air. | ||||||||||
jD
| Version | Damage | Stun | Guard | Startup | Active | Recovery | Total | Hit Adv | Block Adv | Property | |
|---|---|---|---|---|---|---|---|---|---|---|---|
| Diagonal Jump Jump Terry Kick/ジャンプテリーキック |
20 | 4 | Overhead | 8 | 17 | / | / | - | - | - | |
|
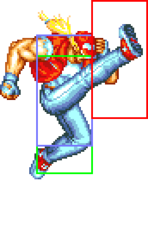
Can cross-up, and is useful for the occasional air-to-air. | |||||||||||
| Neutral Jump Jump Spin Kick/ジャンプ後ろ回し蹴り |
16 | 4 | Overhead | 11 | 10 | / | / | - | - | - | |
|
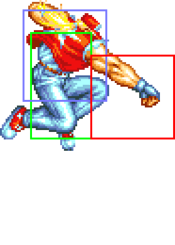
Good air-to-air. | |||||||||||
Universal Mechanics
Lane Blast (CD)
| Version | Damage | Stun | Guard | Startup | Active | Recovery | Total | Hit Adv | Block Adv | Property | |
|---|---|---|---|---|---|---|---|---|---|---|---|
| Front Lane | 22 | 5 | Mid | 19 | 9 | 13 | 40 | KD | -3 | Cancel, Lane Shift, Foot Invuln 4-32F | |
|
Great for beating all sliding attacks (Duck, Laurence, Jubei and Joe) and once in full swing, will beat low-to-the-ground crouching kicks from Bear, Geese and Mai. Also has great priority and makes a decent meaty. As it can be used while crouching it allows Terry to keep his charge for a Rising Tackle. | |||||||||||
| Back Lane | 22 | 5 | Mid | 16 | 9 | 13 | 37 | KD | -3 | Cancel, Lane Shift, Foot Invuln 4-30F | |
Lane Attack
| Version | Damage | Stun | Guard | Startup | Active | Recovery | Total | Hit Adv | Block Adv | Property | |
|---|---|---|---|---|---|---|---|---|---|---|---|
| A Jump Lariat Punch/ジャンプラリアットパンチ |
20 | 2 | Overhead | 13 | - | 4 | - | - | - | / | |
| |||||||||||
| B Jump Knee Attack/ジャンプニーアタック |
20 | 2 | Overhead | 13 | - | 4 | - | - | - | / | |
| |||||||||||
| C Jump Lariat Punch/ジャンプラリアットパンチ |
20 | 4 | Overhead | 13 | - | 4 | - | - | - | / | |
| |||||||||||
| D Jump Knee Attack/ジャンプニーアタック |
20 | 4 | Overhead | 13 | - | 4 | - | - | - | / | |
| |||||||||||
Dodge Attack
| Damage | Stun | Guard | Startup | Active | Recovery | Total | Hit Adv | Block Adv | Property | |
|---|---|---|---|---|---|---|---|---|---|---|
| 11 | 5 | Mid | 9 | 7+9 | 12 | 36 | Air Reset | - | Cancel, Upper-Body Invuln 1-24F※ | |
Throws
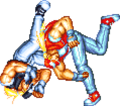
Buster Throw (4/6C)
Special Moves
Power Wave (236P)
| Version | Damage | Stun | Guard | Startup | Active | Recovery | Total | Hit Adv | Block Adv | Property | |
|---|---|---|---|---|---|---|---|---|---|---|---|
| A | 16 (4) | 3 | Mid | 19 | - | 36 | 54 | -3 | -2 | - | |
|
Comes out quicker but travels slower.
| |||||||||||
| C | 22 (5) | 6 | Mid | 23 | - | 38 | 60 | +3 | -8 | - | |
|
Comes out slower but travels faster. | |||||||||||
Burn Knuckle (214P)
| Version | Damage | Stun | Guard | Startup | Active | Recovery | Total | Hit Adv | Block Adv | Property | |
|---|---|---|---|---|---|---|---|---|---|---|---|
| A | 16 (4) | 3 | Mid | 14 | 16 | 11 | 40 | Air Reset (+12) | -9 | Throw Invincible | |
|
Safe when spaced so it barely hits, but your options are limited from that position. Very quick and can be used to punish blocked moves such as Cheng's [2]8P, both versions of Laurence's 41236P and the A version of Rising Tackle. | |||||||||||
| C | 22 (5) | 6 | Mid | 29 | 16 | 13 | 57 | KD (+71) | -7 | Throw Invincible | |
|
Only safe when blocked at a full-screen's distance. It's okay to use once in a while during full-screen A Power Wave volleys. Can be used to retaliate after a blocked Kim divekick, even beating the extra kick that Kim can perform as he's landing. | |||||||||||
Rising Tackle ([2]8P)
| Version | Damage | Stun | Guard | Startup | Active | Recovery | Total | Hit Adv | Block Adv | Property | |
|---|---|---|---|---|---|---|---|---|---|---|---|
| A | 14 (3x3) | 3 | Mid | 13 | 6+6+3 | 29 | 56 | KD (+13) | -16 | Invincible 1-24F, Throw Invincible | |
| |||||||||||
| C | 20 (5) | 6 | Mid | 18 | 5+5+5+3 | 40 | 75 | KD (+42) | -40 | Invincible 1-25F, Throw Invincible | |
| |||||||||||
Crack Shoot (2147K)
| Version | Damage | Stun | Guard | Startup | Active | Recovery | Total | Hit Adv | Block Adv | Property | |
|---|---|---|---|---|---|---|---|---|---|---|---|
| B | 13x2 (3x2) | 3x2 | Mid | 10 | 6x3 | 16 | 43 | -1 | -10 | Throw Invincible | |
| |||||||||||
| D | 18x2 (4x2) | 6x2 | Mid | 15 | 8+8+4 | 19 | 53 | -2 | -9 | Throw Invincible | |
| |||||||||||
Desperation Move
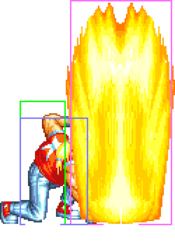
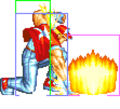
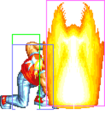
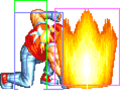
Power Geyser (21416BC)
| Damage | Stun | Guard | Startup | Active | Recovery | Total | Hit Adv | Block Adv | Property | |
|---|---|---|---|---|---|---|---|---|---|---|
| 48 (12) | 4 | Mid | 27 | 22 | 24 | 72 | +74 | -4 | - | |
Combos
| Combo | Damage | Stun | Notes |
| (jA/B), 2B > 214A | Will whiff on small/crouching characters | ||
| (jD), c5C(2) > 214A/2147B | |||
| (Cross Up jD or B Lane Attack), c5A x 1~4, 2C > 214A/2147B | |||
| c5A x N, f5A x N, 2D | |||
| 2A x 1~3, 2C > 2147B | Works against smaller characters | ||
| 236A/C(from a distance) > 214C/2147D |
