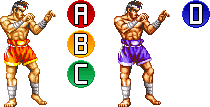
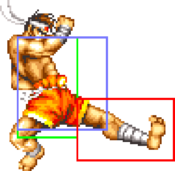
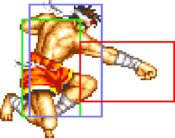
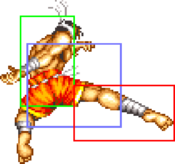
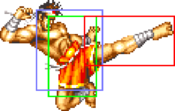
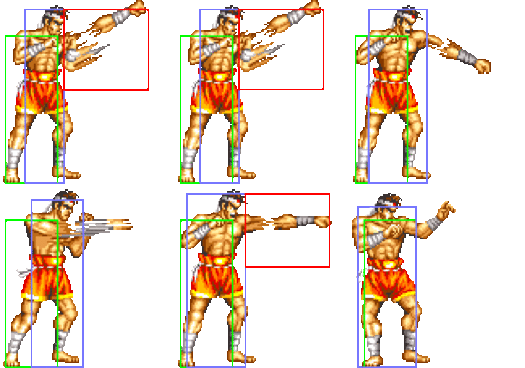
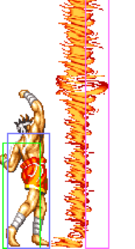
Introduction
| Pros | Cons |
|---|---|
|
|
Move List
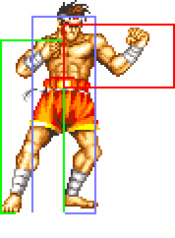
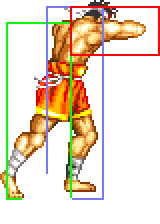
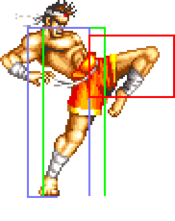
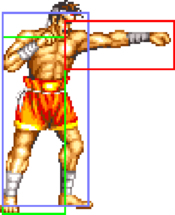
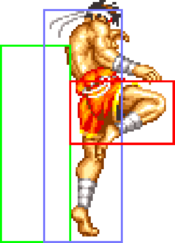
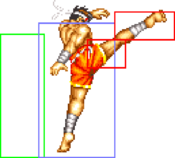
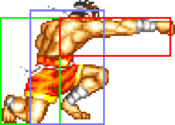
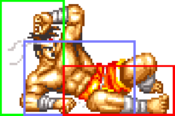
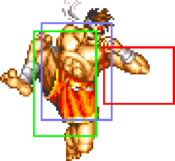
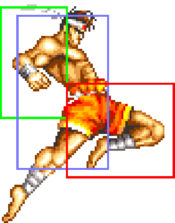
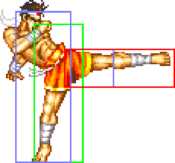
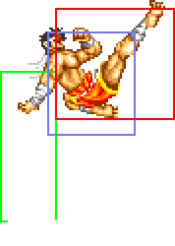
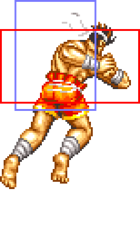
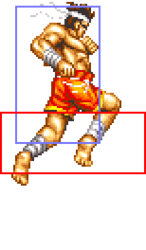
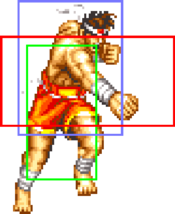
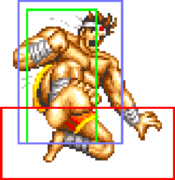
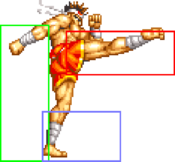
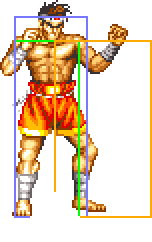
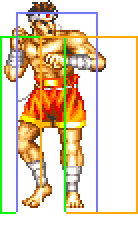
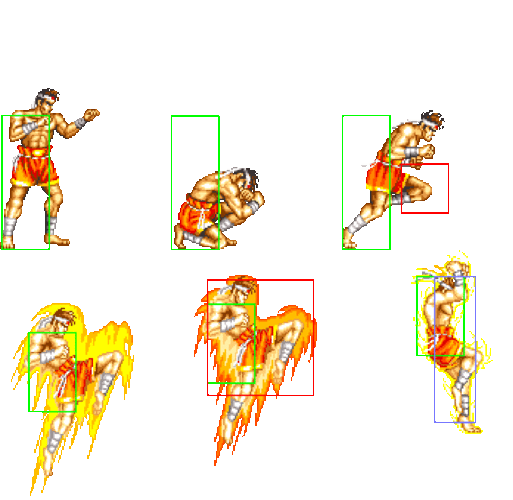
General Hurtboxes
| Standing/Walking | Crouching/Crawling | Jumping | Taunting |
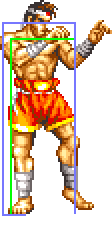 |
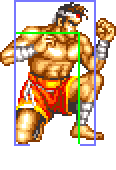 |
 |
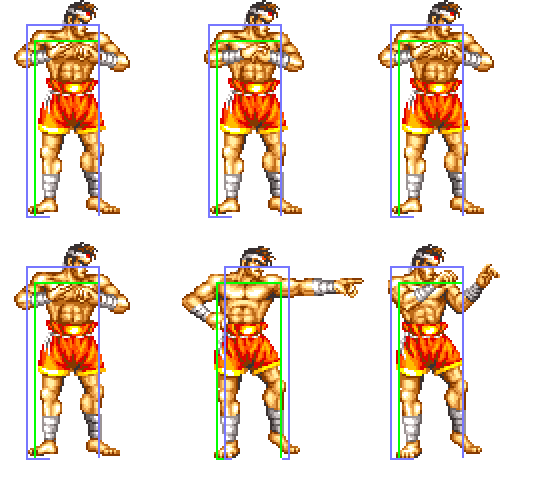
|
| 54F (4+47+3) duration. |
Close Standing Normals
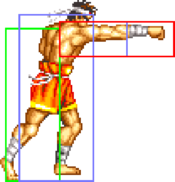
c5A
| Damage | Stun | Guard | Startup | Active | Recovery | Total | Hit Adv | Block Adv | Property | |
|---|---|---|---|---|---|---|---|---|---|---|
| 8 | 2 | Mid | 3 | 3 | 4 | 9 | +9 | +10 | Kara Cancel | |
| ||||||||||
c5B
| Damage | Stun | Guard | Startup | Active | Recovery | Total | Hit Adv | Block Adv | Property | |
|---|---|---|---|---|---|---|---|---|---|---|
| 10 | 2 | Mid | 8 | 6 | 8 | 21 | +2 | +3 | Kara Cancel | |
| ||||||||||
c5C
| Damage | Stun | Guard | Startup | Active | Recovery | Total | Hit Adv | Block Adv | Property | |
|---|---|---|---|---|---|---|---|---|---|---|
| 18 | 4 | Mid | 10 | 9 | 10 | 28 | +5 | +4 | Kara Cancel | |
| ||||||||||
c5D
| Damage | Stun | Guard | Startup | Active | Recovery | Total | Hit Adv | Block Adv | Property | |
|---|---|---|---|---|---|---|---|---|---|---|
| 20 | 4 | Mid | 6 | 13 | 9 | 27 | +2 | +1 | Kara Cancel | |
| ||||||||||
Far Standing Normals
f5A
| Damage | Stun | Guard | Startup | Active | Recovery | Total | Hit Adv | Block Adv | Property | |
|---|---|---|---|---|---|---|---|---|---|---|
| 6 | 2 | Mid | 3 | 3 | 4 | 9 | +9 | +10 | Kara Cancel | |
| ||||||||||
f5B
| Damage | Stun | Guard | Startup | Active | Recovery | Total | Hit Adv | Block Adv | Property | |
|---|---|---|---|---|---|---|---|---|---|---|
| 8 | 2 | Mid | 7 | 5+7 | 12 | 30 | -8 | -7 | Kara Cancel | |
|
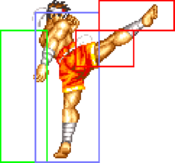
OK anti-air, but 5D is generally better. This one is cancelable, though. | ||||||||||
f5C
| Damage | Stun | Guard | Startup | Active | Recovery | Total | Hit Adv | Block Adv | Property | |
|---|---|---|---|---|---|---|---|---|---|---|
| 16 | 4 | Mid | 8 | 9 | 12 | 28 | +2 | +1 | / | |
| ||||||||||
f5D
| Damage | Stun | Guard | Startup | Active | Recovery | Total | Hit Adv | Block Adv | Property | |
|---|---|---|---|---|---|---|---|---|---|---|
| 18 | 4 | Mid | 8 | 11 | 18 | 36 | -6 | -7 | / | |
| ||||||||||
Crouching Normals
2A
| Damage | Stun | Guard | Startup | Active | Recovery | Total | Hit Adv | Block Adv | Property | |
|---|---|---|---|---|---|---|---|---|---|---|
| 6 | 2 | Mid | 3 | 4 | 4 | 10 | +8 | +9 | Kara Cancel | |
| ||||||||||
2B
| Damage | Stun | Guard | Startup | Active | Recovery | Total | Hit Adv | Block Adv | Property | |
|---|---|---|---|---|---|---|---|---|---|---|
| 8 | 2 | Low | 4 | 5 | 6 | 12 | +5 | +6 | Kara Cancel | |
| ||||||||||
2C
| Damage | Stun | Guard | Startup | Active | Recovery | Total | Hit Adv | Block Adv | Property | |
|---|---|---|---|---|---|---|---|---|---|---|
| 16 | 4 | Mid | 8 | 8 | 8 | 23 | +8 | +7 | Kara Cancel | |
|
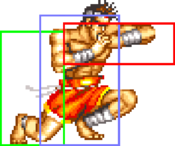
Has more reach than 2A. Great poke, especially when cancelled into Hurricane Upper. | ||||||||||
2D
| Damage | Stun | Guard | Startup | Active | Recovery | Total | Hit Adv | Block Adv | Property | |
|---|---|---|---|---|---|---|---|---|---|---|
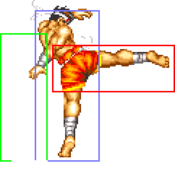
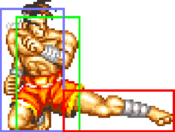
| 14 | 4 | Low | 7 | 16 | 24 | 46 | +21 | -17 | Upper-Body Invuln 7-22F, Head Invuln 1-6F, 23-29F | |
|
A veritable swiss army knife of a move that does just about everything:
| ||||||||||
Jumping Normals
jA
| Damage | Stun | Guard | Startup | Active | Recovery | Total | Hit Adv | Block Adv | Property | |
|---|---|---|---|---|---|---|---|---|---|---|
| 8 | 2 | Overhead | 5 | ∞ | - | - | - | - | - | |
| ||||||||||
jB
| Version | Damage | Stun | Guard | Startup | Active | Recovery | Total | Hit Adv | Block Adv | Property | |
|---|---|---|---|---|---|---|---|---|---|---|---|
| Diagonal & Neutral Jump | 10 | 2 | Overhead | 5 | ∞ | - | - | - | - | - | |
| |||||||||||
jC
| Version | Damage | Stun | Guard | Startup | Active | Recovery | Total | Hit Adv | Block Adv | Property | |
|---|---|---|---|---|---|---|---|---|---|---|---|
| Diagonal Jump | 18 | 4 | Overhead | 6 | 26 | - | - | - | - | - | |
| |||||||||||
| Neutral Jump | 18 | 4 | Overhead | 6 | 17 | - | - | - | - | - | |
| |||||||||||
jD
| Version | Damage | Stun | Guard | Startup | Active | Recovery | Total | Hit Adv | Block Adv | Property | |
|---|---|---|---|---|---|---|---|---|---|---|---|
| Diagonal Jump | 20 | 4 | Overhead | 13 | 22 | - | - | - | - | - | |
| |||||||||||
| Neutral Jump | 20 | 4 | Overhead | 5 | 17 | - | - | - | - | - | |
| |||||||||||
Universal Mechanics
Lane Blast (CD)
| Version | Damage | Stun | Guard | Startup | Active | Recovery | Total | Hit Adv | Block Adv | Property | |
|---|---|---|---|---|---|---|---|---|---|---|---|
| Front Lane | 22 | 5 | Mid | 18 | 6 | 10 | 35 | KD (+87) | +3 | Cancel | |
| |||||||||||
| Back Lane | 22 | 5 | Mid | 12 | 7 | 18 | 36 | KD (+80) | -6 | Cancel, Lower-Body Invuln 12-26F | |
Lane Attack
Joe's punch and kick lane attacks have the same frame data but different hitboxes.
| Version | Damage | Stun | Guard | Startup | Active | Recovery | Total | Hit Adv | Block Adv | Property |
|---|---|---|---|---|---|---|---|---|---|---|
| A/B | 20 | 2 | Overhead | 9 | - | 4 | - | - | - | - |
| C/D | 20 | 4 | Overhead | 9 | - | 4 | - | - | - | - |
Dodge Attack
| Damage | Stun | Guard | Startup | Active | Recovery | Total | Hit Adv | Block Adv | Property | |
|---|---|---|---|---|---|---|---|---|---|---|
| 11 | 5 | Mid | 15 | 8 | 18 | 40 | Air Reset (+14) | -7 | Kara Cancel, Upper-Body Invuln 1-22F | |
| ||||||||||
Throws
Leg Throw (4/6C)
Hiza Jigoku (4/6D)
Special Moves
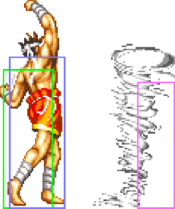
Hurricane Upper (41236P)
| Version | Damage | Stun | Guard | Startup | Active | Recovery | Total | Hit Adv | Block Adv | Property | |
|---|---|---|---|---|---|---|---|---|---|---|---|
| A | 16 (4) | 3 | Mid | 20 | - | 29 | 48 | +4 | +5 | - | |
| |||||||||||
| C | 22 (5) | 6 | Mid | 23 | - | 31 | 53 | +10 | -1 | - | |
| |||||||||||
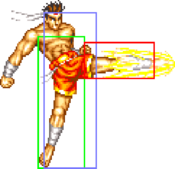
Slash Kick (19K)
| Version | Damage | Stun | Guard | Startup | Active | Recovery | Total | Hit Adv | Block Adv | Property | |
|---|---|---|---|---|---|---|---|---|---|---|---|
| B | 16 (4) | 3 | Mid | 22 | 16 | 17 | 54 | Air Reset | -15 | - | |
| |||||||||||
| D | 22 (5) | 6 | Mid | 25 | 17 | 19 | 60 | KD | -15 | - | |
| |||||||||||
Tiger Kick (2369K)
Block advantage is from the second hit.
| Version | Damage | Stun | Guard | Startup | Active | Recovery | Total | Hit Adv | Block Adv | Property | |
|---|---|---|---|---|---|---|---|---|---|---|---|
| B | 14 (3) | 3 | Mid | 15 | 7 (4) 8 (3) | 30 | 66 | KD | -28 | - | |
| |||||||||||
| D | 20 (5) | 6 | Mid | 21 | 11 (3) 6 (3) 3 | 32 | 78 | KD | -29 | - | |
| |||||||||||
Bakuretsuken (Mash P)
| Version | Damage | Stun | Guard | Startup | Active | Recovery | Total | Hit Adv | Block Adv | Property | |
|---|---|---|---|---|---|---|---|---|---|---|---|
| A | 8xN (2xN) | 3 | Mid | 7 | 6+5+5 (5) 5 (5) 5+1... | 0 | 43+ | -1 | +6 | - | |
| |||||||||||
| C | 12xN + 14 (3xN + 3x3) | 6 | Mid | 6 | 5+4+4 (4) 4 (4) 4+4 (2+6) 3+8+4 | 29 | 90 | KD (uppercut) | -26 | - | |
| |||||||||||
Super Move
Screw Upper (64123BC)
| Damage | Stun | Guard | Startup | Active | Recovery | Total | Hit Adv | Block Adv | Property | |
|---|---|---|---|---|---|---|---|---|---|---|
| 48 (12) | 4 | Mid | 29 | 34 | 13 | 75 | KD | -5 | - | |
| ||||||||||
Combos
- (2B), c5A x 3~6, f5A x 1~3, 2D - 64 damage
Hold 6 to microwalk between 5A's for more hits.
- 2A x 1~4, 2D - 33 damage
Hold 3 between 2A's.
- 41236A (from a distance) > 19D - 35 damage
- (back turned, in corner) Hurricane Upper (C), 2C > 19B
Extremely situational trick combo you can use if you feel like showing off.
