Introduction
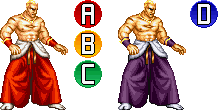
Geese Howard will not hesitate to stand his ground as the ultimate mob boss of South Town and Terry Bogard's ultimate rival. Geese is packing a deadly toolkit, crafted for punishing even the strongest of fighters with a solid read. Grounded Reppukens and his handy air fireball combined with his counter moves make it easy for Geese to zone any character out while also punishing any attempt at jumping in, especially if the player can pull off the pretzel motion to dish out the Raging Storm. All of that said, he's not easy to play. Geese requires solid fundamentals and good reads for any player to play him effectively and reach his full potential. One careless mistake from the player can cost Geese's control of the screen. If you love Geese, however, then by all means he will not disappoint by being a unique character capable of handling most any situation. And of course, he's rocking not only an awesome stage, but a rocking theme song.
| Pros | Cons |
|---|---|
|
|
Move List
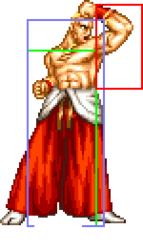
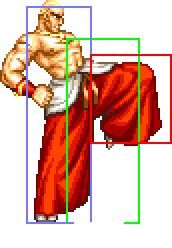
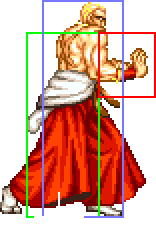
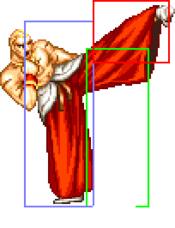
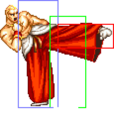
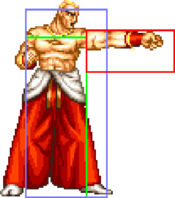
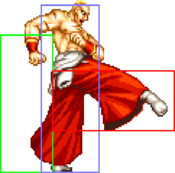
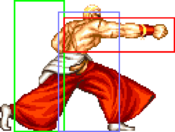
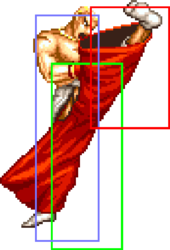
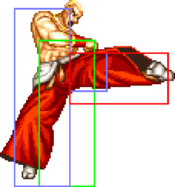
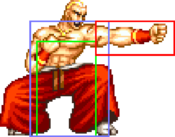
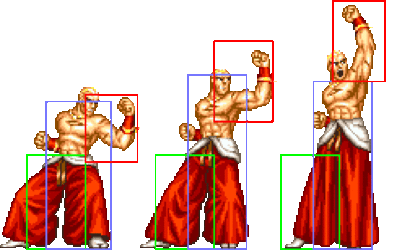
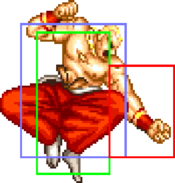
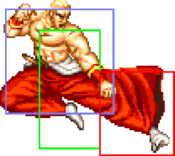
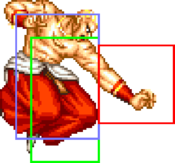
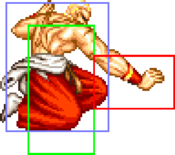
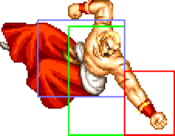
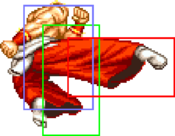
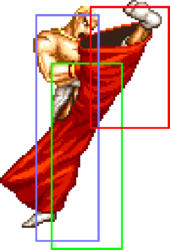
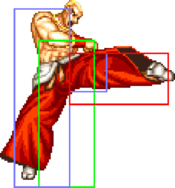
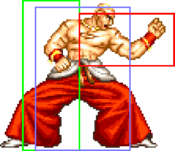
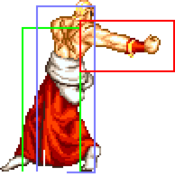
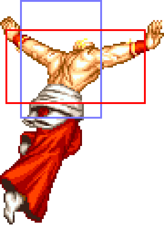
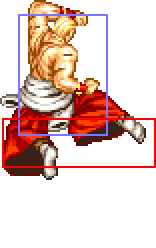
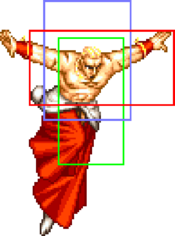
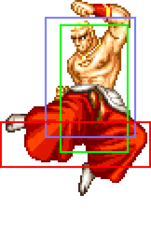
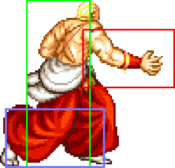
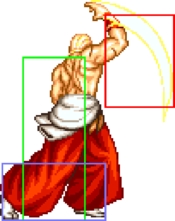
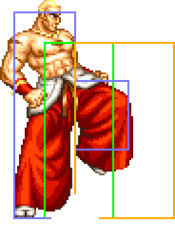
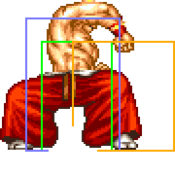
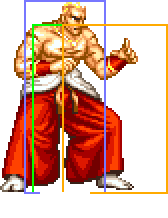
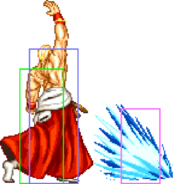
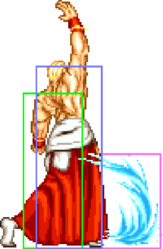
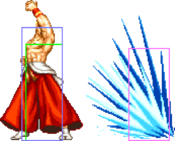
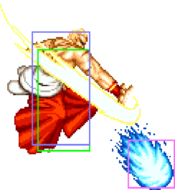
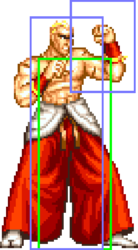
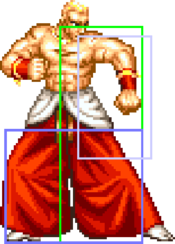
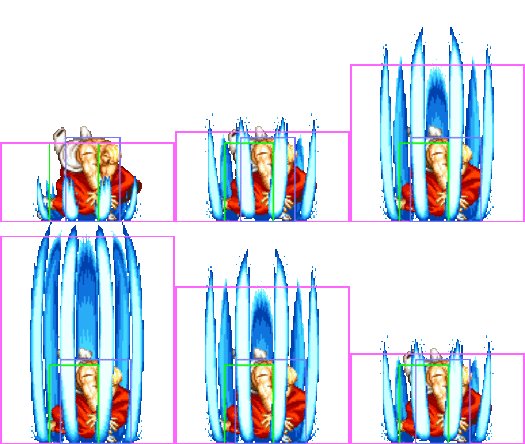
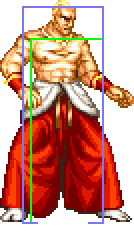
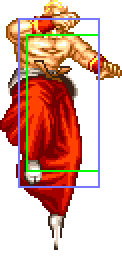
General Hurtboxes
| Standing/Walking | Crouching/Crawling | Jumping |
 |
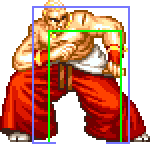 |
|
| 58F (4+51+3) duration, tied for the slowest jump in the game. |
Close Standing Normals
c5A
| Damage | Stun | Guard | Startup | Active | Recovery | Total | Hit Adv | Block Adv | Property | |
|---|---|---|---|---|---|---|---|---|---|---|
| 8 | 2 | Mid | 5 | 6 | 0 | 10 | +10 | +11 | Kara Cancel | |
| ||||||||||
c5B
| Damage | Stun | Guard | Startup | Active | Recovery | Total | Hit Adv | Block Adv | Property | |
|---|---|---|---|---|---|---|---|---|---|---|
| 10 | 2 | Mid | 3 | 5 | 6 | 13 | +5 | +6 | Kara Cancel | |
| ||||||||||
c5C
| Damage | Stun | Guard | Startup | Active | Recovery | Total | Hit Adv | Block Adv | Property | |
|---|---|---|---|---|---|---|---|---|---|---|
| 18 | 4 | Mid | 6 | 9 | 14 | 28 | +1 | 0 | Kara Cancel | |
| ||||||||||
c5D
Far Standing Normals
f5A
| Damage | Stun | Guard | Startup | Active | Recovery | Total | Hit Adv | Block Adv | Property | |
|---|---|---|---|---|---|---|---|---|---|---|
| 6 | 2 | Mid | 4 | 7 | 0 | 10 | +9 | +10 | Kara Cancel | |
| ||||||||||
f5B
| Damage | Stun | Guard | Startup | Active | Recovery | Total | Hit Adv | Block Adv | Property | |
|---|---|---|---|---|---|---|---|---|---|---|
| 8 | 2 | Mid | 8 | 10 | 17 | 34 | -11 | -10 | Kara Cancel | |
| ||||||||||
f5C
| Damage | Stun | Guard | Startup | Active | Recovery | Total | Hit Adv | Block Adv | Property | |
|---|---|---|---|---|---|---|---|---|---|---|
| 16 | 4 | Mid | 7 | 13 | 19 | 38 | -9 | -10 | - | |
| ||||||||||
f5D
| Damage | Stun | Guard | Startup | Active | Recovery | Total | Hit Adv | Block Adv | Property | |
|---|---|---|---|---|---|---|---|---|---|---|
| 18 | 4 | Mid | 15 | 12 | 10 | 36 | +1 | 0 | - | |
| ||||||||||
Crouching Normals
2A
| Damage | Stun | Guard | Startup | Active | Recovery | Total | Hit Adv | Block Adv | Property | |
|---|---|---|---|---|---|---|---|---|---|---|
| 6 | 2 | Mid | 4 | 5 | 8 | 16 | +3 | +4 | Kara Cancel | |
| ||||||||||
2B
| Damage | Stun | Guard | Startup | Active | Recovery | Total | Hit Adv | Block Adv | Property | |
|---|---|---|---|---|---|---|---|---|---|---|
| 8 | 2 | Low | 5 | 4 | 6 | 14 | +6 | +7 | Kara Cancel | |
| ||||||||||
2C
| Damage | Stun | Guard | Startup | Active | Recovery | Total | Hit Adv | Block Adv | Property | |
|---|---|---|---|---|---|---|---|---|---|---|
| 11x2 | 4x2 | Mid | 3 | 3+6+12 | 21 | 44 | -14 | -13 | Kara Cancel | |
| ||||||||||
2D
| Damage | Stun | Guard | Startup | Active | Recovery | Total | Hit Adv | Block Adv | Property | |
|---|---|---|---|---|---|---|---|---|---|---|
| 14 | 4 | Low | 9 | 10 | 22 | 40 | KD | -9 | Kara Cancel | |
| ||||||||||
Jumping Normals
jA
| Damage | Stun | Guard | Startup | Active | Recovery | Total | Hit Adv | Block Adv | Property | |
|---|---|---|---|---|---|---|---|---|---|---|
| 6 | 2 | Overhead | 6 | ∞ | - | - | - | - | - | |
| ||||||||||
jB
| Damage | Stun | Guard | Startup | Active | Recovery | Total | Hit Adv | Block Adv | Property | |
|---|---|---|---|---|---|---|---|---|---|---|
| 8 | 2 | Overhead | 5 | ∞ | - | - | - | - | - | |
| ||||||||||
jC
| Version | Damage | Stun | Guard | Startup | Active | Recovery | Total | Hit Adv | Block Adv | Property | |
|---|---|---|---|---|---|---|---|---|---|---|---|
| Diagonal Jump | 16x2 | 4x2 | Overhead | 5 | 6 (3) 6 (3) 6 (3) 6 | - | - | - | - | - | |
| |||||||||||
| Neutral Jump | 18 | 4 | Overhead | 3 | 21 | - | - | - | - | - | |
jD
| Version | Damage | Stun | Guard | Startup | Active | Recovery | Total | Hit Adv | Block Adv | Property | |
|---|---|---|---|---|---|---|---|---|---|---|---|
| Diagonal Jump | 14 | 4 | Overhead | 11 | 15 | - | - | - | - | - | |
| |||||||||||
| Neutral Jump | 20 | 4 | Overhead | 7 | 8+7 | - | - | - | - | - | |
Universal Mechanics
Lane Blast (CD)
| Version | Damage | Stun | Guard | Startup | Active | Recovery | Total | Hit Adv | Block Adv | Property | |
|---|---|---|---|---|---|---|---|---|---|---|---|
| Front Lane | 22 | 5 | Mid | 16 | 17 | 7 | 39 | KD | -5 | Cancel | |
| |||||||||||
| Back Lane | 22 | 5 | Mid | 13 | 12 | 20 | 44 | KD | -13 | Cancel | |
| |||||||||||
Lane Attack
| Version | Damage | Stun | Guard | Startup | Active | Recovery | Total | Hit Adv | Block Adv | Property |
|---|---|---|---|---|---|---|---|---|---|---|
| A | 20 | 2 | Overhead | 9 | - | 4 | - | - | - | - |
| B | 20 | 2 | Overhead | 14 | - | 4 | - | - | - | - |
| C | 20 | 4 | Overhead | 9 | - | 4 | - | - | - | - |
| D | 20 | 4 | Overhead | 14 | - | 4 | - | - | - | - |
Dodge Attack
| Damage | Stun | Guard | Startup | Active | Recovery | Total | Hit Adv | Block Adv | Property | |
|---|---|---|---|---|---|---|---|---|---|---|
| 11 | 5 | Mid | 9 | 12 | 17 | 37 | Air reset | -10 | Kara Cancel, Upper-Body Invuln 1-20F | |
| ||||||||||
Throws
Katate Nage (4/6C)
Shinkuu Nage (3C)
Kosatsusho (4/6D)
Special Moves
Reppuken (236A)
| Damage | Stun | Guard | Startup | Active | Recovery | Total | Hit Adv | Block Adv | Property | |
|---|---|---|---|---|---|---|---|---|---|---|
| 16 (4) | 3 | Mid | 18 | - | 35 | 52 | -2 | -5 | - | |
| ||||||||||
Double Reppuken (236C)
| Damage | Stun | Guard | Startup | Active | Recovery | Total | Hit Adv | Block Adv | Property | |
|---|---|---|---|---|---|---|---|---|---|---|
| 22 (5) | 6 | Mid | 17 | - | 59 | 75 | -18 | -25 | - | |
| ||||||||||
Shippuuken (j214P)
- Good tool for punishing enemy projectiles or anti-air attempts.
- Both versions send Geese up and backward, allowing him to alter his jump trajectory.
| Version | Damage | Stun | Guard | Startup | Active | Recovery | Total | Hit Adv | Block Adv | Property | |
|---|---|---|---|---|---|---|---|---|---|---|---|
| A | 12 (4) | 3 | Mid/Low※ | 11 | - | Landing + 3 | - | - | - | - | |
| |||||||||||
| C | 18 (4) | 6 | Mid/Low※ | 11 | - | Landing + 3 | - | - | - | - | |
| |||||||||||
Jyoudan Atemi Nage (41236B)
| Damage | Stun | Guard | Startup | Active | Recovery | Total | Hit Adv | Block Adv | Property | |
|---|---|---|---|---|---|---|---|---|---|---|
| 18 | 3 | / | 1 | 19 | 21 | 40 | KD | / | - | |
| ||||||||||
Chuudan Atemi Nage (41236D)
| Damage | Stun | Guard | Startup | Active | Recovery | Total | Hit Adv | Block Adv | Property | |
|---|---|---|---|---|---|---|---|---|---|---|
| 18 | 3 | / | 1 | 19 | 21 | 40 | KD | - | - | |
| ||||||||||
Super Move
Raging Storm (1632143BC)
| Damage | Stun | Guard | Startup | Active | Recovery | Total | Hit Adv | Block Adv | Property |
|---|---|---|---|---|---|---|---|---|---|
| 48 (12) | 4 | Mid | 22 | 30 | 12 | 63 | KD | -8 | - |
Combos
- 2B x 3 - 24 damage
2B linked to 2B does not scale.
- (2B), c5A x 1~4 > f5A x 1~2 > f5C - 49 damage
2B does not link to c5A on Geese and Krauser.
- c5C > 236A/C - 32/37 damage
- 2C > 1632143BC
Strategy
The Basics
Advanced Strategy
There is a bug that allows Player 1 Geese to make his Reppuken unblockable after a knockdown by whiffing f5A so that the projectile hits on f5A's last active frame. Even if it is a frame perfect trick, there is no risk to missing the timing, so you might as well go for it. Good opportunities for an unblockable Reppuken are after a counter or 4/6C throw, and it is recommended to walk back slightly before throwing the Reppuken. P1 Geese's c5A is also unblockable under the same conditions, but is far more risky so not as practical.
