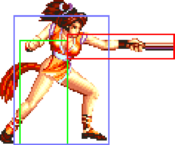
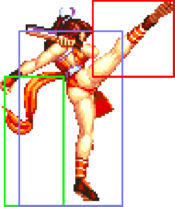
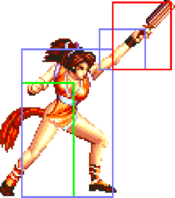
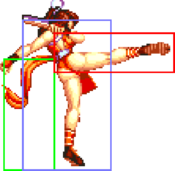
Introduction
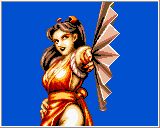
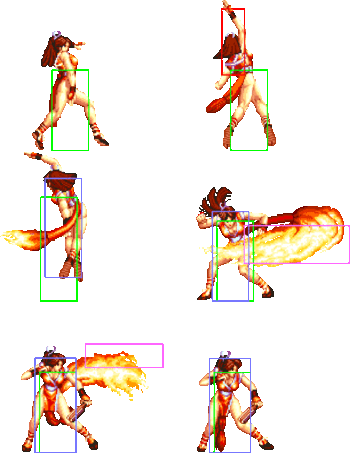
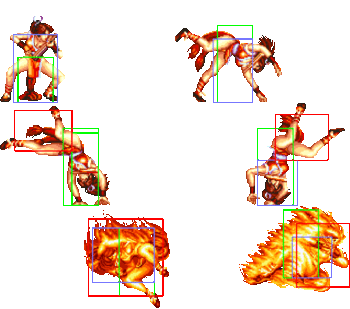
"Nippon Ichi!" Easily one of gaming's most iconic characters, Mai Shiranui takes to the fighting stage in Fatal Fury Special as a powerful zoning character, capable of shutting anyone out with ease. Easy to play as right away, she has great anti-air tools, a great fireball, a deadly (albeit very risky) super, simple combos, rewarding damage, and a unique stage where she actually gains an additional advantage from it, Mai Shiranui is holding nothing back. Her super is very risky as already mentioned, as while it does great damage and decent chip damage, everyone can very easily punish her on block and can be predictable. Her mobility too is not the greatest, albeit not as bad as some other characters. And while she may seem like a great glass cannon type character, she's not. You must play her defensively as a strict keepaway character. But no matter who she's up against, chances are her impeccable zoning give her an advantage at all times as even her up close game isn't too lacking when she's forced to confront the opponent.
| Pros | Cons |
|---|---|
|
|
Move List
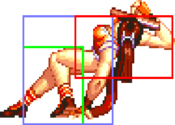
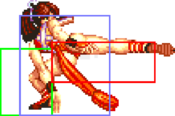
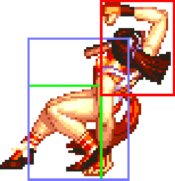
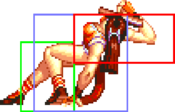
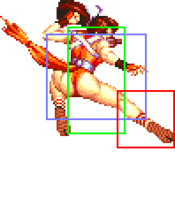
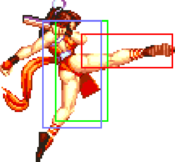
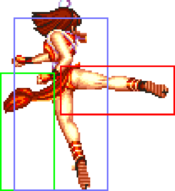
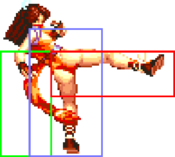
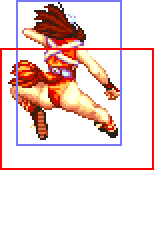
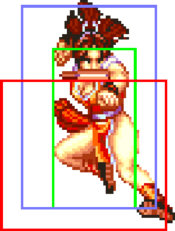
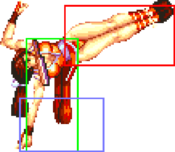
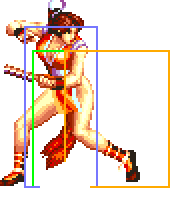
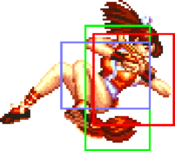
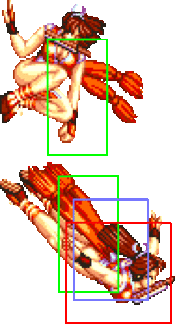
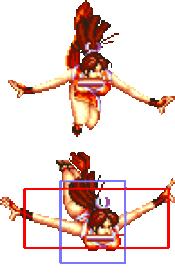
| Standing | Crouching | Jumping | Jumping 2 | Backdash |
 |
 |
 |
 |
|
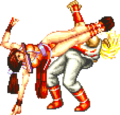
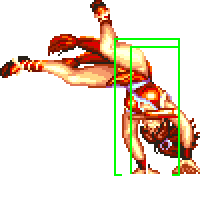
| Mai is grounded during her backdash and can more easily be thrown. |
Close Standing Normals
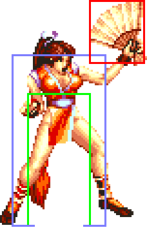
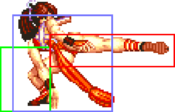
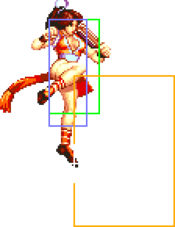
c5A
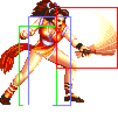
c5B
| Damage | Stun | Guard | Startup | Active | Recovery | Total | Hit Adv | Block Adv | Property | |
|---|---|---|---|---|---|---|---|---|---|---|
| 8 | 2 | Mid | 8 | 4 | 11 | 21 | +1 | +2 | Kara Cancel | |
| ||||||||||
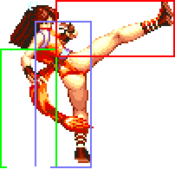
c5C
| Damage | Stun | Guard | Startup | Active | Recovery | Total | Hit Adv | Block Adv | Property | |
|---|---|---|---|---|---|---|---|---|---|---|
| 14 | 4 | Mid | 8 | 7 | 17 | 31 | 0 | -1 | Kara Cancel | |
c5D
| Damage | Stun | Guard | Startup | Active | Recovery | Total | Hit Adv | Block Adv | Property | |
|---|---|---|---|---|---|---|---|---|---|---|
| 16 | 4 | Mid | 10 | 7 | 17 | 33 | 0 | -1 | Kara Cancel | |
| ||||||||||
Far Standing Normals
f5A
| Damage | Stun | Guard | Startup | Active | Recovery | Total | Hit Adv | Block Adv | Property | |
|---|---|---|---|---|---|---|---|---|---|---|
| 4 | 2 | Mid | 6 | 4 | 10 | 19 | +2 | +3 | Kara Cancel | |
| ||||||||||
f5B
| Damage | Stun | Guard | Startup | Active | Recovery | Total | Hit Adv | Block Adv | Property | |
|---|---|---|---|---|---|---|---|---|---|---|
| 6 | 2 | Mid | 6 | 6 | 8 | 19 | +2 | +3 | Cancel | |
| ||||||||||
f5C
| Damage | Stun | Guard | Startup | Active | Recovery | Total | Hit Adv | Block Adv | Property | |
|---|---|---|---|---|---|---|---|---|---|---|
| 10 | 4 | Mid | 8 | 13 | 10 | 30 | 0 | -1 | - | |
| ||||||||||
f5D
| Damage | Stun | Guard | Startup | Active | Recovery | Total | Hit Adv | Block Adv | Property | |
|---|---|---|---|---|---|---|---|---|---|---|
| 14 | 4 | Mid | 8 | 8 | 17 | 32 | -2 | -3 | - | |
| ||||||||||
Crouching Normals
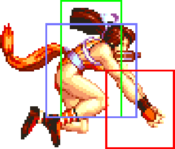
2A
| Damage | Stun | Guard | Startup | Active | Recovery | Total | Hit Adv | Block Adv | Property | |
|---|---|---|---|---|---|---|---|---|---|---|
| 4 | 2 | Mid | 6 | 4 | 8 | 17 | +4 | +5 | Kara Cancel | |
| ||||||||||
2B
| Damage | Stun | Guard | Startup | Active | Recovery | Total | Hit Adv | Block Adv | Property | |
|---|---|---|---|---|---|---|---|---|---|---|
| 6 | 2 | Low | 6 | 4 | 7 | 16 | +5 | +6 | Kara Cancel | |
| ||||||||||
2C
| Damage | Stun | Guard | Startup | Active | Recovery | Total | Hit Adv | Block Adv | Property | |
|---|---|---|---|---|---|---|---|---|---|---|
| 12 | 4 | Mid | 5 | 10 | 18 | 32 | -4 | -5 | Kara Cancel | |
| ||||||||||
2D
| Damage | Stun | Guard | Startup | Active | Recovery | Total | Hit Adv | Block Adv | Property | |
|---|---|---|---|---|---|---|---|---|---|---|
| 14 | 4 | Low | 8 | 11 | 21 | 39 | KD | -9 | Kara Cancel | |
| ||||||||||
Jumping Normals
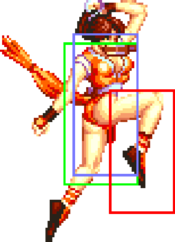
jA
| Damage | Stun | Guard | Startup | Active | Recovery | Total | Hit Adv | Block Adv | Property | |
|---|---|---|---|---|---|---|---|---|---|---|
| 6 | 2 | Overhead | 5 | ∞ | - | - | - | - | - | |
| ||||||||||
jB
| Damage | Stun | Guard | Startup | Active | Recovery | Total | Hit Adv | Block Adv | Property | |
|---|---|---|---|---|---|---|---|---|---|---|
| 8 | 2 | Overhead | 10 | ∞ | - | - | - | - | Air | |
| ||||||||||
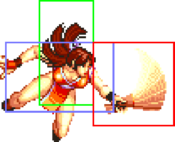
jC
| Version | Damage | Stun | Guard | Startup | Active | Recovery | Total | Hit Adv | Block Adv | Property | |
|---|---|---|---|---|---|---|---|---|---|---|---|
| Diagonal Jump | 14 | 4 | Overhead | 5 | 8 | - | - | - | - | - | |
| |||||||||||
| Neutral Jump | 14 | 4 | Overhead | 5 | 6 | - | - | - | - | - | |
| |||||||||||
jD
| Version | Damage | Stun | Guard | Startup | Active | Recovery | Total | Hit Adv | Block Adv | Property | |
|---|---|---|---|---|---|---|---|---|---|---|---|
| Diagonal Jump | 16 | 4 | Overhead | 5 | 20 | - | - | - | - | - | |
| |||||||||||
| Neutral Jump | 16 | 4 | Overhead | 5 | 12 | - | - | - | - | - | |
| |||||||||||
Universal Mechanics
Lane Blast
| Version | Damage | Stun | Guard | Startup | Active | Recovery | Total | Hit Adv | Block Adv | Property | |
|---|---|---|---|---|---|---|---|---|---|---|---|
| Front Lane | 22 | 5 | Mid | 9 | 7 | 22 | 37 | KD | -10 | Cancel | |
| |||||||||||
| Back Lane | 22 | 5 | Mid | 11 | 7 | 17 | 34 | KD | -5 | Cancel | |
| |||||||||||
Lane Attack
| Version | Damage | Stun | Guard | Startup | Active | Recovery | Total | Hit Adv | Block Adv | Property | |
|---|---|---|---|---|---|---|---|---|---|---|---|
| A/B | 18 | 2 | Overhead | 13 | - | 4 | - | - | - | - | |
| |||||||||||
| C/D | 18 | 4 | Overhead | 13 | - | 4 | - | - | - | - | |
| |||||||||||
Dodge Attack
| Damage | Stun | Guard | Startup | Active | Recovery | Total | Hit Adv | Block Adv | Property | |
|---|---|---|---|---|---|---|---|---|---|---|
| 11 | 5 | Mid | 15 | 16 | 15 | 45 | Air reset | -12 | Kara Cancel, Upper-Body Invuln 1-30F | |
| ||||||||||
Throws
Throw
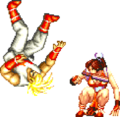
Air Throw
| Damage | Stun | Guard | Startup | Active | Recovery | Total | Hit Adv | Block Adv | Property | |
|---|---|---|---|---|---|---|---|---|---|---|
| 26 | 3 | / | 1 | 1 | - | - | KD | / | - | |
| ||||||||||
Special Moves
Kachosen (236P)
| Version | Damage | Stun | Guard | Startup | Active | Recovery | Total | Hit Adv | Block Adv | Property | |
|---|---|---|---|---|---|---|---|---|---|---|---|
| A | 14 (3) | 3 | Mid | 15 | - | 36 | 50 | - | - | - | |
| |||||||||||
| C | 22 (5) | 6 | Mid | 17 | - | 45 | 61 | - | - | - | |
| |||||||||||
Ryuenbu (214P)
| Version | Damage | Stun | Guard | Startup | Active | Recovery | Total | Hit Adv | Block Adv | Property | |
|---|---|---|---|---|---|---|---|---|---|---|---|
| A | 16x2 (4x2) | 3x2 | Mid | 7 | 2+2 (4) 12 | 12 | 38 | KD | +1 | Foot Invuln 11-18F | |
| |||||||||||
| C | 22x2 (5x2) | 6x2 | Mid | 9 | 2+2 (5) 17 | 19 | 54 | KD | -6 | Invincible 1-13F, Foot Invuln 14-23F | |
| |||||||||||
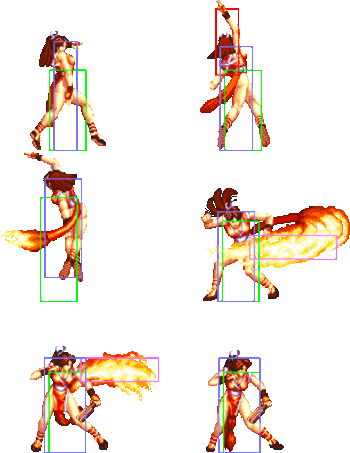
Hissatsu Shinobibachi (41236D)
| Damage | Stun | Guard | Startup | Active | Recovery | Total | Hit Adv | Block Adv | Property |
|---|---|---|---|---|---|---|---|---|---|
| 20 (5x2) | 3 | Mid | 26 | 26 | 6 | 57 | KD | -7 | Invincible 11-14F, Airborne 20-51F |
Musasabi no Mai ([2]8P)
| Version | Damage | Stun | Guard | Startup | Active | Recovery | Total | Hit Adv | Block Adv | Property | |
|---|---|---|---|---|---|---|---|---|---|---|---|
| A (Non-Mai Stage) | 20 (5) | 3 | Mid | Jump + 16 | 21 | 18 | - | KD | -1 at best | Invuln 1-15F after touching wall | |
| |||||||||||
| C (Non-Mai Stage) | 20 (5) | 6 | Mid | Jump + 16 | 21 | 18 | - | KD | -1 at best | Invuln 1-15F after touching wall | |
| |||||||||||
| A (Mai's Stage) | 20 (5) | 3 | Mid | 30 | 22 | 20 | - | KD | -3 at best | Invincible 1-29F | |
| |||||||||||
| C (Mai's Stage) | 20 (5) | 6 | Mid | 30 | 22 | 20 | - | KD | -3 at best | Invincible 1-29F | |
| |||||||||||
Super Move
Chou Hissatsu Shinobibachi (616BC)
| Damage | Stun | Guard | Startup | Active | Recovery | Total | Hit Adv | Block Adv | Property |
|---|---|---|---|---|---|---|---|---|---|
| 30 (0 + 7x3) | 4 | Mid | 15 | 6+5+5+32 | 20 | 82 | KD | -14 | Invincible 15-18F, Upper-Body Invuln 19-23F, Airborne 26-62 |
Combos
- c5A/B > 214A/C
- 2C > 236A - 31 damage
- c5C/D > 616BC - 40/42 damage
