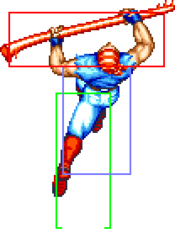
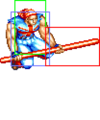
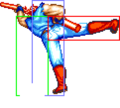
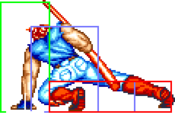
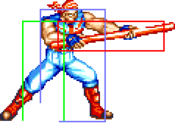
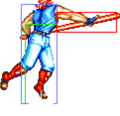
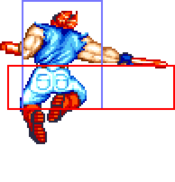
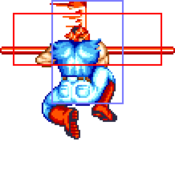
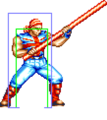
Introduction
| Pros | Cons |
|---|---|
|
|
Move List
| Standing/Walking | Crouching | Jumping | Taunting |
 |
 |
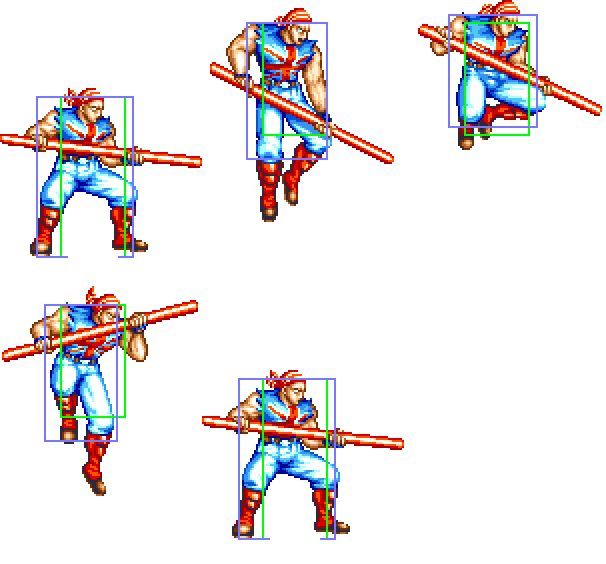 |
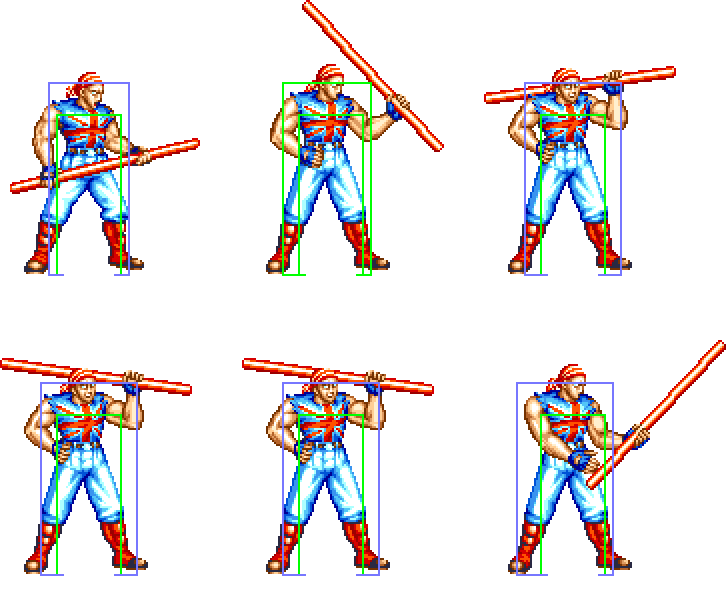
|
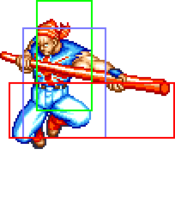
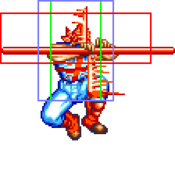
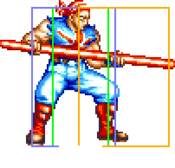
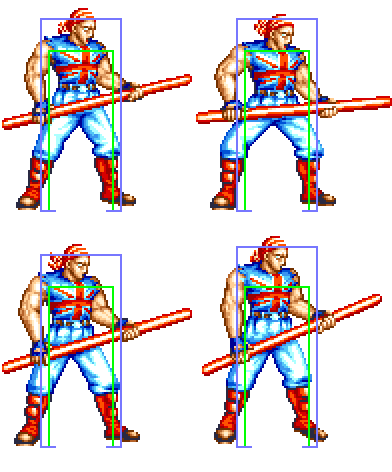
| Hurtbox does not shift when walking. | 52F duration. | Billy has slight invincibility when lifting and lowering his Kane. |
Close Standing Normals
c5A
| Damage | Stun | Guard | Startup | Active | Recovery | Total | Hit Adv | Block Adv | Property | |
|---|---|---|---|---|---|---|---|---|---|---|
| 6 | 2 | Mid | 4 | 6 | 5 | 14 | +5 | +6 | Kara Cancel, Self Cancel | |
| ||||||||||
c5B
| Damage | Stun | Guard | Startup | Active | Recovery | Total | Hit Adv | Block Adv | Property | |
|---|---|---|---|---|---|---|---|---|---|---|
| 5 | 2 | Mid | 10 | 7 | 10 | 26 | -1 | 0 | Kara Cancel | |
| ||||||||||
c5C
| Damage | Stun | Guard | Startup | Active | Recovery | Total | Hit Adv | Block Adv | Property | |
|---|---|---|---|---|---|---|---|---|---|---|
| 16 | 4 | Mid | 5 | 10 | 12 | 26 | +2 | +1 | Kara Cancel | |
| ||||||||||
c5D
| Damage | Stun | Guard | Startup | Active | Recovery | Total | Hit Adv | Block Adv | Property | |
|---|---|---|---|---|---|---|---|---|---|---|
| 12 | 4 | Mid | 11 | 11 | 16 | 37 | -3 | -4 | Kara Cancel | |
| ||||||||||
Far Standing Normals
f5A
| Damage | Stun | Guard | Startup | Active | Recovery | Total | Hit Adv | Block Adv | Property | |
|---|---|---|---|---|---|---|---|---|---|---|
| 6 | 2 | Mid | 4 | 6 | 5 | 14 | +5 | +6 | Kara Cancel, Self Cancel | |
| ||||||||||
f4/5/6B
| Damage | Stun | Guard | Startup | Active | Recovery | Total | Hit Adv | Block Adv | Property | |
|---|---|---|---|---|---|---|---|---|---|---|
| 5 | 2 | Mid | 23 | 7 | 10 | 39 | -1 | 0 | Kara Cancel | |
| ||||||||||
f5C
| Damage | Stun | Guard | Startup | Active | Recovery | Total | Hit Adv | Block Adv | Property | |
|---|---|---|---|---|---|---|---|---|---|---|
| 16x4 | 4x4 | Mid | 10 | 4x4 | 4 | 29 | +16 | +15 | Cancel | |
f5D
Crouching Normals
2A
| Damage | Stun | Guard | Startup | Active | Recovery | Total | Hit Adv | Block Adv | Property | |
|---|---|---|---|---|---|---|---|---|---|---|
| 5 | 2 | Mid | 7 | 7 | 10 | 23 | -1 | 0 | Kara Cancel | |
| ||||||||||
2B
| Damage | Stun | Guard | Startup | Active | Recovery | Total | Hit Adv | Block Adv | Property | |
|---|---|---|---|---|---|---|---|---|---|---|
| 8 | 2 | Low | 6 | 7 | 8 | 20 | +1 | +2 | Kara Cancel | |
| ||||||||||
2C
| Damage | Stun | Guard | Startup | Active | Recovery | Total | Hit Adv | Block Adv | Property | |
|---|---|---|---|---|---|---|---|---|---|---|
| 12 | 4 | Mid | 7 | 8 | 22 | 36 | -6 | -7 | Kara Cancel | |
| ||||||||||
2D
| Damage | Stun | Guard | Startup | Active | Recovery | Total | Hit Adv | Block Adv | Property | |
|---|---|---|---|---|---|---|---|---|---|---|
| 14 | 4 | Low | 7 | 10 | 22 | 38 | KD | -9 | / | |
| ||||||||||
Jumping Normals
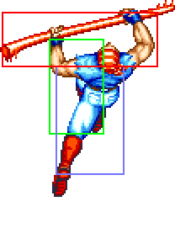
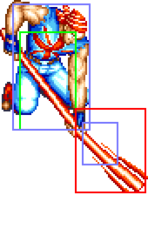
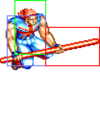
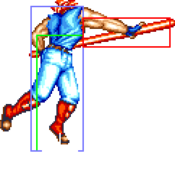
jA
jB
jC
jD
Universal Mechanics
Lane Blast
| Version | Damage | Stun | Guard | Startup | Active | Recovery | Total | Hit Adv | Block Adv | Property | |
|---|---|---|---|---|---|---|---|---|---|---|---|
| Front Lane | 22 | 5 | Mid | 5 | 6 (16) 19 | 7 | 42 | KD | -20 | Cancel, Lane Shift | |
| Back Lane | 22 | 5 | Mid | 16 | 6 | 14 | 35 | KD | -2 | Cancel, Lane Shift | |
| |||||||||||
Lane Attack
| Version | Damage | Stun | Guard | Startup | Active | Recovery | Total | Hit Adv | Block Adv | Property | |
|---|---|---|---|---|---|---|---|---|---|---|---|
| A | 20 | 2 | Overhead | 13 | 17 | 4 | 33 | - | - | / | |
| |||||||||||
| B | 20 | 2 | Overhead | 9 | 21 | 4 | 33 | - | - | / | |
| |||||||||||
| C | 20 | 4 | Overhead | 13 | 36 | 4 | 52 | - | - | / | |
| |||||||||||
| D | 20 | 4 | Overhead | 9 | 40 | 4 | 52 | - | - | / | |
| |||||||||||
Dodge Attack
Throws
C Throw
D Throw
Special Moves
Senpuu Kon (Mash P)
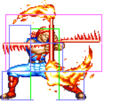
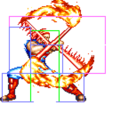
Considered a projectile.
| Version | Damage | Stun | Guard | Startup | Active | Recovery | Total | Hit Adv | Block Adv | Property |
|---|---|---|---|---|---|---|---|---|---|---|
| A | 13 (4xN) | 3 | Mid | 4 | 5 (5) 5 (5) 5 (5) 1 ... | 6 | 40 | KD | +14 | Upper-Body Invuln 1-3F, 35-40F |
| C | 19 (5xN) | 6 | Mid | 4 | 3 (3) 3 (3) 3 (3) 3 (3) 3 (3) 1 | 10 | 44 | KD | -4 | Upper-Body Invuln 1-3F, 35-44F |
Sansetsu Kon ([4]6P)
Considered a projectile.
| Version | Damage | Stun | Guard | Startup | Active | Recovery | Total | Hit Adv | Block Adv | Property | |
|---|---|---|---|---|---|---|---|---|---|---|---|
| A | 16 (4) | 3 | Mid | 19 | 7 | 21 | 46 | -7 | -10 | Throw Invuln 2-46F | |
| C | 22 (6) | 6 | Mid | 23 | 9 | 22 | 53 | -3 | -10 | Throw Invuln 2-54F. | |
Suzume Otoshi ([1]9P)
| Version | Damage | Stun | Guard | Startup | Active | Recovery | Total | Hit Adv | Block Adv | Property | |
|---|---|---|---|---|---|---|---|---|---|---|---|
| A | 16 (4) | 3 | Mid | 14 | 11 | 35 | 59 | KD | - | Throw Invuln 2-59F | |
| |||||||||||
| C | 22 (6) | 6 | Mid | 19 | 16 | 40 | 74 | KD | - | Throw Invuln 2-74F | |
| |||||||||||
Kyoushuu Hishou Kon (1236K)
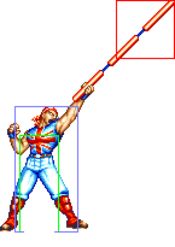
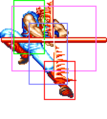
Billy jumps above the screen and attacks on the way back down. By default Billy will track the opponent's position when coming down, but inputting left and right and slightly influence where he lands. Has a projectile hitbox at certain heights in the fall.
| Version | Damage | Stun | Guard | Startup | Active | Recovery | Total | Hit Adv | Block Adv | Property |
|---|---|---|---|---|---|---|---|---|---|---|
| B | 18 (5) | 3 | Mid | 72 | 13 | 8 | 92 | KD | - | Invuln 1-27F, Throw Invuln 28-92F |
| D | 18 (5) | 6 | Mid | 96 | 13 | 8 | 116 | KD | - | Invuln 1-31F, Throw Invuln 32-116F |
Desperation Move
Chou Kaen Senpuu Kon (23632147AC)
| Damage | Stun | Guard | Startup | Active | Recovery | Total | Hit Adv | Block Adv | Property | |
|---|---|---|---|---|---|---|---|---|---|---|
| 38 (9x2) | 4 | Mid | 5 | 56 | 19 | 79 | KD | -2 | Upper-Body Invuln 1-4F, 72-79F | |
|
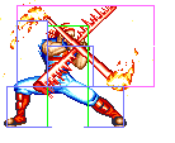
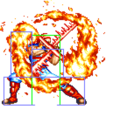
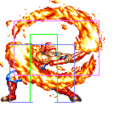
Billy spins his stick around creating a ring of fire, then throws the ring forward as a projectile. The ring gets sent out on the 41st frame and is considered a separate projectile, so Billy can nulify an incoming fireball while sending one of his own. Can be comboed into, can anti-air, and is difficult to punish.
| ||||||||||
Combos
- c5A x N, f5A x N
- 2C > [4]6A
- c5C > [4]6A or 23632147AC
- 2B > 23632147AC
- (Corner) f5C > c5C > [4]6A
