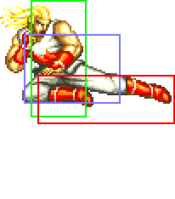
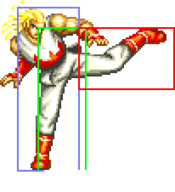
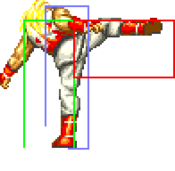
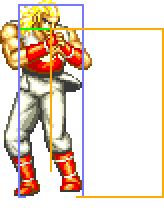
Introduction
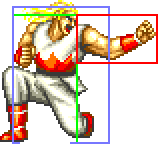
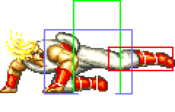
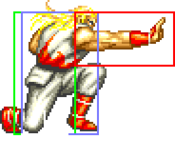
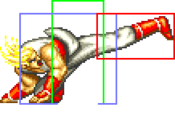
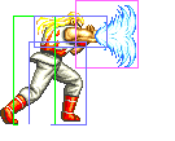
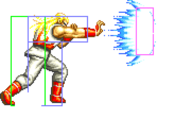
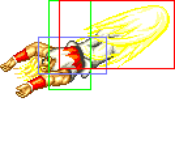
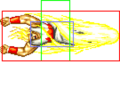
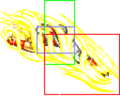
Andy is a top tier all-rounder with great movement and neutral. His most important feature is his Zaneiken, a safe fullscreen elbow that opponents will have to respect at all times.
| Pros | Cons |
|---|---|
|
|
Move List
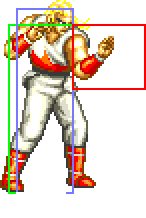
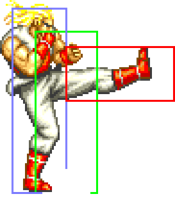
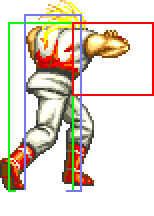
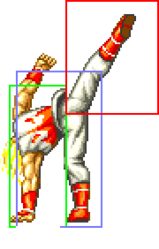
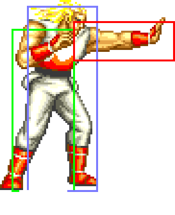
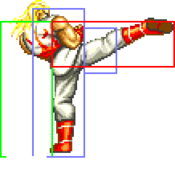
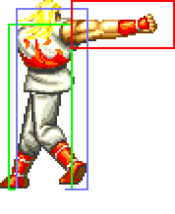
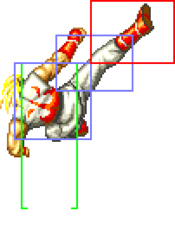
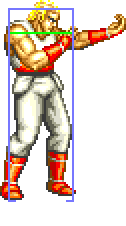
| Standing/Taunting | Crouching | Jumping |
  |
 |
|
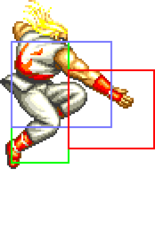
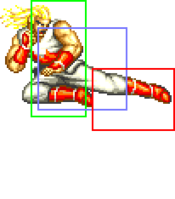
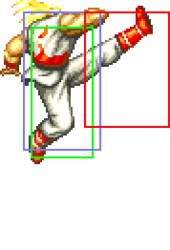
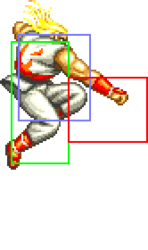
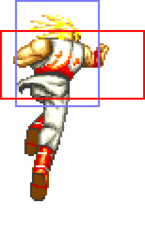
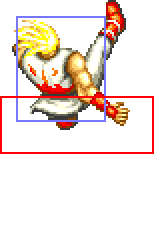
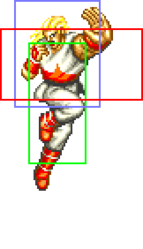
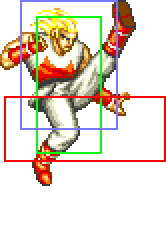
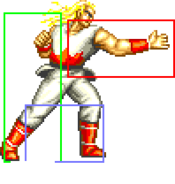
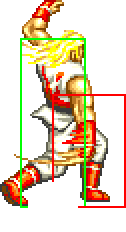
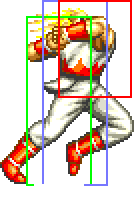
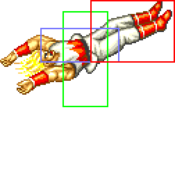
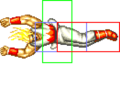
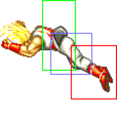
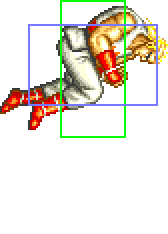
| Andy cycles between hurtboxes as he spins during diagonal jumps. 52F duration. |
Close Standing Normals
c5A
| Damage | Stun | Guard | Startup | Active | Recovery | Total | Hit Adv | Block Adv | Property | |
|---|---|---|---|---|---|---|---|---|---|---|
| 8 | 2 | Mid | 8 | 4 | 3 | 14 | +9 | +10 | Kara Cancel, Self Cancel | |
| ||||||||||
c5B
| Damage | Stun | Guard | Startup | Active | Recovery | Total | Hit Adv | Block Adv | Property | |
|---|---|---|---|---|---|---|---|---|---|---|
| 10 | 2 | Mid | 4 | 6 | 5 | 14 | +5 | +6 | Kara Cancel | |
| ||||||||||
c5C
c5D
| Damage | Stun | Guard | Startup | Active | Recovery | Total | Hit Adv | Block Adv | Property | |
|---|---|---|---|---|---|---|---|---|---|---|
| 20 | 4 | Mid | 8 | 10 | 28 | 45 | -14 | -15 | Kara Cancel | |
| ||||||||||
Far Standing Normals
f5A
| Damage | Stun | Guard | Startup | Active | Recovery | Total | Hit Adv | Block Adv | Property | |
|---|---|---|---|---|---|---|---|---|---|---|
| 6 | 2 | Mid | 5 | 4 | 4 | 12 | +8 | +9 | Kara Cancel, Self Cancel | |
| ||||||||||
f5B
| Damage | Stun | Guard | Startup | Active | Recovery | Total | Hit Adv | Block Adv | Property | |
|---|---|---|---|---|---|---|---|---|---|---|
| 8 | 2 | Mid | 8 | 9 | 12 | 28 | -5 | -4 | Kara Cancel | |
| ||||||||||
f5C
| Damage | Stun | Guard | Startup | Active | Recovery | Total | Hit Adv | Block Adv | Property | |
|---|---|---|---|---|---|---|---|---|---|---|
| 16 | 4 | Mid | 8 | 12 | 16 | 35 | -5 | -6 | / | |
| ||||||||||
f5D
| Damage | Stun | Guard | Startup | Active | Recovery | Total | Hit Adv | Block Adv | Property | |
|---|---|---|---|---|---|---|---|---|---|---|
| 18 | 4 | Mid | 8 | 11 | 18 | 36 | -6 | -7 | / | |
| ||||||||||
Crouching Normals
2A
| Damage | Stun | Guard | Startup | Active | Recovery | Total | Hit Adv | Block Adv | Property | |
|---|---|---|---|---|---|---|---|---|---|---|
| 6 | 2 | Mid | 3 | 4 | 4 | 10 | +8 | +9 | Kara Cancel, Self Cancel | |
| ||||||||||
2B
| Damage | Stun | Guard | Startup | Active | Recovery | Total | Hit Adv | Block Adv | Property | |
|---|---|---|---|---|---|---|---|---|---|---|
| 8 | 2 | Low | 10 | 7 | 4 | 20 | +5 | +6 | Kara Cancel | |
| ||||||||||
2C
| Damage | Stun | Guard | Startup | Active | Recovery | Total | Hit Adv | Block Adv | Property | |
|---|---|---|---|---|---|---|---|---|---|---|
| 16 | 4 | Mid | 12 | 7 | 9 | 27 | +8 | +7 | Kara Cancel | |
| ||||||||||
2D
| Damage | Stun | Guard | Startup | Active | Recovery | Total | Hit Adv | Block Adv | Property | |
|---|---|---|---|---|---|---|---|---|---|---|
| 14 | 4 | Low | 11 | 10 | 18 | 38 | KD | -5 | Kara Cancel | |
| ||||||||||
Jumping Normals
jA
| Damage | Stun | Guard | Startup | Active | Recovery | Total | Hit Adv | Block Adv | Property | |
|---|---|---|---|---|---|---|---|---|---|---|
| 8 | 2 | Overhead | 5 | ∞ | / | / | - | - | - | |
| ||||||||||
jB
| Damage | Stun | Guard | Startup | Active | Recovery | Total | Hit Adv | Block Adv | Property | |
|---|---|---|---|---|---|---|---|---|---|---|
| 10 | 2 | Overhead | 5 | ∞ | / | / | - | - | - | |
| ||||||||||
jC
| Version | Damage | Stun | Guard | Startup | Active | Recovery | Total | Hit Adv | Block Adv | Property | |
|---|---|---|---|---|---|---|---|---|---|---|---|
| Diagonal Jump | 18 | 4 | Overhead | 5 | 15 | / | / | - | - | - | |
| |||||||||||
| Neutral Jump | 16 | 4 | Overhead | 5 | 13 | / | / | - | - | - | |
jD
| Version | Damage | Stun | Guard | Startup | Active | Recovery | Total | Hit Adv | Block Adv | Property | |
|---|---|---|---|---|---|---|---|---|---|---|---|
| Diagonal Jump | 20 | 4 | Overhead | 6 | 15 | / | / | - | - | - | |
| |||||||||||
| Neutral Jump | 20 | 4 | Overhead | 5 | 13 | / | / | - | - | - | |
| |||||||||||
Universal Mechanics
Lane Blast
| Version | Damage | Stun | Guard | Startup | Active | Recovery | Total | Hit Adv | Block Adv | Property | |
|---|---|---|---|---|---|---|---|---|---|---|---|
| Front Lane | 22 | 5 | Mid | 17 | 10 | 12 | 39 | KD (+91) | -3 | Cancel, Lane Shift | |
| |||||||||||
| Back Lane | 22 | 5 | Mid | 14 | 9 | 10 | 32 | KD (+83) | 0 | Cancel, Lane Shift | |
| |||||||||||
Lane Attack
| Version | Damage | Stun | Guard | Startup | Active | Recovery | Total | Hit Adv | Block Adv | Property | |
|---|---|---|---|---|---|---|---|---|---|---|---|
| A | 20 | 2 | Overhead | 13 | - | 4 | - | - | - | / | |
| |||||||||||
| B | 20 | 2 | Overhead | 22 | - | 4 | - | - | - | / | |
| |||||||||||
| C | 20 | 4 | Overhead | 13 | - | 4 | - | - | - | / | |
| |||||||||||
| D | 20 | 4 | Overhead | 22 | - | 4 | - | - | - | / | |
| |||||||||||
Dodge Attack
Throws
C Throw
Special Moves
Hishou Ken (214P)
| Version | Damage | Stun | Guard | Startup | Active | Recovery | Total | Hit Adv | Block Adv | Property | |
|---|---|---|---|---|---|---|---|---|---|---|---|
| A | 16 (4) | 3 | Mid | 22 | - | 33 | 54 | 0 | +1 | / | |
| |||||||||||
| C | 22 (5) | 6 | Mid | 26 | - | 35 | 60 | +6 | -5 | / | |
| |||||||||||
Shoryu Dan (236P)
| Version | Damage | Stun | Guard | Startup | Active | Recovery | Total | Hit Adv | Block Adv | Property | |
|---|---|---|---|---|---|---|---|---|---|---|---|
| A | 14 (3) | 3 | Mid | 10 | 3+4+5+6 | 20 | 47 | KD | -10 | Invincible 1~18F | |
| |||||||||||
| C | 20 (4) | 6 | Mid | 13 | 4+5+6+8 | 31 | 66 | KD | -30 | Invincible 1~24F | |
| |||||||||||
Zan Ei Ken ([1]6P)
| Version | Damage | Stun | Guard | Startup | Active | Recovery | Total | Hit Adv | Block Adv | Property | |
|---|---|---|---|---|---|---|---|---|---|---|---|
| A | 16 (4) | 3 | Mid | 10 | 16 | 2 | 27 | Air Reset | -6 | Throw Invincible | |
| C | 22 (5) | 6 | Mid | 13 | 20 | 2 | 34 | KD | -2 | Throw Invincible | |
Kuuha Dan (19K)
| Version | Damage | Stun | Guard | Startup | Active | Recovery | Total | Hit Adv | Block Adv | Property | |
|---|---|---|---|---|---|---|---|---|---|---|---|
| B | 13x2 (3x2) | 3x2 | Mid | 16 | 32 | 9 | 56 | -11 | -14 | Invincible 1~15F, Airborne 16~47F | |
| |||||||||||
| D | 18 (4x2) | 6 | Mid | 16 | 50 | 12 | 77 | KD | -28 | Invincible 1~15F, Airborne 16~65F | |
| |||||||||||
Desperation Move
Chou Reppa Dan ([2]36BD)
| Damage | Stun | Guard | Startup | Active | Recovery | Total | Hit Adv | Block Adv | Property | |
|---|---|---|---|---|---|---|---|---|---|---|
| 36 (9x2) | 4 | Mid | 21 | 48 | 24 | 92 | KD | -20 | Airborne 21~68F | |
Combos
- (2A > 2A >) 2A > [1]6A - 20 Damage
- 2C > [1]6C - 35 Damage
- c5A > c5A > c5D > [1]6C - 55 Damage
Ideal punish combo.
- (Corner, far distance) 214A, [1]6C - 38 Damage
