| Pre-release information
This page is under construction based on pre-release data. Join the SF6 Resource Hub for info on editing. |
Introduction
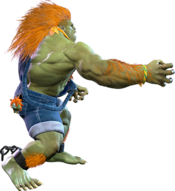
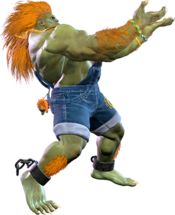
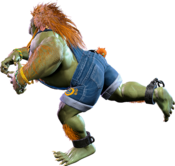
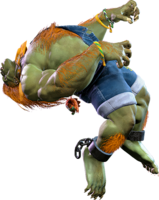
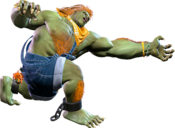
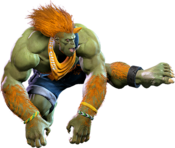
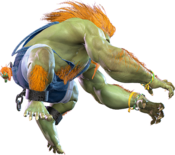
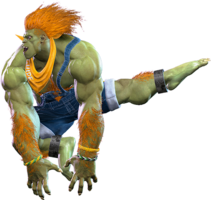
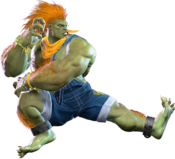
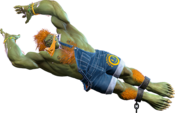
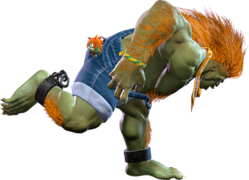
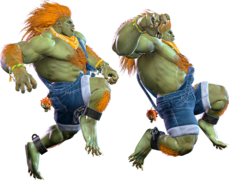
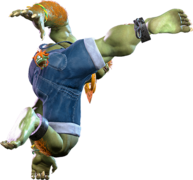
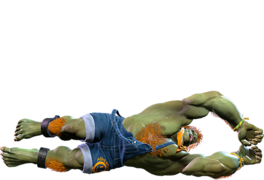
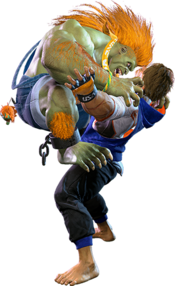
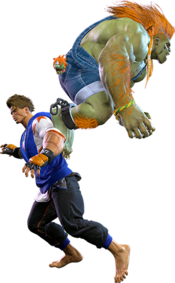
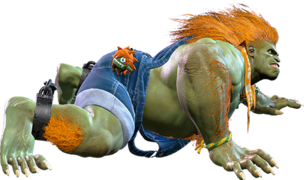
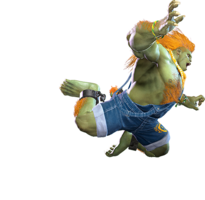
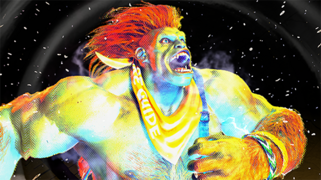
A kindhearted defender of nature, Blanka has become an adventure tour guide, confident his intimate knowledge of the jungle will serve as a springboard to fame—and a comfortable life for his beloved mother.
Blanka is a character that focuses on aggressive mobility and a variety of confusing mind games, supplemented by setplay in the corner. Many of Blanka's tools either allow him to advance quickly or force the opponent to guess at what he's going to do next, which he can use to his advantage by overwhelming them with options.
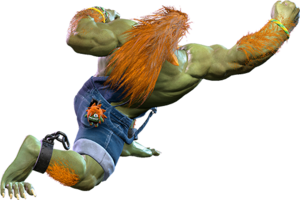
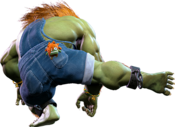
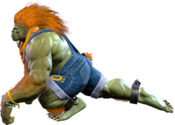
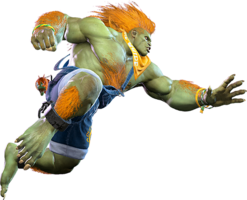
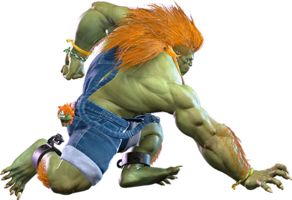
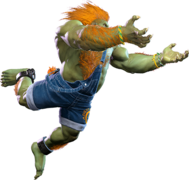
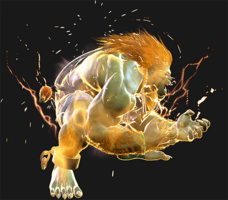
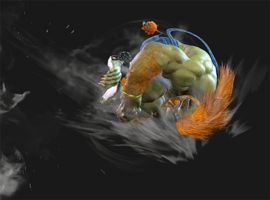
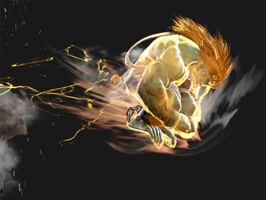
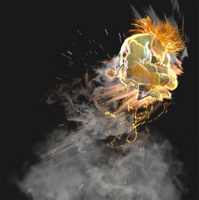
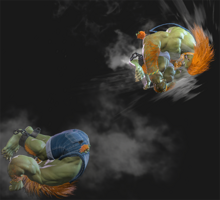
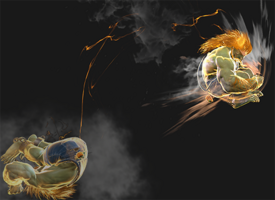
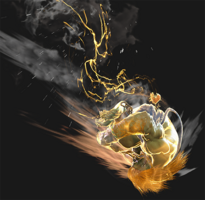
One of the biggest tools that Blanka uses for this gameplan is his Horizontal Rolling Attack special move, often called the Blanka Ball. It travels very quickly and very far, with the heavy version traveling full screen and being difficult to punish in many circumstances. He also has a diving aerial variant in the Aerial Rolling Attack, an anti-air version with the Vertical Rolling Attack, and one that travels in a controllable arc from the ground to the air and back down again with the Backstep Rolling Attack. He also has Surprise Hop, a command dash that allows him to quickly advance forward or backward, on top of a very fast forward dash, and can use Wild Hunt to close the gap when an opponent is expecting to block or parry a Blanka Ball and punish them for it.
All of these moves are supplemented by other unorthodox or shocking maneuvers once Blanka has the opponent scared of what he might do next and manages to get in. Electric Thunder is often used to get confirms when Blanka doesn't have the charge for Blanka Ball, but allows him a fair bit of flexibility on hit and is a powerful launcher when the Overdrive version is used. Many of his normals are also fairly strong for pokes and pressure, such as his light punches and kicks, his 5MP, his 2MP, and his 2MK, and if he can land a Punish Counter, then he can use Coward Crouch to set up for a launcher that does a lot of damage. Blanka becomes especially scary in the corner, though, as he can set up a Blanka-chan Bomb and then throw in an Electric Thunder to activate it for some setplay. Even if he's pushed out, he can rely on a little patience and careful use of surprise maneuvers like Blanka Ball fakeouts, Drive Rush 3HP, Surprise Hop, or Wild Hunt to get back in.
Another notable tool in Blanka's kit is his Level 2 Super Art, Lightning Beast. When activated, it allows him to use Rolling Cannon as follow-ups to his Horizontal, Aerial, Vertical, or Backstep Rolling Attacks, in addition to giving them a lightning aura that makes them a little stronger and lets him activate Blanka-chan Bombs by using one of these moves to pass over them. Rolling Cannon ups his pressure game significantly while Lightning Beast is active, and if set up properly with an Overdrive Electric Thunder or a Coward Crouch launch, Lightning Beast can convert a stray hit from Blanka into huge damage.
In return for all of this, Blanka has to weigh his options carefully when going in for the attack, as the high reward for a fair number of his moves is balanced out by how punishable they are if they're evaded, blocked, or otherwise called out. It can also take some doing to get his combos going at midscreen or otherwise, since a lot of his more intricate combos need a launch from Coward Crouch, Overdrive Electric Thunder, and/or meter for Lightning Beast on hand. If you enjoy bewildering your opponents with risky but rewarding offensive plays and a variety of options, heed the call of the wild and howl with Blanka.
| Pick if you like: | Avoid if you dislike: |
|---|---|
|
|
Classic & Modern Versions Comparison
| Missing Normals |
|
|---|---|
| Missing Command Normals |
|
| Shortcut-Only Specials |
|
| Miscellaneous Changes |
|
Players to Watch
- MenaRD - (https://twitter.com/_MenaRD__)
- Wolfgang - (https://twitter.com/WolfgangXO)
| Blanka | |
|---|---|
| Vitals | |
| Life Points | 10000 |
| Ground Movement | |
| Forward Walk Speed | 0.047 |
| Backward Walk Speed | 0.032 |
| Forward Dash Speed | 19 |
| Backward Dash Speed | 23 |
| Forward Dash Distance | 1.578 |
| Backward Dash Distance | 1.169 |
| Drive Rush Min. Distance (Throw) | 0.476 |
| Drive Rush Min. Distance (Block) | 2.082 |
| Drive Rush Max Distance | 2.867 |
| Jumping | |
| Jump Speed | 4+38+3 |
| Jump Apex | 2.115 |
| Forward Jump Distance | 1.90 |
| Backward Jump Distance | 1.52 |
| Throws | |
| Throw Range | 0.9 |
| Throw Hurtbox | 0.43 |
| Frame Data Glossary - SF6 | |
|---|---|
| Hitbox Images |
🟥 (Red): Attack hitbox
🟩 (Green): Vulnerable hurtbox that can be hit by strikes/projectiles
🟦 (Blue): Vulnerable throw hurtbox
|
| Active |
How many frames a move remains active (can hurt opponents) for. For projectiles with a maximum active period, a value may be listed in [brackets], but this number is not factored into the move's total frame count.
|
| Cancel |
Available options for canceling one move into another move.
|
| Cancel Hitconfirm Windows |
Hitconfirm reaction windows into Special Moves, Target Combos, and Super Arts.
|
| Damage |
Attack damage on hit. Multi-hit moves may have the damage listed for individual hits as X,Y (or sometimes X*Y). Sometimes a move's damage changes depending on which active frame connects, or on cinematic vs. non-cinematic hits; in this case, multiple values may be listed, and it will be clarified in the move description.
|
| Damage Scaling |
Some moves cause additional damage scaling in combos. Refer to Game Data page for a more detailed breakdown. Scaling Types:
|
| Drive Rush Cancel Advantage |
Refers to the frame advantage when canceling a normal, command normal, or Target Combo into Drive Rush on hit or block (abbreviated as DRC for Drive Rush Cancel). This is calculated at the moment a follow-up attack can be input, not at the moment the character can block or perform movement options. An attack that with DRC +8 on Hit can link into an 8-frame attack, and DRC +4 on Block can create a true blockstring into a 4-frame attack. Note that any DRC on Block worse than +4 cannot form a true blockstring, allowing the opponent to interrupt with an invincible reversal. Most light normals are slightly negative after a DRC on block, meaning the opponent can mash their fastest normal to guarantee a counter-hit (though this requires fast reactions). The attacking character could punish this with Light > DRC into an immediate invincible attack, but this would be an incredibly expensive and high-risk gambit.
|
| Forced Knockdown |
Most airborne command normals, special moves, and Super Arts put the user in a "Forced Knockdown" state. While in this state, an air knockdown will occur when being hit by any attack, even if it would otherwise cause an air reset. As an example, Ryu's 2HP causes an air reset when used as an anti-air. Against a move like Cammy's Hooligan Combination, however, the 2HP puts her into an air knockdown state. This allows Ryu to successfully cancel 2HP into Shoryuken for a juggle, similar to how a Drive Impact wall splat works. Taking advantage of Forced Knockdown juggles is important for dealing with moves like Ken's Dragonlash, Dhalsim's Air Teleport, or Kimberly's 6HK~Hop sequence. Moves that already cause an air knockdown, like most j.MP air-to-airs, will not display the "Forced Knockdown" message.
|
| Guard |
Refers to the direction an attack must be blocked. L is for Low attacks (must be blocked crouching), H is for High attacks/overheads (must be blocked standing), LH is for attacks that can be blocked crouching or standing. T is for Throw attacks which cannot be blocked.
|
| Juggles |
When a character is put into an Air Knockdown state, it is often possible to follow up with a Juggle attack before they hit the ground. In the simplest terms, there are 2 main juggle states:
The following is a more detailed overview of the SF6 juggle system:
Juggle Start (JS): When starting a juggle, the opponent's JC will be set to this value. May be different vs. standing and airborne opponents.
Juggle Increase (JI): When opponent is already in a juggle state, attacks will increase the opponent's JC by this amount.
Juggle Limit (JL): Property of an attack hitbox that determines whether it connects on a juggled opponent. The JL must be ≥ the opponent's JC to hit successfully.
An example to tie everything together:
Drive Rush notes:
|
| On Hit/Block |
These are frame advantage values when the attack hits or is blocked. If the number is positive, then the move will recover before the defender can act again. If the number is negative, the defender will be able to act before the attacker and maybe even punish. KD refers to knockdown on hit, and the listed KD Advantage refers to how many frames the attacker can act before the defender finishes their wakeup animation.
|
| Recovery |
How many frames it takes for a move to finish after the active frames have finished. For projectiles, recovery is considered to begin after the first active frame.
|
| Startup |
How many frames it takes before the move becomes 'active' or have a hit box. The last startup frame and the first active frame are the same frame, meaning all values are written as Startup + 1.
|
Normals
Standing Normals
5LP
| Startup | Active | Recovery | Cancel | Damage | Guard | On Hit | On Block |
|---|---|---|---|---|---|---|---|
| 5 | 3 | 10 | Sp SA | 300 | LH | +3 | -3 |
5MP
| Startup | Active | Recovery | Cancel | Damage | Guard | On Hit | On Block |
|---|---|---|---|---|---|---|---|
| 10 | 3 | 15 | SA | 700 | LH | +3 | -4 |
5HP
| Startup | Active | Recovery | Cancel | Damage | Guard | On Hit | On Block |
|---|---|---|---|---|---|---|---|
| 10 | 7 | 17(22) | Sp SA | 800 | LH | +3 | -3 |
5LK
| Startup | Active | Recovery | Cancel | Damage | Guard | On Hit | On Block |
|---|---|---|---|---|---|---|---|
| 4 | 4 | 7 | Chn Sp SA | 300 | LH | +5 | -2 |
5MK
| Startup | Active | Recovery | Cancel | Damage | Guard | On Hit | On Block |
|---|---|---|---|---|---|---|---|
| 8 | 3 | 17(20) | Sp SA | 600 | LH | +4 | -2 |
5HK
| Startup | Active | Recovery | Cancel | Damage | Guard | On Hit | On Block |
|---|---|---|---|---|---|---|---|
| 7 | 9 | 18(15) | - | 800 | LH | +6 | -4 |
Crouching Normals
2LP
| Startup | Active | Recovery | Cancel | Damage | Guard | On Hit | On Block |
|---|---|---|---|---|---|---|---|
| 6 | 3 | 8 | Chn Sp SA | 300 | LH | +5 | -2 |
2MP
| Startup | Active | Recovery | Cancel | Damage | Guard | On Hit | On Block |
|---|---|---|---|---|---|---|---|
| 9 | 5 | 16 | Sp SA | 600 | LH | -1 | -5 |
2HP
| Startup | Active | Recovery | Cancel | Damage | Guard | On Hit | On Block |
|---|---|---|---|---|---|---|---|
| 15 | 5 | 20(21) | - | 800 | LH | 0 | -5 |
2LK
| Startup | Active | Recovery | Cancel | Damage | Guard | On Hit | On Block |
|---|---|---|---|---|---|---|---|
| 5 | 2 | 10 | Chn | 200 | L | +3 | -3 |
2MK
| Startup | Active | Recovery | Cancel | Damage | Guard | On Hit | On Block |
|---|---|---|---|---|---|---|---|
| 8 | 3 | 16(18) | Sp SA | 500 | L | +5 | -5 |
2HK
| Startup | Active | Recovery | Cancel | Damage | Guard | On Hit | On Block |
|---|---|---|---|---|---|---|---|
| 11 | 4 | 23 | - | 900 | L | HKD +25 | -12 |
Jumping Normals
j.LP
| Startup | Active | Recovery | Cancel | Damage | Guard | On Hit | On Block |
|---|---|---|---|---|---|---|---|
| 4 | 5 | 3 land | - | 300 | H | - | - |
j.MP
| Startup | Active | Recovery | Cancel | Damage | Guard | On Hit | On Block |
|---|---|---|---|---|---|---|---|
| 7 | 7 | 3 land | Sp | 700 | H | - | - |
j.HP
| Startup | Active | Recovery | Cancel | Damage | Guard | On Hit | On Block |
|---|---|---|---|---|---|---|---|
| 9 | 4 | 3 land | - | 800 | H | - | - |
j.LK
| Startup | Active | Recovery | Cancel | Damage | Guard | On Hit | On Block |
|---|---|---|---|---|---|---|---|
| 5 | 6 | 3 land | - | 300 | H | - | - |
j.MK
| Startup | Active | Recovery | Cancel | Damage | Guard | On Hit | On Block |
|---|---|---|---|---|---|---|---|
| 7 | 6 | 3 land | - | 500 | H | - | - |
j.HK
| Startup | Active | Recovery | Cancel | Damage | Guard | On Hit | On Block |
|---|---|---|---|---|---|---|---|
| 11 | 6 | 3 land | - | 800 | H | - | - |
Command Normals
6MP
| Startup | Active | Recovery | Cancel | Damage | Guard | On Hit | On Block |
|---|---|---|---|---|---|---|---|
| 20 | 2,1 | 20 | - | 300x2 | H,H | +3 | -3 |
6MK
| Startup | Active | Recovery | Cancel | Damage | Guard | On Hit | On Block |
|---|---|---|---|---|---|---|---|
| 9 | 3(7)2 | 18 | - | 300x2 | LH | +6 | -2 |
4MK
| Startup | Active | Recovery | Cancel | Damage | Guard | On Hit | On Block |
|---|---|---|---|---|---|---|---|
| 9 | 6 | 12 | Sp SA | 600 | LH | +8 | +2 |
6HP
| Startup | Active | Recovery | Cancel | Damage | Guard | On Hit | On Block |
|---|---|---|---|---|---|---|---|
| 18 | 4 | 28(31) | 2PP* | 1100 | LH | KD +18(+21) | -15(-12) |
3HP
| Startup | Active | Recovery | Cancel | Damage | Guard | On Hit | On Block |
|---|---|---|---|---|---|---|---|
| 14 | 10 | 22 | - | 1000 | L | KD +29(+38) | -18(-9) |
Target Combos
Throws
Forward Throw (LPLK)
| Startup | Active | Recovery | Cancel | Damage | Guard | On Hit | On Block |
|---|---|---|---|---|---|---|---|
| 5 | 3 | 23 | - | 1200 (2040) | T | KD +30 | - |
Back Throw (4LPLK)
| Startup | Active | Recovery | Cancel | Damage | Guard | On Hit | On Block |
|---|---|---|---|---|---|---|---|
| 5 | 3 | 23 | - | 1200 (2040) | T | KD +27 | - |
Air Throw (LPLK Air)
| Startup | Active | Recovery | Cancel | Damage | Guard | On Hit | On Block |
|---|---|---|---|---|---|---|---|
| 5 | 3 | 3 land | - | 1200 (2040) | T | KD +22 | - |
Drive System
Drive Impact (HPHK)
| Startup | Active | Recovery | Cancel | Damage | Guard | On Hit | On Block |
|---|---|---|---|---|---|---|---|
| 26 | 2 | 35 | - | 800 | LH | KD +35 / Wall Splat KD +65 | -3 / Wall Splat HKD +72 |
See Drive Impact
- Notable blockstring gaps (8f or less cannot be escaped by jumping):
- -
Drive Reversal (6HPHK)
| Startup | Active | Recovery | Cancel | Damage | Guard | On Hit | On Block |
|---|---|---|---|---|---|---|---|
| 20 | 3 | 26(31) | - | 500 recoverable | LH | KD +23 | -6 |
See Drive Reversal
- Full Invuln: 1-22f; Armor Break
Drive Parry (MPMK)
| Startup | Active | Recovery | Cancel | Damage | Guard | On Hit | On Block |
|---|---|---|---|---|---|---|---|
| 1 | 12 or until released | 33(1)(11) | - | - | - | - | - |
See Drive Parry
- Perfect Parry has only 1f recovery, and disables the opponent from canceling their attack
- Perfect Parry vs. projectiles puts you into a fixed 11f recovery
Drive Rush (66)
| Startup | Active | Recovery | Cancel | Damage | Guard | On Hit | On Block |
|---|---|---|---|---|---|---|---|
| 9(11) | 45(46) | 24(23) | - | - | - | - | - |
See Drive Rush. Frame data shown in (parentheses) refers to the version used after Parry.
- Notable Drive Rush cancel combo routes:
- Notable Drive Rush cancel blockstring gaps:
Special Moves
2PP
| Startup | Active | Recovery | Cancel | Damage | Guard | On Hit | On Block |
|---|---|---|---|---|---|---|---|
| 18 | [1~102] | 28 | - | - | - | - | - |
2PP~P
| Startup | Active | Recovery | Cancel | Damage | Guard | On Hit | On Block |
|---|---|---|---|---|---|---|---|
| 18+8 | 7 | 31 | - | 600 | LH | KD +55 | -21 |
2PP~K
| Startup | Active | Recovery | Cancel | Damage | Guard | On Hit | On Block |
|---|---|---|---|---|---|---|---|
| 18~ | - | 12(3) land | - | - | - | - | - |
6KKK
| Startup | Active | Recovery | Cancel | Damage | Guard | On Hit | On Block |
|---|---|---|---|---|---|---|---|
| 27(30) total | - | - | - | - | - | - | - |
4KKK
| Startup | Active | Recovery | Cancel | Damage | Guard | On Hit | On Block |
|---|---|---|---|---|---|---|---|
| 27(30) total | - | - | - | - | - | - | - |
Electric Thunder (214P)
No results
No results No results
| Startup | Active | Recovery | Cancel | Damage | Guard | On Hit | On Block |
|---|---|---|---|---|---|---|---|
| 10 | 2(3)2(3)2~ | 15(17) | SA2 SA3 | 400,600 [500,600] | LH | KD +40 | +4 |
Rolling Attack ([4]6P)
| Startup | Active | Recovery | Cancel | Damage | Guard | On Hit | On Block |
|---|---|---|---|---|---|---|---|
| 10 | 11 | 3+8 land (32+10 land oB) (41+6 land oH) |
SA3 | 1000 | LH | KD +13 | -23 |
| Startup | Active | Recovery | Cancel | Damage | Guard | On Hit | On Block |
|---|---|---|---|---|---|---|---|
| 12 | 19 | 3+8 land (32+10 land oB) (41+6 land oH) |
SA3 | 1200 | LH | KD +14 | -23 |
| Startup | Active | Recovery | Cancel | Damage | Guard | On Hit | On Block |
|---|---|---|---|---|---|---|---|
| 22 | 20 | 2+23 land (28+6 land oB) (30+6 land oH) |
SA3 | 1300 | LH | KD +19 | -15 |
| Startup | Active | Recovery | Cancel | Damage | Guard | On Hit | On Block |
|---|---|---|---|---|---|---|---|
| 18 | 22 | 2+15 land (21+5 land oB) (12+15 land oH) |
SA2 SA3 | 800 | LH | KD +57 | -7 |
Vertical Rolling Attack ([2]8K)
| Startup | Active | Recovery | Cancel | Damage | Guard | On Hit | On Block |
|---|---|---|---|---|---|---|---|
| 8 | 19 | 31+17 land (34+10 land oB) (39+7 land oH) |
- | 1200 | LH | KD +35 | -27 |
| Startup | Active | Recovery | Cancel | Damage | Guard | On Hit | On Block |
|---|---|---|---|---|---|---|---|
| 8 | 19 | 31+17 land (34+10 land oB) (39+7 land oH) |
- | 1300 | LH | KD +42 | -27 |
| Startup | Active | Recovery | Cancel | Damage | Guard | On Hit | On Block |
|---|---|---|---|---|---|---|---|
| 8 | 19 | 31+17 land (34+10 land oB) (39+7 land oH) |
- | 1400 | LH | KD +42 | -27 |
| Startup | Active | Recovery | Cancel | Damage | Guard | On Hit | On Block |
|---|---|---|---|---|---|---|---|
| 7 | 8(2)6 | 31+17 land (34+23 land oB) (44+7 land oH) |
- | 800x2 | LH | KD +28 | -40 |
Backstep Rolling Attack (63214K)
| Startup | Active | Recovery | Cancel | Damage | Guard | On Hit | On Block |
|---|---|---|---|---|---|---|---|
| 41 | 24 | 5 land | - | 1000 | LH | +8(+14) | +2(+8) |
| Startup | Active | Recovery | Cancel | Damage | Guard | On Hit | On Block |
|---|---|---|---|---|---|---|---|
| 41 | 27 | 5 land | - | 1000 | LH | +7(+14) | +1(+8) |
| Startup | Active | Recovery | Cancel | Damage | Guard | On Hit | On Block |
|---|---|---|---|---|---|---|---|
| 41 | 29 | 5 land | - | 1000 | LH | +7(+13) | +3(+9) |
| Startup | Active | Recovery | Cancel | Damage | Guard | On Hit | On Block |
|---|---|---|---|---|---|---|---|
| 8(41) | 5(28)21(1)4 | 4 land | SA2 SA3 (1st) | 300,350x2 | LH,LH,LH | +10(+13) / KD +55 | +6(+9) |
Aerial Rolling Attack (j.[4]6P)
No results
No results No results
| Startup | Active | Recovery | Cancel | Damage | Guard | On Hit | On Block |
|---|---|---|---|---|---|---|---|
| 13 | until land | 15 land | - | 600x2 | LH | KD +29(+30) | -3(+3) |
Wild Hunt (236K)
| Startup | Active | Recovery | Cancel | Damage | Guard | On Hit | On Block |
|---|---|---|---|---|---|---|---|
| 34 | 3 | 57 | - | 1600 (1840) | T | HKD +35 | - |
| Startup | Active | Recovery | Cancel | Damage | Guard | On Hit | On Block |
|---|---|---|---|---|---|---|---|
| 39 | 3 | 57 | - | 1700 (1955) | T | HKD +35 | - |
| Startup | Active | Recovery | Cancel | Damage | Guard | On Hit | On Block |
|---|---|---|---|---|---|---|---|
| 43 | 3 | 57 | - | 1800 (2070) | T | HKD +35 | - |
| Startup | Active | Recovery | Cancel | Damage | Guard | On Hit | On Block |
|---|---|---|---|---|---|---|---|
| 32 | 3 | 57 | - | 2000 (2300) | T | HKD +64 | - |
Blanka-chan Bomb (22P)
No results
No results No results No results
Super Arts
Level 1 Super (236236P)
| Startup | Active | Recovery | Cancel | Damage | Guard | On Hit | On Block |
|---|---|---|---|---|---|---|---|
| 8 | 9 | 62 | - | 2000 [2200] | LH | KD +15 | -29 |
Level 2 Super (214214P)
| Startup | Active | Recovery | Cancel | Damage | Guard | On Hit | On Block |
|---|---|---|---|---|---|---|---|
| 1 | [1500 total] | 9 | - | - | - | - | - |
Level 3 Super (236236K)
| Startup | Active | Recovery | Cancel | Damage | Guard | On Hit | On Block |
|---|---|---|---|---|---|---|---|
| 10 | 3 | 61 | - | 4000 | LH | HKD +50 | -46 |
| Startup | Active | Recovery | Cancel | Damage | Guard | On Hit | On Block |
|---|---|---|---|---|---|---|---|
| 10 | 3 | 61 | - | 4500 | LH | HKD +14 | -46 |
Taunts
Neutral Taunt (5PPPKKK)
| Startup | Active | Recovery | Cancel | Damage | Guard | On Hit | On Block |
|---|---|---|---|---|---|---|---|
| 145 (total) | - | - | - | - | - | - | - |
Forward Taunt (6PPPKKK)
| Startup | Active | Recovery | Cancel | Damage | Guard | On Hit | On Block |
|---|---|---|---|---|---|---|---|
| 150 (total) | - | - | - | - | - | - | - |
Back Taunt (4PPPKKK)
| Startup | Active | Recovery | Cancel | Damage | Guard | On Hit | On Block |
|---|---|---|---|---|---|---|---|
| 188 | - | 45 | - | - | - | - | - |

