Introduction
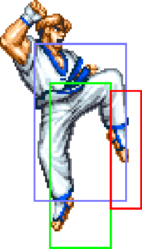
The Taekwondo master returns from Fatal Fury 2 to clash with the fighters of Fatal Fury Special, and he means business. In a game about reading and punishing your opponent, Kim's punish game is exceptional to the point he doesn't even have to play by the game's rules. An incredibly powerful anti-air reversal, a dive kick that can punish practically anything, and a simple but devastating combo game gives Kim precisely the tools he needs to force the rest of the cast to play at his own pace, or potentially risk the entire round. That is not to say he is perfect, as his strongest combos require getting pretty close, which in turn means he needs to rely on dive kick to gain momentum. However, as long as the Kim player isn't careless, getting in against anyone is a breeze.
| Pros | Cons |
|---|---|
|
|
Character Colors
 |
 |

|
Moves List
Ground Normals
| Damage | Stun | Guard | Startup | Active | Recovery | Total | Hit Adv | Block Adv | Property |
|---|---|---|---|---|---|---|---|---|---|
| - | 2 | - | - | - | - | - | - | - | Ground |
| Damage | Stun | Guard | Startup | Active | Recovery | Total | Hit Adv | Block Adv | Property |
|---|---|---|---|---|---|---|---|---|---|
| - | 2 | - | - | - | - | - | - | - | Ground |
| Damage | Stun | Guard | Startup | Active | Recovery | Total | Hit Adv | Block Adv | Property | |
|---|---|---|---|---|---|---|---|---|---|---|
| - | 4 | - | - | - | - | - | - | - | Ground | |
|
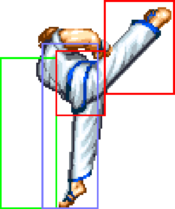
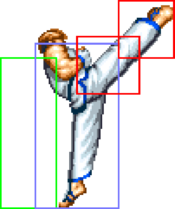
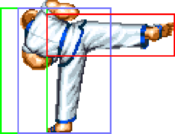
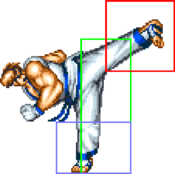
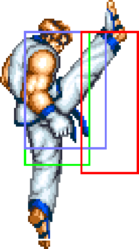
Solid anti-air poke that hits twice. | ||||||||||
| Damage | Stun | Guard | Startup | Active | Recovery | Total | Hit Adv | Block Adv | Property | |
|---|---|---|---|---|---|---|---|---|---|---|
| - | 4 | - | - | - | - | - | - | - | Ground | |
|
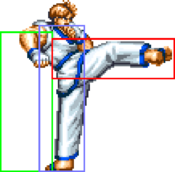
Hits twice causing a nice amount of damage. Can combo into super. --U-Q | ||||||||||
| Damage | Stun | Guard | Startup | Active | Recovery | Total | Hit Adv | Block Adv | Property | |
|---|---|---|---|---|---|---|---|---|---|---|
| - | 2 | - | - | - | - | - | - | - | Ground | |
|
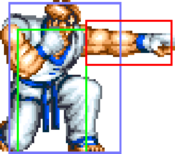
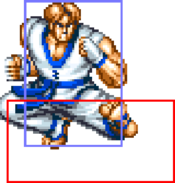
Kim's st.A, but it's a low. This is how Kim racks up very high damage and stun as it easily combos into itself up to six times, and can be followed up with cr.C. Great block pressure as well that comes out fast. | ||||||||||
| Damage | Stun | Guard | Startup | Active | Recovery | Total | Hit Adv | Block Adv | Property | |
|---|---|---|---|---|---|---|---|---|---|---|
| - | 2 | - | - | - | - | - | - | - | Ground | |
|
Decent poke, but the range is no better than what cr.A has to offer, on top of being slower. | ||||||||||
| Damage | Stun | Guard | Startup | Active | Recovery | Total | Hit Adv | Block Adv | Property | |
|---|---|---|---|---|---|---|---|---|---|---|
| - | 4 | - | - | - | - | - | - | - | Ground | |
|
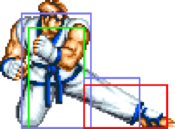
Your go to tool for when you're dishing out the Kim combos. Standard fare is to go for cr.C into Hangetsuzan B. Great low poke that makes for both an easy combo and free pressure, and if you follow up with Hangetsuzan, which you always should if it connects, it will be safe on block. Low commitment, high reward poke, even if it's a little slow. | ||||||||||
| Damage | Stun | Guard | Startup | Active | Recovery | Total | Hit Adv | Block Adv | Property | |
|---|---|---|---|---|---|---|---|---|---|---|
| - | 4 | - | - | - | - | - | - | - | Ground | |
|
Faster version of cr.C that does about the same damage, but it knocks down, giving Kim an opportunity for okizeme pressure. | ||||||||||
| Damage | Stun | Guard | Startup | Active | Recovery | Total | Hit Adv | Block Adv | Property | |
|---|---|---|---|---|---|---|---|---|---|---|
| - | 5 | - | - | - | - | - | - | - | Ground | |
|
One of Kim's best tools that is safe on block thanks to being cancellable. Like cr.C, cancelling into Hangetsuzan B makes free pressure while remaining safe, as well as an easy combo. | ||||||||||
| Damage | Stun | Guard | Startup | Active | Recovery | Total | Hit Adv | Block Adv | Property | |
|---|---|---|---|---|---|---|---|---|---|---|
| - | 5 | - | - | - | - | - | - | - | Ground | |
|
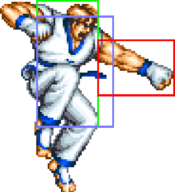
Pretty weak attack overall. You will likely forget Kim even has it, given it's bad range, albeit he has upper body invincibility. Hienzan and Hangetsuzan, or any of his exceptional normals, would be better than using his Dodge Attack. | ||||||||||
| Damage | Stun | Guard | Startup | Active | Recovery | Total | Hit Adv | Block Adv | Property |
|---|---|---|---|---|---|---|---|---|---|
| - | 0 | - | - | - | - | - | - | - | Ground |
Air Normals
| Damage | Stun | Guard | Startup | Active | Recovery | Total | Hit Adv | Block Adv | Property |
|---|---|---|---|---|---|---|---|---|---|
| - | 2 | - | - | - | - | - | - | - | Air |
| Damage | Stun | Guard | Startup | Active | Recovery | Total | Hit Adv | Block Adv | Property | |
|---|---|---|---|---|---|---|---|---|---|---|
| - | 2/4 | - | - | - | - | - | - | - | Air | |
|
Good air-to-air for opponents above Kim, but not all that great as a jump in. | ||||||||||
| Damage | Stun | Guard | Startup | Active | Recovery | Total | Hit Adv | Block Adv | Property | |
|---|---|---|---|---|---|---|---|---|---|---|
| - | 4 | - | - | - | - | - | - | - | Air | |
|
Excellent jump-in and air to air move. --U-Q | ||||||||||
Throw
| Damage | Stun | Guard | Startup | Active | Recovery | Total | Hit Adv | Block Adv | Property | |
|---|---|---|---|---|---|---|---|---|---|---|
| - | 3 | - | - | - | - | - | - | - | - | |
|
Kim's Throw. | ||||||||||
Special Moves
| Version | Damage | Stun | Guard | Startup | Active | Recovery | Total | Hit Adv | Block Adv | Property | |
|---|---|---|---|---|---|---|---|---|---|---|---|
| QCB + B B Version |
- | 3 | - | - | - | - | - | - | - | Ground | |
|
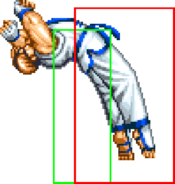
Kim's main combo ender. Fully safe on block. | |||||||||||
| QCB + D D Version |
- | 6 | - | - | - | - | - | - | - | Ground | |
|
Reaches the full stage, but is punishable on block, making it much more risky compared to Hangetsuzan B. | |||||||||||
| Version | Damage | Stun | Guard | Startup | Active | Recovery | Total | Hit Adv | Block Adv | Property | |
|---|---|---|---|---|---|---|---|---|---|---|---|
| [2]~8 + B B Version |
- | 3 | - | - | - | - | - | - | - | Ground | |
|
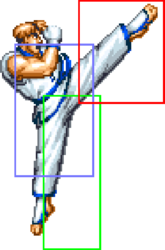
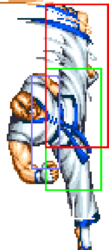
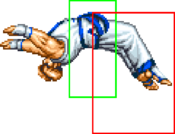
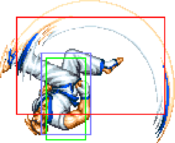
Kim has to charge Hienzan, but if the opponent jumps at him and it's been long enough, Hienzan gives Kim a free anti-air that knocks down. It even has some horizontal range to it that makes it effective for attacking big targets like Cheng or Big Bear. Comes out fairly fast with invincibility frames mixed in, so the only way to punish it is to trade, or if Kim picks the wrong version for the height he needs. That, or the opponent baits him into releasing it and they can punish Kim on the ground. | |||||||||||
| [2]~8 + D D Version |
- | 6 | - | - | - | - | - | - | - | Ground | |
|
Reaches the full screen vertically, but is also more punishable. Has slightly more horizontal range, but not by much. | |||||||||||
| Damage | Stun | Guard | Startup | Active | Recovery | Total | Hit Adv | Block Adv | Property | |
|---|---|---|---|---|---|---|---|---|---|---|
| - | 3/6 | - | - | - | - | - | - | - | Air | |
|
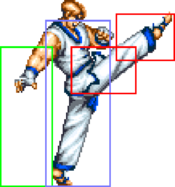
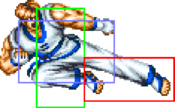
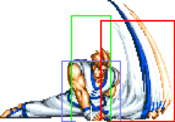
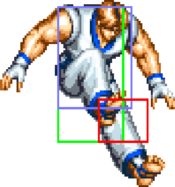
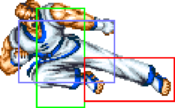
The crux of Kim's gameplan. If his divekick is blocked, he do a follow up j.D, but the properties are not the same as j.D, and has recovery frames as well, making it a follow-up you have to time if the opponent comes at you. There is also a difference between B and D, but D only deals slightly more damage (I think). Divekick gives Kim several uses:
Since this is quintessential to Kim's gameplan, he will have to jump quite a lot and as such, you want to learn how to best utilize his divekick effectively, both as mobility and as a punish tool. | ||||||||||
Super Move
| Damage | Stun | Guard | Startup | Active | Recovery | Total | Hit Adv | Block Adv | Property | |
|---|---|---|---|---|---|---|---|---|---|---|
| - | 4 | - | - | - | - | - | - | - | Ground super | |
|
Completely safe on block super that also pushes the opponent pretty far back. One of the only supers you can combo into in the game, does great damage, travels fast and has fast startup that is hard to react to. He can still be shutout by projectiles, but the only other options the opponent have are to either do a jump attack, block or escape. The input is also not obnoxious, so it's easy to get a grasp of. | ||||||||||
