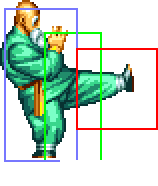
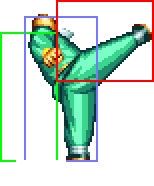
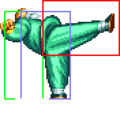
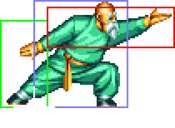
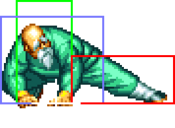
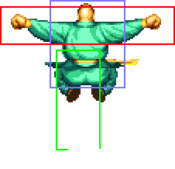
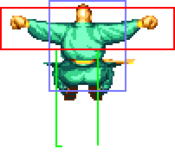
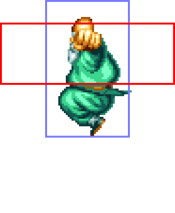
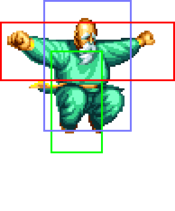
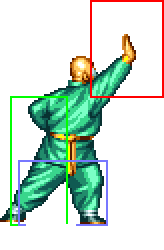
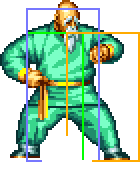
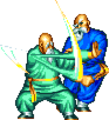
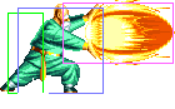
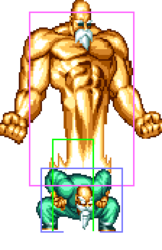
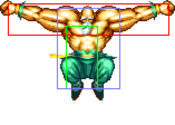
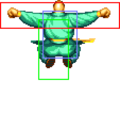
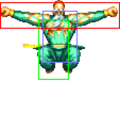
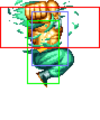
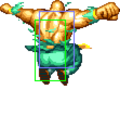
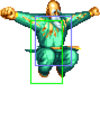
m (→f5B) |
(→f5C) |
||
| Line 177: | Line 177: | ||
{{MoveData | {{MoveData | ||
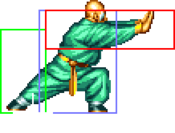
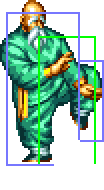
|image=FFS_Tung_f5C.png | |image=FFS_Tung_f5C.png | ||
|subtitle= | |subtitle=Maho Houken/馬歩崩拳 | ||
|caption= | |caption= | ||
|name=f5C | |name=f5C | ||
| Line 192: | Line 192: | ||
|Block Adv=+9 | |Block Adv=+9 | ||
|Property=/ | |Property=/ | ||
|description= | |description=Excellent range as far as Tung normals go, and not too risky to use either. | ||
}} | }} | ||
}} | }} | ||
Revision as of 18:45, 27 November 2024
Introduction
| Pros | Cons |
|---|---|
|
|
Move List
| Standing | Walking/Taunting | Crouching | Jumping |
 |
 |
 |
|
| 56F (4+47+5) duration. |
Close Standing Normals
c5A
| Damage | Stun | Guard | Startup | Active | Recovery | Total | Hit Adv | Block Adv | Property | |
|---|---|---|---|---|---|---|---|---|---|---|
| 9 | 2 | Mid | 5 | 3 | 3 | 10 | +10 | +11 | Kara Cancel, Self Cancel | |
| ||||||||||
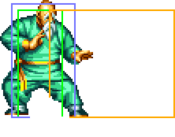
c5B
| Damage | Stun | Guard | Startup | Active | Recovery | Total | Hit Adv | Block Adv | Property | |
|---|---|---|---|---|---|---|---|---|---|---|
| 11 | 2 | Mid | 6 | 5 | 4 | 14 | +7 | +8 | Kara Cancel, Self Cancel | |
| ||||||||||
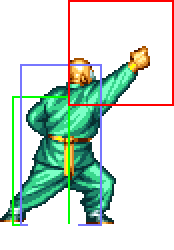
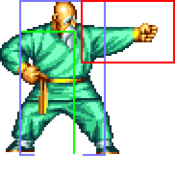
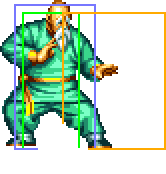
c5C
| Damage | Stun | Guard | Startup | Active | Recovery | Total | Hit Adv | Block Adv | Property | |
|---|---|---|---|---|---|---|---|---|---|---|
| 17 | 4 | Mid | 6 | 6 | 9 | 20 | +9 | +8 | Kara Cancel | |
|
Can anti-air, although tricky to use due to it being a close range normal. | ||||||||||
c5D
Far Standing Normals
f5A
| Damage | Stun | Guard | Startup | Active | Recovery | Total | Hit Adv | Block Adv | Property | |
|---|---|---|---|---|---|---|---|---|---|---|
| 7 | 2 | Mid | 5 | 3 | 3 | 10 | +10 | +11 | Kara Cancel, Self Cancel | |
| ||||||||||
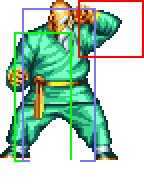
f5B
| Damage | Stun | Guard | Startup | Active | Recovery | Total | Hit Adv | Block Adv | Property | |
|---|---|---|---|---|---|---|---|---|---|---|
| 9 | 2 | Mid | 6 | 5 | 4 | 14 | +7 | +8 | Kara Cancel, Self Cancel | |
| ||||||||||
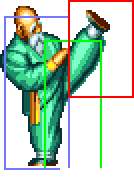
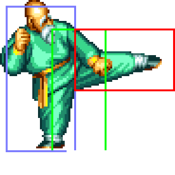
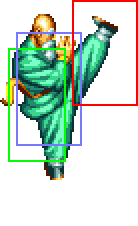
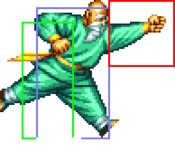
f5C
| Damage | Stun | Guard | Startup | Active | Recovery | Total | Hit Adv | Block Adv | Property | |
|---|---|---|---|---|---|---|---|---|---|---|
| 17 | 4 | Mid | 8 | 5 | 8 | 20 | +10 | +9 | / | |
|
Excellent range as far as Tung normals go, and not too risky to use either. | ||||||||||
f5D
Crouching Normals
2A
| Damage | Stun | Guard | Startup | Active | Recovery | Total | Hit Adv | Block Adv | Property |
|---|---|---|---|---|---|---|---|---|---|
| 5 | 2 | Mid | 5 | 5 | 6 | 15 | +5 | +6 | Kara Cancel |
2B
| Damage | Stun | Guard | Startup | Active | Recovery | Total | Hit Adv | Block Adv | Property | |
|---|---|---|---|---|---|---|---|---|---|---|
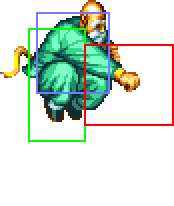
| 7 | 2 | Low | 5 | 5 | 7 | 16 | +4 | +5 | Kara Cancel | |
| ||||||||||
2C
| Damage | Stun | Guard | Startup | Active | Recovery | Total | Hit Adv | Block Adv | Property |
|---|---|---|---|---|---|---|---|---|---|
| 15 | 4 | Mid | 9 | 6 | 8 | 22 | +10 | +9 | Kara Cancel |
2D
| Damage | Stun | Guard | Startup | Active | Recovery | Total | Hit Adv | Block Adv | Property | |
|---|---|---|---|---|---|---|---|---|---|---|
| 17 | 4 | Low | 8 | 5 | 24 | 36 | KD | -6 | Kara Cancel | |
| ||||||||||
Jumping Normals
jA
| Damage | Stun | Guard | Startup | Active | Recovery | Total | Hit Adv | Block Adv | Property | |
|---|---|---|---|---|---|---|---|---|---|---|
| 7 | 2 | Overhead | 5 | ∞ | / | / | - | - | - | |
| ||||||||||
jB
| Damage | Stun | Guard | Startup | Active | Recovery | Total | Hit Adv | Block Adv | Property | |
|---|---|---|---|---|---|---|---|---|---|---|
| 9 | 2 | Overhead | 5 | ∞ | / | / | - | - | - | |
| ||||||||||
jC
| Damage | Stun | Guard | Startup | Active | Recovery | Total | Hit Adv | Block Adv | Property | |
|---|---|---|---|---|---|---|---|---|---|---|
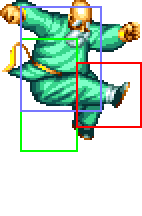
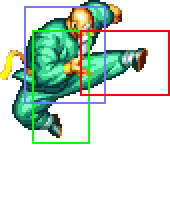
| 17 | 4 | Overhead | 5 | 15 | / | / | - | - | - | |
| ||||||||||
jD
Universal Mechanics
Lane Blast
Lane Attack
| Version | Damage | Stun | Guard | Startup | Active | Recovery | Total | Hit Adv | Block Adv | Property | |
|---|---|---|---|---|---|---|---|---|---|---|---|
| A/B | 20 | 2 | Overhead | 9 | - | 4 | - | - | - | / | |
| |||||||||||
| C/D | 20 | 4 | Overhead | 9 | - | 4 | - | - | - | / | |
| |||||||||||
Dodge Attack
Throws
C Throw
Special Moves
Sen Shippo (214P)
| Version | Damage | Stun | Guard | Startup | Active | Recovery | Total | Hit Adv | Block Adv | Property |
|---|---|---|---|---|---|---|---|---|---|---|
| A | 14 (3) | 3 | Mid | 11 | 14 | 15 | 39 | -8 | -11 | - |
| C | 22 (5) | 6 | Mid | 15 | 24 | 20 | 58 | KD | -22 | - |
Ressen Kyaku ([1]9K)
A command grab. Input the button slightly before the 9 direction to avoid accidental jumps.
| Version | Damage | Stun | Guard | Startup | Active | Recovery | Total | Hit Adv | Block Adv | Property | |
|---|---|---|---|---|---|---|---|---|---|---|---|
| B | 16 | 3 | Throw | 1 | 1 | / | / | KD | / | - | |
|
Made irrelevant by the D version.
| |||||||||||
| D | 26 | 6 | Throw | 1 | 1 | / | / | KD | / | - | |
| |||||||||||
Shou Hai ([1]6P)
Geki Hou (Mash C)
Desperation Move
Senpuu Gou Ken (6328BC)
| Damage | Stun | Guard | Startup | Active | Recovery | Total | Hit Adv | Block Adv | Property | |
|---|---|---|---|---|---|---|---|---|---|---|
| 40 (10x4) | 4 | Mid | 16 | 4 (3) 3 (3) 3 (2) 2 (2) 2 (2) 2 (2) 2 (2) 2 (2) 2 (2) 2 (2) 2 (2) 2 (2) 2 (2) 2 (3) 3 (3) 3 (3) 3 (3) 3 | 20 | 125 | KD | -12 | Throw Invuln, Lower-Body Invuln | |
Combos
- c5AxN > f5A, 2D - 41 damage
- c5AxN, f5A, 2C > 214C
- 2C > [1]6C
- c5D(2) > 214C
- Meaty 2B > c5A > 2C > 214C
- (Corner) Lane attack, c5C > Mash C
