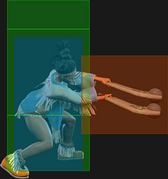
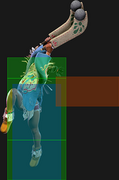
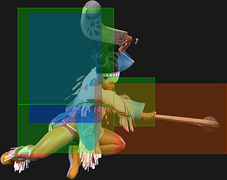
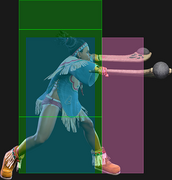
|
|
| Line 914: |
Line 914: |
| ** Partial connect: maximum of 0.46 bars (hit) | | ** Partial connect: maximum of 0.46 bars (hit) |
| * 30% minimum damage scaling | | * 30% minimum damage scaling |
| | * Damage distribution: 80x13,1160 (full) / 80x2,1680 (partial) |
| <br> | | <br> |
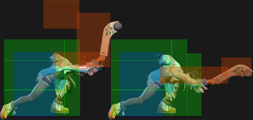
| Offers good damage off of lights without burning drive gauge or Windclad stocks. Also useful as a juggle after {{clr|4|Windclad}} [[#Condor_Spire_(236K)|{{clr|10|236KK}}]] near the corner to go for the kill.<br> | | Offers good damage off of lights without burning drive gauge or Windclad stocks. Also useful as a juggle after {{clr|4|Windclad}} [[#Condor_Spire_(236K)|{{clr|10|236KK}}]] near the corner to go for the kill.<br> |
| Line 934: |
Line 935: |
| * '''Drive Gauge Depletion:''' 1 bar (hit) / 0.5 bars (block); up to 0.7 bars vs. stand block | | * '''Drive Gauge Depletion:''' 1 bar (hit) / 0.5 bars (block); up to 0.7 bars vs. stand block |
| * 40% minimum damage scaling | | * 40% minimum damage scaling |
| | * Damage distribution: 100x7,1800 |
| {{AttackDataCargo-SF6/Query|lily_j236236k}} | | {{AttackDataCargo-SF6/Query|lily_j236236k}} |
| * '''Full Invuln:''' 1-41f ({{FKD}} state until landing); Armor Break | | * '''Full Invuln:''' 1-41f ({{FKD}} state until landing); Armor Break |
| * '''Drive Gauge Depletion:''' 1 bar (hit) / 0.5 bars (block) | | * '''Drive Gauge Depletion:''' 1 bar (hit) / 0.5 bars (block) |
| * 40% minimum damage scaling | | * 40% minimum damage scaling |
| | * Damage distribution: 100x7,1800 |
| <br> | | <br> |
| Can be canceled into from [[#Condor_Spire_(236K)|{{clr|10|OD Condor Spire}}]] and [[#Condor_Wind_Attack_(214P)|{{clr|10|OD Condor Wind}}]]. The latter is especially potent as it builds {{clr|4|Windclad}} for extra damage on the spot. | | Can be canceled into from [[#Condor_Spire_(236K)|{{clr|10|OD Condor Spire}}]] and [[#Condor_Wind_Attack_(214P)|{{clr|10|OD Condor Wind}}]]. The latter is especially potent as it builds {{clr|4|Windclad}} for extra damage on the spot. |
| Line 943: |
Line 946: |
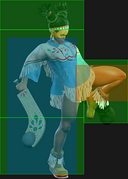
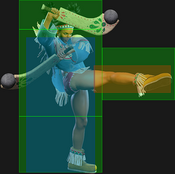
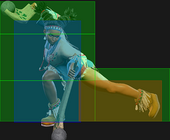
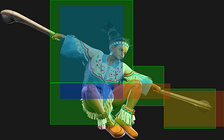
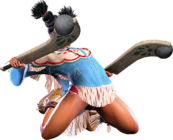
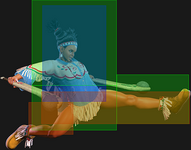
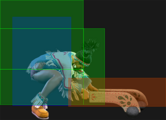
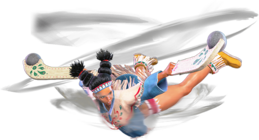
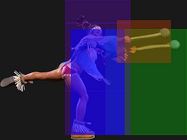
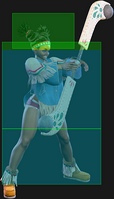
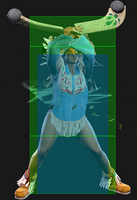
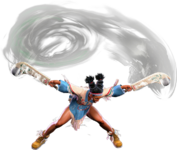
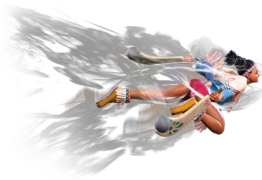
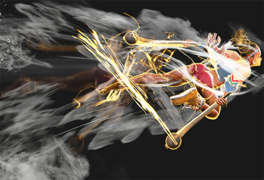
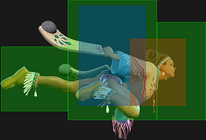
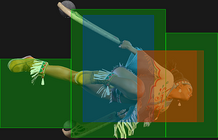
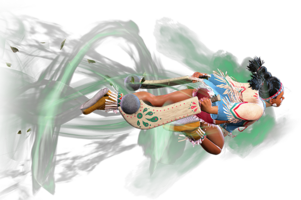
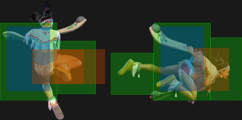
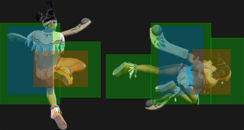
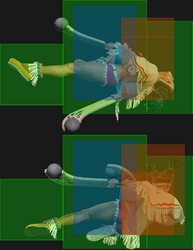
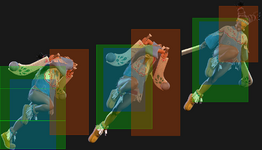
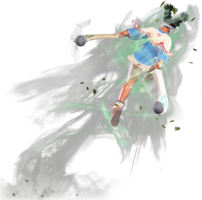
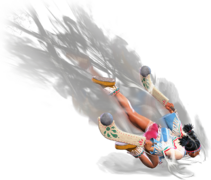
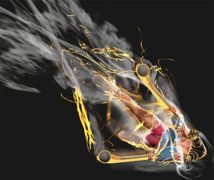
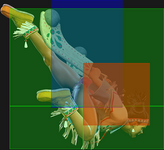
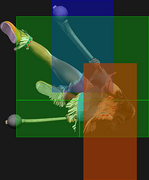
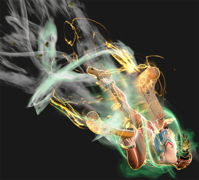
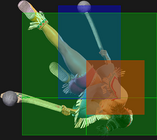
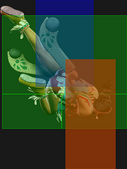
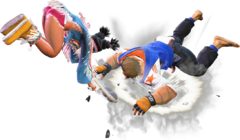
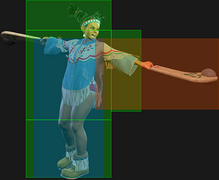
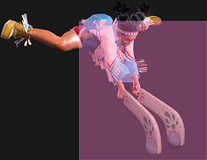
| This is a good anti air that hits straight upwards and in both directions, catching crossup attempts. It's also a good reversal that beats most buttons as well as vertical jump. When jumping out of a corner throw loop, inputting the aerial version in the opposite direction allows Lily to punish an opponent who tries to anti-air uppercut your escape; this is a risky call-out, as it can't be done on reaction. | | This is a good anti air that hits straight upwards and in both directions, catching crossup attempts. It's also a good reversal that beats most buttons as well as vertical jump. When jumping out of a corner throw loop, inputting the aerial version in the opposite direction allows Lily to punish an opponent who tries to anti-air uppercut your escape; this is a risky call-out, as it can't be done on reaction. |
|
| |
|
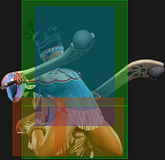
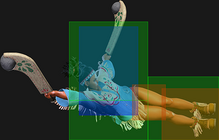
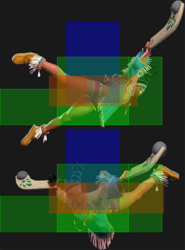
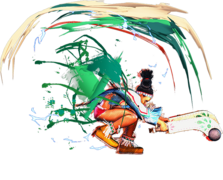
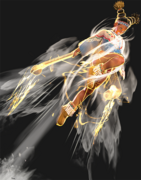
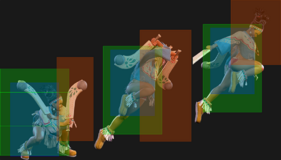
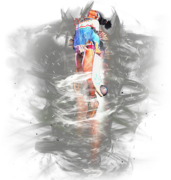
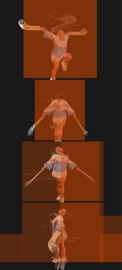
| The huge length of its invincibility makes it good at going for chip kills. The aerial version in particular hits more times against a crouching opponent, so it is usually good to cancel into it from {{clr|H|OD Spire}}. However, it doesn't necessarily need to be confirmed from another blocked move because the long invincibility will outlast the opponent even if they try to counter with their own Super. You do need to be careful of some characters though, who can use their own Super Art to dodge Lily's. These are: | | The huge length of its invincibility makes it good at going for chip kills. The aerial version in particular hits more times against a crouching opponent, so it is usually good to cancel into it from {{clr|10|OD Spire}}. However, it doesn't necessarily need to be confirmed from another blocked move because the long invincibility will outlast the opponent even if they try to counter with their own Super. You do need to be careful of some characters though, who can use their own Super Art to dodge Lily's. These are: |
| * 1 bar: Cammy, Kimberly (delayed) | | * 1 bar: Cammy, Kimberly (delayed) |
| * 2 bars: Honda, Zangief | | * 2 bars: Honda, Zangief |
| * 3 bars: Marisa, JP, Dee Jay, Dhalsim | | * 3 bars: Marisa, JP, Dee Jay, Dhalsim |
|
| |
|
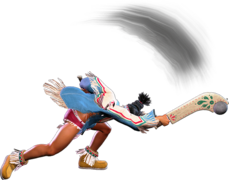
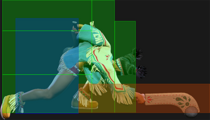
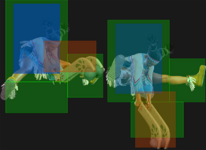
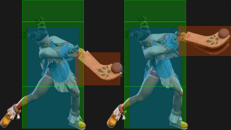
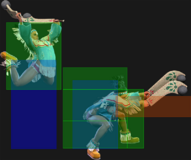
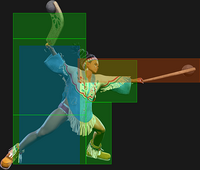
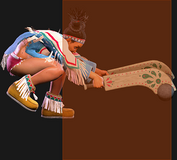
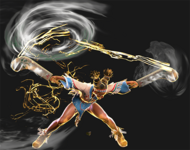
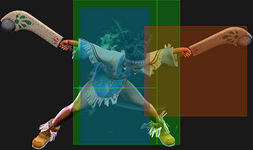
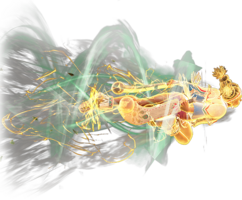
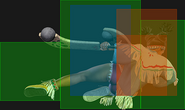
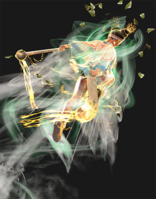
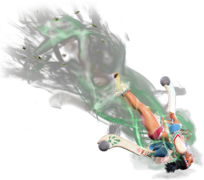
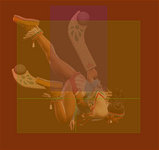
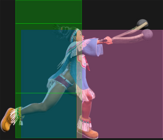
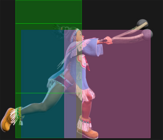
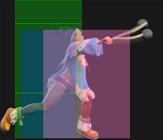
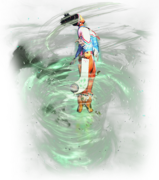
| The {{clr|4|Windclad}} version has significantly more range and deals more damage, making it useful as an anti-projectile tool and as a long range punish. | | The {{clr|4|Windclad}} version has significantly more range and deals more damage, making it useful as an anti-projectile tool and as a long range punish. The suction effect will ensure it fully connects even against an extended hurtbox. |
| }} | | }} |
| |-| | | |-| |
| Line 966: |
Line 969: |
| * '''Drive Gauge Depletion:''' 1 bar (hit) / 0.6 bars (block); up to 0.825 bars vs. stand block | | * '''Drive Gauge Depletion:''' 1 bar (hit) / 0.6 bars (block); up to 0.825 bars vs. stand block |
| * 40% minimum damage scaling | | * 40% minimum damage scaling |
| | * Damage distribution: 100x12,1600 |
| {{AttackDataCargo-SF6/Query|lily_j236236k_1stock}} | | {{AttackDataCargo-SF6/Query|lily_j236236k_1stock}} |
| * '''Full Invuln:''' 1-41f ({{FKD}} state until landing); Armor Break | | * '''Full Invuln:''' 1-41f ({{FKD}} state until landing); Armor Break |
| Line 971: |
Line 975: |
| * '''Drive Gauge Depletion:''' 1 bar (hit) / 0.6 bars (block) | | * '''Drive Gauge Depletion:''' 1 bar (hit) / 0.6 bars (block) |
| * 40% minimum damage scaling | | * 40% minimum damage scaling |
| | * Damage distribution: 100x12,1600 |
| <br> | | <br> |
| Can be canceled into from [[#Condor_Spire_(236K)|{{clr|10|OD Condor Spire}}]] and [[#Condor_Wind_Attack_(214P)|{{clr|10|OD Condor Wind}}]]. The latter is especially potent as it builds {{clr|4|Windclad}} for extra damage on the spot. | | Can be canceled into from [[#Condor_Spire_(236K)|{{clr|10|OD Condor Spire}}]] and [[#Condor_Wind_Attack_(214P)|{{clr|10|OD Condor Wind}}]]. The latter is especially potent as it builds {{clr|4|Windclad}} for extra damage on the spot. |
| Line 976: |
Line 981: |
| This is a good anti air that hits straight upwards and in both directions, catching crossup attempts. It's also a good reversal that beats most buttons as well as vertical jump. When jumping out of a corner throw loop, inputting the aerial version in the opposite direction allows Lily to punish an opponent who tries to anti-air uppercut your escape; this is a risky call-out, as it can't be done on reaction. | | This is a good anti air that hits straight upwards and in both directions, catching crossup attempts. It's also a good reversal that beats most buttons as well as vertical jump. When jumping out of a corner throw loop, inputting the aerial version in the opposite direction allows Lily to punish an opponent who tries to anti-air uppercut your escape; this is a risky call-out, as it can't be done on reaction. |
|
| |
|
| The huge length of its invincibility makes it good at going for chip kills. The aerial version in particular hits more times against a crouching opponent, so it is usually good to cancel into it from {{clr|H|OD Spire}}. However, it doesn't necessarily need to be confirmed from another blocked move because the long invincibility will outlast the opponent even if they try to counter with their own Super. You do need to be careful of some characters though, who can use their own Super Art to dodge Lily's. These are: | | The huge length of its invincibility makes it good at going for chip kills. The aerial version in particular hits more times against a crouching opponent, so it is usually good to cancel into it from {{clr|10|OD Spire}}. However, it doesn't necessarily need to be confirmed from another blocked move because the long invincibility will outlast the opponent even if they try to counter with their own Super. You do need to be careful of some characters though, who can use their own Super Art to dodge Lily's. These are: |
| * 1 bar: Cammy, Kimberly (delayed) | | * 1 bar: Cammy, Kimberly (delayed) |
| * 2 bars: Honda, Zangief | | * 2 bars: Honda, Zangief |
| * 3 bars: Marisa, JP, Dee Jay, Dhalsim | | * 3 bars: Marisa, JP, Dee Jay, Dhalsim |
|
| |
|
| The {{clr|4|Windclad}} version has significantly more range and deals more damage, making it useful as an anti-projectile tool and as a long range punish. | | The {{clr|4|Windclad}} version has significantly more range and deals more damage, making it useful as an anti-projectile tool and as a long range punish. The suction effect will ensure it fully connects even against an extended hurtbox. |
| }} | | }} |
| </tabber> | | </tabber> |
