|
|
| Line 53: |
Line 53: |
| * '''Drive Rush cancel advantage:''' {{sf6-adv|VP|+14}} oH / {{sf6-adv|VP|+9}} oB | | * '''Drive Rush cancel advantage:''' {{sf6-adv|VP|+14}} oH / {{sf6-adv|VP|+9}} oB |
| <br> | | <br> |
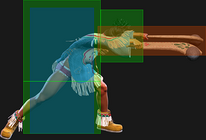
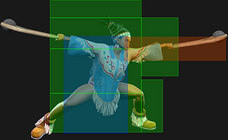
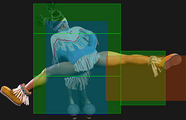
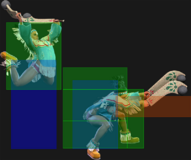
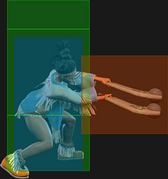
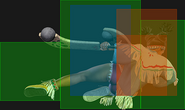
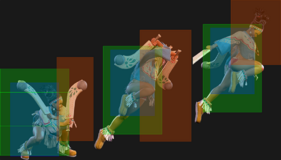
| A counterpoke that leads to a crumple on Punish Counter. This allows for full conversions via Drive Rush or a forward dash, depending on range. When canceled into OD Condor Wind, there's a gap large enough for the opponent to DI. It's possible to react to your move getting absorbed and cancel to Level 2 if this happens though, so it's a good option when you have 2 bars | | A counterpoke that leads to a crumple on Punish Counter. This allows for full conversions via Drive Rush or a forward dash, depending on range. When canceled into OD Condor Wind, there's a gap large enough for the opponent to DI. It's possible to react to your move getting absorbed and cancel to SA2 if this happens though, so it's a good option when you have 2 bars |
| }} | | }} |
|
| |
|
| Line 161: |
Line 161: |
| * '''Drive Rush cancel advantage:''' {{sf6-adv|VP|+15}} oH / {{sf6-adv|VP|+13}} oB | | * '''Drive Rush cancel advantage:''' {{sf6-adv|VP|+15}} oH / {{sf6-adv|VP|+13}} oB |
| <br> | | <br> |
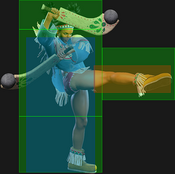
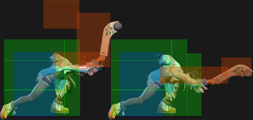
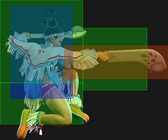
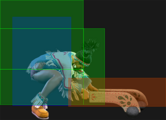
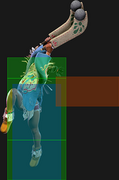
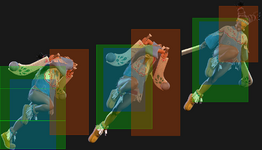
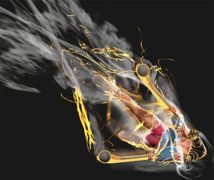
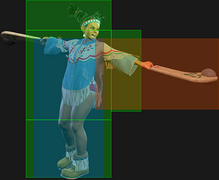
| One of Lily's best buttons in its range, cancelability, advantage, and especially anti-air potential. This normal will stop even close jumps and cross-ups, and leads to juggles on air connect. On block, going into MP/HP Condor Wind charge on block is an airtight and safe on block frame trap, but keep in mind that it will be consistently punished by Drive Impact. To prevent this, you can use LP Condor Wind after someone is conditioned to Drive Impact, bait it, and then punish it with your own. OD Condor Wind attack also cannot be interrupted by drive impact. If you have 3 bars of meter, you can use MP or HP condor wind attack with impunity, and cancel into level 3 if you see your opponent responding with a DI for big damage. | | One of Lily's best buttons in its range, cancelability, advantage, and especially anti-air potential. This normal will stop even close jumps and cross-ups, and leads to juggles on air connect. On block, going into MP/HP Condor Wind charge on block is an airtight and safe on block frame trap, but keep in mind that it will be consistently punished by Drive Impact. To prevent this, you can use LP Condor Wind after someone is conditioned to Drive Impact, bait it, and then punish it with your own. OD Condor Wind attack also cannot be interrupted by drive impact. If you have 3 bars of meter, you can use MP or HP condor wind attack with impunity, and cancel into SA3 if you see your opponent responding with a DI for big damage. |
| }} | | }} |
|
| |
|
| Line 606: |
Line 606: |
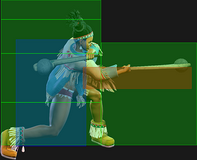
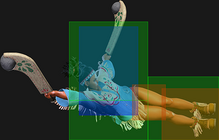
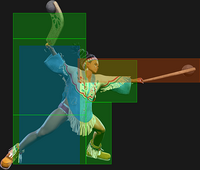
| * Use Drive Rush 2HP, 4HP or 5HP canceled into 214MP. The extra blockstun from Drive Rush makes it a true blockstring. | | * Use Drive Rush 2HP, 4HP or 5HP canceled into 214MP. The extra blockstun from Drive Rush makes it a true blockstring. |
| * When midscreen, keep the button held. This takes the hit as a regular Counter Hit instead of a Punish Counter, which is pretty inconsequential outside the corner. | | * When midscreen, keep the button held. This takes the hit as a regular Counter Hit instead of a Punish Counter, which is pretty inconsequential outside the corner. |
| * With 3 bars and good reflexes, hold it until the opponent presses a button, then release and cancel into Level 3 Super. | | * With 3 bars and good reflexes, hold it until the opponent presses a button, then release and cancel into SA3. |
| ** Modern mode's Heavy Assisted Combo does this automatically, performing 2HP > 214MP > (214214P) but only canceling into the Super on hit. | | ** Modern mode's Heavy Assisted Combo does this automatically, performing 2HP > 214MP > (214214P) but only canceling into the Super on hit. |
| ** Additionally, Assist + H > H > [M]+H causes Condor Wind to be held, but it still cancels into Level 3 upon hitting the opponent when M is released. | | ** Additionally, Assist + H > H > [M]+H causes Condor Wind to be held, but it still cancels into SA3 upon hitting the opponent when M is released. |
|
| |
|
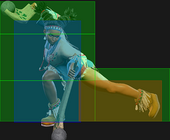
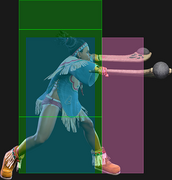
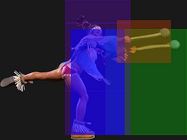
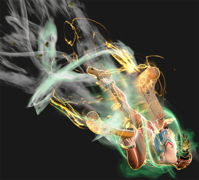
| The attack gains Windclad stocks much earlier than 214LP, with the stock being kept even when punished. Slap a fireball with 214MP and take the hit in exchange for the stock. When releasing a partially charged Condor Wind, the startup is only 4 frames. | | The attack gains Windclad stocks much earlier than 214LP, with the stock being kept even when punished. Slap a fireball with 214MP and take the hit in exchange for the stock. When releasing a partially charged Condor Wind, the startup is only 4 frames. |
| Line 688: |
Line 688: |
|
| |
|
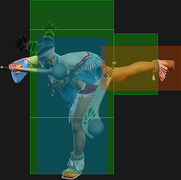
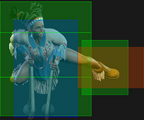
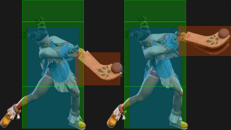
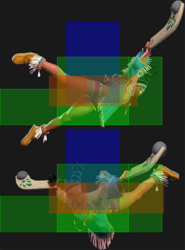
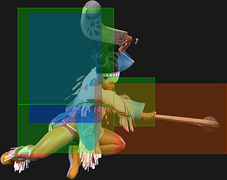
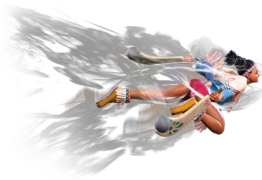
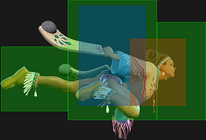
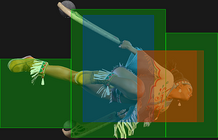
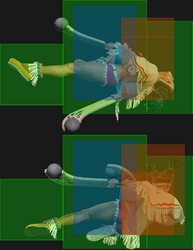
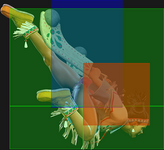
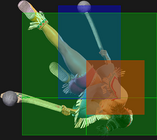
| In the corner, and with an additional Windclad stock, a Windclad Condor Spire combos directly into Windclad Tomahawk Buster using the same strength button or faster (e.g. 236MK, 623MP). Alternatively, Lily can regain her spent stock with L Condor Wind (214LP) and still remain plus after M, H, or OD Windclad Condor Spire. If it connects with your opponent cornered and you don't want to spend the extra stock, immediately using L condor wind will leave you +2 and one wind stock richer.<br> | | In the corner, and with an additional Windclad stock, a Windclad Condor Spire combos directly into Windclad Tomahawk Buster using the same strength button or faster (e.g. 236MK, 623MP). Alternatively, Lily can regain her spent stock with L Condor Wind (214LP) and still remain plus after M, H, or OD Windclad Condor Spire. If it connects with your opponent cornered and you don't want to spend the extra stock, immediately using L condor wind will leave you +2 and one wind stock richer.<br> |
| The OD version can be canceled into Level 2 Super for high damage anywhere on the screen, or in the corner it can be linked into a Level 1 Super.<br> | | The OD version can be canceled into SA2 for high damage anywhere on the screen, or in the corner it can be linked into a SA1.<br> |
| The HK version in the corner also links into Level 2 Super... or even a Level 1 Super if it hits the opponent while they're airborne. | | The HK version in the corner also links into SA2... or even SA1 if it hits the opponent while they're airborne. |
| }} | | }} |
| </tabber> | | </tabber> |
| Line 932: |
Line 932: |
| * 50% minimum damage scaling; applies 10% immediate damage scaling when comboed into | | * 50% minimum damage scaling; applies 10% immediate damage scaling when comboed into |
| <br> | | <br> |
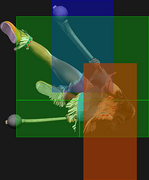
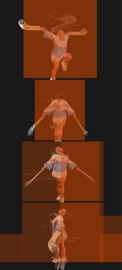
| Lily's command grab SA3. Unfortunately, it can be jumped after the screen freeze. Can be comboed into, but the routes are limited. You either do Medium Condor Wind canceled to Level 3, or cancel straight into it from a normal. Will not connect in juggles due to it being a command grab. The range is significantly longer than Mexican Typhoon, making it useful as a punish against some characters. | | Lily's command grab SA3. Unfortunately, it can be jumped after the screen freeze. Can be comboed into, but the routes are limited. You either do Medium Condor Wind canceled to SA3, or cancel straight into it from a normal. Will not connect in juggles due to it being a command grab. The range is significantly longer than Mexican Typhoon, making it useful as a punish against some characters. |
| }} | | }} |
| <br> | | <br> |


