mNo edit summary |
m (→Special Moves) |
||
| Line 341: | Line 341: | ||
== Special Moves == | == Special Moves == | ||
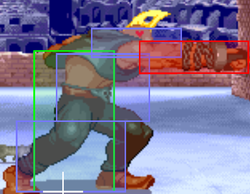
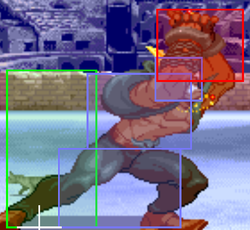
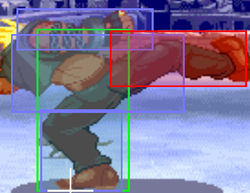
Bull Head | {{MoveData | ||
|image=A1 Birdie Bull head.png | |||
|imageSize=250px | |||
|caption= | |||
|name=Bull Head | |||
|data= | |||
{{AttackData-Alpha2 | |||
|version=[[File:B.png]](2 seconds), [[File:F.png]] + [[File:LP.png]] | |||
|Damage= 17-20 | |||
|Stun= 8 | |||
|Startup= 4 | |||
|Frame Adv= | |||
|Block=[[File:Mid.png]] | |||
|Properties= | |||
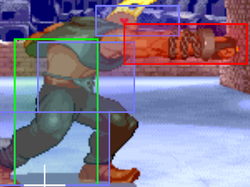
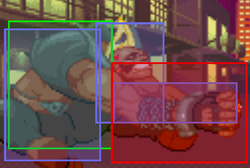
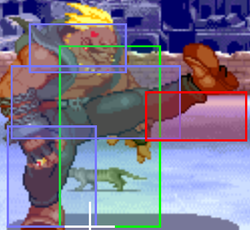
|description=Punishable on hit if you end up too close to them Which happens alot if you try to combo into this | |||
}} | |||
{{AttackData-Alpha2 | |||
|header= no | |||
|version=[[File:B.png]](2 seconds), [[File:F.png]] + [[File:MP.png]] | |||
|Damage= 18-23 | |||
|Stun= 10 | |||
|Startup= 7 | |||
|Frame Adv= | |||
|Block=[[File:Mid.png]] | |||
|Properties= | |||
|description= Ditto as the above | |||
}} | |||
{{AttackData-Alpha2 | |||
|header= no | |||
|version=[[File:B.png]](2 seconds), [[File:F.png]] + [[File:HP.png]] | |||
|Damage= 20-29 | |||
|Stun= 12 | |||
|Startup= 11 | |||
|Frame Adv= | |||
|Block=[[File:Mid.png]] | |||
|Properties= | |||
|description= This one actually knocks down so it can be realistically Comboed into | |||
}} | |||
}} | |||
Murderer Chain<br/> | Murderer Chain<br/> | ||
| Line 348: | Line 386: | ||
Bull Horn<br/> | Bull Horn<br/> | ||
{{MoveData | |||
Charge | |image=A1 Birdie Bull head.png | ||
1-2 seconds | |imageSize=250px | ||
3-4 | |caption= Any 2 buttons will work | ||
5-8 seconds = | |name= Charge Any Combination of 2 [[File:p.png]] + [[File:k.png]] level 1 is 1-2 seconds level 2 is 3-4 level 3 5-8 level 4 10-17 Final is 18+ seconds of charging | ||
|data= | |||
{{AttackData-Alpha2 | |||
|Damage= | |||
|Stun= | |||
|Startup= 19,19,19,22,23 | |||
|Frame Adv= | |||
|Block=[[File:Mid.png]] | |||
|Properties= | |||
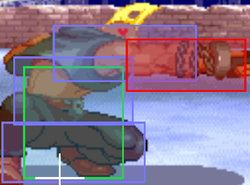
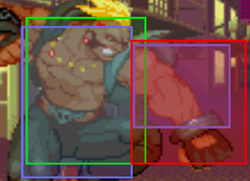
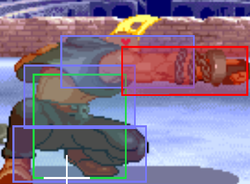
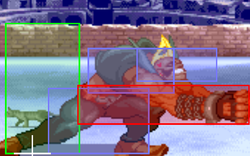
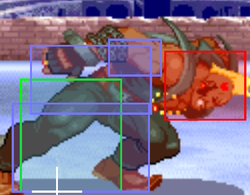
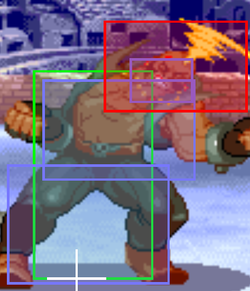
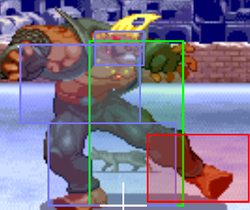
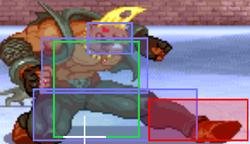
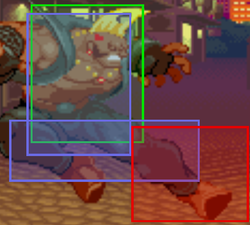
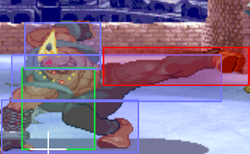
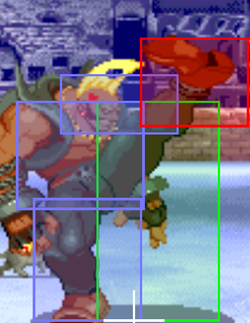
|description= You might notice this is the exact same picture as above well..thats because all versions of both moves Have the same hitbox. This move is a bit more usable then bull Head but can still be unsafe on hit if done a bit too close and has no iframes or anything. It is possible to charge multiple taps at once. | |||
}} | |||
}} | |||
== Super Moves == | == Super Moves == | ||
Revision as of 02:11, 23 February 2021
Introduction
+instant 360 command grab in a game with no throw protection
+The Birdie has good range therefore can be easy to hit "unblockable"
-Normals are overall Slower on average then most if not all chars
-Cannot block alot of buttons from the very tip due to his huge hurtbox
-Final tap Does Less damage Then A heavy dp from A shoto..
-Least ammount of lows of any character
-Bullhead can be punished on hit if done too close or comboed into Making it lackluster at best
Moves List
Normal Moves
Special Moves
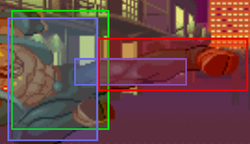
Murderer Chain
360 + P connects close; unblockable
Bull Horn
Super Moves
The Birdie
Charge b for 2 seconds,f, b, f + P
Bull Revenger
qcf, qcf + P/K
Combos
-j.HK,c.LK,c.HP,HP Bull Head
-j.HK,c.LK,c.HP,The Birdie Lvl2
-crossup j.HP,c.LK,c.MP,c.HK
