|
|
| Line 953: |
Line 953: |
| ---- | | ---- |
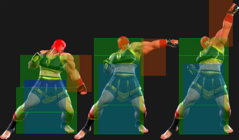
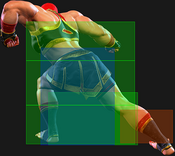
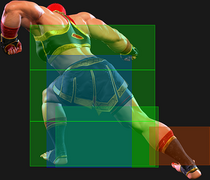
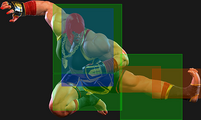
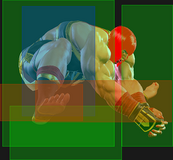
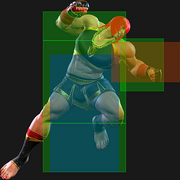
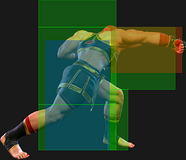
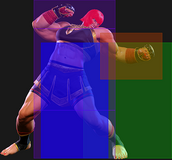
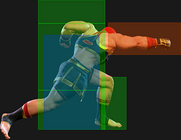
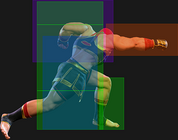
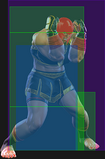
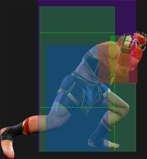
| {{MoveDataCargoImage|hitbox=yes|imageHeight=90px|marisa_236236p_hold|caption=}} | | {{MoveDataCargoImage|hitbox=yes|imageHeight=90px|marisa_236236p_hold|caption=}} |
| | ---- |
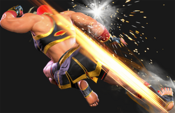
| | {{MoveDataCargoImage|hitbox=yes|imageHeight=12px|marisa_236236p_counter|caption=}} |
| | info = | | | info = |
| {{AttackDataCargo-SF6/Query|marisa_236236p}} | | {{AttackDataCargo-SF6/Query|marisa_236236p}} |
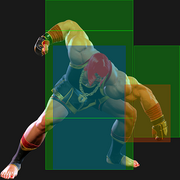
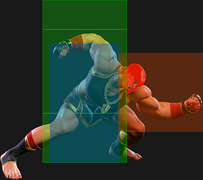
| | * '''Full Invuln:''' 1f (until freeze); '''2 Hit Armor:''' 2-23f; Armor Break |
| | * Depletes 1/2 of a Drive bar from opponent on hit |
| | * 30% minimum damage scaling |
| {{AttackDataCargo-SF6/Query|marisa_236236p_hold}} | | {{AttackDataCargo-SF6/Query|marisa_236236p_hold}} |
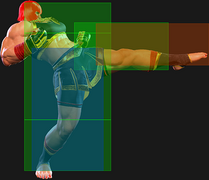
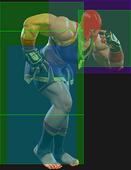
| * '''Full Invuln:''' 1f (until flash); '''2 Hit Armor:''' 2-23f; Armor Break | | * '''Full Invuln:''' 1f (until freeze); '''2 Hit Armor:''' 2-47f; Armor Break |
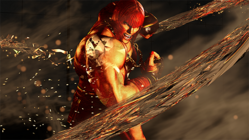
| * Charged version instead performs a cinematic counter attack when a strike (not a projectile) is absorbed 1-26f. Marisa can counter Armor Break moves during this window but cannot counter other supers. It no longer counters but still has standard 2 hit armor properties 27-46f. | | * Frames 2-27f trigger a cinematic counter when absorbing a strike |
| * Depletes 0.5 Drive bars from opponent on hit and ~0.75 Drive bars when fully charged | | * Depletes 3/4 of a Drive bar from opponent on hit |
| * 30% minimum damage scaling | | * 30% minimum damage scaling |
| * Cinematic counter version deals 2640 damage and fully charged version deals 2900 damage (870 minimum) | | {{AttackDataCargo-SF6/Query|marisa_236236p_counter}} |
| | * '''Full Invuln:''' 1-10f (after counter triggers); Armor Break |
| | * Depletes 1/2 of a Drive bar from opponent on hit |
| <br> | | <br> |
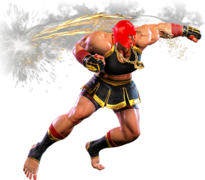
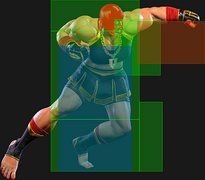
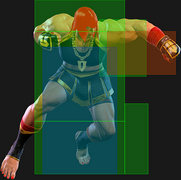
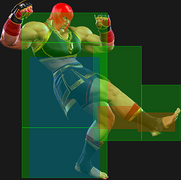
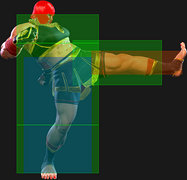
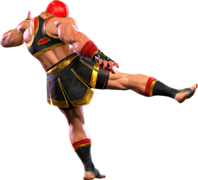
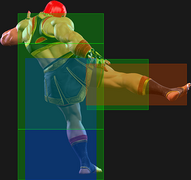
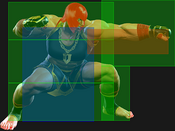
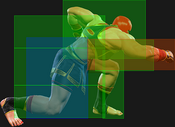
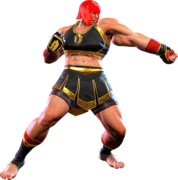
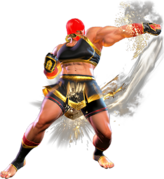
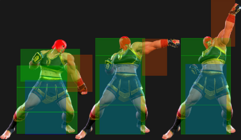
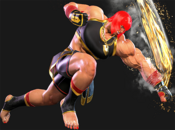
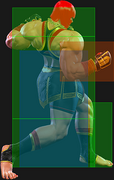
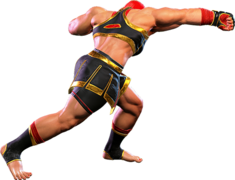
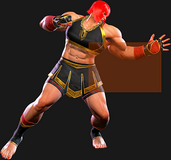
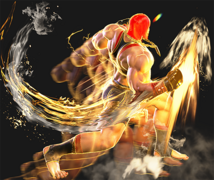
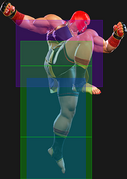
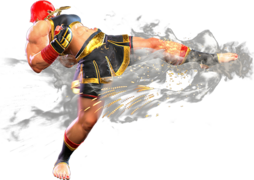
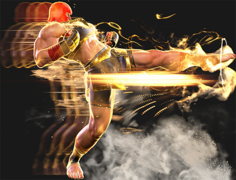
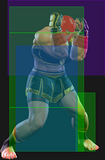
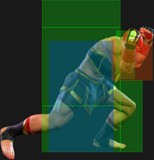
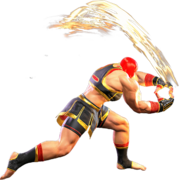
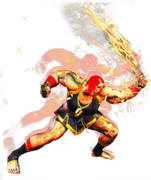
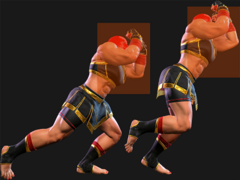
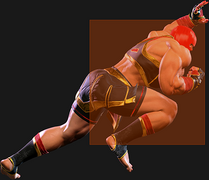
| Armored haymaker Super Art. | | Armored haymaker Super Art that can be charged to change its properties. |
|
| |
|
| Fairly easy to route into as a combo ender for an easy and relatively cheap 3-4k damage from most common routes, just mind that it forces a reset to neutral if you're not in the corner. The charged version can always land after an OD Phalanx (623PP) wall slump. The uncharged version is too slow to use as a dependable reversal, so the charged version is usually preferred although it's not especially dependable for a reversal super. Like OD Scutum (214KK) it loses to throws and is reliant on absorbing an attack.
| | The uncharged version is quite slow as a reversal, and Marisa takes armor damage that can lead to a KO at very low health. The held version is a much better reversal due to the cinematic counter that triggers when absorbing a strike; this counter does not cause Marisa to take any armor damage. All versions lose to throws, and can be too slow to counter some meaty projectiles on wakeup. |
|
| |
|
| If her health is very low, Marisa can be K.O'd through the armor if a hit is absorbed during the attack portion of the super. However, if the cinematic counter is triggered by absorbing an attack while charging, Marisa takes no armor damage. | | Javelin is fairly easy to route as a combo ender for a relatively cheap 3000-4000 damage from most common routes. If the opponent is midscreen, this causes a reset to neutral that gives up all of Marisa's momentum. The charged version can always land after an OD Phalanx (623PP) corner wall splat for some extra damage. If the held version connects at max distance (active frames 4-6), it triggers a weaker version that does reduced damage and Drive depletion. |
| }} | | }} |
|
| |
|
| Line 975: |
Line 982: |
| | input = 214214P | | | input = 214214P |
| | images = | | | images = |
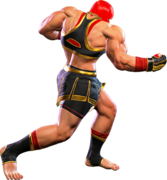
| {{MoveDataCargoImage|imageHeight=180px|marisa_214214p|caption=}} | | {{MoveDataCargoImage|imageHeight=180px|marisa_214214p|1|caption=}} |
| ---- | | ---- |
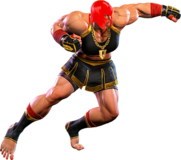
| {{MoveDataCargoImage|imageHeight=180px|marisa_214214p_whiff|caption=}} | | {{MoveDataCargoImage|imageHeight=180px|marisa_214214p|2|caption=}} |
| | hitboxes = | | | hitboxes = |
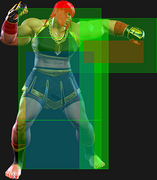
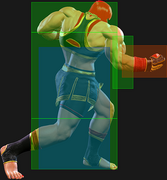
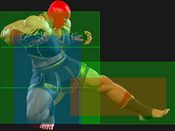
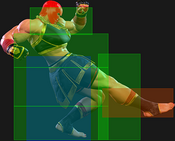
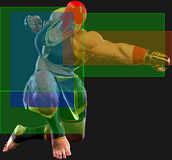
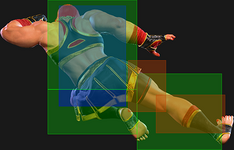
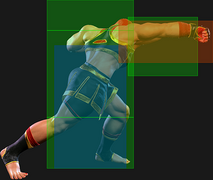
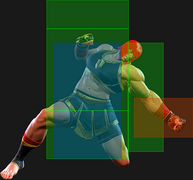
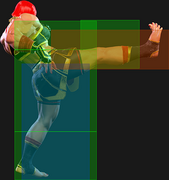
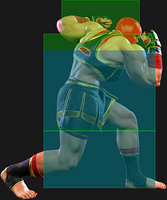
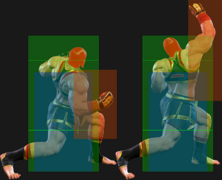
| {{MoveDataCargoImage|hitbox=yes|imageHeight=180px|marisa_214214p|caption=}} | | {{MoveDataCargoImage|hitbox=yes|imageHeight=180px|marisa_214214p|1|caption=}} |
| ---- | | ---- |
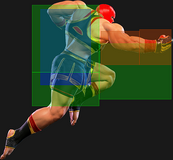
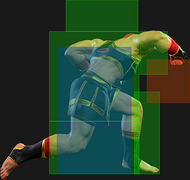
| {{MoveDataCargoImage|hitbox=yes|imageHeight=180px|marisa_214214p_whiff|caption=}} | | {{MoveDataCargoImage|hitbox=yes|imageHeight=180px|marisa_214214p|2|caption=}} |
| | info = | | | info = |
| {{AttackDataCargo-SF6/Query|marisa_214214p}} | | {{AttackDataCargo-SF6/Query|marisa_214214p}} |
| {{AttackDataCargo-SF6/Query|marisa_214214p_whiff}}
| |
| * '''Full Invuln:''' 1-15f; Armor Break | | * '''Full Invuln:''' 1-15f; Armor Break |
| | * '''Airborne''' 16-47f ([[Street_Fighter_6/Glossary#Forced_Knockdown|Forced Knockdown]] state) |
| * Depletes 1 Drive bar from opponent on hit | | * Depletes 1 Drive bar from opponent on hit |
| * 40% minimum damage scaling | | * 40% minimum damage scaling; applies 15% immediate scaling when comboed into |
| * [[Street_Fighter_6/Glossary#Forced_Knockdown|Forced Knockdown]] state while airborne
| |
| <br> | | <br> |
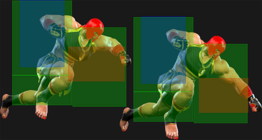
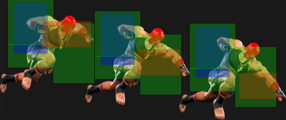
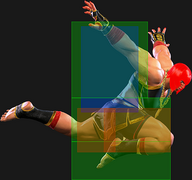
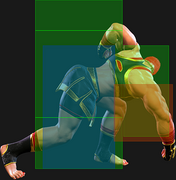
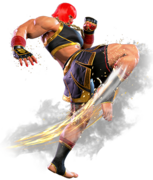
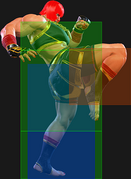
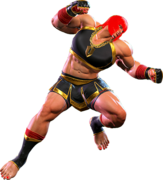
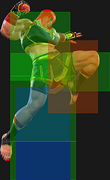
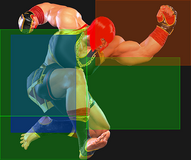
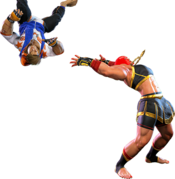
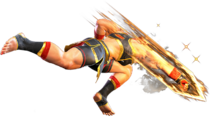
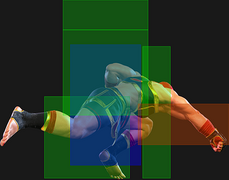
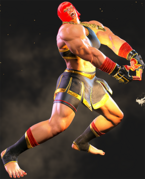
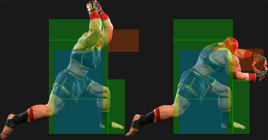
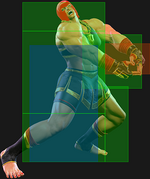
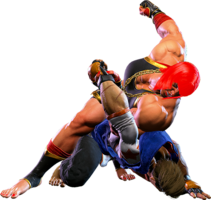
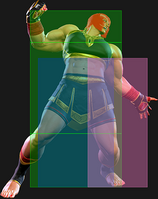
| Marisa launches herself upward and slams down on the opponent; No animated super plays out if blocked or 1st hit doesn't connect, but Marisa will still launch the 2nd attack regardless. | | Marisa launches herself upward and slams the opponent back to the ground. The full invincibility makes it a more consistent reversal than SA1, as well as a strong anti-air that's easy to input when buffering 214P (her other go-to anti-air). It can also be a useful juggle ender, granting better damage and positioning than SA1 (especially midscreen). |
| | |
| Your go to reversal super as it's fully invuln until the first hit. An easy anti-air to buffer into as well since it's close to Dimachaerus' input, another other go-to anti-air.
| |
|
| |
|
| Can also be used as a more expensive combo ender over SA1 for slightly better damage and positioning to the opponent (Particularly at mid-screen).
| | If the first hit connects, it triggers a cinematic hit that does above average damage for a Level 2 Super. On block or whiff, Marisa continues the attack with a downward slam that does 500 less damage than the cinematic version (while still dealing 1 full bar of Drive damage on hit). This second attack can easily be avoided with a jump, but Marisa's collision box stretches downward far enough that the opponent can't walk or dash under her without a low-profile move. |
| }} | | }} |
|
| |
|
| Line 1,010: |
Line 1,014: |
| | info = | | | info = |
| {{AttackDataCargo-SF6/Query|marisa_236236k}} | | {{AttackDataCargo-SF6/Query|marisa_236236k}} |
| * '''Full Invuln:''' 1-19f | | * '''Full Invuln:''' 1-19f; Armor Break |
| * Depletes 1.5 Drive bars from opponent on hit | | * Depletes 1.5 Drive bars from opponent on hit |
| ** Cinematic time regenerates ~? Drive bars for Marisa | | ** Cinematic time regenerates ~2.1 Drive bars for Marisa |
| * 50% minimum damage scaling | | * 50% minimum damage scaling |
| * Always carries opponent to a fixed distance from the corner | | * Always carries opponent to a fixed distance from the corner |
| {{AttackDataCargo-SF6/Query|marisa_236236k(ca)}} | | {{AttackDataCargo-SF6/Query|marisa_236236k(ca)}} |
| * '''Full Invuln:''' 1-19f | | * '''Full Invuln:''' 1-19f; Armor Break |
| * Depletes 2 Drive bars from opponent on hit | | * Depletes 2 Drive bars from opponent on hit |
| ** Cinematic time regenerates ~? Drive bars for Marisa | | ** Cinematic time regenerates ~2.1 Drive bars for Marisa |
| * 50% minimum damage scaling; available at 25% HP or below | | * 50% minimum damage scaling; available at 25% HP or below |
| * Always carries opponent to a fixed distance from the corner (slightly further away from corner compared to non-CA version) | | * Always carries opponent to a fixed distance from the corner (slightly further away from corner compared to SA3) |
| <br> | | <br> |
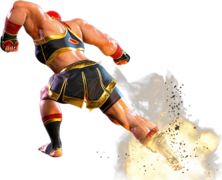
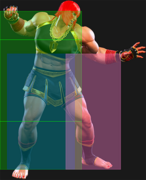
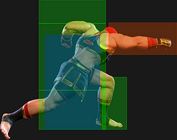
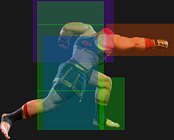
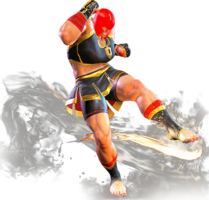
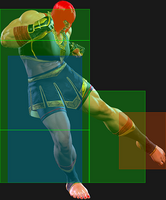
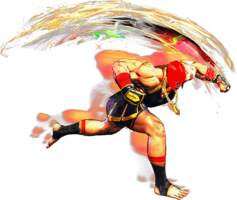
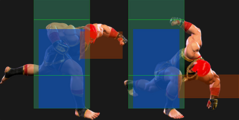
| Marisa charges forward, shoving and clobbering the opponent into a wall once it connects. | | Marisa charges forward, shoving and clobbering the opponent into a wall once it connects. |
| Line 1,026: |
Line 1,030: |
| Big damage super, especially with CA. Usually worth going into even if it doesn't KO since it puts the opponent's back near the corner, though ideally you want to convert at least around 5K minimum when routing into this. If you're already in the corner then routing into this should generally lead to 6k, useful for closing out rounds but the opponent will have more breathing space to escape if this doesn't kill so it's something to consider. | | Big damage super, especially with CA. Usually worth going into even if it doesn't KO since it puts the opponent's back near the corner, though ideally you want to convert at least around 5K minimum when routing into this. If you're already in the corner then routing into this should generally lead to 6k, useful for closing out rounds but the opponent will have more breathing space to escape if this doesn't kill so it's something to consider. |
|
| |
|
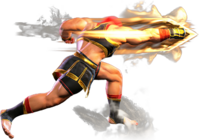
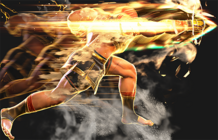
| The initial forward charge makes this a decent fireball callout. Can be used as a reversal like any SA3, but SA2 is a cheaper option that leaves us with a spare meter to work with if it's successful. | | The initial forward charge makes this a decent fireball callout (especially when using Modern controls). Can be used as a reversal like any SA3, but SA2 is a cheaper option that leaves you with a spare meter to work with if it's successful. |
| }} | | }} |
| <br> | | <br> |


