No edit summary |
|||
| Line 261: | Line 261: | ||
| title = Drive Reversal | | title = Drive Reversal | ||
| subtitle = | | subtitle = | ||
| input = 6HPHK | | input = 6HPHK (in blockstun) | ||
| images = | | images = | ||
{{MoveDataCargoImage|dhalsim_6hphk|caption=}} | {{MoveDataCargoImage|dhalsim_6hphk|caption=}} | ||
Revision as of 05:24, 9 January 2023
| Pre-release information
This page is under construction based on pre-release data. Join the SF6 Resource Hub for info on editing. |
Introduction
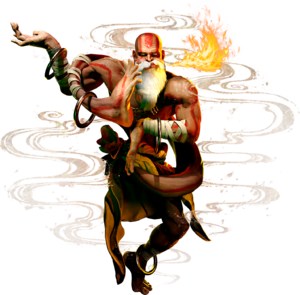
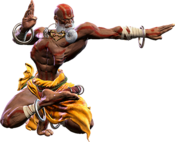
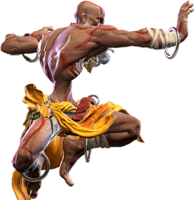
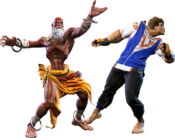
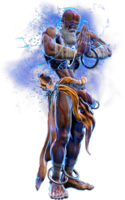
A monk and yoga master from India who has served as a guide for countless suffering souls. Prefers to avoid conflict when possible, but his innate hatred of evil compels him to dispense stern justice.
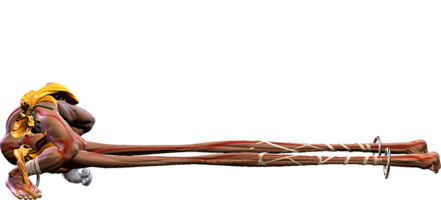
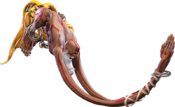
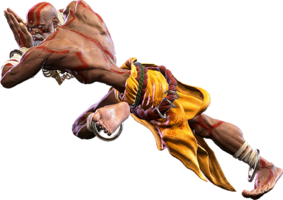
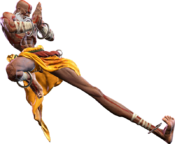
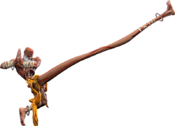
It isn't a stretch to say that Dhalsim is an expert of proactively frustrating his opponent with a plethora of projectiles, unique movement, and multifarious normals that threaten almost every space of the stage. Dhalsim's win condition is achieved using these tools to force blunders that open opponents up to his strong mixup and okizeme options.
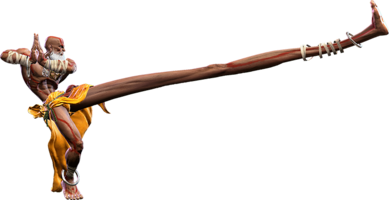
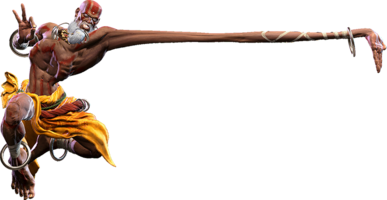
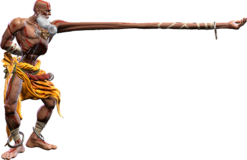
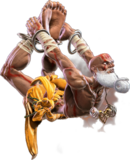
As a master of the art of yoga, Dhalsim is all about patient play and dedicated but rewarding moves. The key element of Dhalsim's kit is that many of his tools are very slow, but cash out for large reward if they land. For example, Dhalsim's 5HP, 5HK, and j.HP are slow to start up but deal great damage if they land and have exceptional reach. Dhalsim's jump might be slow, but it allows him a large amount of control over the screen thanks to his stellar air normals, and synergizes well with his divekick, Yoga Float and Yoga Teleport abilities. All of Dhalsim's crouching kicks slide him forward for dealing with opposing projectiles and other high attacks, and he has a good number of cancelable pokes that lead into respectable damage and okizeme. Overall, Dhalsim is very dominant at controlling the screen whether he's in the air or on the floor.
Dhalsim is also well known for his stellar setplay. If Dhalsim has gotten you blocking for long enough, he can set up for powerful mixup scenarios using Yoga Arch. The fireball launched from Yoga Arch controls a large portion of the screen and is difficult to deal with unless you spend resources, giving Dhalsim a way to funnel you into specific responses. Similarly, Dhalsim's reward once he's gotten a hit is fairly good. He does great damage and can often spend resources to set up for additional mixup scenarios to snowball his damage. His various Teleports also allow him to go on the offensive once he has an opponent afraid of his reach, opening them up for simple, yet devastating returns.
Dhalsim's largest weakness should be obvious - his speed. While a fair tradeoff for his reach, Dhalsim is undeniably one of the slowest characters in the game, both on the ground and in the air. He often requires additional setup to make situations like strike/throw possible where other characters can threaten it in basic pressure. His speed also makes him a prime target for aggressive characters, and he often has to fight hard to control neutral against them. Without a fully invulnerable reversal to bank on, Dhalsim often has to be very careful when he's in a pressure situation.
Overall, Dhalsim is a great character for those who have the patience and confidence to play him. If you like belligerent screen control combined with lots of reward for zen-like patience, begin your inner cultivation with Dhalsim.
Yoga!
| Pick if you like: | Avoid if you dislike: |
|---|---|
|
|
Classic & Modern Versions Comparison
| Missing Normals |
|
|---|---|
| Missing Command Normals |
|
| Shortcut-Only Specials |
|
| Assist Combos |
|
| Miscellaneous Changes |
|
| Dhalsim | |
|---|---|
| Vitals | |
| Life Points | 10000 |
| Ground Movement | |
| Forward Walk Speed | 0.028 |
| Backward Walk Speed | 0.025 |
| Forward Dash Speed | 25 |
| Backward Dash Speed | 23 |
| Forward Dash Distance | 1.467 |
| Backward Dash Distance | 1.00 |
| Drive Rush Min. Distance (Throw) | 0.471 |
| Drive Rush Min. Distance (Block) | 1.787 |
| Drive Rush Max Distance | 2.700 |
| Jumping | |
| Jump Speed | 4+68+3 |
| Jump Apex | 2.178 |
| Forward Jump Distance | 2.04 |
| Backward Jump Distance | 1.768 |
| Throws | |
| Throw Range | 0.8 |
| Throw Hurtbox | 0.33 |
Normals
Standing Normals
5LP
| Startup | Active | Recovery | Cancel | Damage | Guard | On Hit | On Block |
|---|---|---|---|---|---|---|---|
| 4 | 3 | 8 | Chn Sp SA | 300 | LH | +4 | -1 |
5MP
| Startup | Active | Recovery | Cancel | Damage | Guard | On Hit | On Block |
|---|---|---|---|---|---|---|---|
| 14 | 3 | 19 | - | 700 | LH | 0 | -5 |
5HP
| Startup | Active | Recovery | Cancel | Damage | Guard | On Hit | On Block |
|---|---|---|---|---|---|---|---|
| 16 | 4 | 27 | - | 1000 | LH | -6 | -11 |
5LK
| Startup | Active | Recovery | Cancel | Damage | Guard | On Hit | On Block |
|---|---|---|---|---|---|---|---|
| 9 | 4 | 11 | Sp SA | 300 | LH | +2 | -6 |
5MK
| Startup | Active | Recovery | Cancel | Damage | Guard | On Hit | On Block |
|---|---|---|---|---|---|---|---|
| 12 | 3 | 18 | - | 600 | LH | -2 | -6 |
5HK
| Startup | Active | Recovery | Cancel | Damage | Guard | On Hit | On Block |
|---|---|---|---|---|---|---|---|
| 17 | 3 | 20 | Sp SA | 800 | LH | +3 | -6 |
Crouching Normals
2LP
| Startup | Active | Recovery | Cancel | Damage | Guard | On Hit | On Block |
|---|---|---|---|---|---|---|---|
| 5 | 3 | 9 | Chn Sp SA | 300 | LH | +4 | -1 |
2MP
| Startup | Active | Recovery | Cancel | Damage | Guard | On Hit | On Block |
|---|---|---|---|---|---|---|---|
| 12 | 3 | 16 | Sp SA | 600 | LH | 0 | -4 |
2HP
| Startup | Active | Recovery | Cancel | Damage | Guard | On Hit | On Block |
|---|---|---|---|---|---|---|---|
| 19 | 4 | 20(24) | - | 800 | L | +3 | -8 |
2LK
| Startup | Active | Recovery | Cancel | Damage | Guard | On Hit | On Block |
|---|---|---|---|---|---|---|---|
| 4 | 7 | 16 | - | 200 | L | -5(+1) | -10(-4) |
2MK
| Startup | Active | Recovery | Cancel | Damage | Guard | On Hit | On Block |
|---|---|---|---|---|---|---|---|
| 10 | 13 | 14 | - | 500 | L | -3(+9) | -10(+2) |
2HK
| Startup | Active | Recovery | Cancel | Damage | Guard | On Hit | On Block |
|---|---|---|---|---|---|---|---|
| 12 | 16 | 20 | - | 900 | L | HKD +22(+37) | -16(-1) |
Jumping Normals
j.LP
| Startup | Active | Recovery | Cancel | Damage | Guard | On Hit | On Block |
|---|---|---|---|---|---|---|---|
| 4 | 4 | 3 land | - | 300 | H | +8(+13) | 0(+5) |
j.MP
| Startup | Active | Recovery | Cancel | Damage | Guard | On Hit | On Block |
|---|---|---|---|---|---|---|---|
| 9 | 6 | 3 land | Sp | 700 | LH | +5(+13) | -1(+7) |
j.HP
| Startup | Active | Recovery | Cancel | Damage | Guard | On Hit | On Block |
|---|---|---|---|---|---|---|---|
| 13 | 4 | 3 land | - | 800 | H | -5(+19) | -9(+15) |
j.LK
| Startup | Active | Recovery | Cancel | Damage | Guard | On Hit | On Block |
|---|---|---|---|---|---|---|---|
| 6 | 4 | 3 land | - | 300 | H | -12(+8) | -15(+5) |
j.MK
| Startup | Active | Recovery | Cancel | Damage | Guard | On Hit | On Block |
|---|---|---|---|---|---|---|---|
| 11 | 6 | 3 land | - | 500 | H | -7(+13) | -11(+9) |
j.HK
Command Normals
Target Combos
Universal Mechanics
Throws
Forward Throw (LPLK)
| Startup | Active | Recovery | Cancel | Damage | Guard | On Hit | On Block |
|---|---|---|---|---|---|---|---|
| 5 | 3 | 23 | - | 1200 (2040) | T | KD +31 | - |
Back Throw (4LPLK)
| Startup | Active | Recovery | Cancel | Damage | Guard | On Hit | On Block |
|---|---|---|---|---|---|---|---|
| 5 | 3 | 23 | - | 1200 (2040) | T | KD +19 | - |
Drive Moves
Drive Impact
| Startup | Active | Recovery | Cancel | Damage | Guard | On Hit | On Block |
|---|---|---|---|---|---|---|---|
| 26 | 2 | 35 | - | 800 | LH | KD +35 / Wall Splat KD +65 | -3 / Wall Splat HKD +72 |
See Drive Impact.
Drive Reversal
| Startup | Active | Recovery | Cancel | Damage | Guard | On Hit | On Block |
|---|---|---|---|---|---|---|---|
| 20 | 3(6)3 | 26(32) | - | 250x2 recoverable | LH | KD +24 | -6 |
Armor Break; See Drive Reversal.
Drive Parry (MPMK)
| Startup | Active | Recovery | Cancel | Damage | Guard | On Hit | On Block |
|---|---|---|---|---|---|---|---|
| 1 | 12 or until released | 33(1)(11) | - | - | - | - | - |
See Drive Parry. Perfect Parrying has only 1F of recovery and disables the opponent from canceling their attack. Perfect Parrying projectiles puts you into fixed 11 frames of recovery.
Drive Rush (66)
No results
See Drive Rush. Frame data shown in parentheses refers to the Drive Rush version used from a Parry.
Taunts
Neutral Taunt (5PPPKKK)
| Startup | Active | Recovery | Cancel | Damage | Guard | On Hit | On Block |
|---|---|---|---|---|---|---|---|
| 190 (total) | - | - | - | - | - | - | - |
Forward Taunt (6PPPKKK)
| Startup | Active | Recovery | Cancel | Damage | Guard | On Hit | On Block |
|---|---|---|---|---|---|---|---|
| 380 (total) | - | - | - | - | - | - | - |
Back Taunt (4PPPKKK)
Special Moves
Move Name (236P)
No results
No results No results No results
Super Arts
Level 1 Super (236236P)
No results
Level 2 Super (214214P)
No results
Level 3 Super ()
CA version grants 500 extra damage
No results
No results
